15+ Summer Almond Nail Art Ideas
Summer is the perfect time to refresh your look with fun and trendy nail art. Almond-shaped nails offer a great balance of elegance and versatility, making them a favorite choice for those looking to try something new.
With their sleek and tapered tips, almond nails can make your fingers appear longer and more graceful.
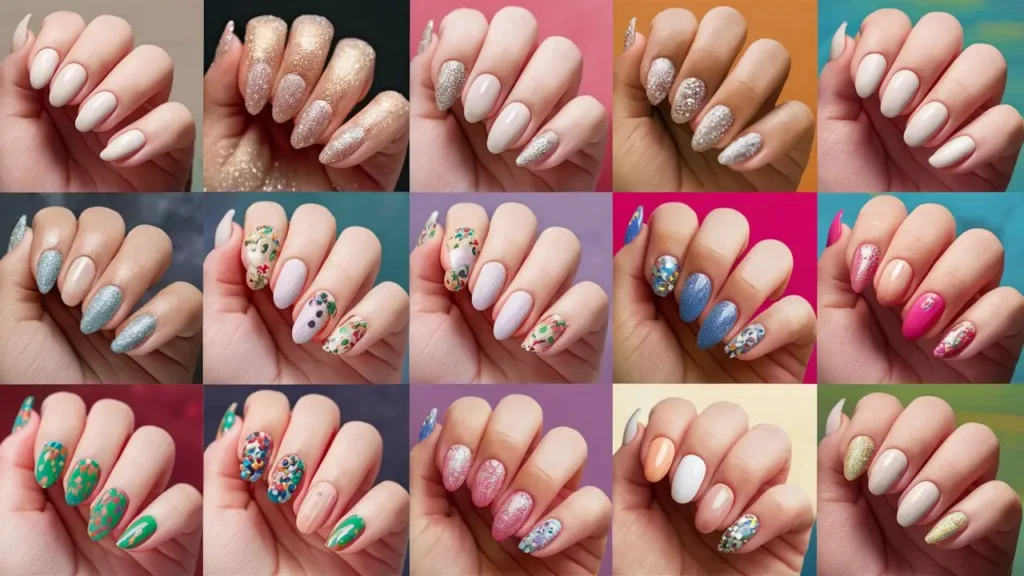
I’ll share 15 stunning almond nail art ideas perfect for summer in this article.
Whether you prefer bold colors, subtle pastels, or creative patterns, these designs will inspire your next manicure.
Revise your summer style with these fresh and fashionable nail looks.
1: Almond French Tips
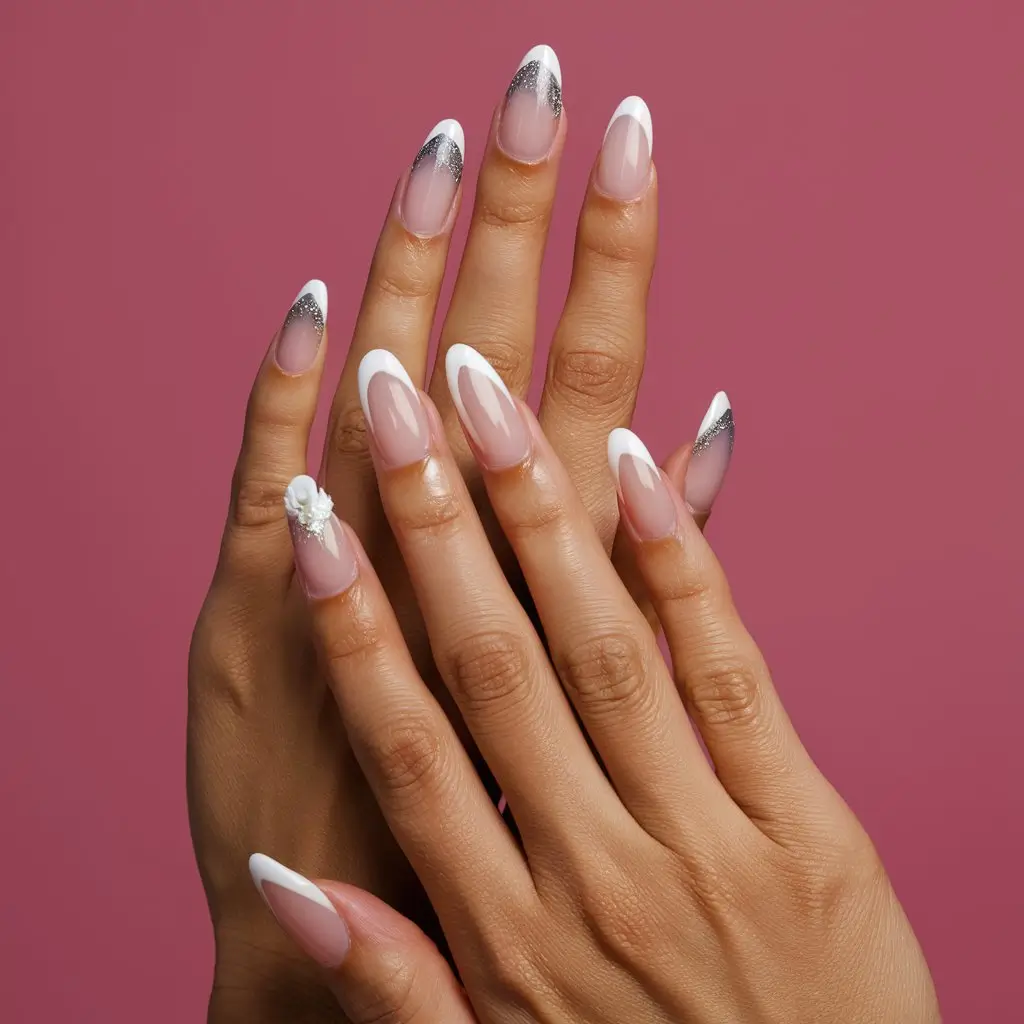
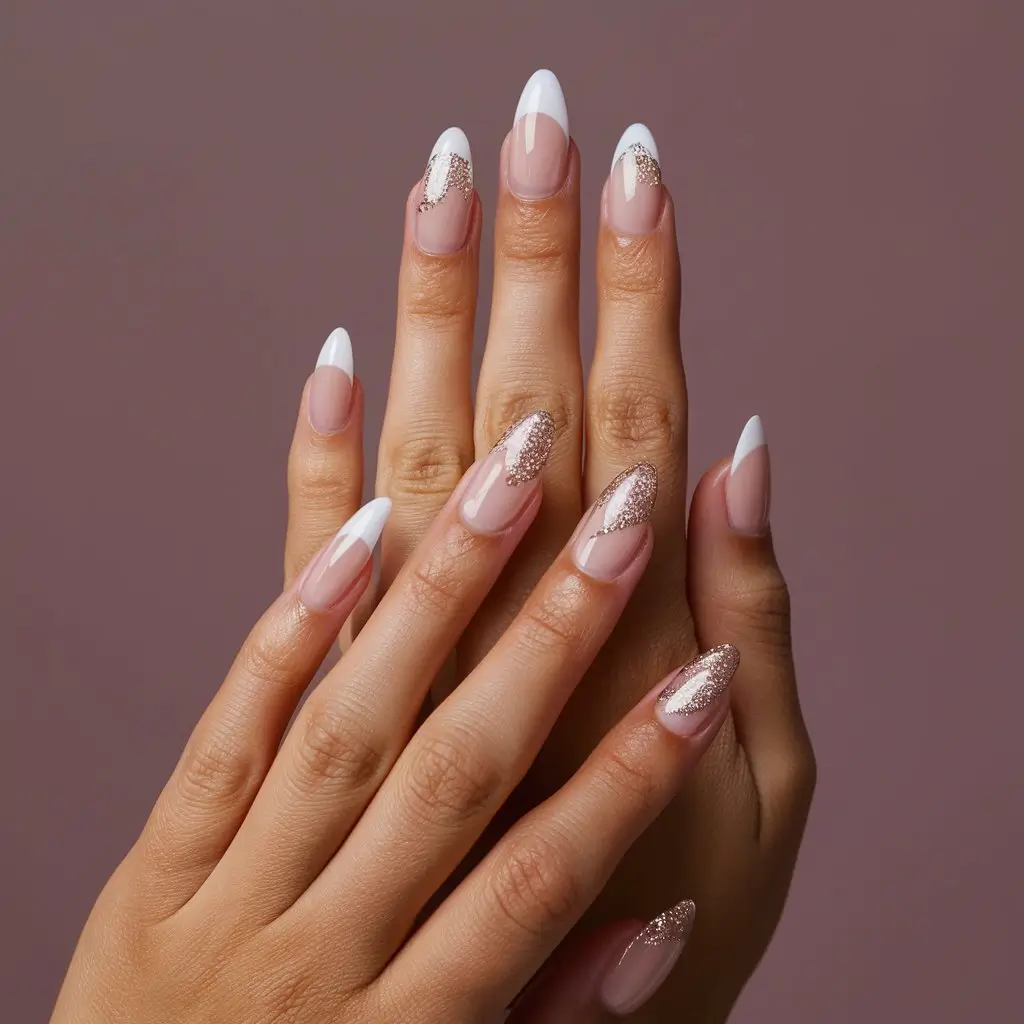
Almond French tips offer a stylish twist on the classic manicure. The almond shape elongates the fingers, making the hands look elegant.
I often choose white tips on a nude or pale pink base for a timeless look. This combination is chic and versatile, perfect for any occasion.
Adding a modern twist can be fun. Sparkly black tips or minimalistic designs make the manicure stand out while keeping it sophisticated.
I’ve noticed that even a single feature nail with intricate art can elevate the look. Whether choosing a solid color or adding swirls, almond French tips are always a win for summer nails.
2: Glitter Almond Accents
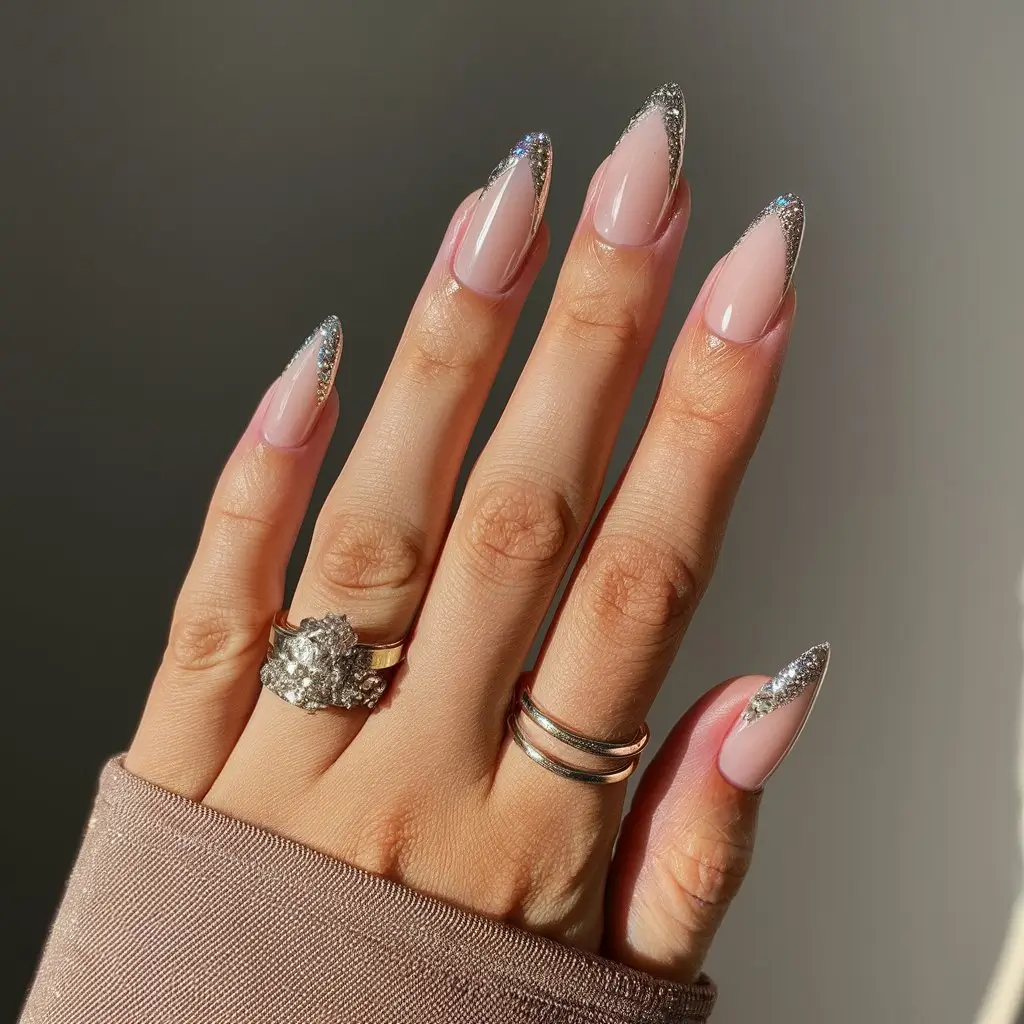
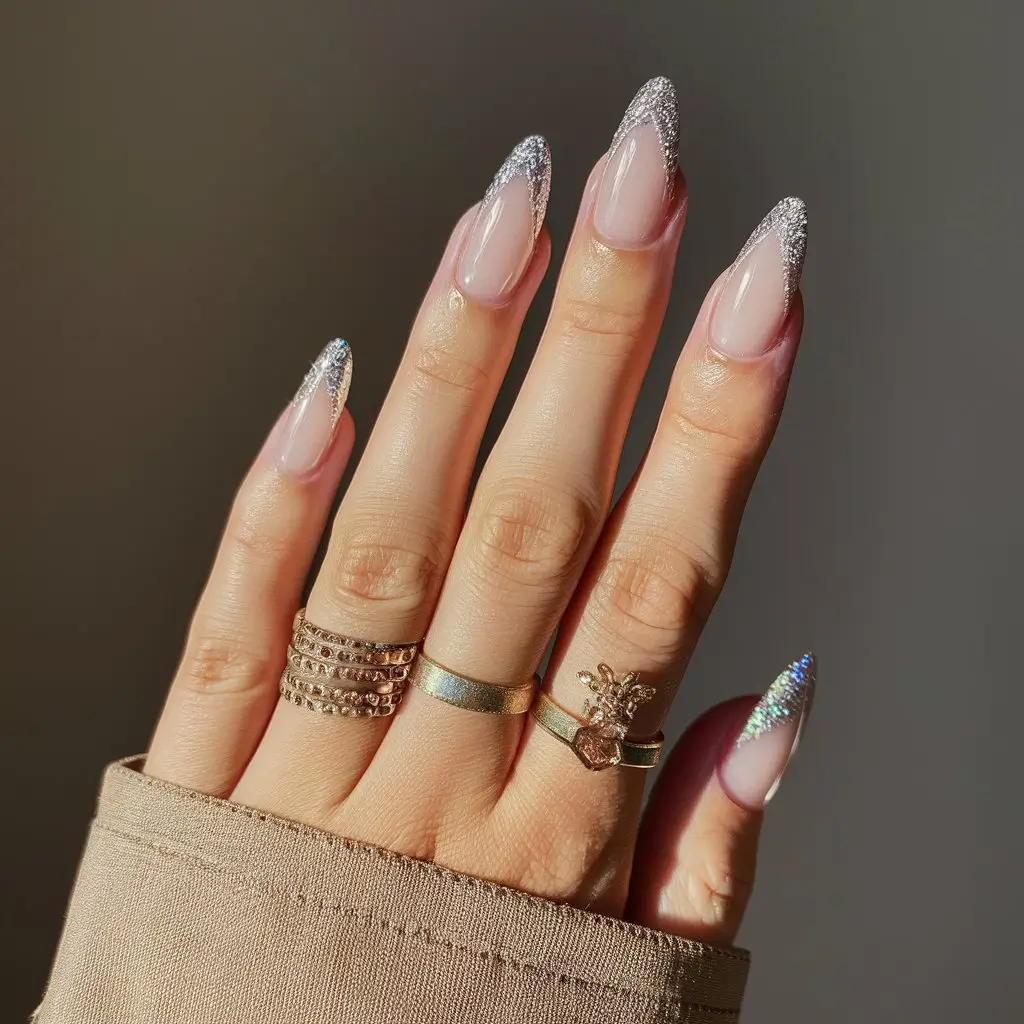
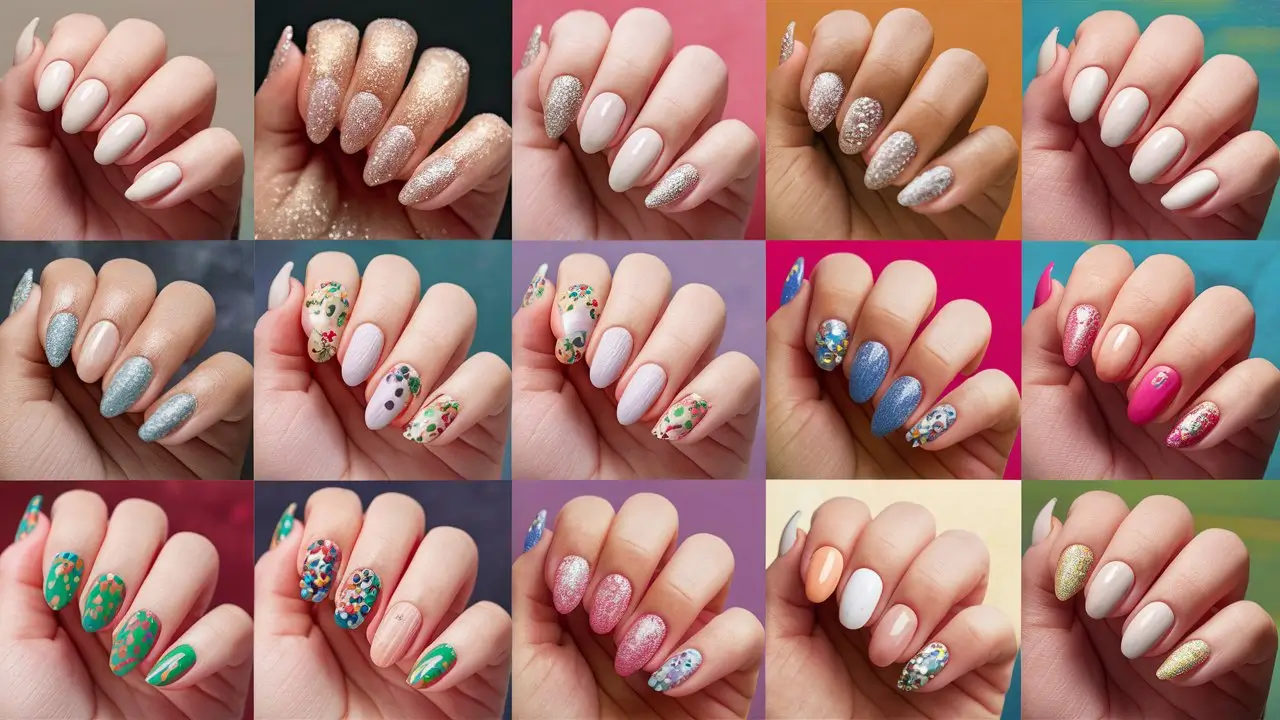
Adding glitter to almond nails can make a stylish statement. I love how the shimmer catches the light, creating a sparkling effect.
Start with a base color. Neutral tones like beige or pale pink work well. Then, add glitter to the tips or around the cuticle line for a unique touch.
Experimenting with different glitter colors can completely change the vibe. Silver glitter gives a classic look, while gold or holographic glitter adds a modern twist. This design pairs nicely with both casual and formal outfits.
3: Floral Almond Patterns
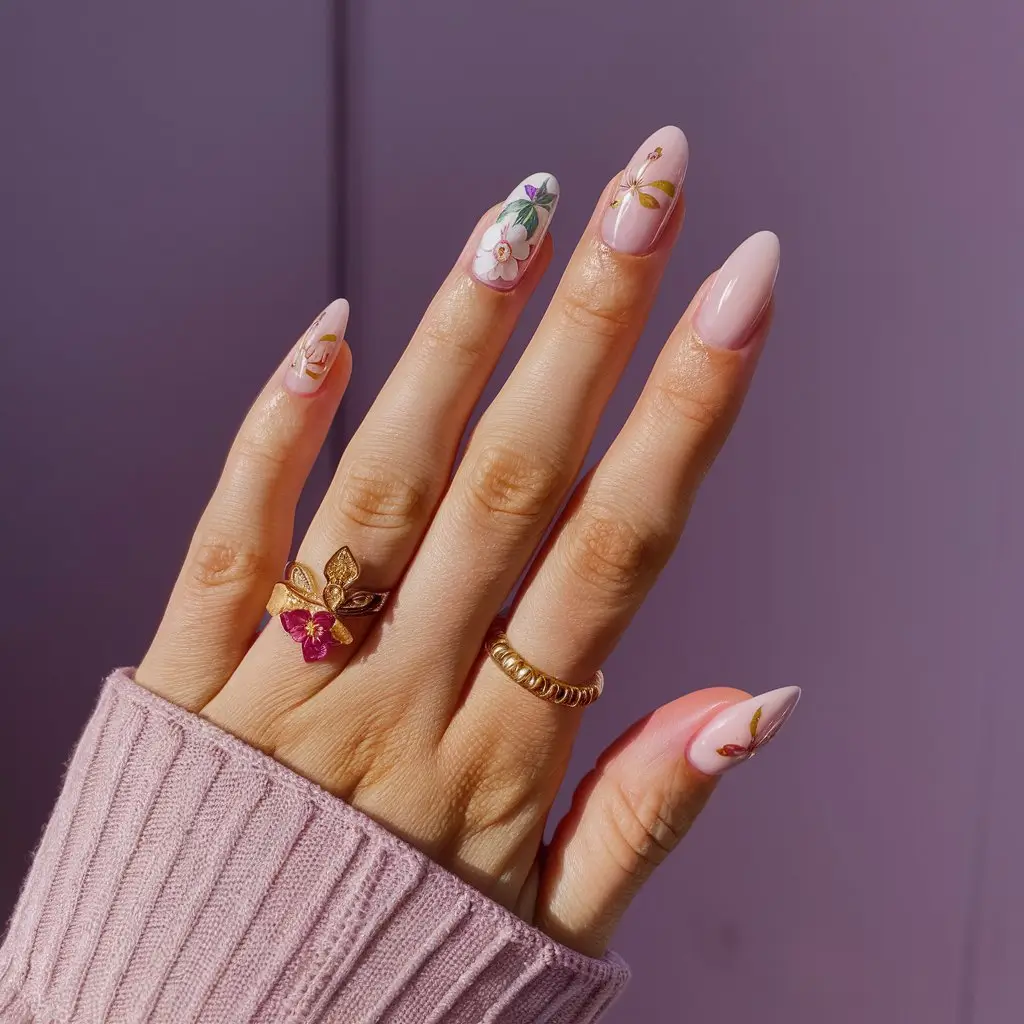
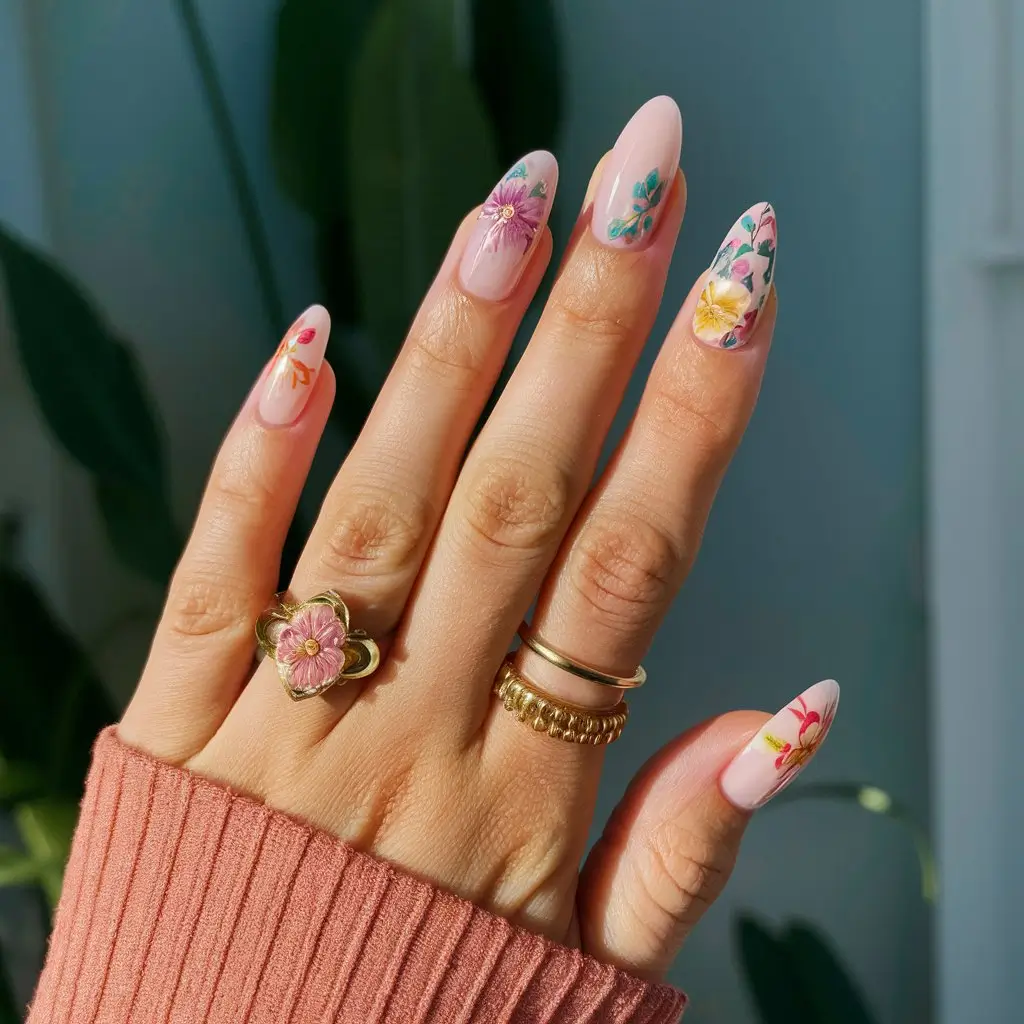
Regarding almond nail art, floral patterns are timeless and elegant.
I love painting soft pastel shades on my nails and adding intricate flower designs.
Floral decals also work well if you prefer a more straightforward approach.
Each design brings a touch of summer grace to my manicure.
4: Polka Dot Almond Designs
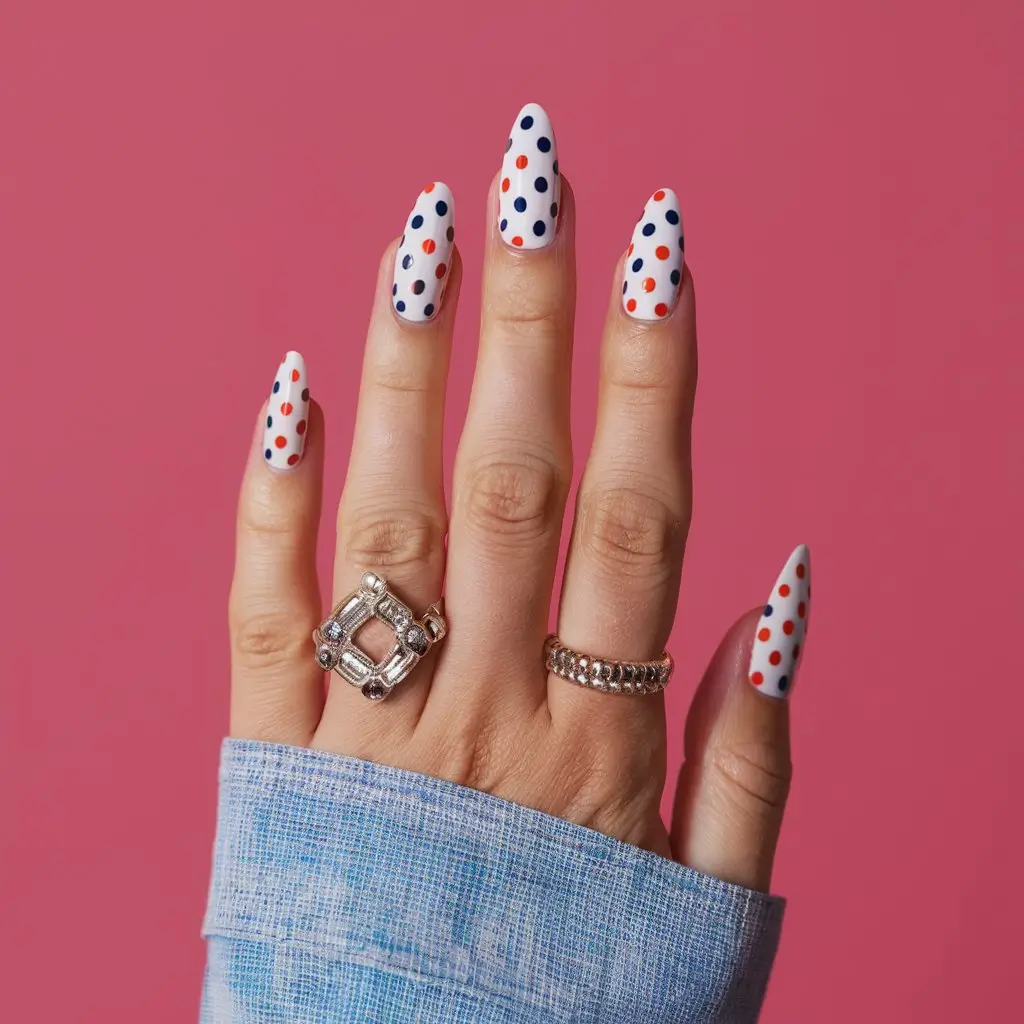
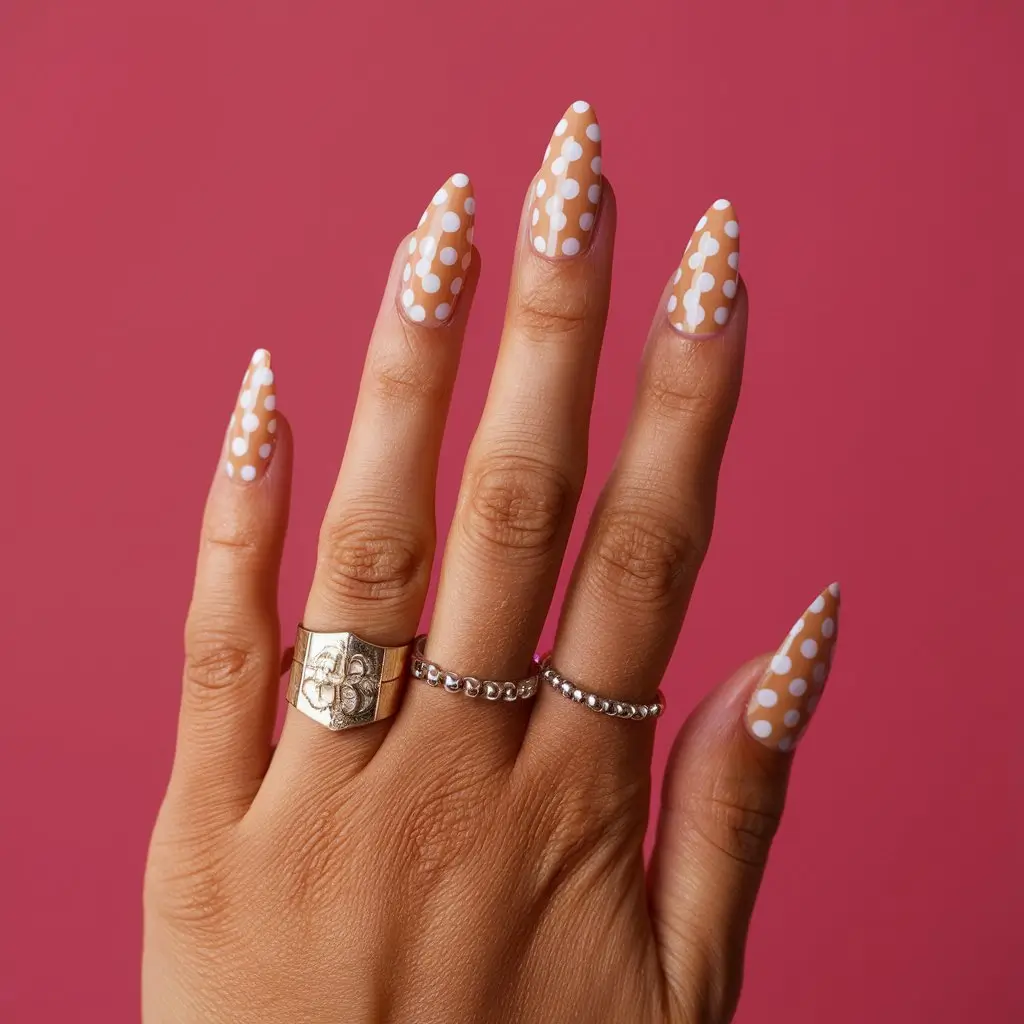
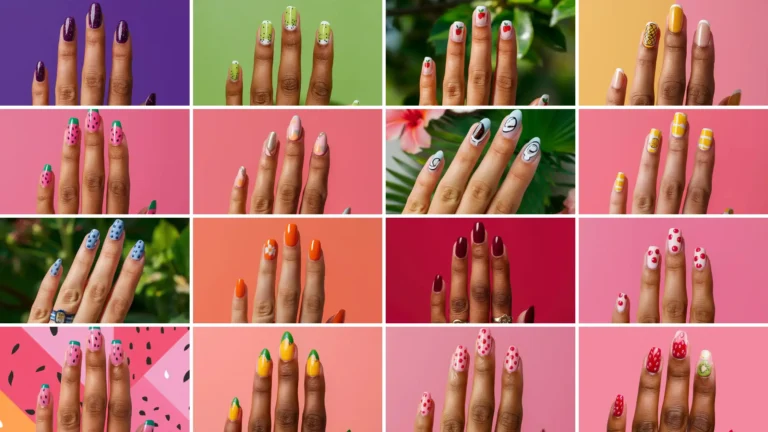
Polka dots add a playful touch to any manicure.
I love combining bright colors with polka dots on almond-shaped nails for a fun summer look.
Bold white polka dots on a nude or pastel base create a simple yet chic style that stands out.
5: Ombre Almond Shades
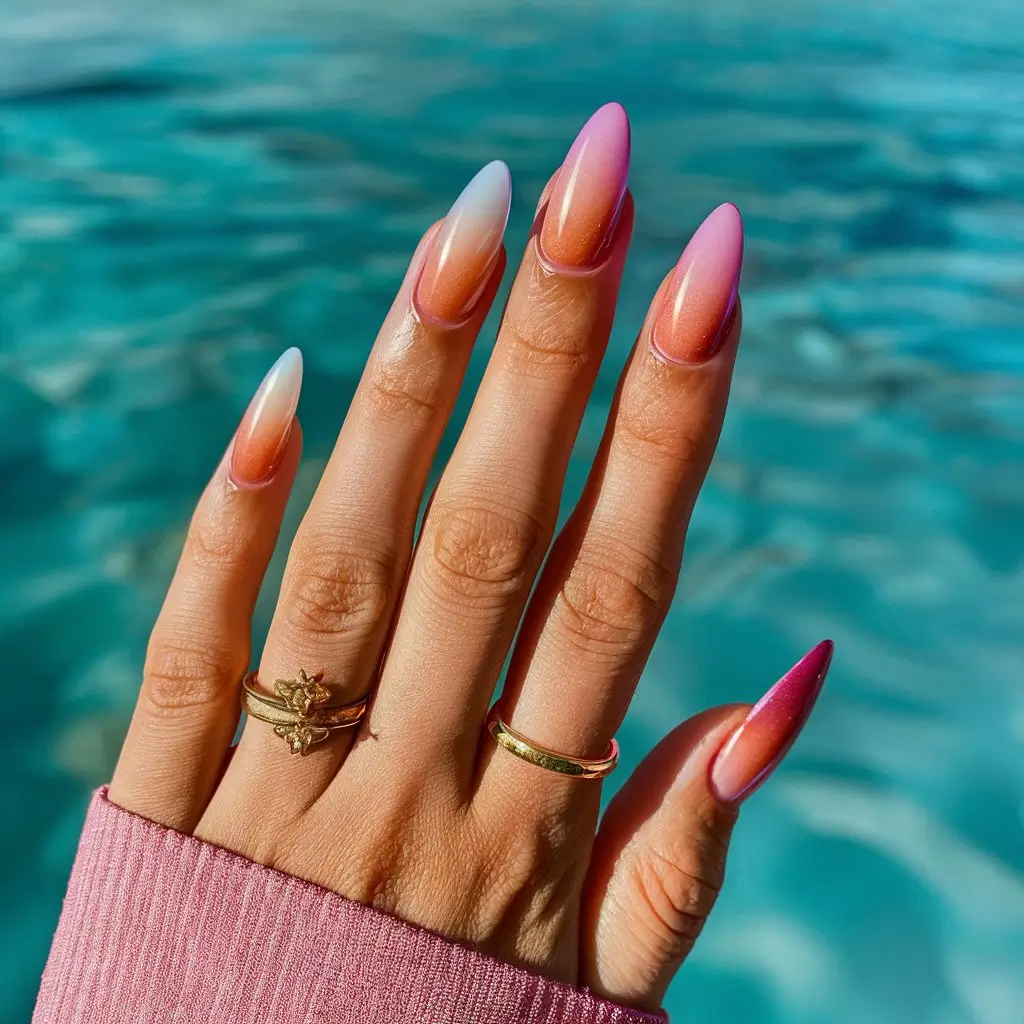

Ombre almond nails are a fantastic choice for summer. They blend colors beautifully, creating a stunning gradient effect on almond-shaped nails.
One style I love is a sunset ombre. It transitions from deep orange at the cuticle to a glowing pink at the tips.
For a cooler look, consider ocean blue ombre. This style starts with a light turquoise at the base and fades to a deep navy at the tips. It feels refreshing and is perfect for the beach.
Another idea is using pastel shades. Soft pink fading to lavender gives a subtle, delicate look ideal for any occasion.
Experiment with glitter ombre as well. Concentrate the glitter near the cuticle and let it fade toward the tips for a striking effect.
6: Geometric Almond Shapes
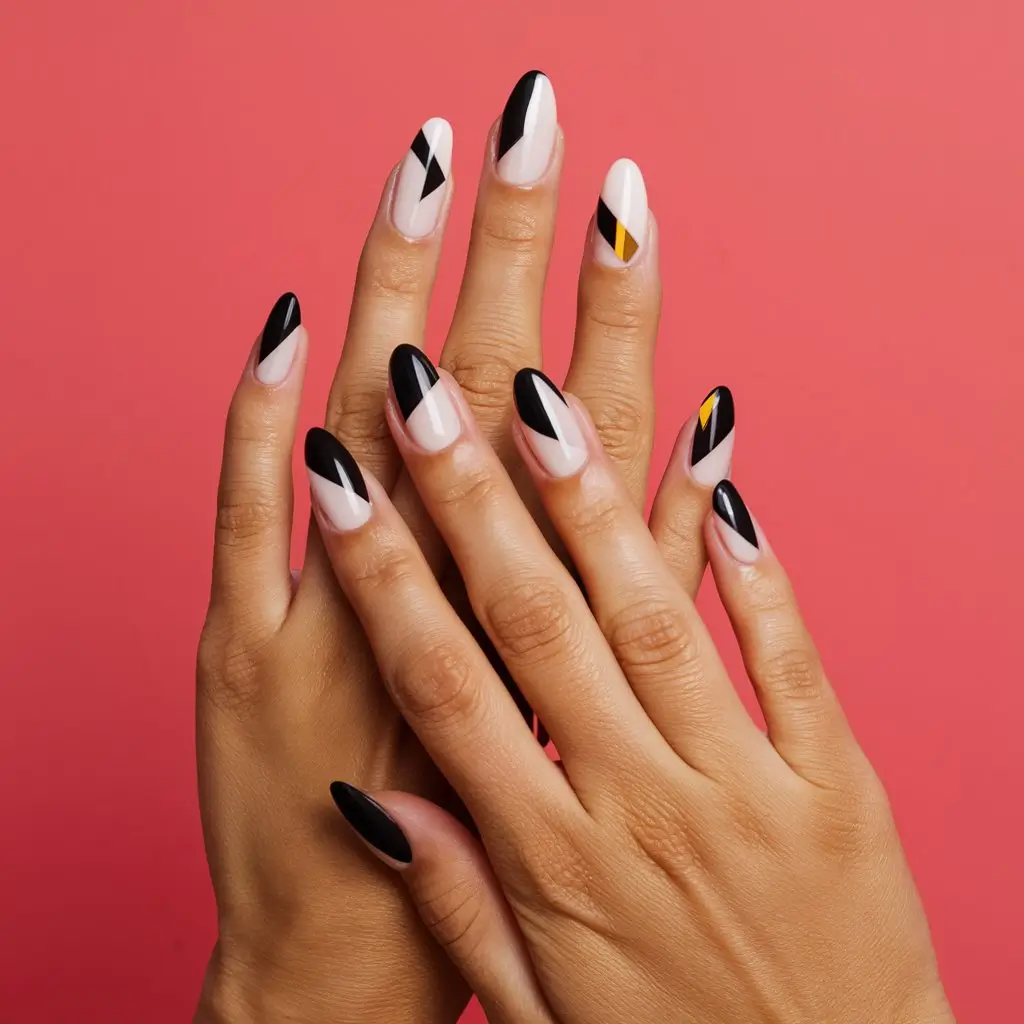
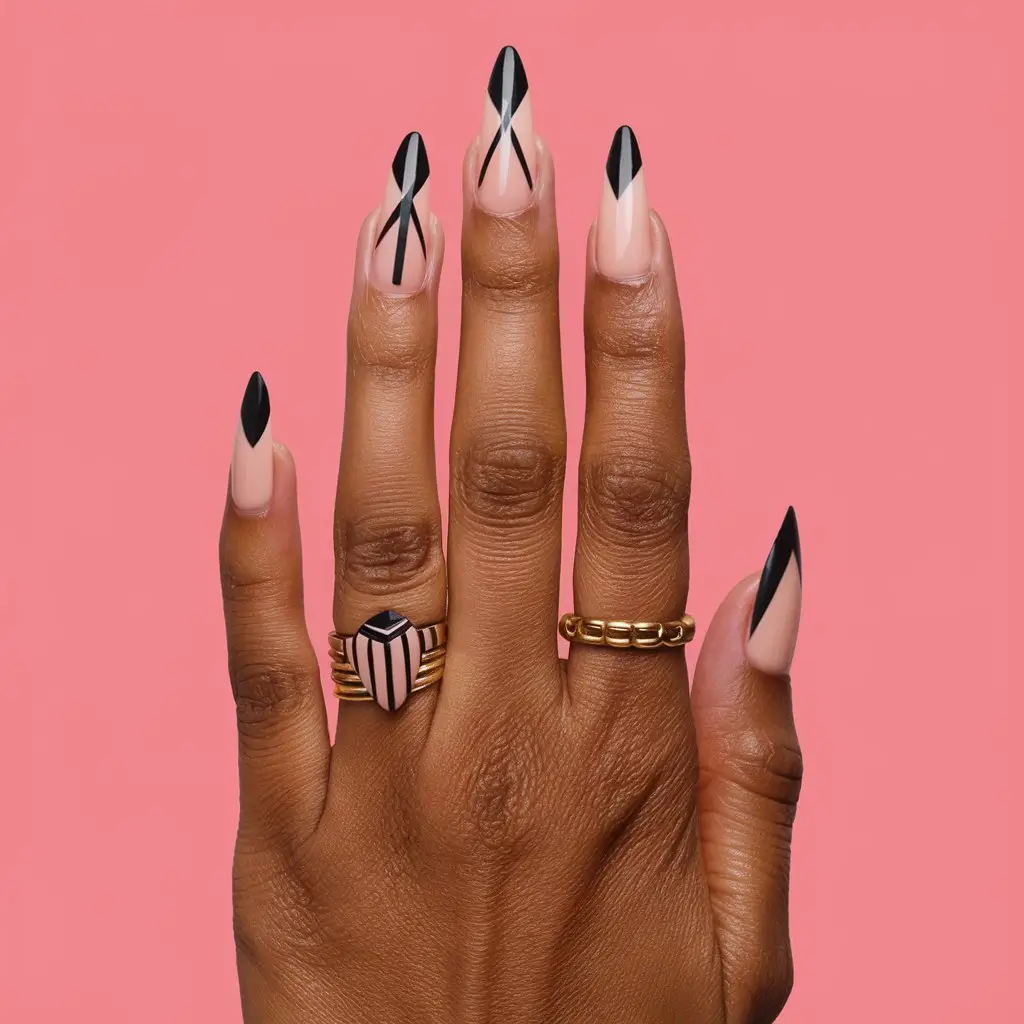
I love geometric designs on almond nails. They make a bold statement and look very modern. Triangles, squares, and lines can all be used for a striking effect.
For example, a black triangle on a nude base looks sharp and clean. Adding different shapes and colors can make it even more eye-catching.
7: Marble Almond Effect
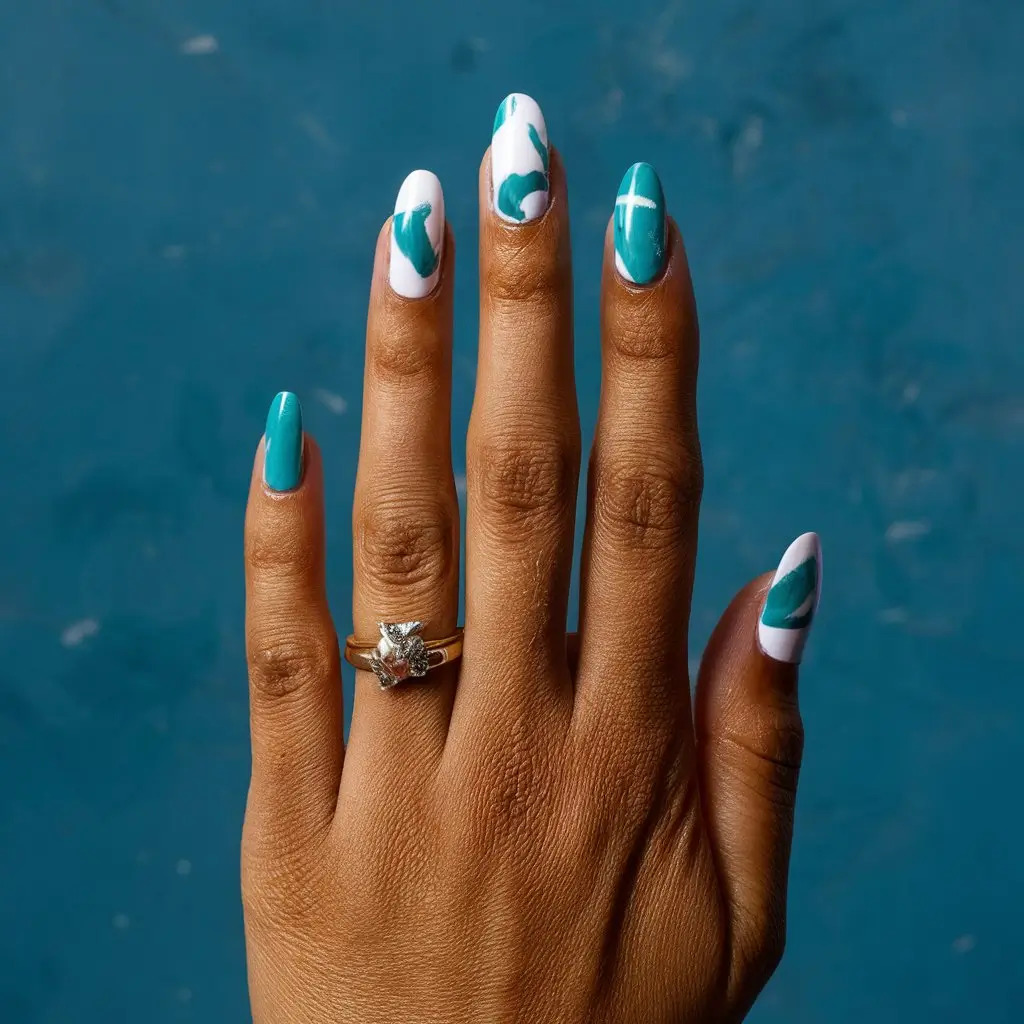
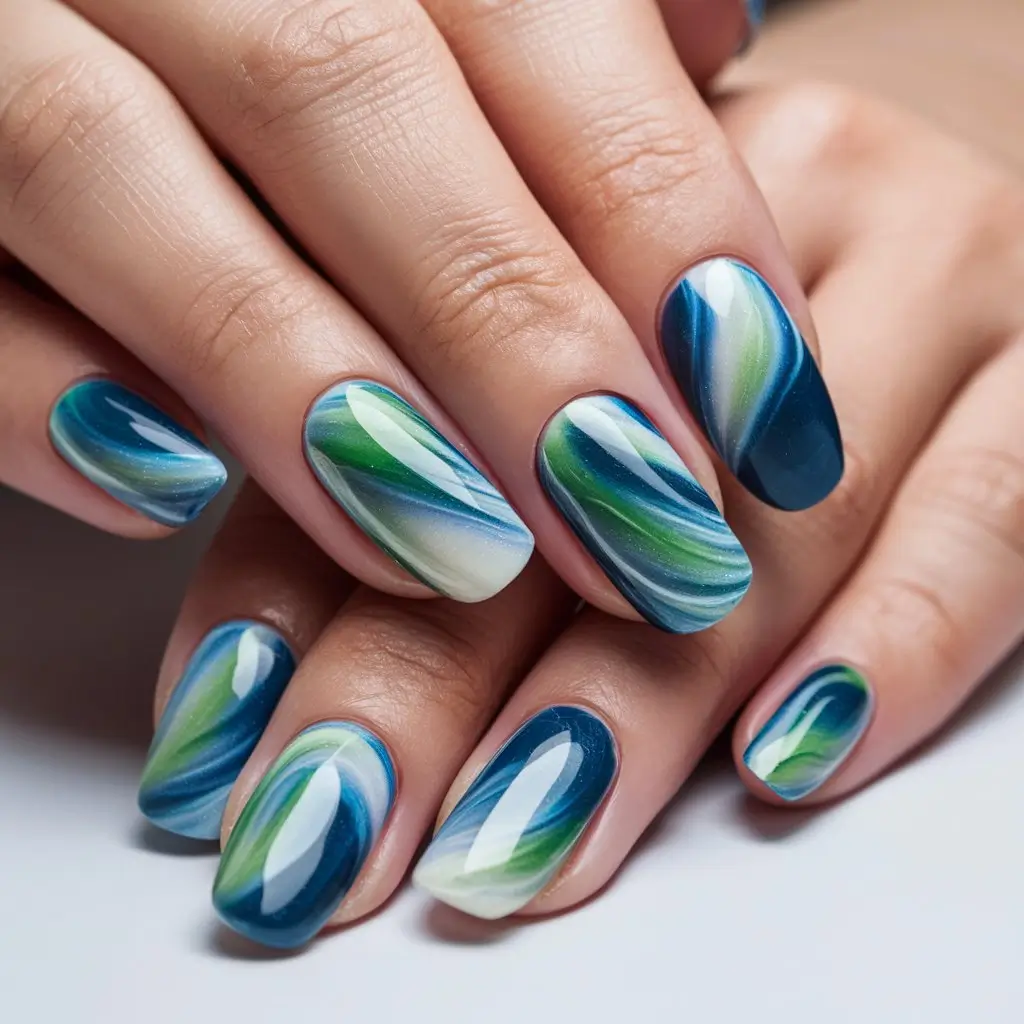
The marble almond effect is perfect for summer. It’s both stylish and unique. Start by choosing a mix of colors like blue, green, and white. Apply the base colors first.
Next, cover an unpainted finger with plastic. Use it to gently smoosh the colors together, creating that smoky, marbled look.
Refine the edges with a fine grit file, ensuring smooth marbling.
8: Minimalist Almond Lines
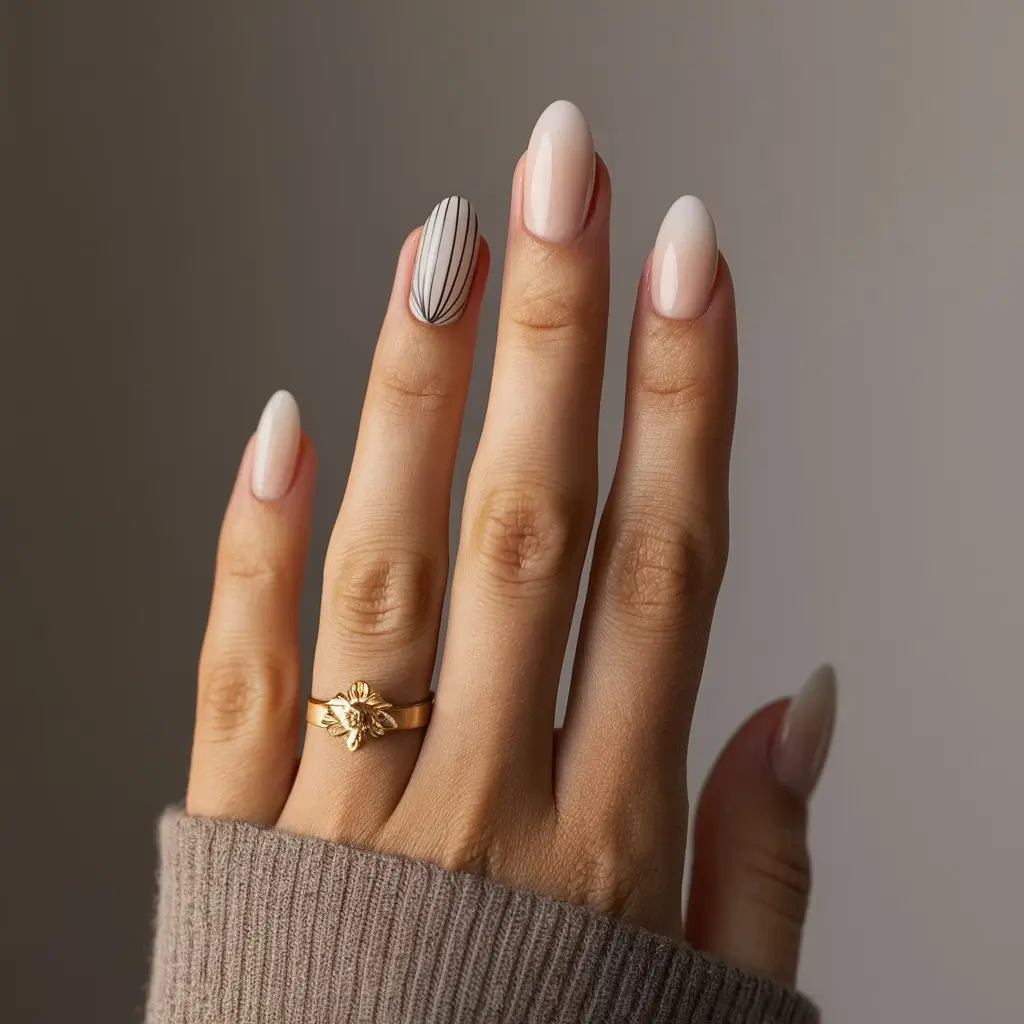
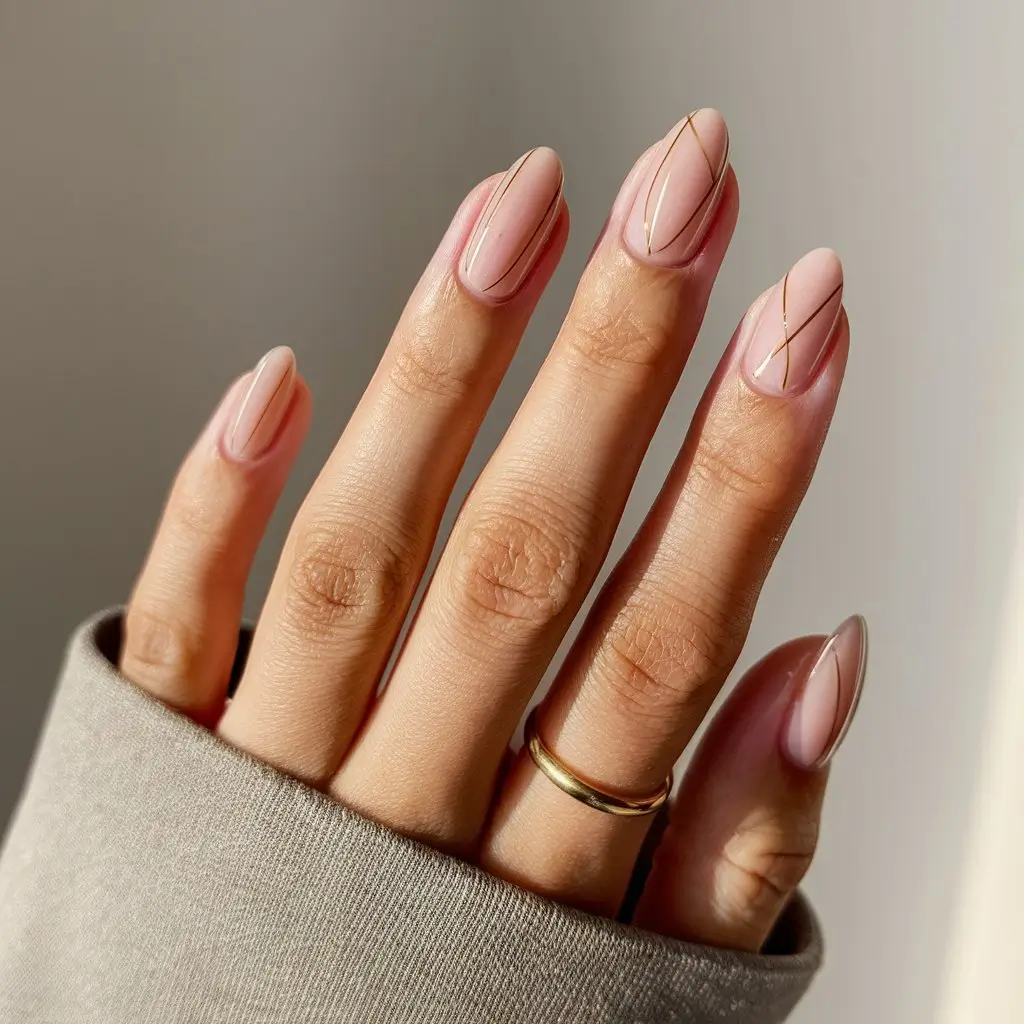
Minimalist almond lines offer a sleek and modern look. I use simple, clean lines to create sophisticated designs without overwhelming the nail.
This style often features neutral or muted tones. It focuses on thin, precise lines to add a touch of elegance.
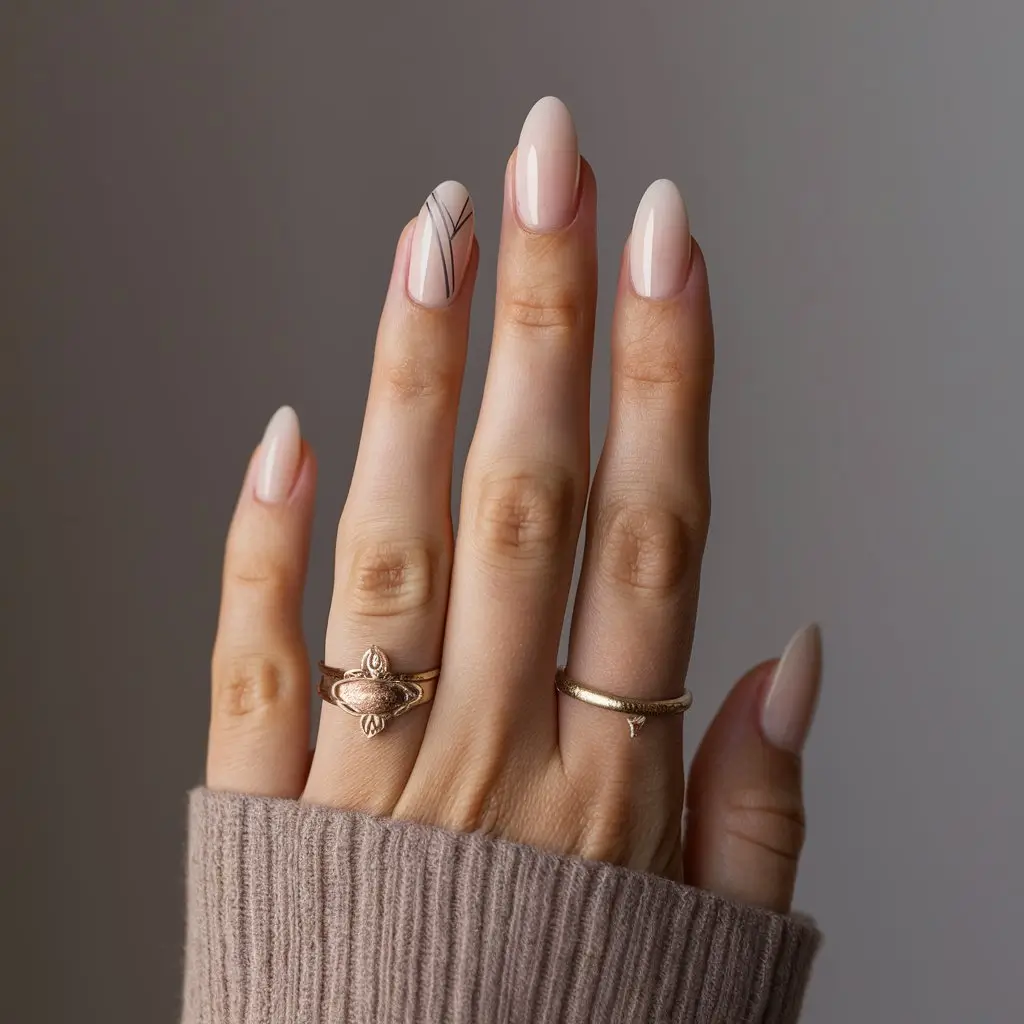
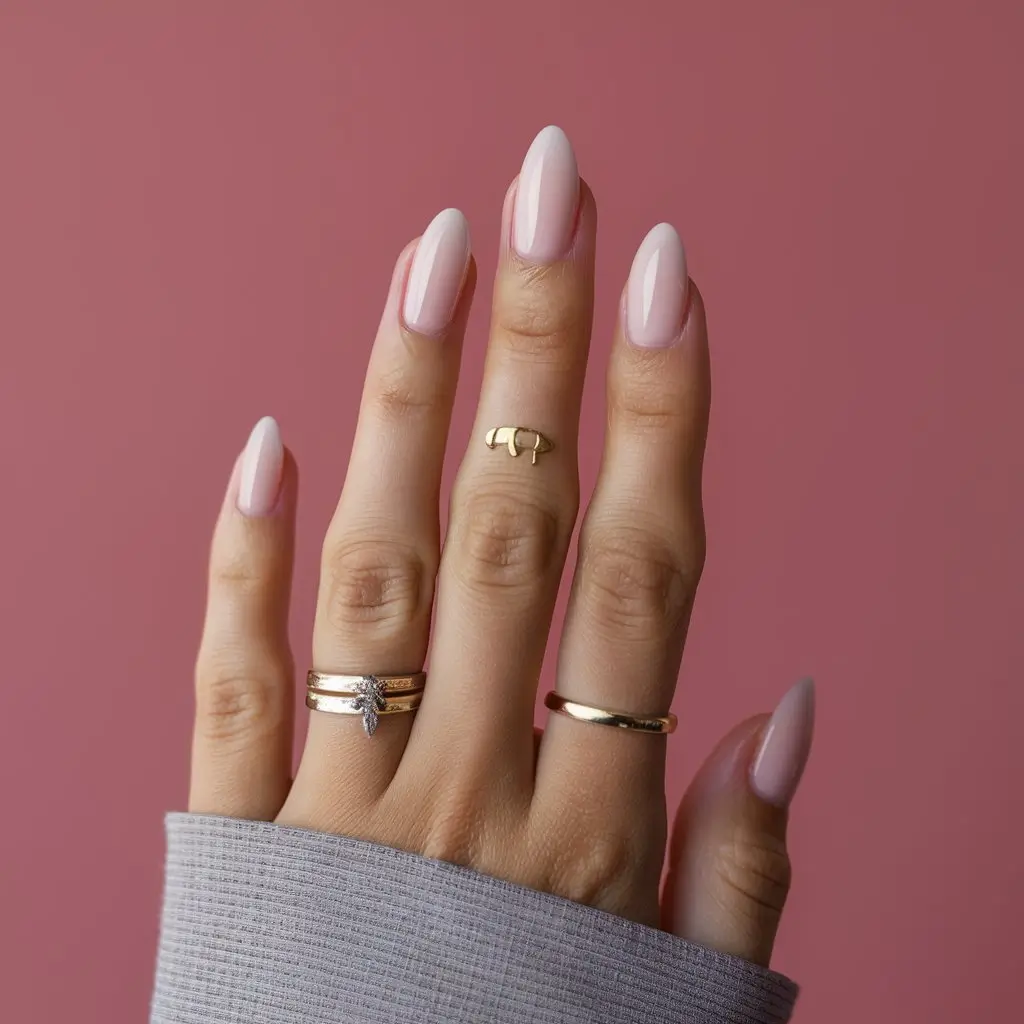
It’s perfect for those who prefer subtle and chic nail art.
9: Neon Almond Vibes
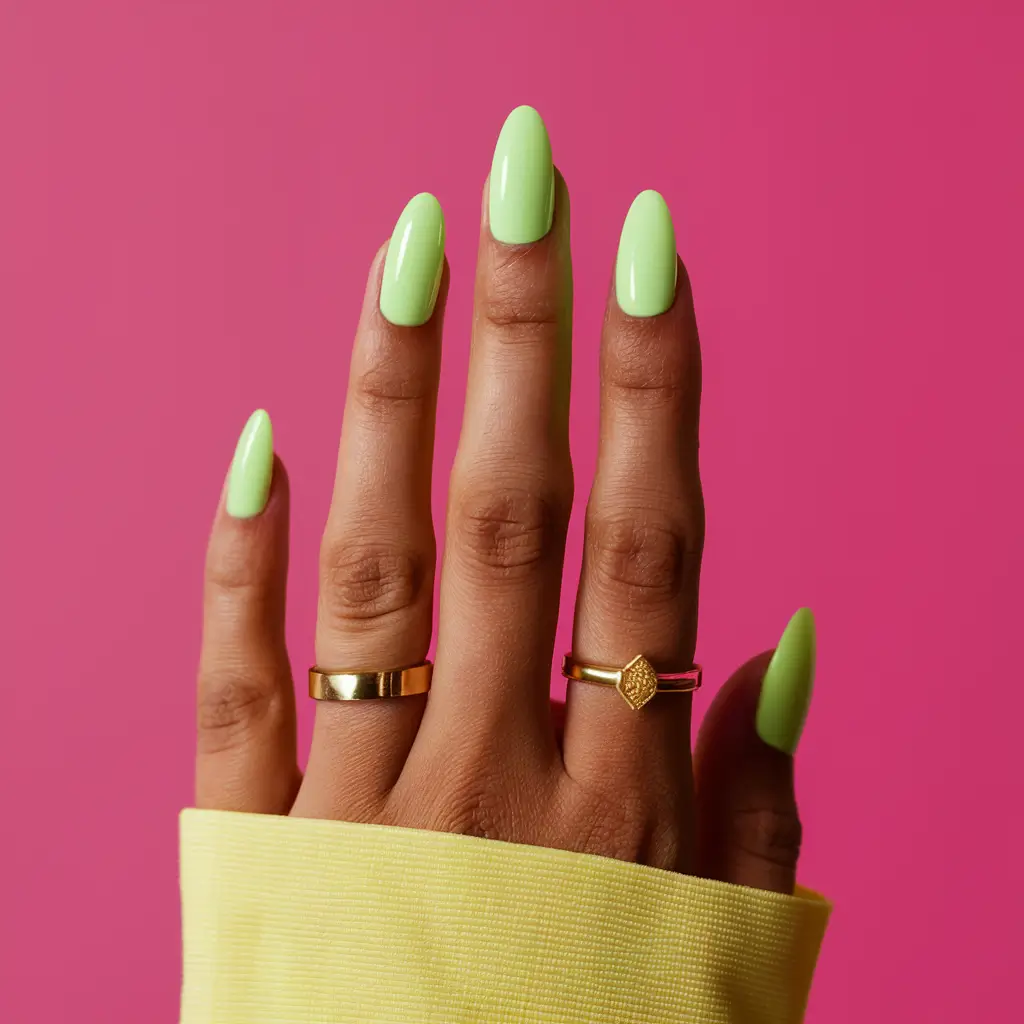
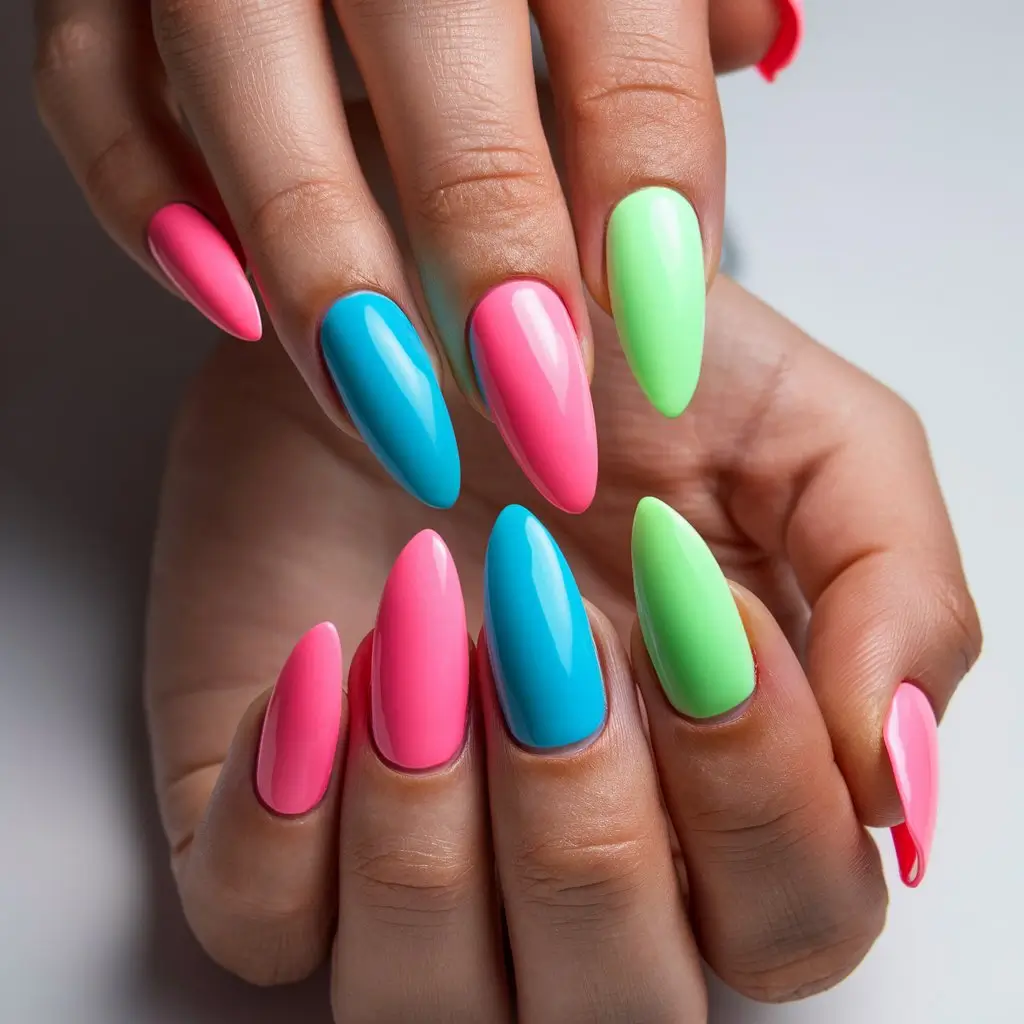
Neon nails are always a summer favorite. They stand out and make a bold statement.
When shaping your nails, aim for a sleek almond shape. This will accentuate the neon colors even more.
Picking neon shades like bright pink, electric blue, or neon green can really make your nails pop.
10: Abstract Almond Art

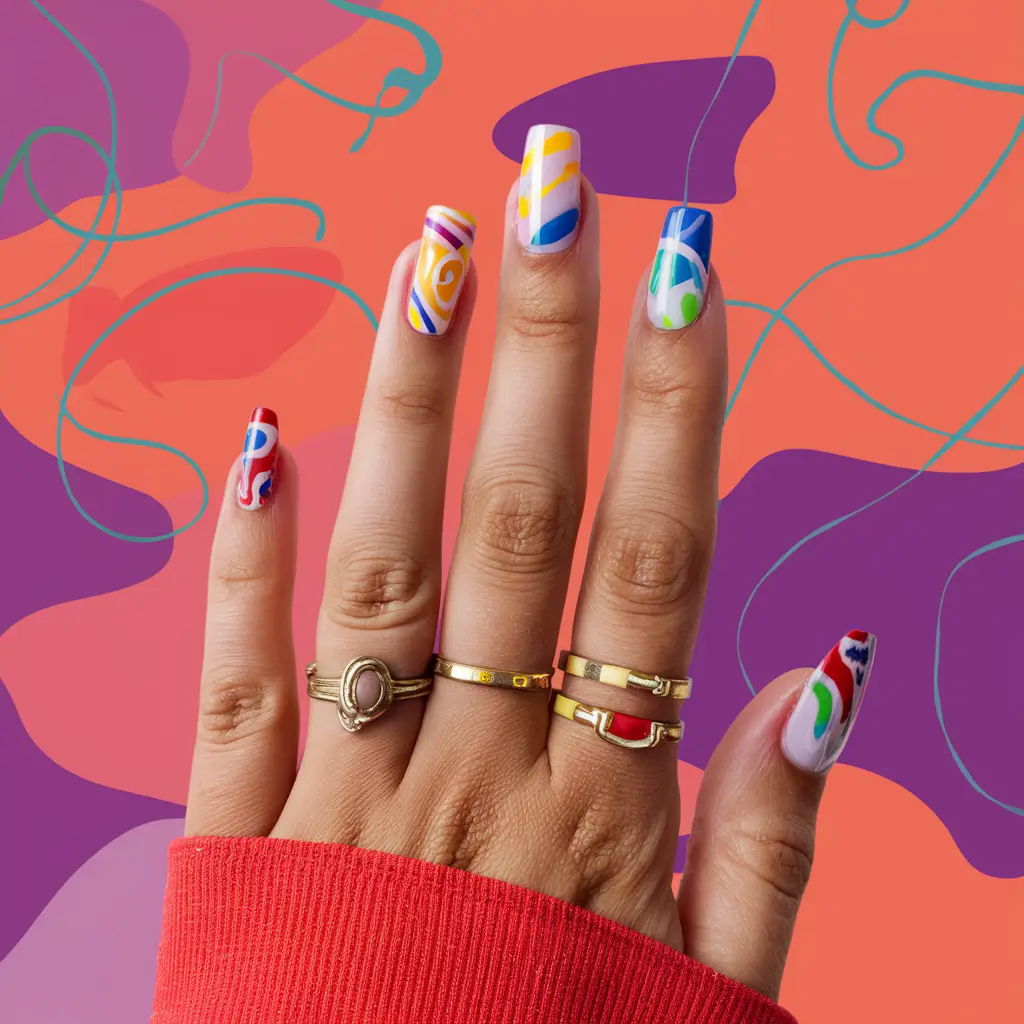
For a creative twist, I love trying abstract designs. These can include random shapes, swirls, or splashes of color.
Using bright summer hues can make your nails really pop. Mixing different colors and patterns to create a unique look is fun.
Sometimes, less is more. Simple lines and shapes can make a big impact without overwhelming the design.
11: Foil Almond Highlights
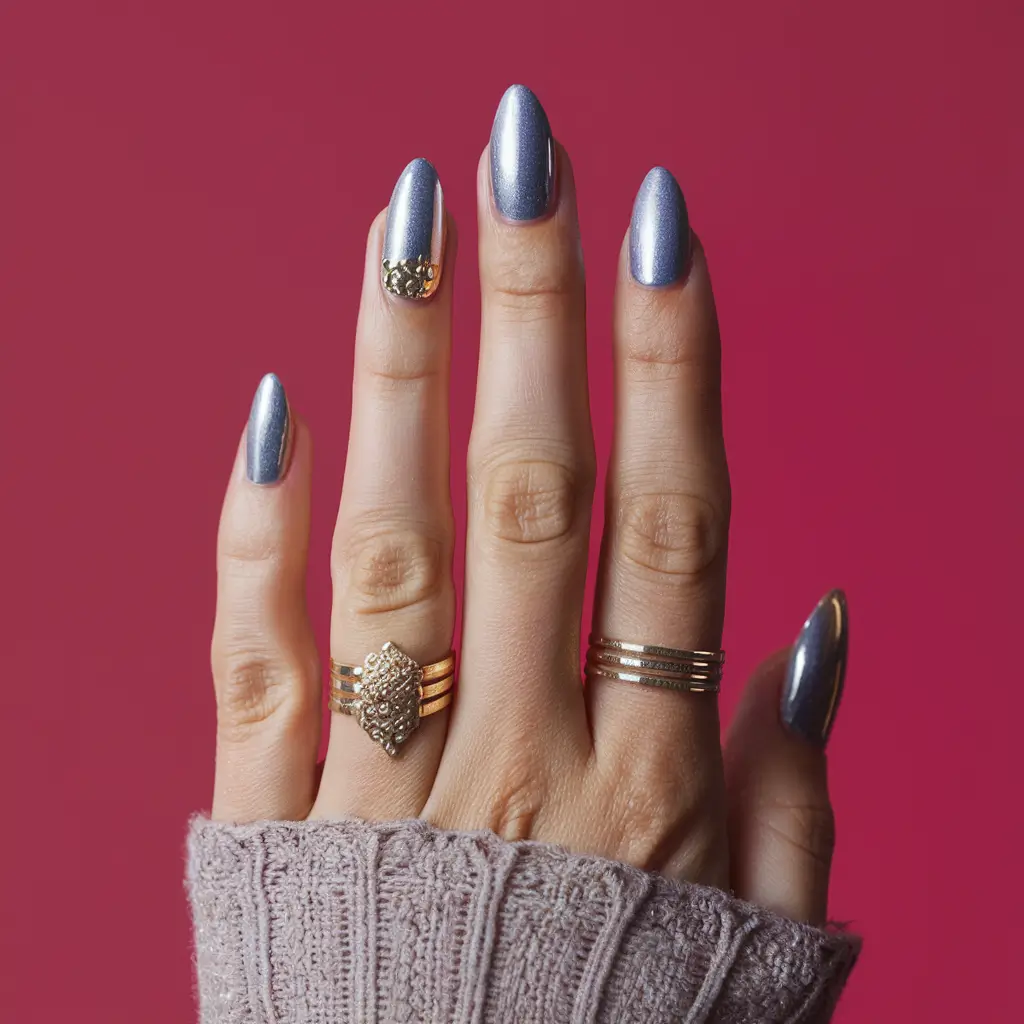
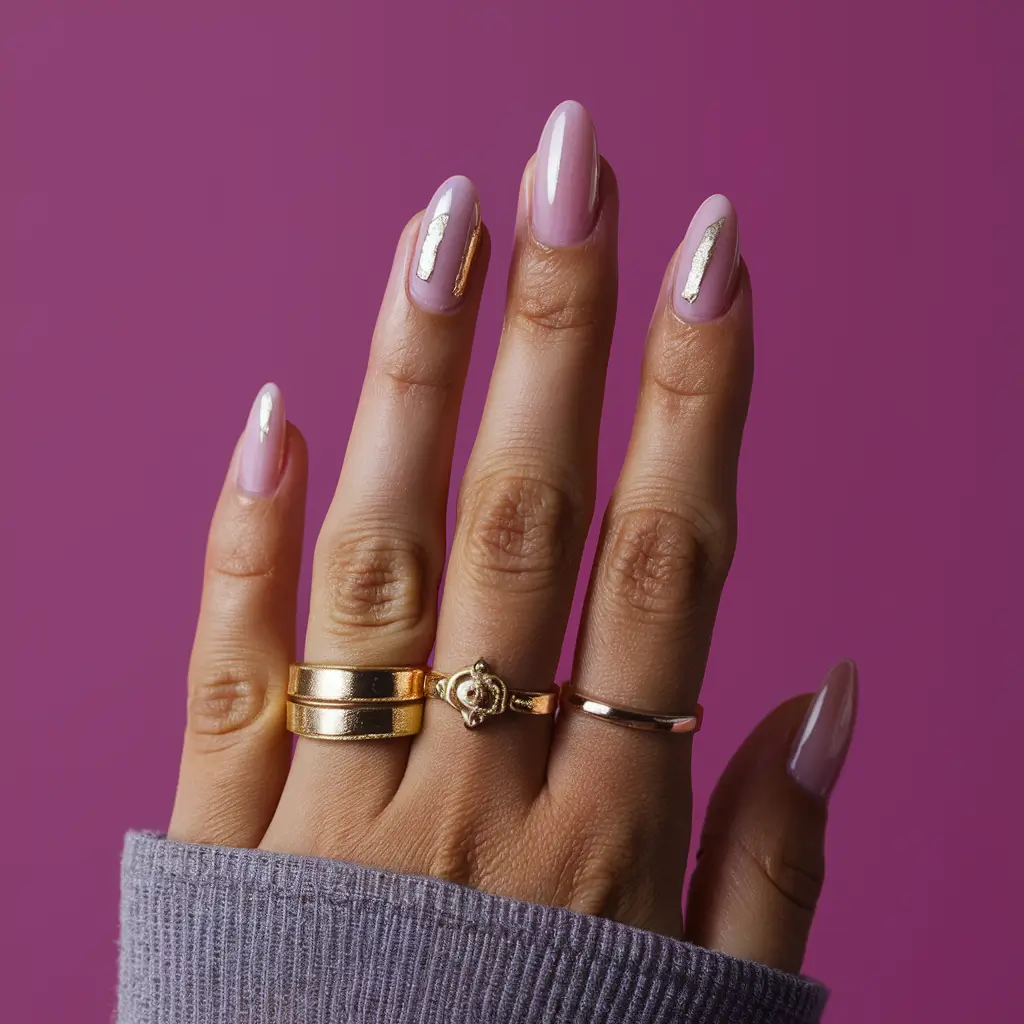
Foil almond highlights offer a dazzling twist to your manicure. First, I apply a base coat, then position thin foil strips on the nail.
These highlights catch the light, creating a shimmering effect. For a bold look, I suggest using gold or silver foil.
12: Animal Print Almonds
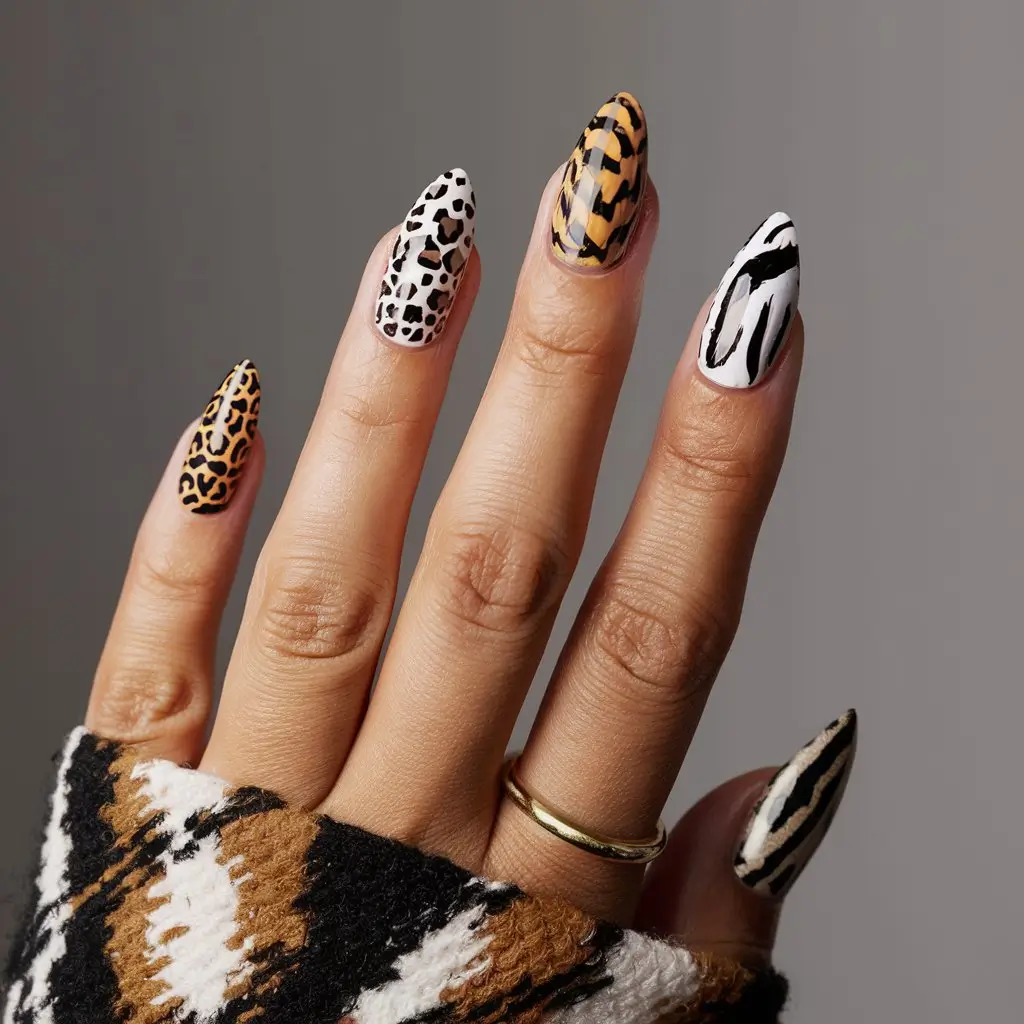
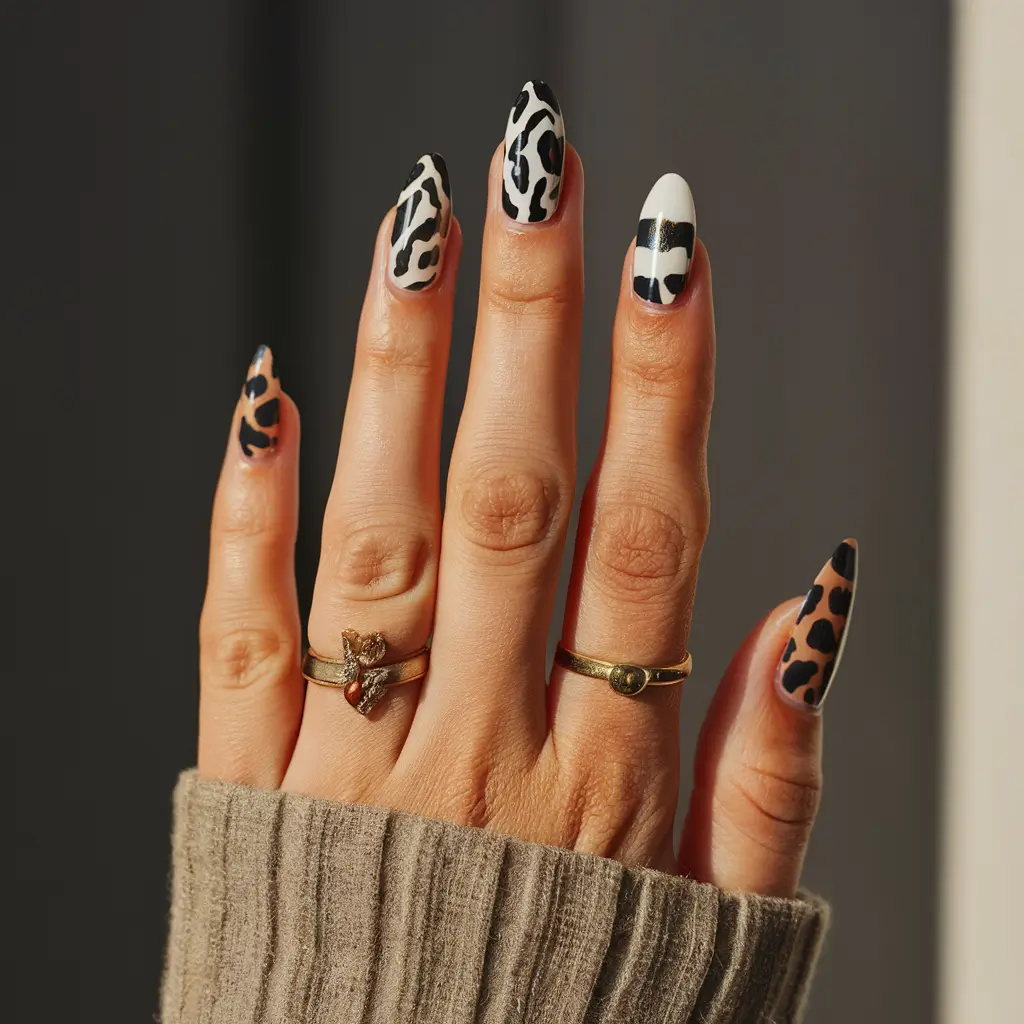
I’ve always found animal print designs to be bold and fun. For almond nails, they bring a wild and stylish vibe. Whether it’s leopard spots, zebra stripes, or snakeskin, these patterns can be eye-catching and elegant.
Animal prints can be mixed with neutral or bold colors depending on your looks.
13: Watercolor Almond Art
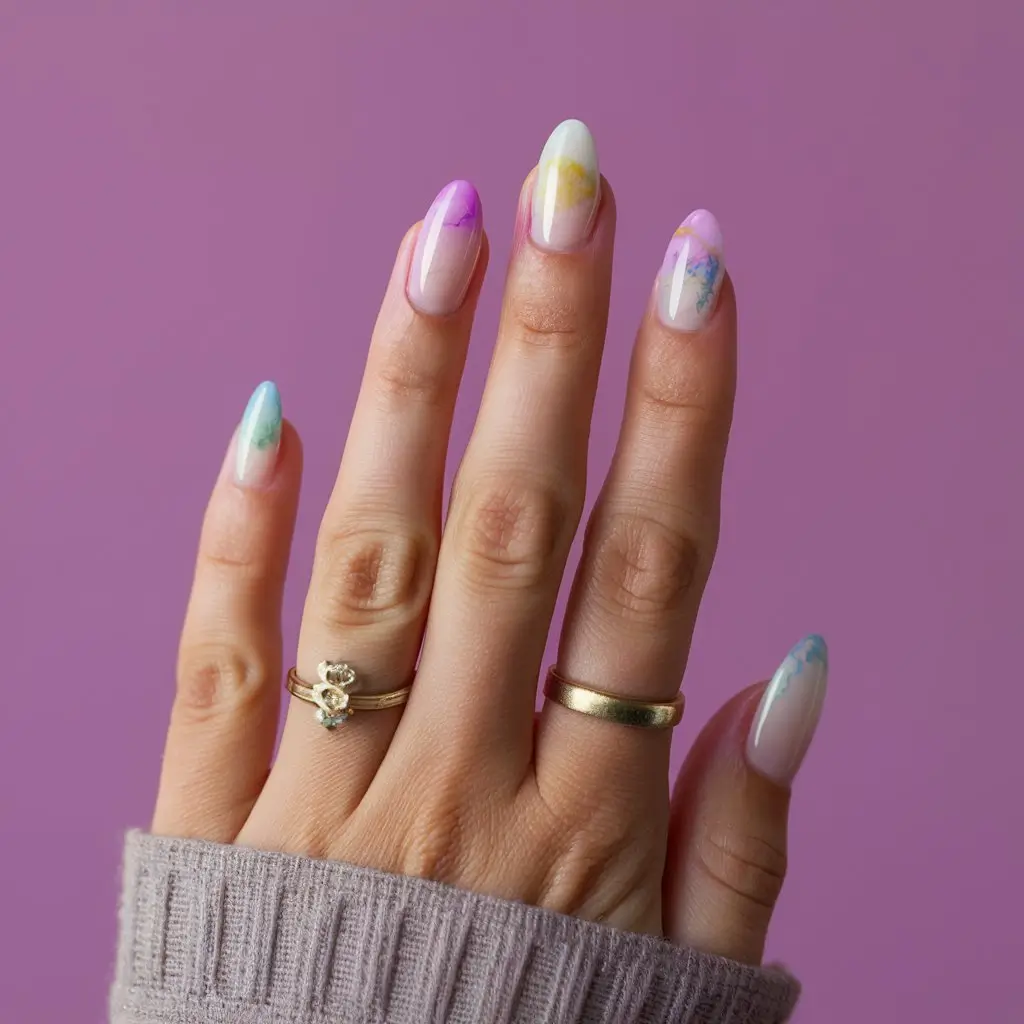
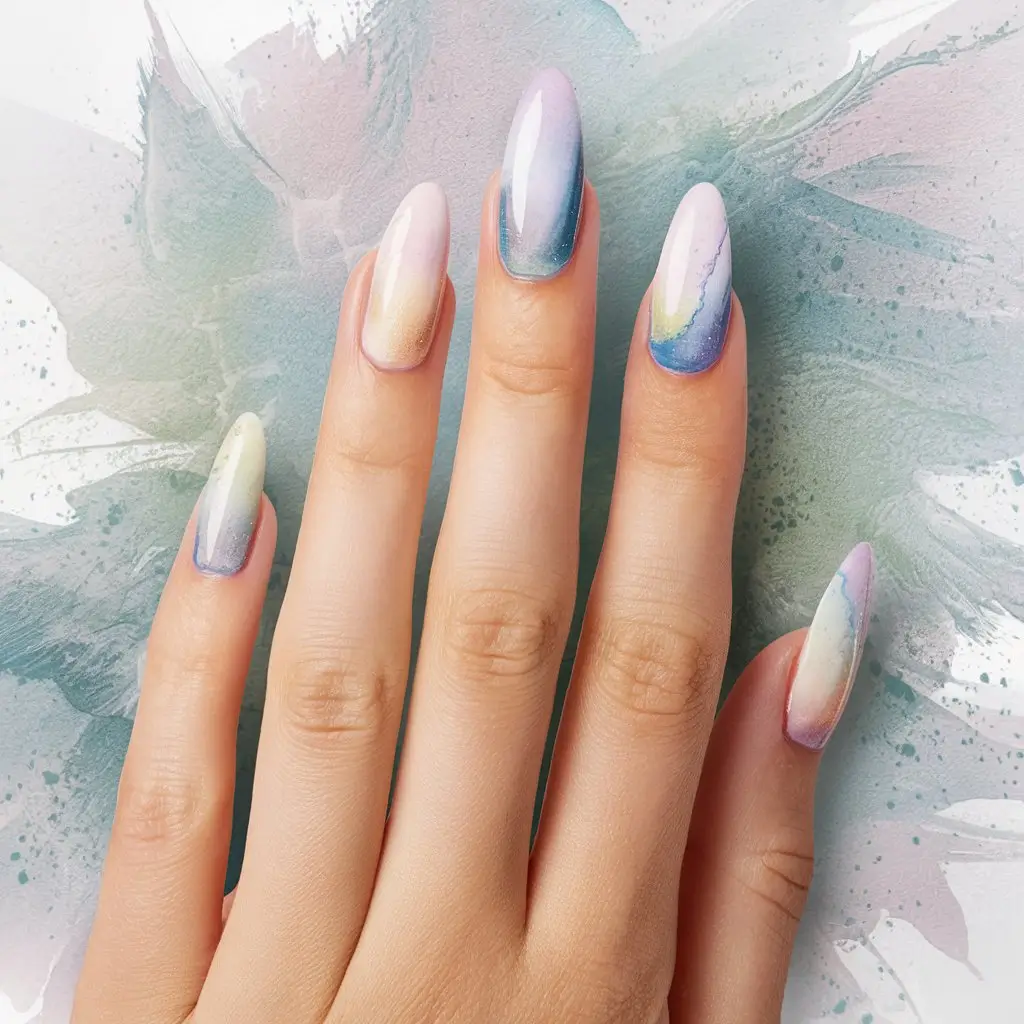
I love the soft look of watercolor almond nails. To create this look, I start with a clear or light-colored base. Then, I add splashes of pastel colors, blending them gently for a dreamy effect.
This style often resembles a delicate watercolor painting. It’s perfect for anyone looking for a subtle yet artistic manicure. It’s one of my favorite summer designs.
14: Chrome Almond Tips
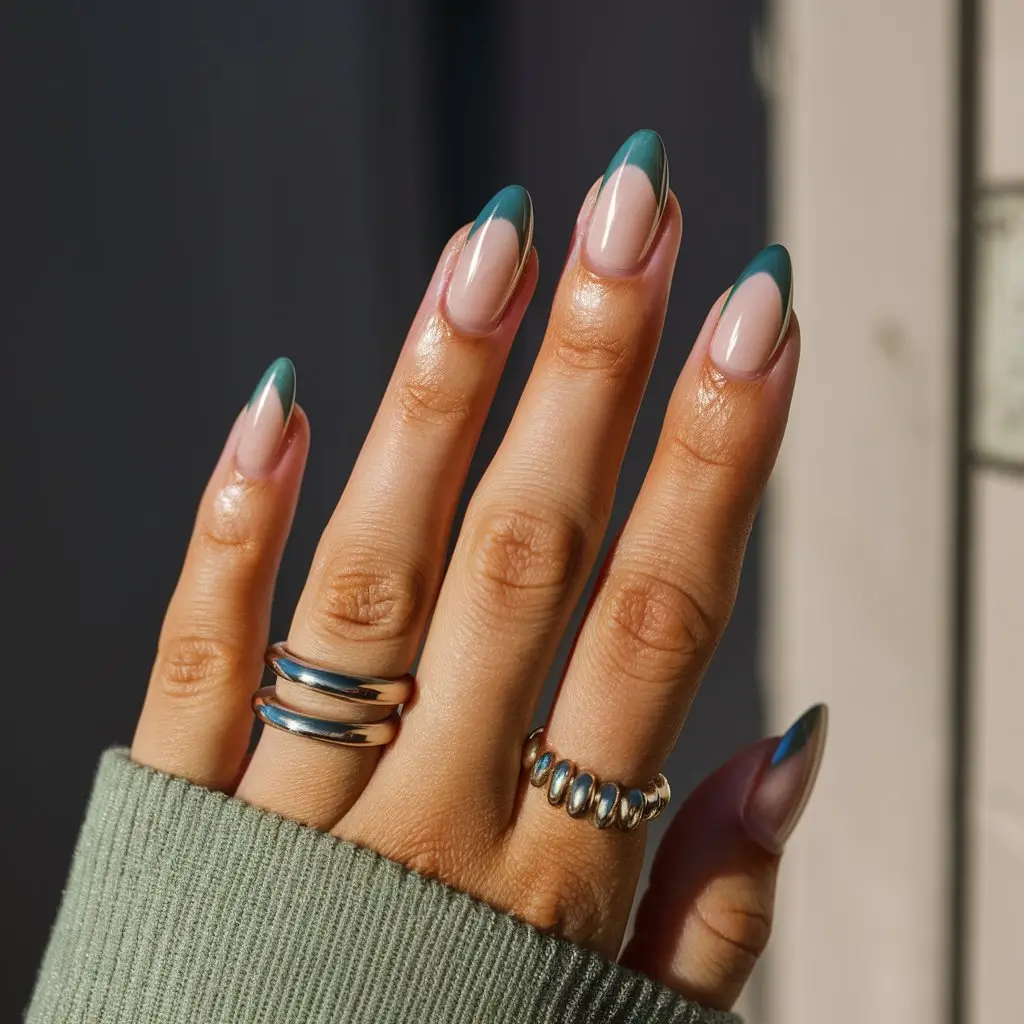

Chrome almond tips look sleek and stylish. I love how the chrome effect makes nails shimmer and shine. This design is perfect for a polished and modern summer look.
Start with a utility green or neutral base to achieve chrome almond tips. Carefully apply chrome powder for a mirror-like finish. The shine catches light beautifully, making your nails stand out.
Adding 3D blob accents can give the nails an extra dimension. Keep the design simple yet eye-catching. This nail art can easily transition day to night, making it versatile for any summer occasion.
15: Stripes and Almonds
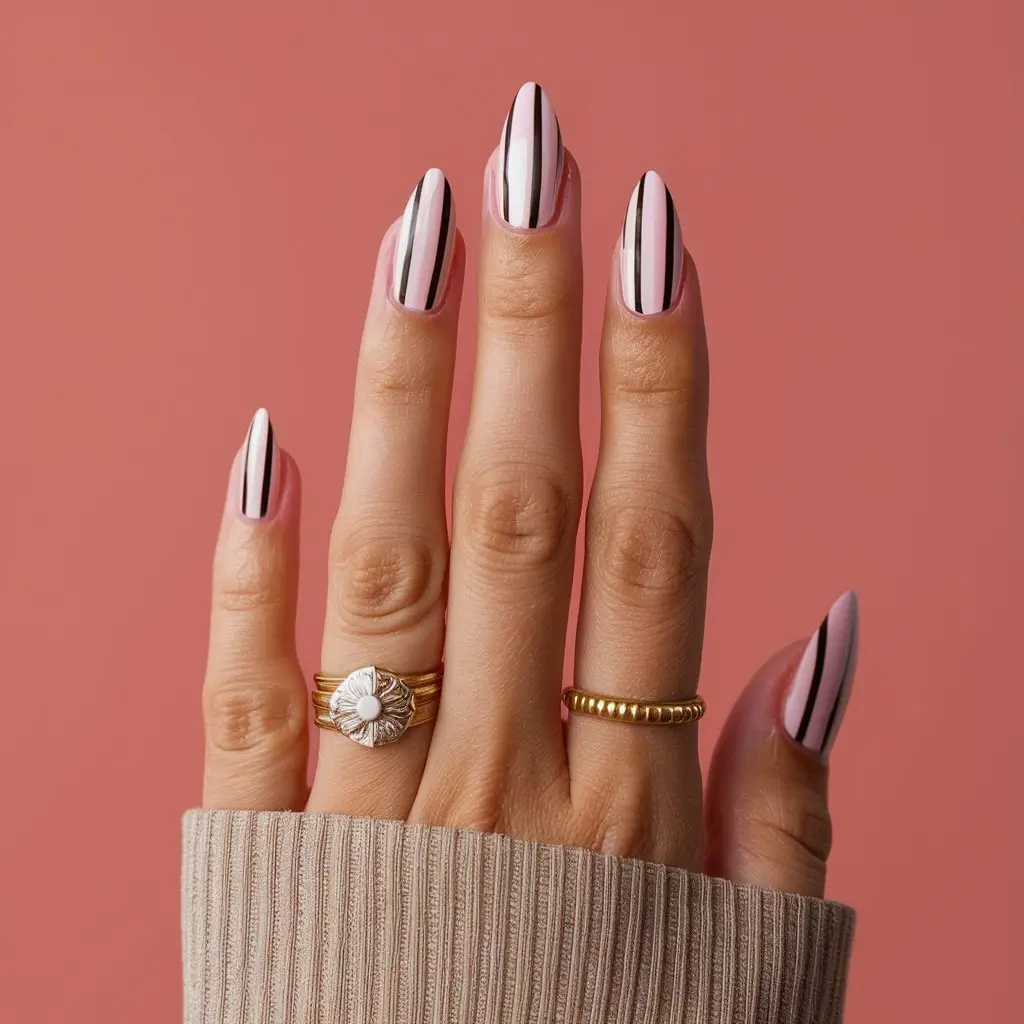
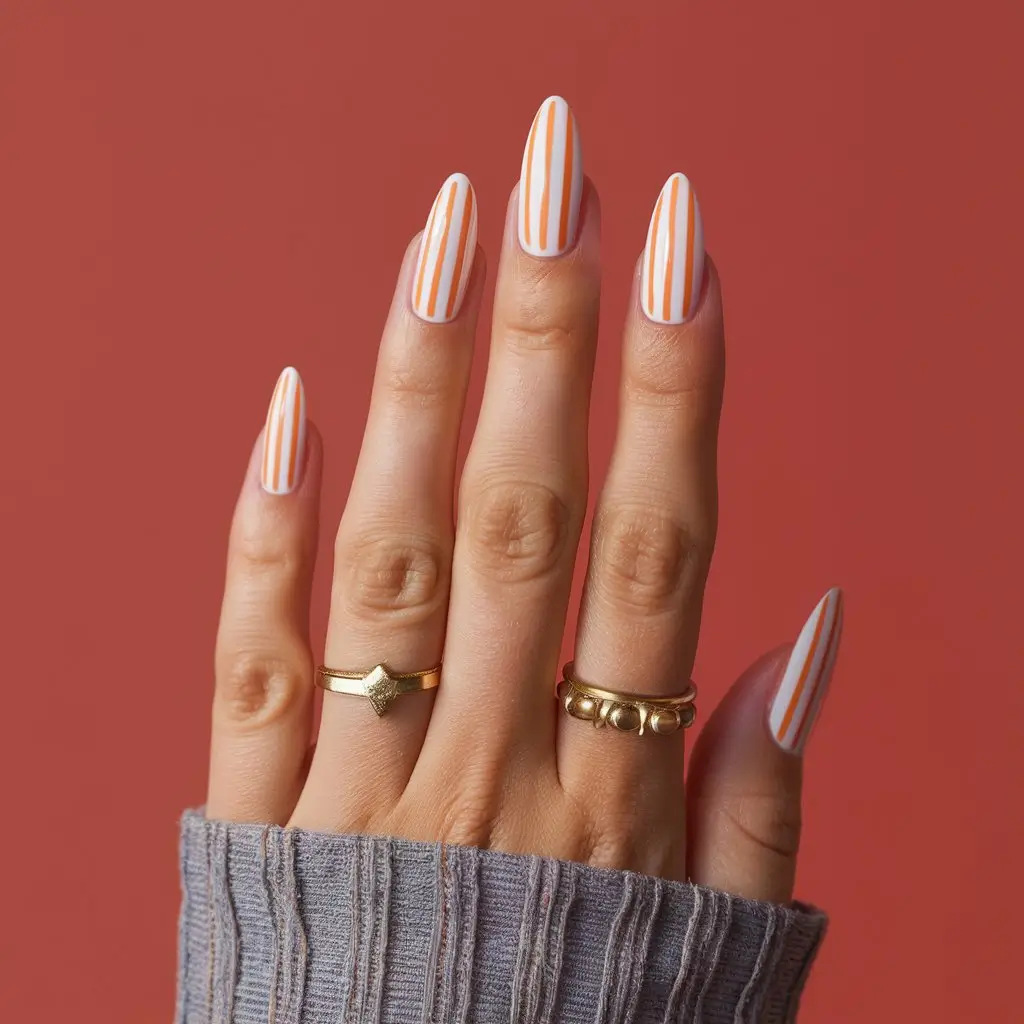
I love combining stripes with almond-shaped nails for a chic look. Stripes add a fun, bold touch.
Vertical stripes can elongate the appearance of my nails. I often go for thin, precise stripes in contrasting colors.
Horizontal stripes can create a more casual, playful vibe. They offer a simple yet eye-catching design.
Almond Nail Art Tips & Tricks
For flawless almond nail art, use high-quality tools and practice precision. Keep your nails healthy and hydrated.
Almond nail art has gained popularity due to its elegant and feminine shape. The almond shape elongates the fingers and provides a perfect canvas for creative designs.
Whether you prefer minimalist styles or intricate patterns, almond nails offer versatility. Start by ensuring your nails are in good condition.
Regular moisturizing and proper nail care prevent breakage and maintain strength. Using quality nail tools and products can make a significant difference in achieving professional-looking results.
Experiment with different techniques and colors to find what suits your style best. Your almond nail art can look stunning and unique with patience and practice, reflecting your personality and creativity.
Choosing The Right Almond Shape
Almond nails are a timeless and elegant style, perfect for any occasion. Their elongated shape resembles an almond, which gives fingers a slender and graceful look.
Choosing the right almond shape is crucial for achieving the perfect nail art. Here are some expert tips and tricks to help you find the ideal almond nail shape.
Consider Your Natural Nail Shape
Your natural nail shape plays a significant role in determining the right almond shape. If you have wide nail beds, opt for a more tapered almond shape to create a balanced look.
A softer and less pointed almond shape works best for narrow nail beds.
Assess Your Finger Length
Finger length is another important factor. Short fingers benefit from a more elongated almond shape to create the illusion of length, while long fingers effortlessly pull off both subtle and dramatic almond shapes.
Think About Your Lifestyle
Consider your daily activities before choosing the almond shape. A highly pointed almond shape may not be practical for those with an active lifestyle.
A rounded almond shape offers more durability and is less prone to breaking.
Match With Your Personal Style
Your personal style should reflect in your nail shape. A bold and edgy style might call for a more pointed almond shape. For a classic and sophisticated look, a softer almond shape is ideal.
Use The Right Tools
Using the right tools ensures you achieve the perfect almond shape. Here are some must-have tools:
- Nail file: To shape and smooth the edges.
- Buffer: For a polished finish.
- Nail clippers: To trim nails to the desired length.
Follow Step-by-step Shaping Guide
- Trim your nails to the desired length.
- Use a nail file to create an oval shape.
- File the sides gradually to form a taper.
- Smooth the tip to achieve the almond shape.
- Buff the surface for a polished look.
Common Mistakes To Avoid
When shaping almond nails, avoid these common mistakes:
- Over-filing: This can weaken the nails.
- Uneven shapes: Keep both hands symmetrical.
- Skipping the buffer: Always buff for a smooth finish.
Almond Nail Art Inspirations
| Style | Description |
|---|---|
| Minimalist | Simple designs with neutral colors. |
| Glamorous | Bold colors with glitter and gems. |
| Floral | Delicate flowers painted on each nail. |
Prepping Your Nails
Almond nail art is a trendy and elegant way to enhance your nails. Prepping your nails is crucial to achieving the perfect almond shape and beautiful designs.
Proper preparation ensures that your nail art lasts longer and looks professional. Let’s explore some essential tips and tricks for getting your nails ready for stunning almond nail art.
1. Clean Your Nails Thoroughly
Start by washing your hands with soap and water. Use a nail brush to scrub under your nails. Remove any old nail polish with a gentle, acetone-free remover. Clean nails provide a smooth canvas for your art.
2. Shape Your Nails
Use a high-quality nail file to shape your nails into an almond form. File the sides of your nails at an angle. Create a soft, rounded tip that resembles an almond. Be gentle to avoid damaging your nails.
3. Push Back Your Cuticles
Soak your nails in warm water for a few minutes. Use a cuticle pusher to push back your cuticles gently. Avoid cutting your cuticles, as this can lead to infections. Well-managed cuticles create a neat look.
4. Buff Your Nails
Buffing your nails helps to create a smooth surface. Use a nail buffer to polish the top of your nails gently. Buffing removes ridges and enhances the adhesion of nail polish. Avoid over-buffing to prevent thinning your nails.
5. Apply A Base Coat
A base coat is essential for protecting your nails. Apply a thin layer of base coat to your nails. This helps to prevent staining and strengthens your nails. Wait for the base coat to dry completely before moving on.
6. Moisturize Your Hands And Nails
After prepping your nails, keep your hands and nails hydrated. Use a good-quality hand cream or nail oil. Moisturized nails are less prone to breakage and look healthier. Make this a regular part of your nail care routine.
| Steps | Tools Needed |
|---|---|
| Clean Your Nails | Soap, water, nail brush, acetone-free remover |
| Shape Your Nails | Nail file |
| Push Back Your Cuticles | Warm water, cuticle pusher |
| Buff Your Nails | Nail buffer |
| Apply a Base Coat | Base coat polish |
| Moisturize | Hand cream, nail oil |
Creating A Solid Base
Almond nails are elegant and trendy. They elongate fingers and offer a perfect canvas for nail art. But, to achieve stunning almond nail art, you must start with a solid base.
This ensures your designs last longer and look professional. Here are some essential tips and tricks for creating a strong foundation for almond nail art.
1. Clean Your Nails Thoroughly
Start by cleaning your nails. Remove any old polish with a gentle, acetone-free remover. Wash your hands with soap and warm water to remove oils and dirt.
Dry your nails completely before proceeding to the next step.
2. Shape Your Nails
Using a nail file, shape your nails into an almond shape. File from the sides to the center in one direction. Avoid sawing back and forth to prevent splitting.
Aim for a smooth, even shape that tapers to a rounded point.
3. Buff The Nail Surface
Buff your nails lightly to create a smooth surface. Use a buffer block to remove ridges and shine the nail. This helps the polish adhere better and last longer.
4. Apply A Base Coat
Apply a thin layer of base coat to your nails. A base coat protects your nails from staining and strengthens them. Let the base coat dry completely before applying any color or design.
5. Moisturize Your Cuticles
Healthy cuticles are key for a neat look. Apply cuticle oil or cream to keep them soft and hydrated. Push back your cuticles gently with a cuticle pusher. This creates more space for your nail art.
6. Use Primer For Longer Lasting Art
Consider using a nail primer if you want your art to last even longer. A primer helps the polish bond better to the nail. Apply a small amount and let it dry before painting your nails.
| Step | Action |
|---|---|
| 1 | Clean Nails |
| 2 | Shape Nails |
| 3 | Buff Surface |
| 4 | Apply Base Coat |
| 5 | Moisturize Cuticles |
| 6 | Use Primer |
- Clean your nails to remove oils and dirt.
- Shape your nails to a smooth almond form.
- Buff the surface for a smooth finish.
- Apply a base coat to protect and strengthen.
- Moisturize your cuticles for a neat look.
- Use a primer for longer-lasting art.
Mastering The Almond Shape
Almond nails are a timeless and elegant choice, perfect for those seeking a sophisticated look. Mastering the almond shape can seem challenging, but you can achieve salon-quality results at home with the right tips and tricks.
This section will guide you through the process, ensuring your almond nails are always flawless.
Choosing The Right Tools
Invest in a quality nail file with fine grit. A 240-grit file works best for shaping almond nails. A buffer to smooth edges and a cuticle pusher for a clean nail bed is also essential.
Shaping The Nail
Begin by filing the sides of your nails. File in one direction to avoid splitting. Focus on achieving a tapered look.
Next, round the tip of the nail to form a soft point. This creates the almond shape. Be gentle to avoid over-filing.
Smoothing The Edges
Use a buffer to smooth out any rough edges. This ensures a polished finish. Buff in one direction to maintain the nail’s integrity.
Strengthening The Nails
Almond nails can be prone to breakage. Apply a strengthening base coat before polishing. This adds durability and helps prevent chips.
Maintaining The Shape
- Regularly file and buff your nails to keep the almond shape.
- Use cuticle oil daily to nourish and strengthen your nails.
- Avoid using your nails as tools to prevent damage.
Expert Tips
Tip 1: Always file nails when they are dry. Wet nails are more prone to splitting.
Tip 2: Use a nail hardener to add extra strength to your nails.
Tip 3: Consider regular manicures to maintain the perfect almond shape.
| Tools Needed | Description |
|---|---|
| Nail File | 240-grit file for precise shaping |
| Buffer | Smooths and polishes edges |
| Cuticle Pusher | Prepares nail bed for shaping |
Caring For Almond Nails
Almond nails are elegant and stylish, but maintaining their beauty requires special care. Caring for almond nails ensures they remain strong and healthy.
Follow these tips and tricks to keep your almond nails in top condition.
Moisturize Your Cuticles
Moisturizing your cuticles is essential for healthy almond nails. Dry cuticles can lead to hangnails and infections. Follow these steps to keep your cuticles hydrated:
- Use cuticle oil daily to nourish and soften your cuticles.
- Apply hand cream after washing your hands to lock in moisture.
- Soak your nails in warm water with a few drops of olive oil for 10 minutes once a week.
- Avoid cutting your cuticles; gently push them back with a cuticle pusher.
Here is a simple table to help you remember the key moisturizing steps:
| Step | Description |
|---|---|
| Daily | Apply cuticle oil and hand cream |
| Weekly | Soak nails in warm water with olive oil |
| As Needed | Gently push back cuticles |
Protect Your Nails From Damage
Protecting your almond nails from damage is crucial. Here are some practical tips:
- Wear gloves when doing household chores to avoid chemicals and water exposure.
- Avoid using your nails as tools to open cans or scratch surfaces.
- Trim your nails regularly to maintain their shape and prevent breakage.
- File your nails in one direction to reduce the risk of splitting.
Follow these steps to ensure your almond nails remain strong and beautiful:
- Use a nail strengthener to reinforce your nails.
- Apply a base coat before nail polish to protect your nails from staining.
- Use a top coat to seal and protect your nail art designs.
Remember, healthy nails are less likely to break or chip. By following these tips, you can enjoy beautiful almond nails every day.
:max_bytes(150000):strip_icc()/292109784_1092781491653130_2909873384968396688_n-a92928e99bc341c5af1ac1029f832712.jpg)

Frequently Asked Questions
How To Get The Perfect Almond Shape Nails?
File nails into a tapered oval shape. Trim edges evenly. Use a fine-grit buffer. Apply a base coat. Finish with polish.
What Type Of Hands Do Almond Nails Look Good On?
Almond nails look good on both slender and wider hands. Their elongated shape creates a balanced, elegant appearance.
How To File Press On Nails To Almond Shape?
Start trimming the sides diagonally to file press-on nails to an almond shape. Round the tips gently and smooth the edges with a file.
How Long Do Nails Have To Be For Almond Shape?
For an almond shape, nails should extend at least 3-5 millimeters past the fingertip. This length allows proper filing.
Conclusion
Mastering almond nail art is fun and rewarding. Use these tips to create stunning designs effortlessly. Experiment, practice, and enjoy the process.
Your nails will thank you! Share your creations and inspire others. Happy nail art journey!

