15+ Stunning Purple Nail Designs: Style with Bold Elegance
Purple nail designs offer stunning choices for elevating one’s manicure game. Purple’s versatility suits various styles, from royal and luxurious to fun and trendy.
Choosing the perfect purple nail design can make a bold statement or add a subtle touch of elegance to your look.

In this article, I will introduce you to various purple nail designs that cater to different tastes and occasions.
Whether you prefer intricate nail art or a simple, clean finish, many creative ideas will inspire your next manicure.
1: Lavender Ombre Pointers
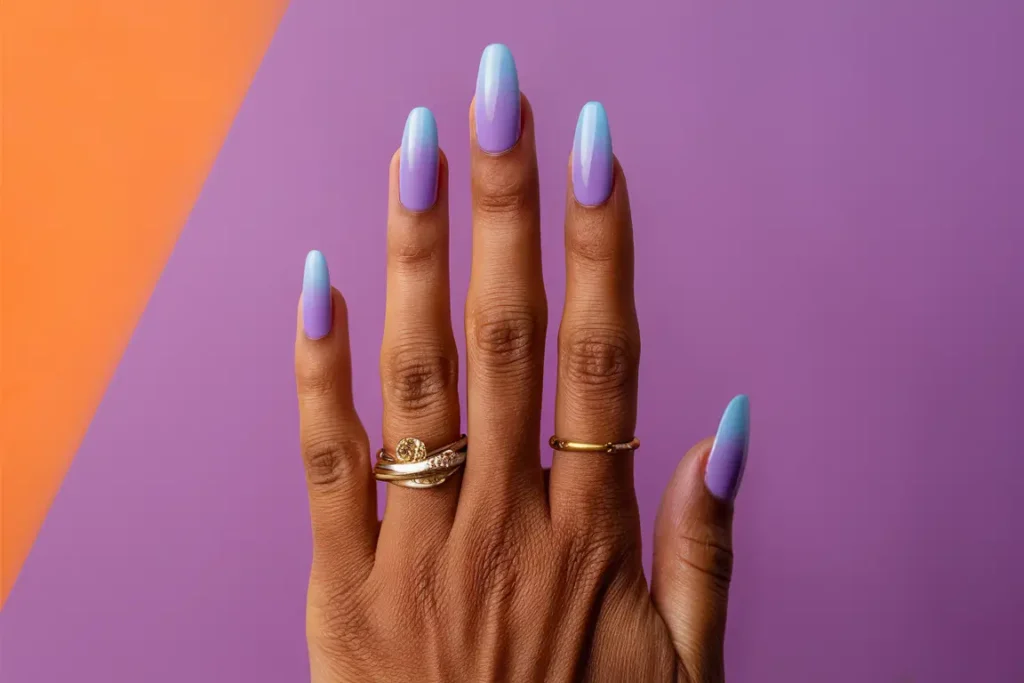
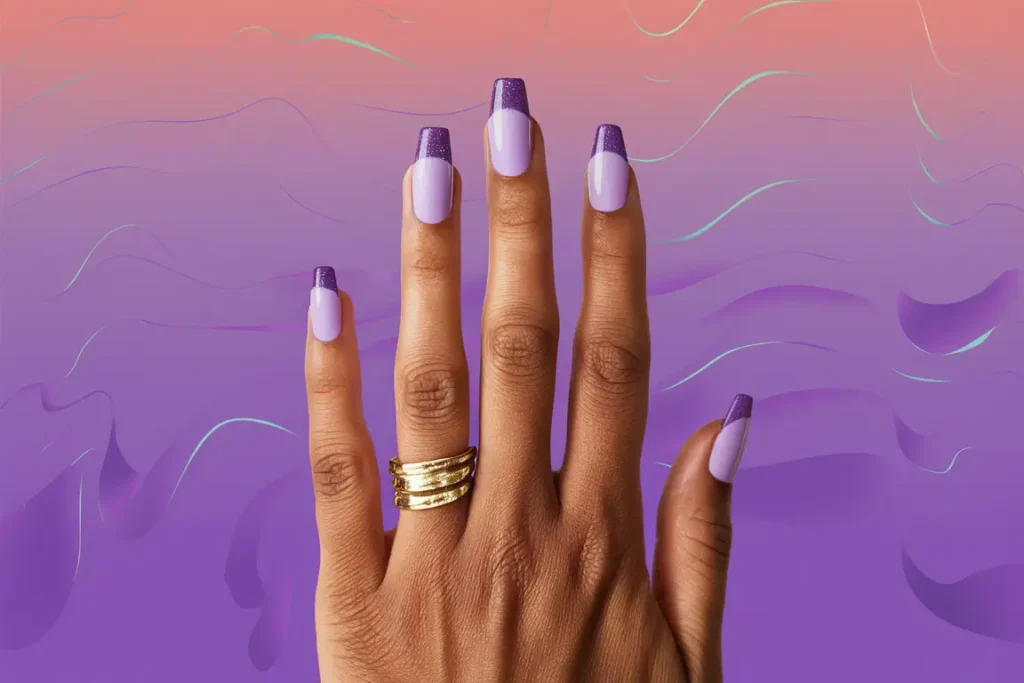
Lavender ombre nails are a beautiful way to add a soft, feminine touch to any look. I always start with a light purple base. This sets the stage for a smooth gradient.
I use a makeup sponge to apply a darker purple to the tips. Dabbing gently helps achieve a seamless blend. A glitter finish can add a bit of sparkle.
2: Purple Glitter Gradient
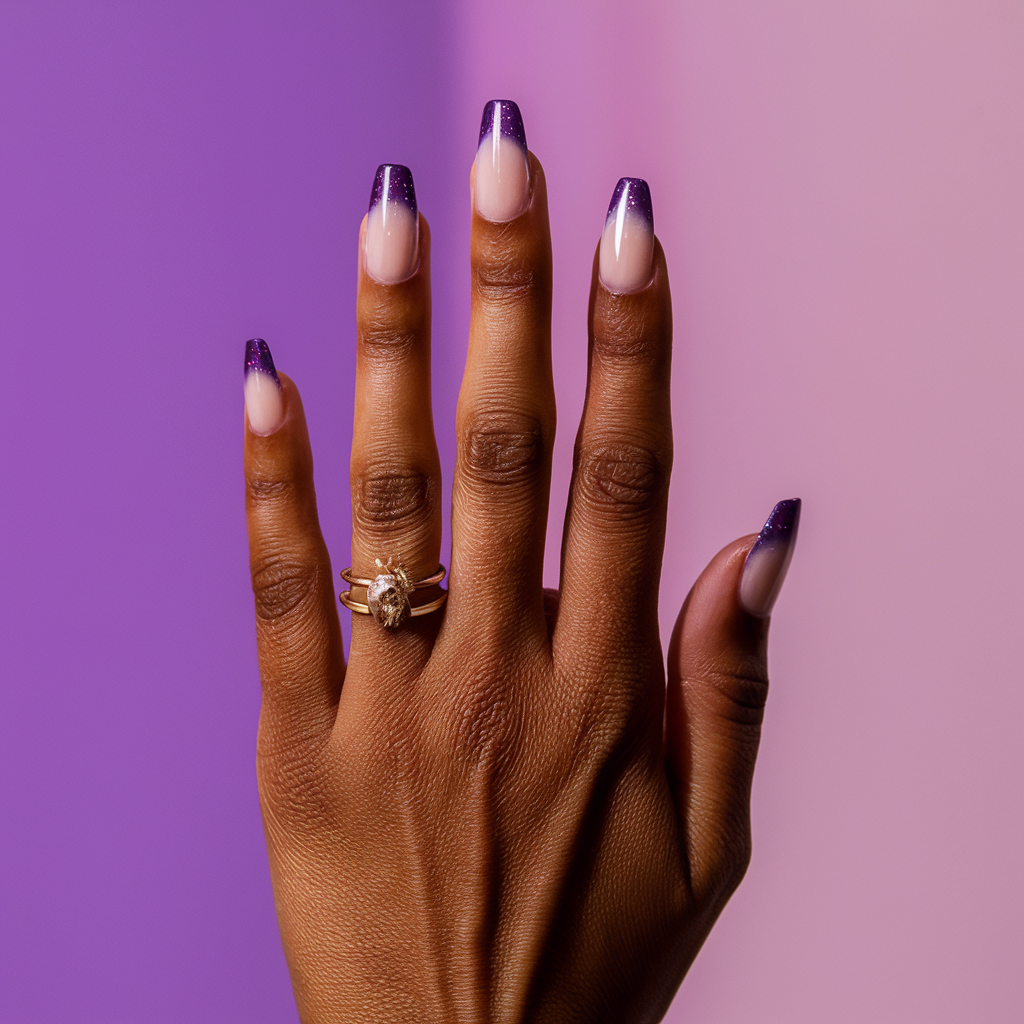
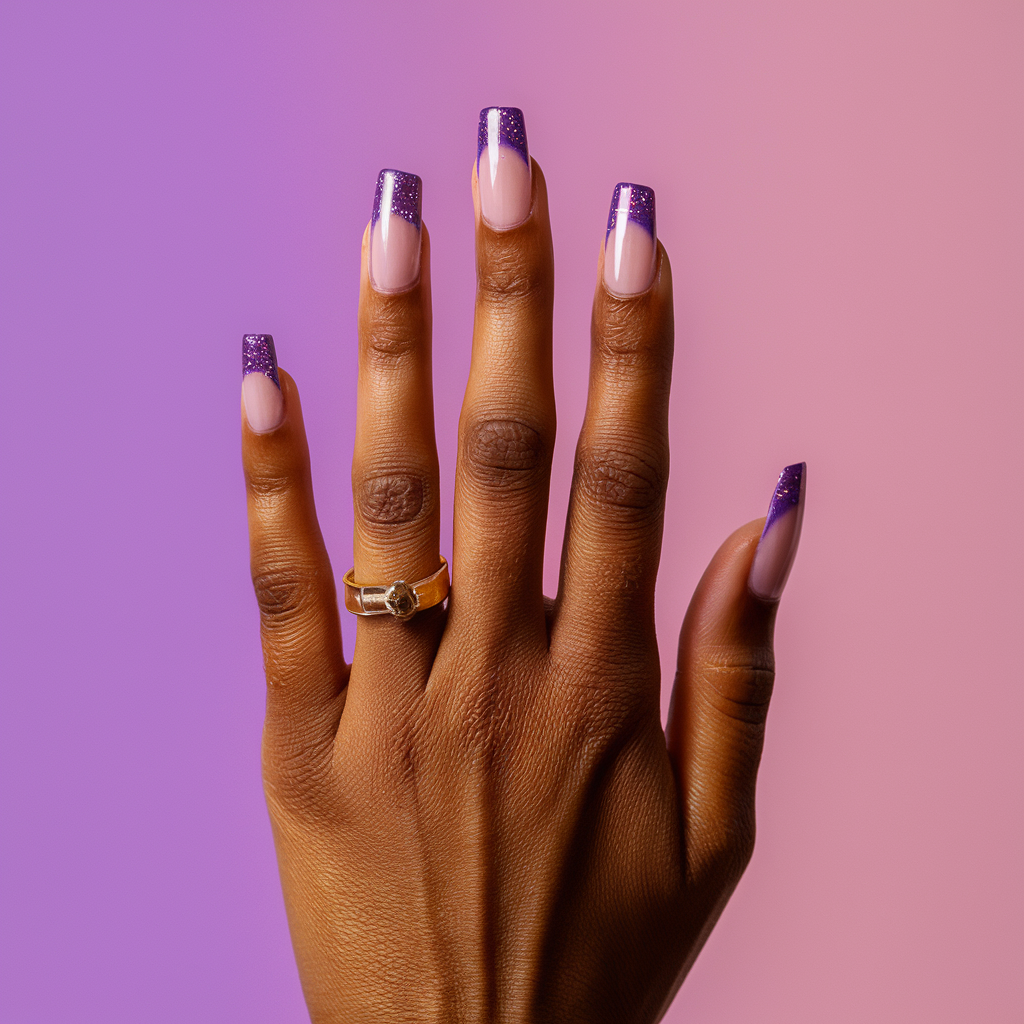
I start with a light purple base to create a Purple Glitter Gradient. I let it dry completely before applying a darker purple polish to a makeup sponge. I then dab the sponge on the tips of my nails.
Blending the two shades creates a smooth gradient effect. Next, I apply a layer of glitter polish, starting at the tips and fading toward the base.
I finish with a clear top coat to seal and add shine. This design glistens in the light, making it perfect for everyday wear and special occasions.
3: Vibrant Plum Marbling
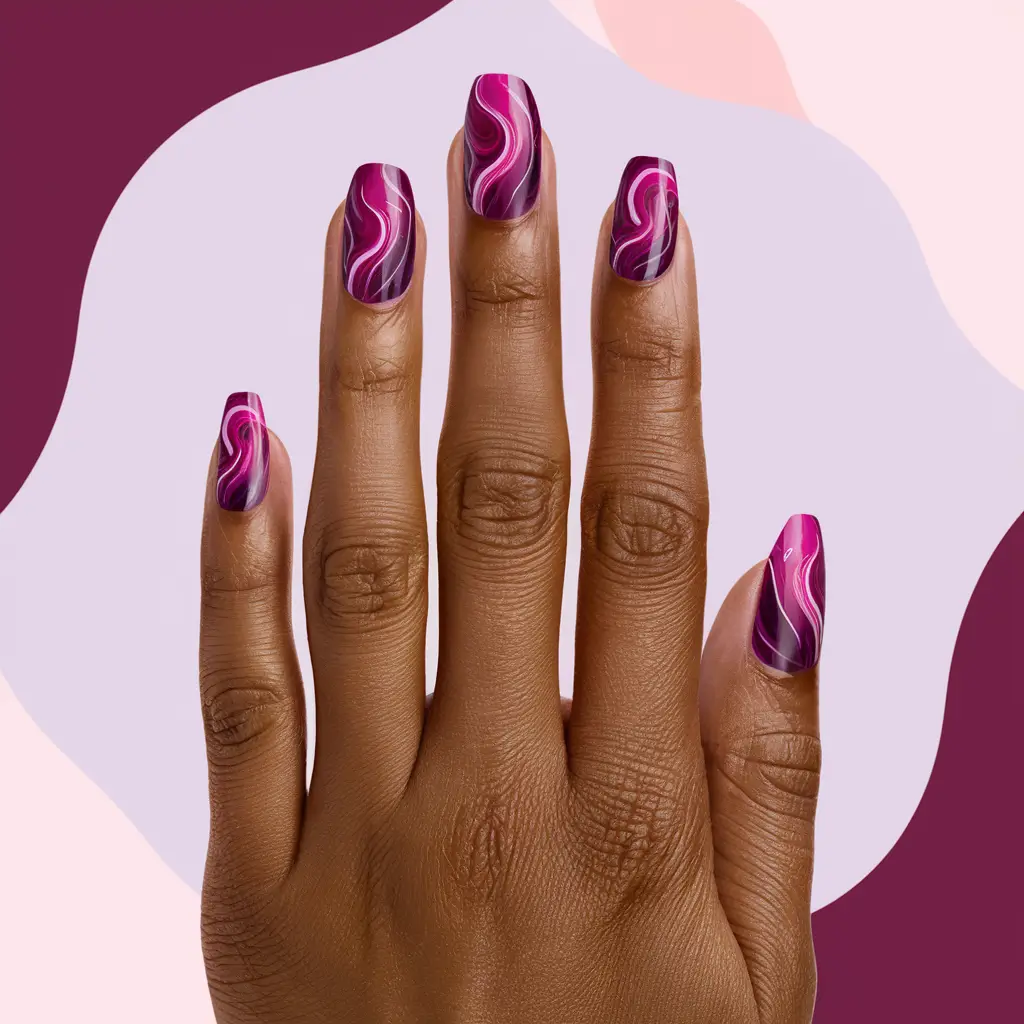
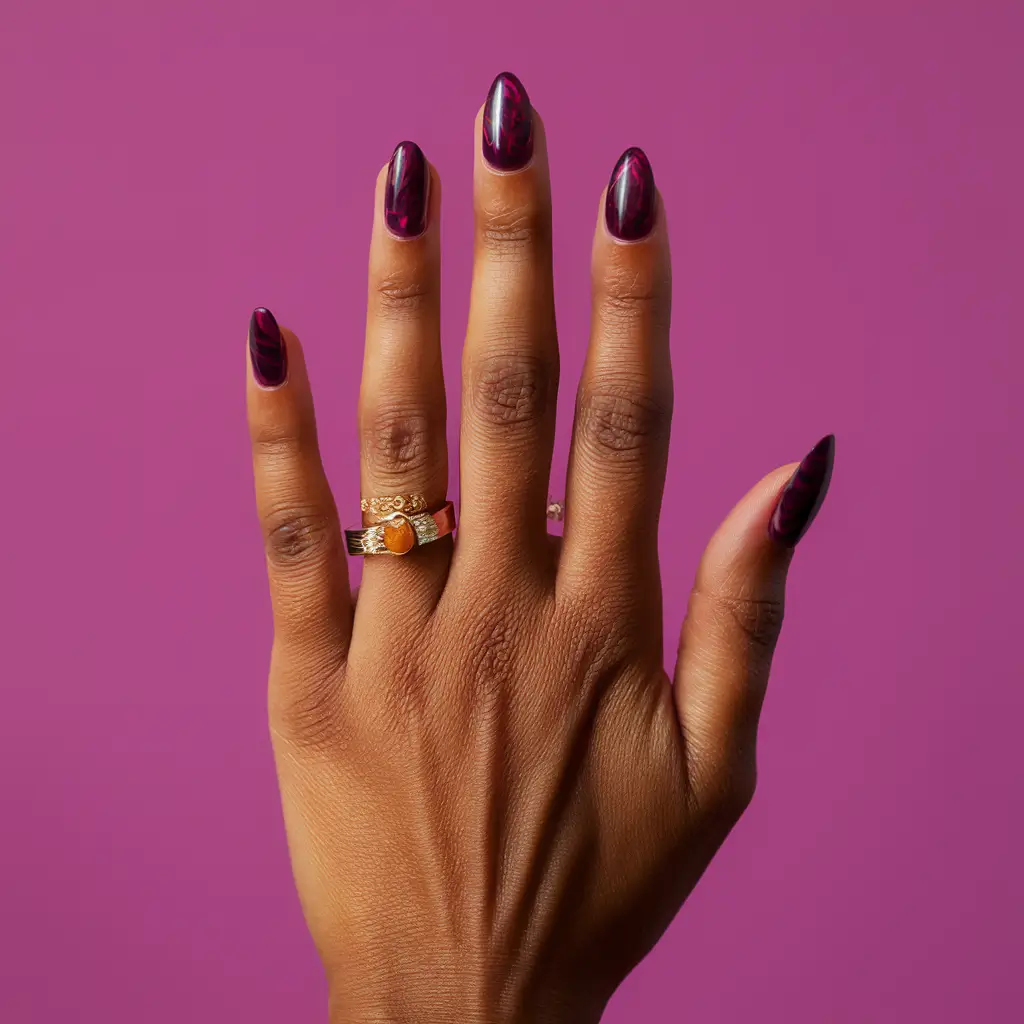
I’ve always been captivated by vibrant plum marbling. It’s a look that combines rich, deep shades of purple with a swirling, artistic pattern. This design can make each nail look like a piece of art.
I start with a deep plum base when creating a vibrant plum marbling effect.
Then, I add lighter hues of purple and white. I use a thin brush to swirl the colors together, creating a marbled look. Sometimes, I add gold foil flakes for a touch of elegance.
This style works well on all nail shapes. Plum marbling gives nails a sophisticated and unique appearance. It’s perfect for both casual and formal events.
Plum marbling is a favorite of mine because of its versatility and chic finish.
4: Matte Lilac Tips
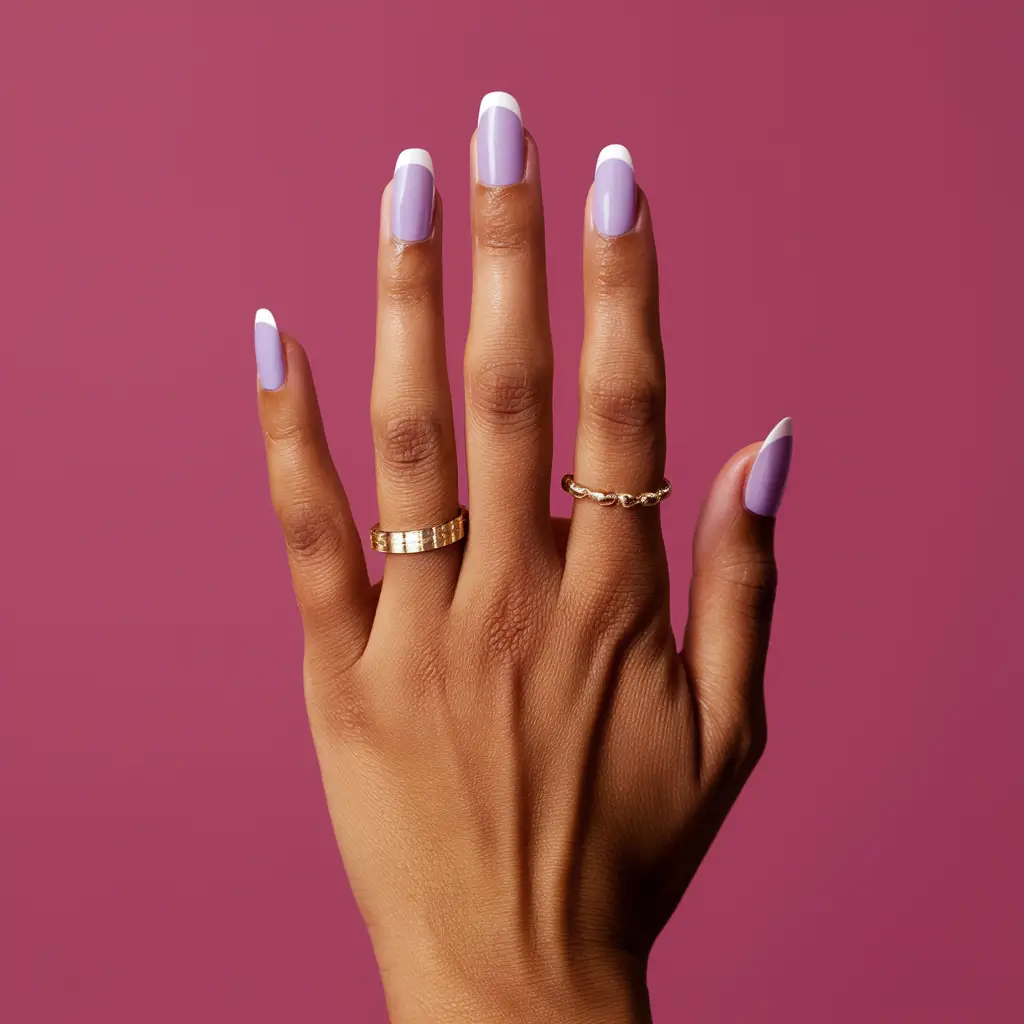
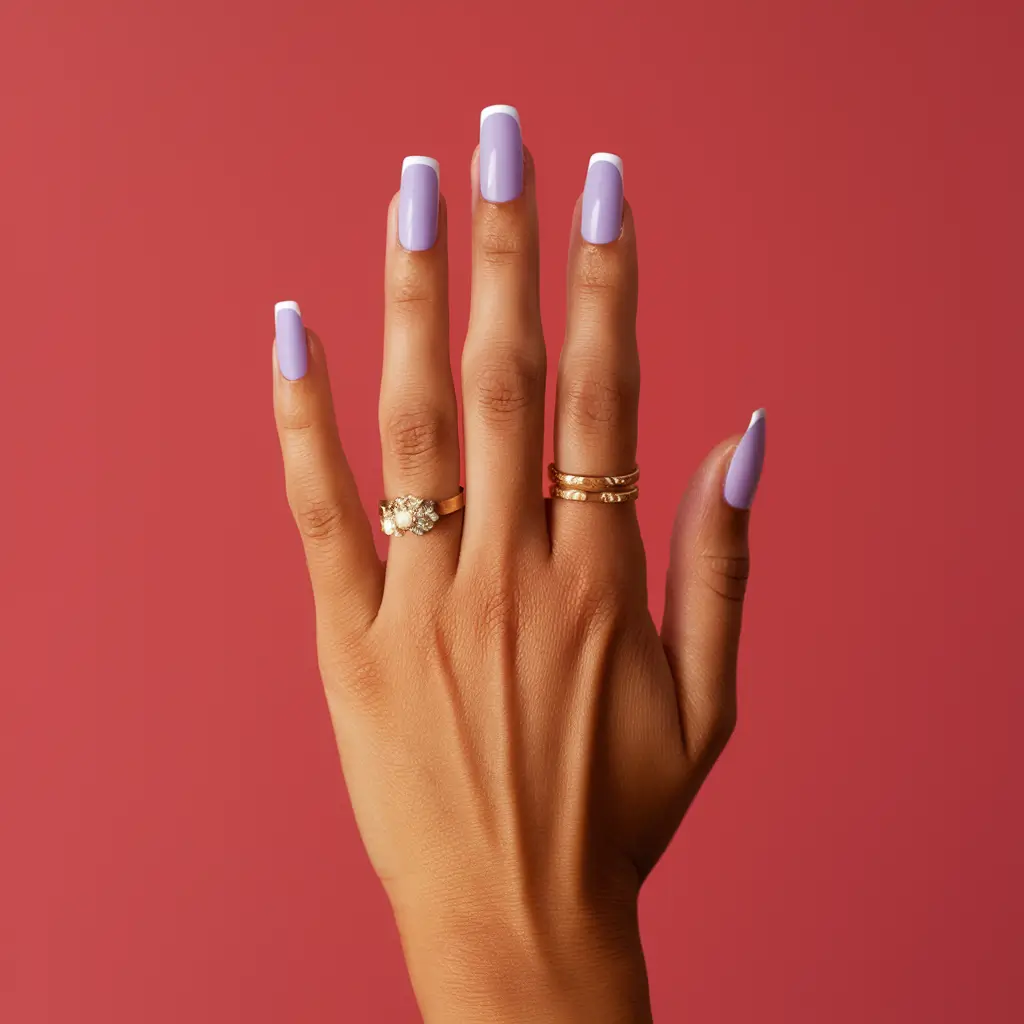
One of my favorite looks is matte lilac tips. The matte finish gives a sophisticated vibe. I like to pair this with a nude base, so the lilac really pops.
For a cleaner look, I use tape to create sharp lines. Matte lilac tips are perfect for both casual and formal settings.
5: Iridescent Violet Sparkle
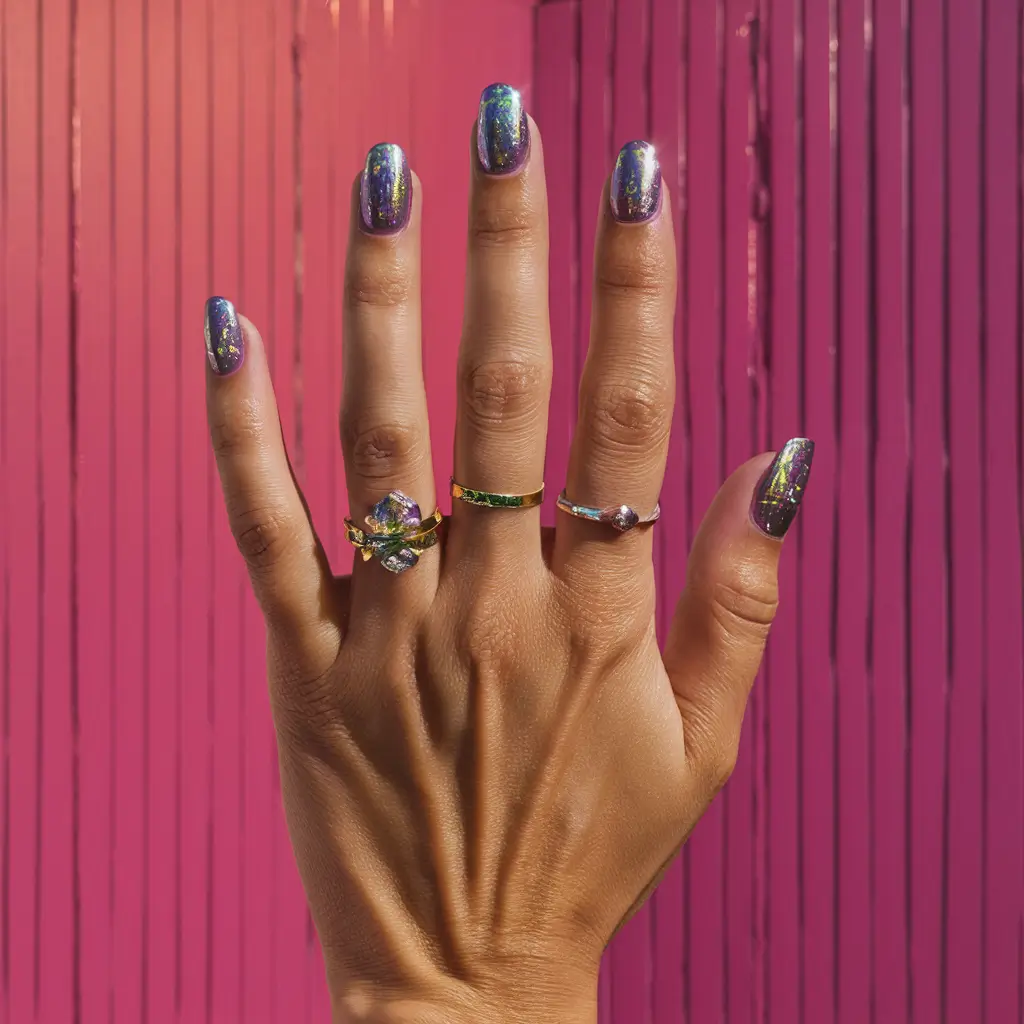

I love using iridescent violet sparkles for a stunning nail design. The way the light catches the shimmering tones is mesmerizing.
These nails combine a deep purple base with iridescent glitter. The glitter adds a magical touch, making each nail look like a piece of art.
Adding a clear top coat enhances the shine and keeps the design lasting longer.
6: Soft Purple Butterflies
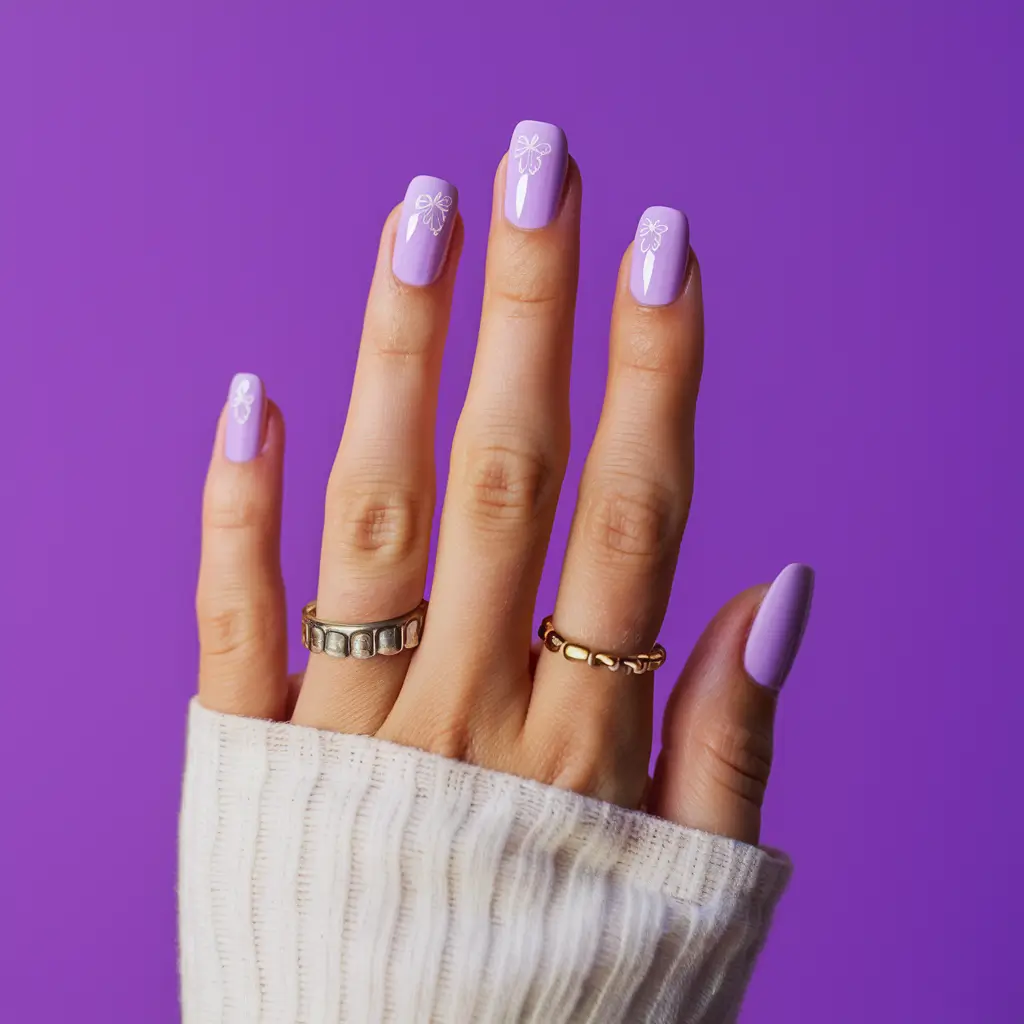
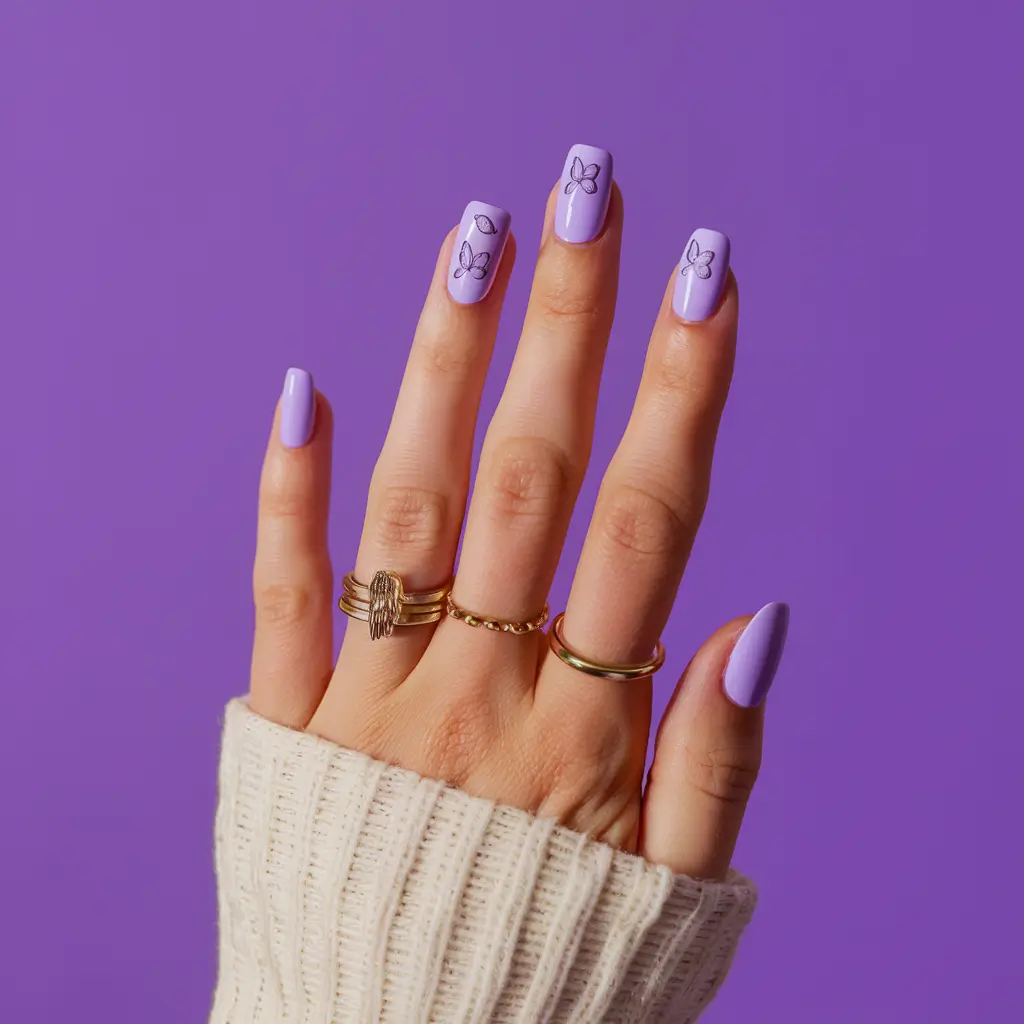
I love the look of soft purple butterflies. It’s both dreamy and pretty. This design uses light purple polish.
To make it even more special, add tiny white butterfly wings. You can use a stamping plate or a thin brush.
This design looks good with any outfit and adds a touch of elegance.
7: Grape Toned French Tips
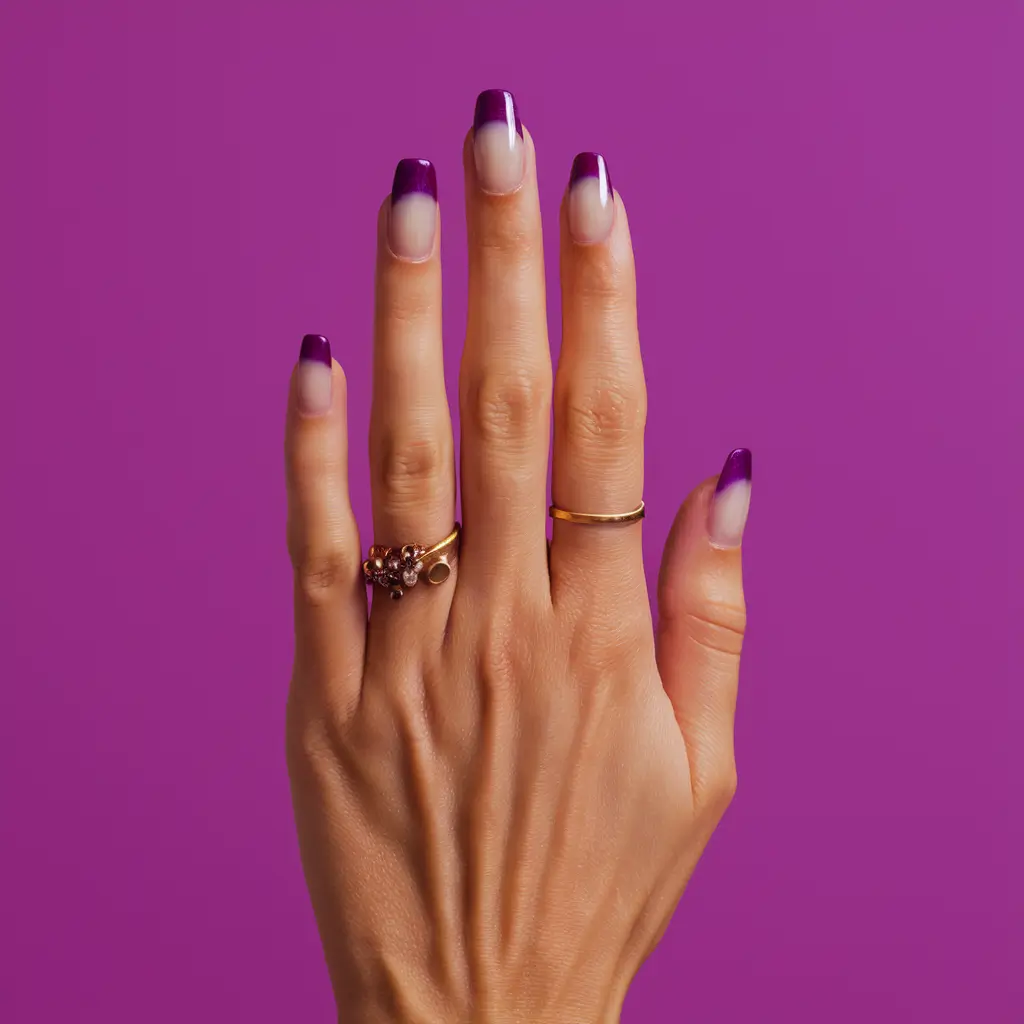
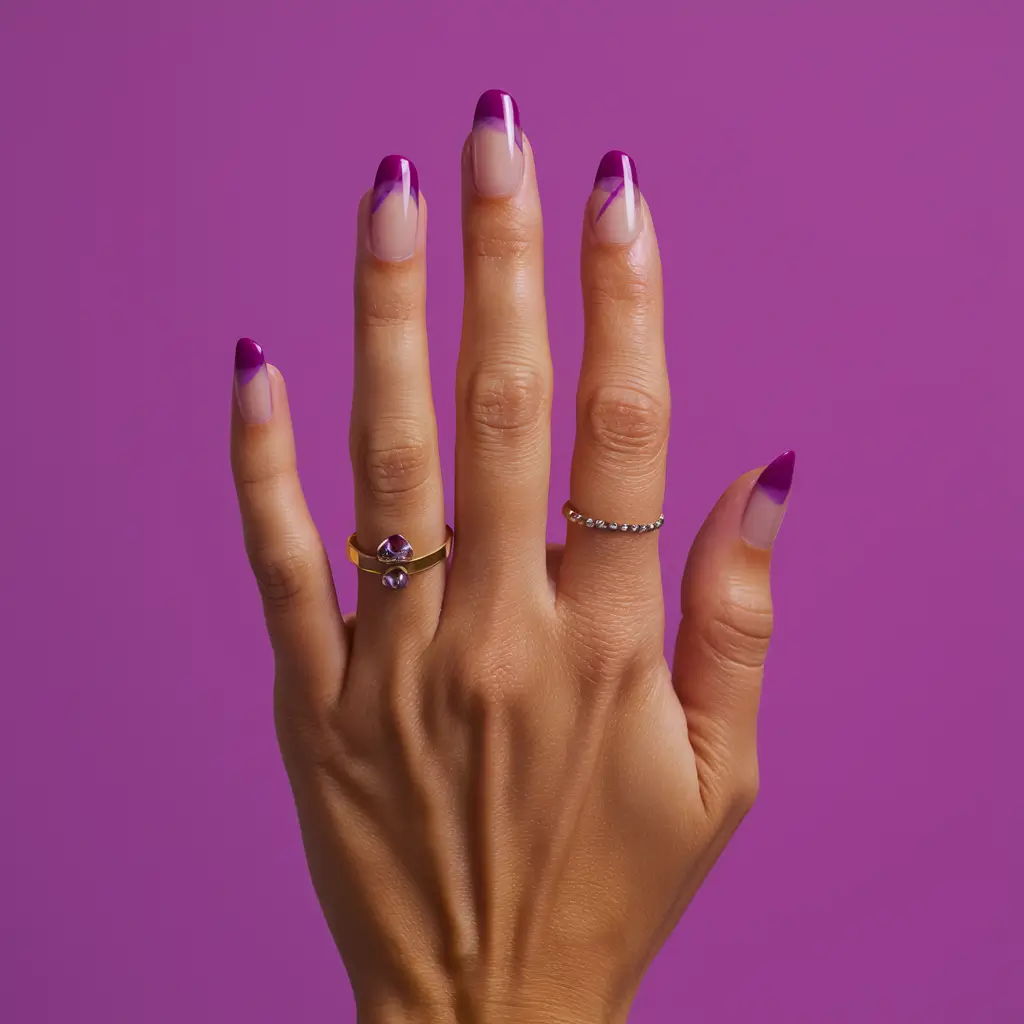
Grape-toned French tips are a stylish twist on the classic look. The deep purple shade adds a pop of color while keeping it elegant.
I like how you can mix and match different nail shapes. Almond, coffin, and stiletto shapes work especially well with this design.
Adding small pearls or glitter can make the grape tones stand out even more, giving your nails a glamorous touch.
8: Royal Purple Stripes
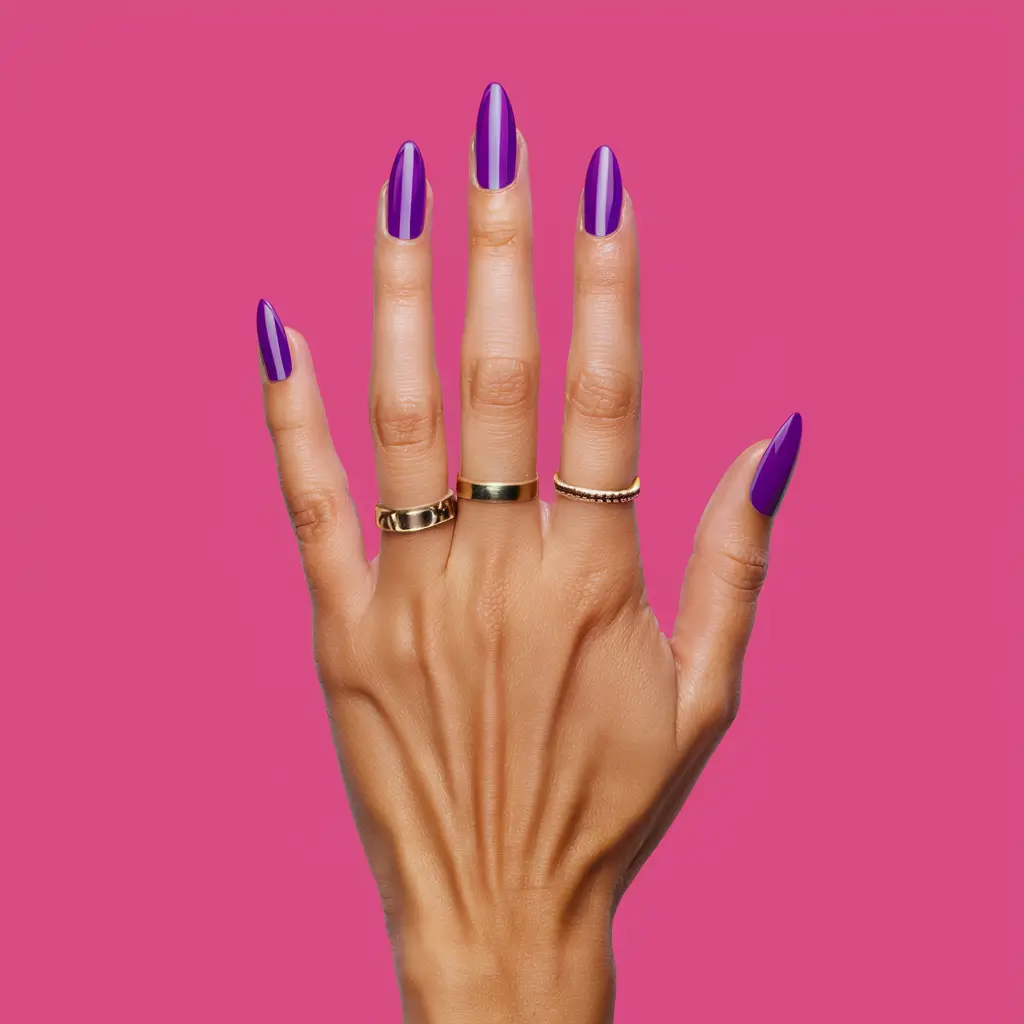
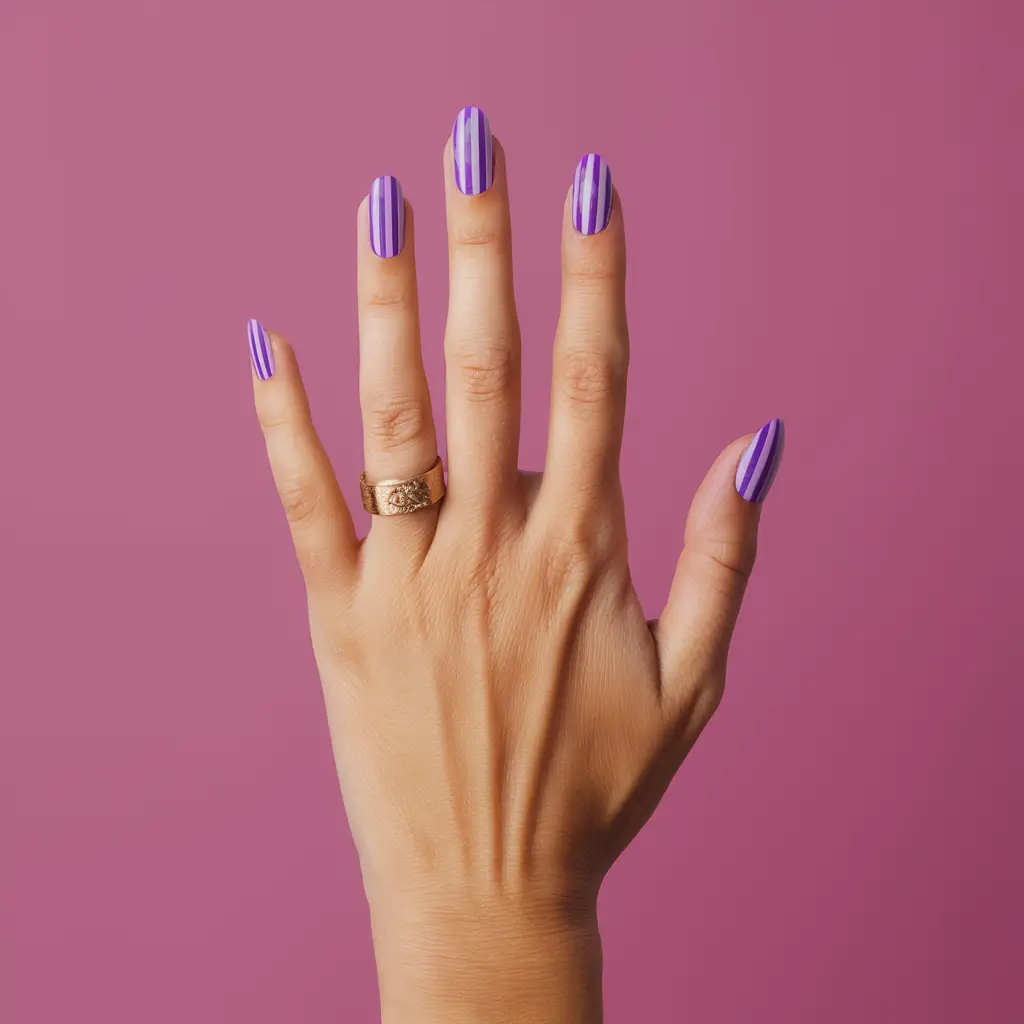
When I want a bold and elegant look, I choose royal purple stripes. The deep purple hue adds a touch of luxury to my nails.
I usually start with a glossy or matte base in a lighter shade of purple. Then, I use a nail art brush to add thin, precise stripes.
9: Amethyst Stone Design
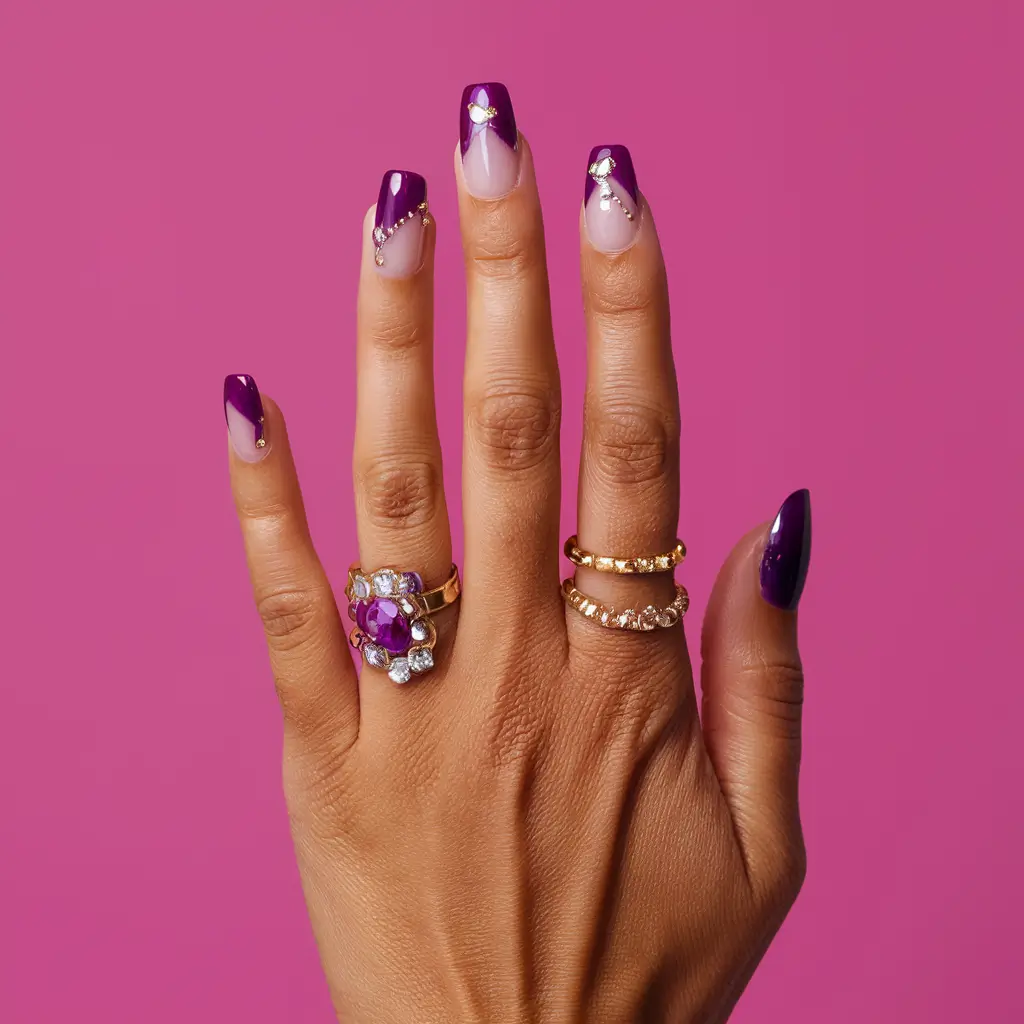
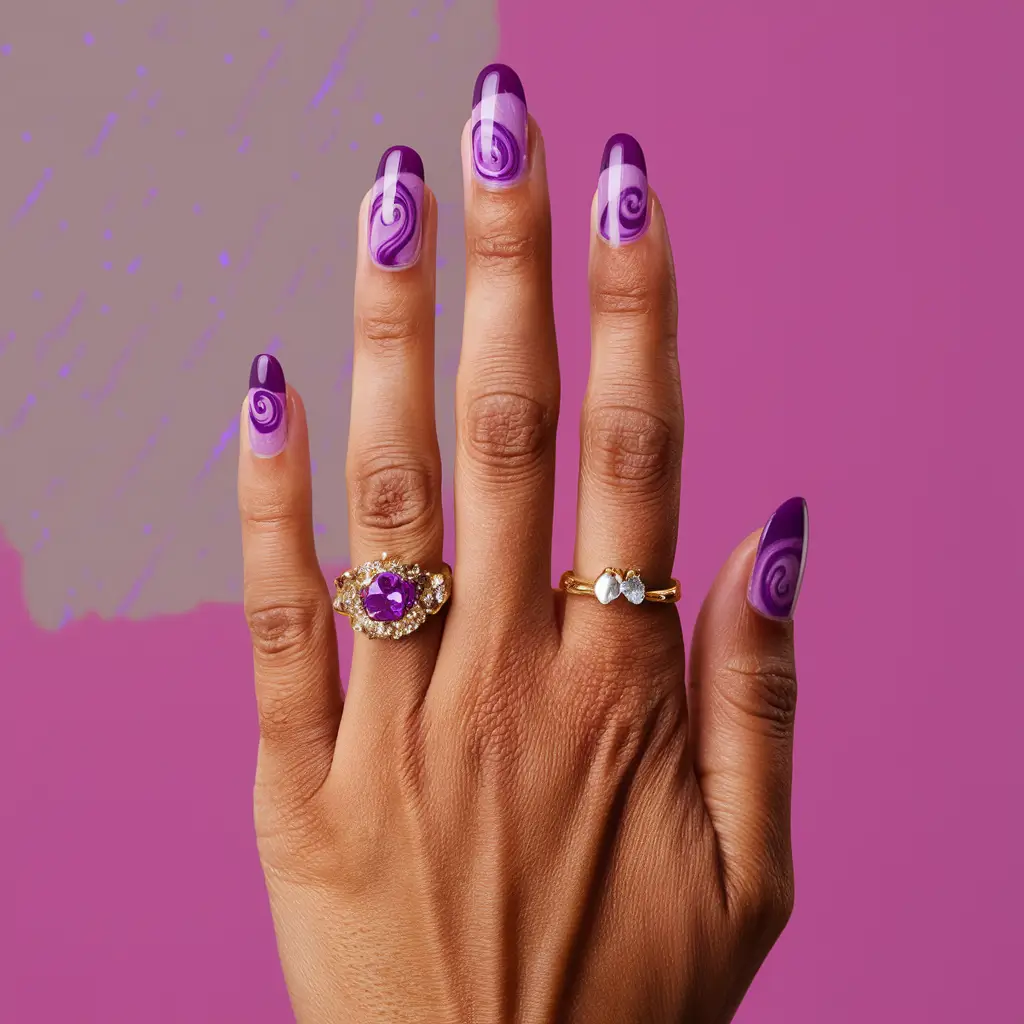
I’ve seen many nail trends, but the Amethyst Stone Design stands out for its unique beauty. This design mimics the look of amethyst gemstones, capturing their deep purples and intricate patterns.
I start with a muted pink or nude base to create this look. Then, I use purple shades to add swirling patterns, mimicking natural amethyst geodes.
Adding small, sparkling gems or glitter can enhance the design further. This extra detail makes the nails shine, resembling real amethyst stones. Experimenting with various shades and patterns can produce stunning results.
10: Deep Purple Metallic

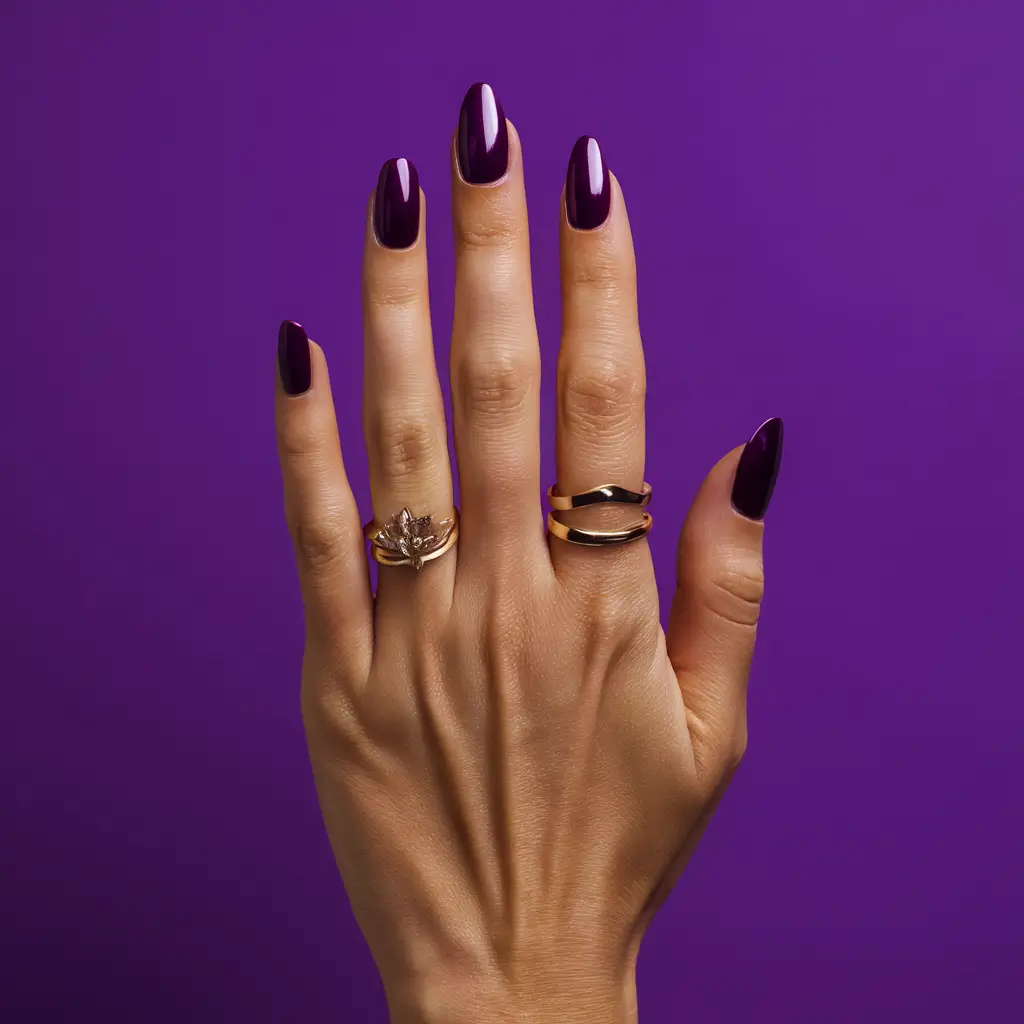
I love the look of deep purple metallic nail polish. It has a rich, bold color that catches the light beautifully. This style is perfect for evenings out or any special occasion.
The metallic finish adds a sleek and modern touch. It pairs well with both casual and formal outfits.
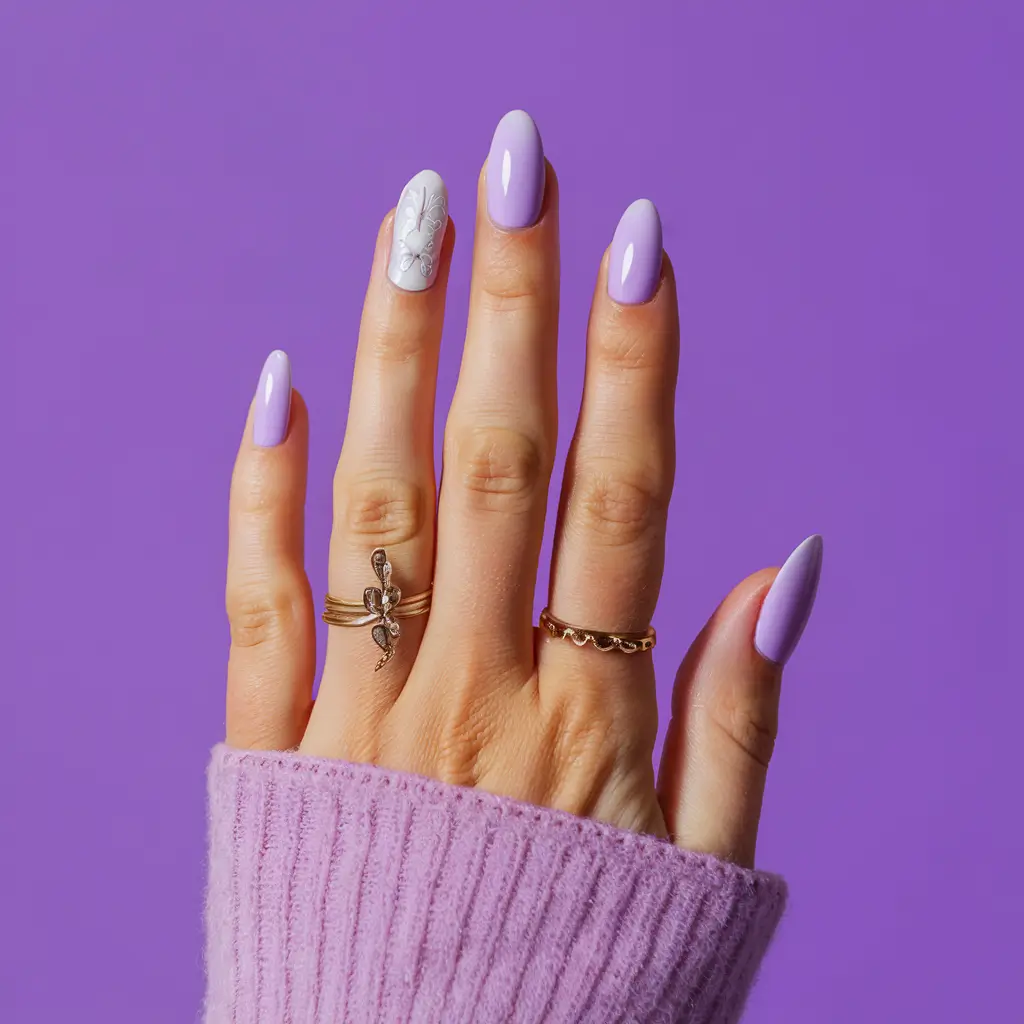
11: Lilac Floral Art
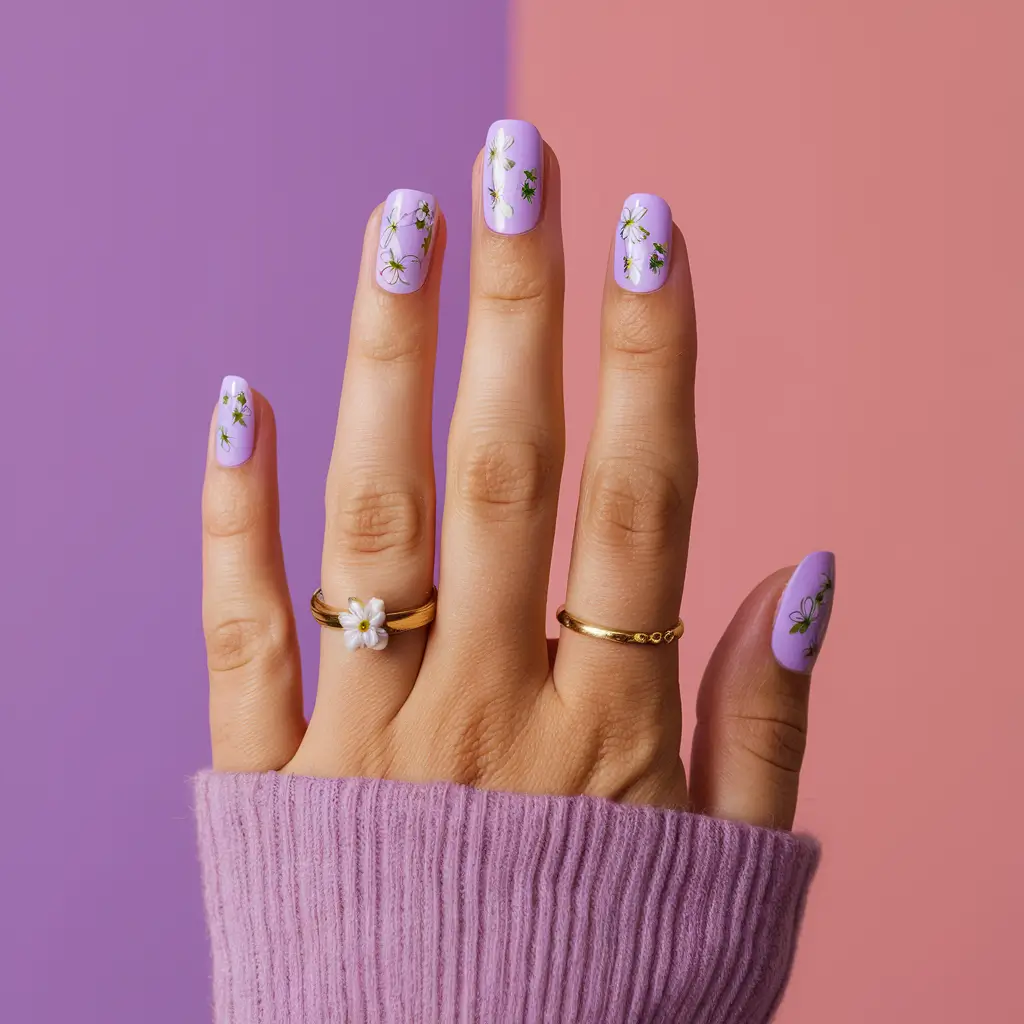
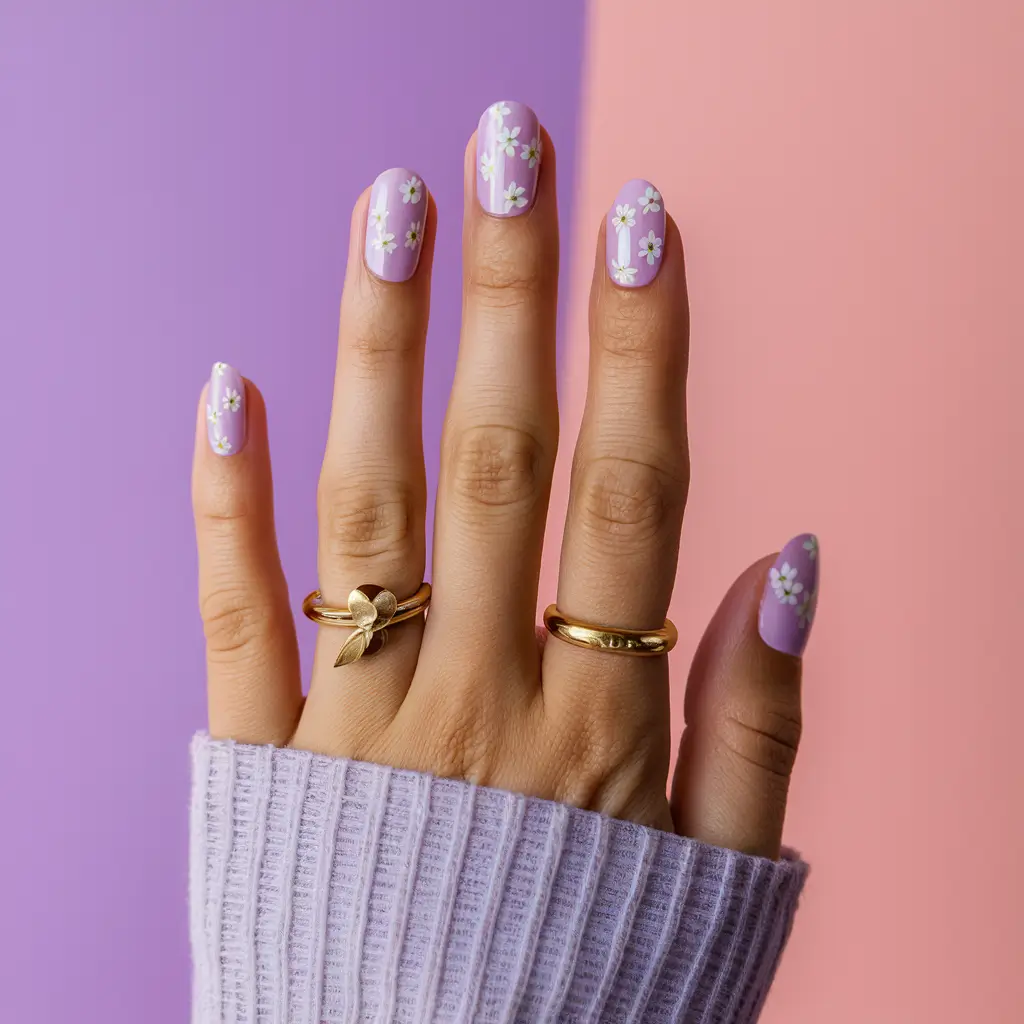
Lilac floral art on nails is a beautiful and elegant choice. The soft lilac base paired with delicate white flowers gives a refreshing and feminine touch.
I love how this design adds a touch of spring to any season. Small floral details on a pastel lilac background create a gentle and charming effect.
This design is versatile, working well for both short and long nails. It’s perfect for those who want a subtle yet stylish manicure. The lilac hue brings a sense of calm and beauty, while the floral patterns add a playful touch.
12: Neon Purple Swirls
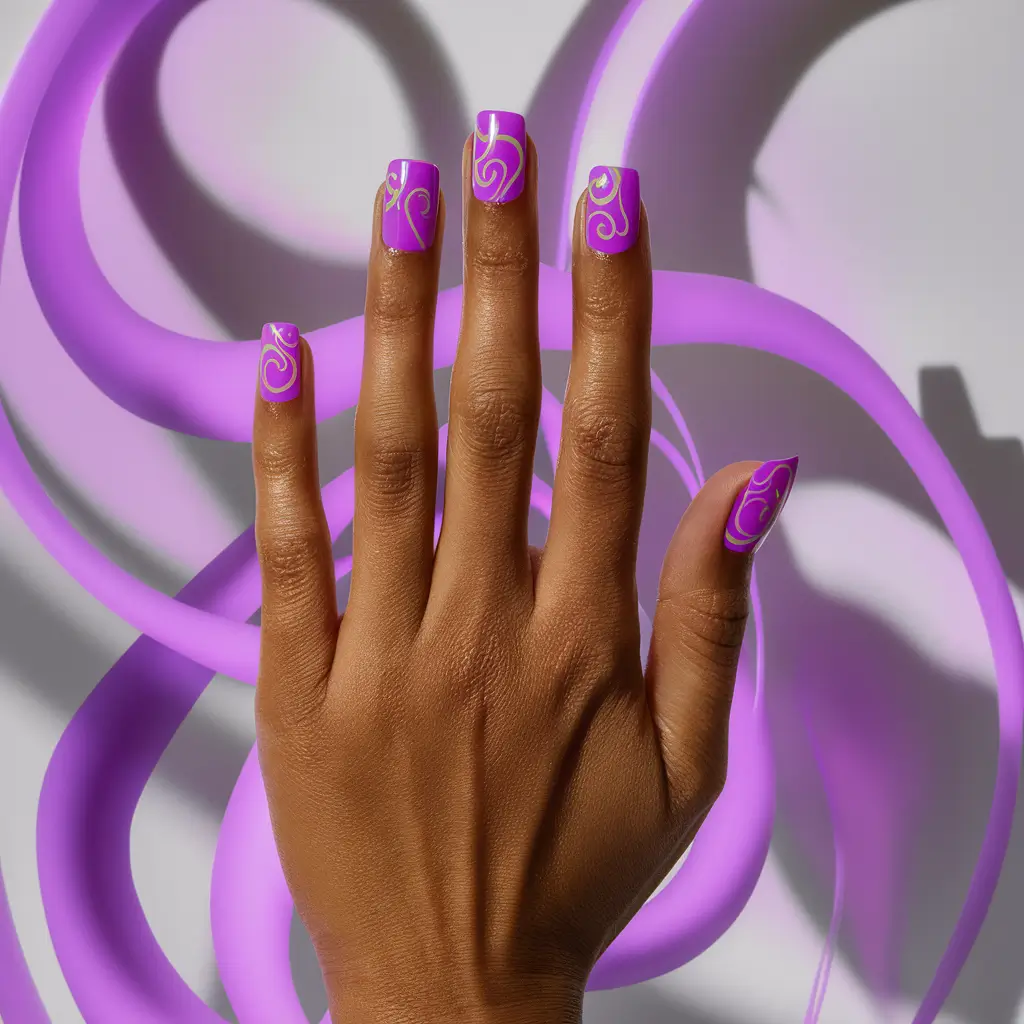
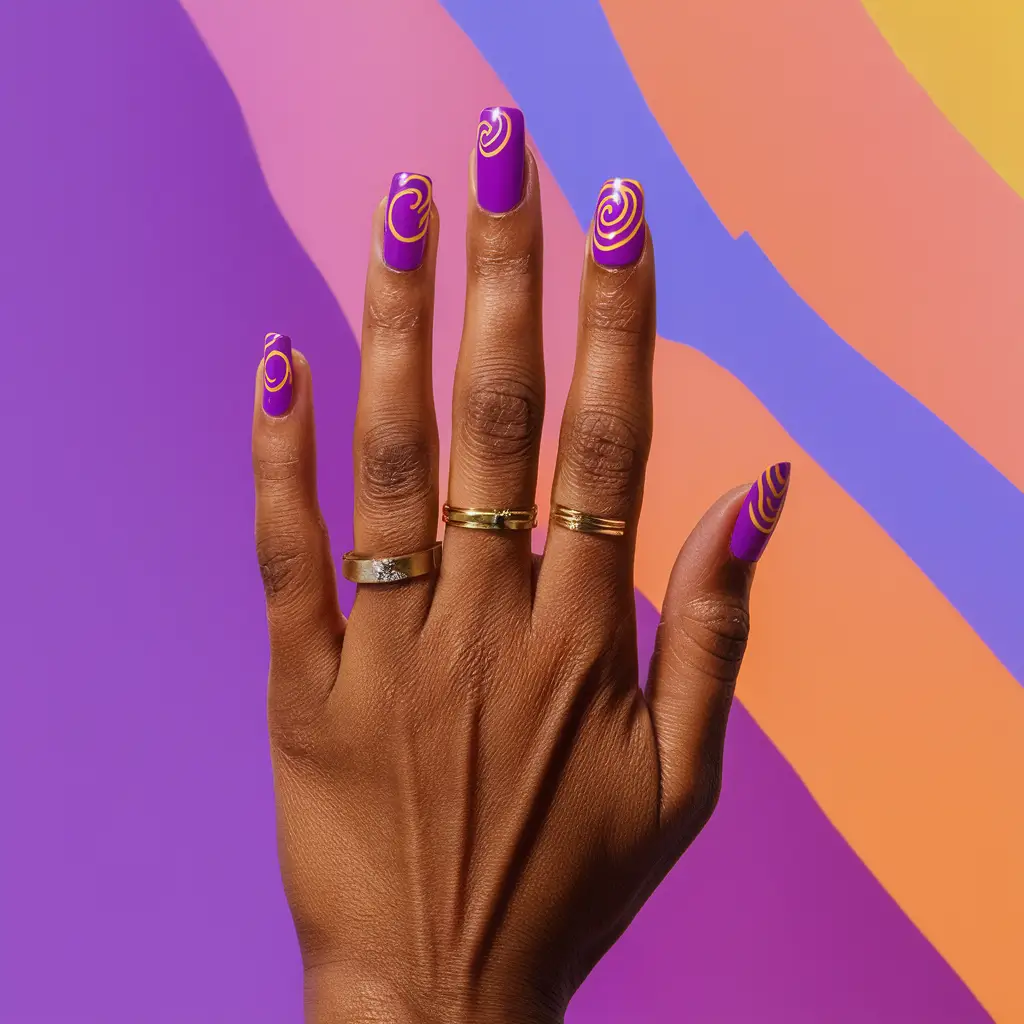
I love the bold look of neon purple swirls. This design combines bright neon with the elegance of swirls. The contrast makes the nails really pop. I think adding tiny sparkles can make the design even more stunning.
To achieve this look, I usually start with a neon purple base. Next, I carefully paint swirl patterns using a fine nail brush.
13: Pale Purple Polka Dots
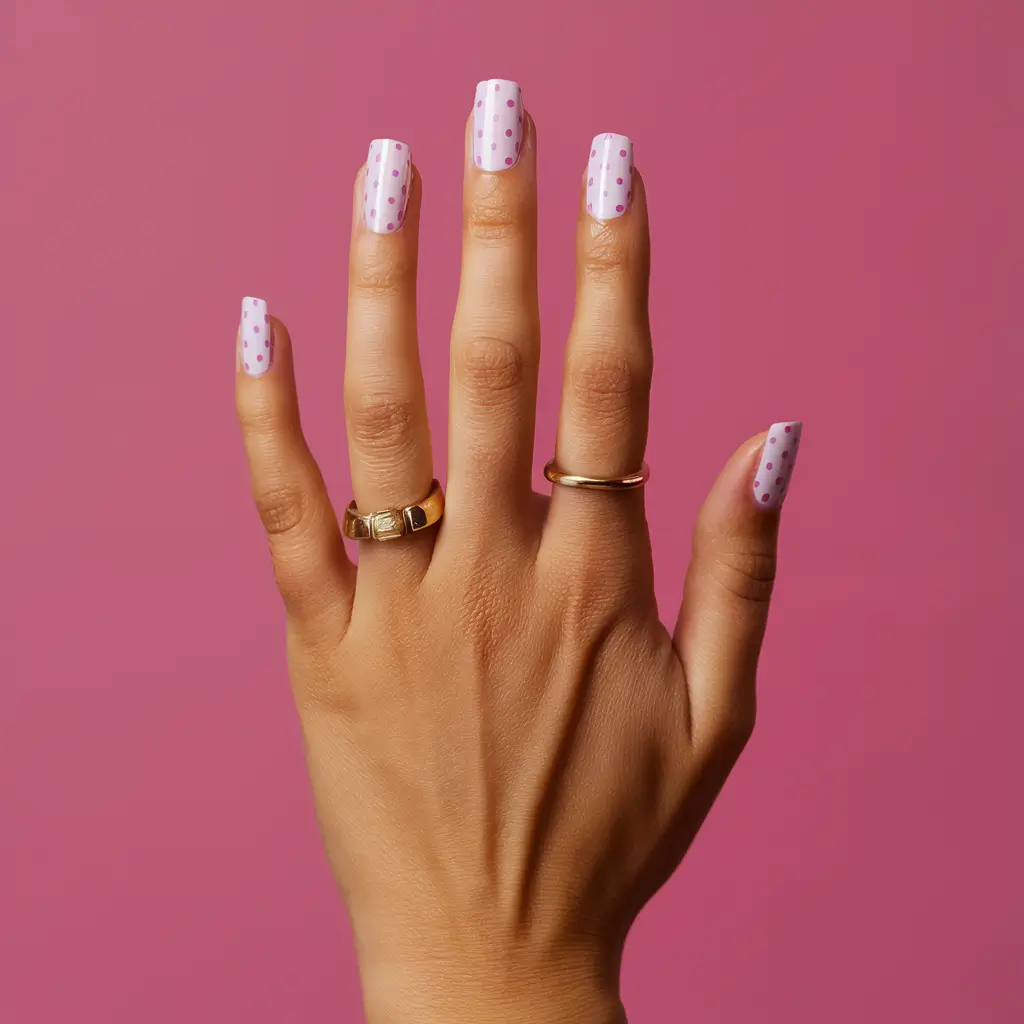
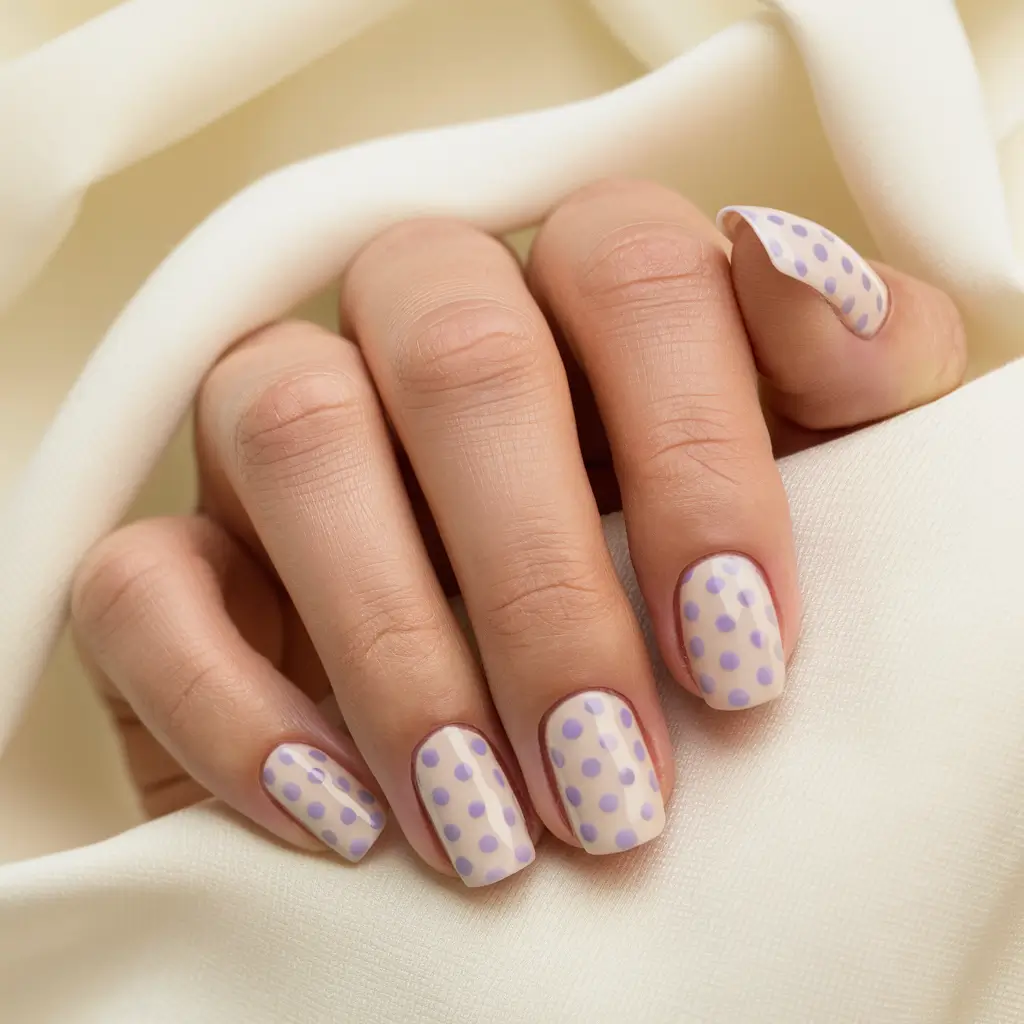
Pale purple polka dots are a charming way to add a playful touch to my nails. This look is perfect for those who love subtle yet fun designs. I usually start with a nude or light base, then carefully add small, pale purple dots across each nail.
Using a dotting tool helps me achieve even and precise dots. The result is a chic and whimsical design suitable for any casual outing.
14: Gradient Lavender Shimmer
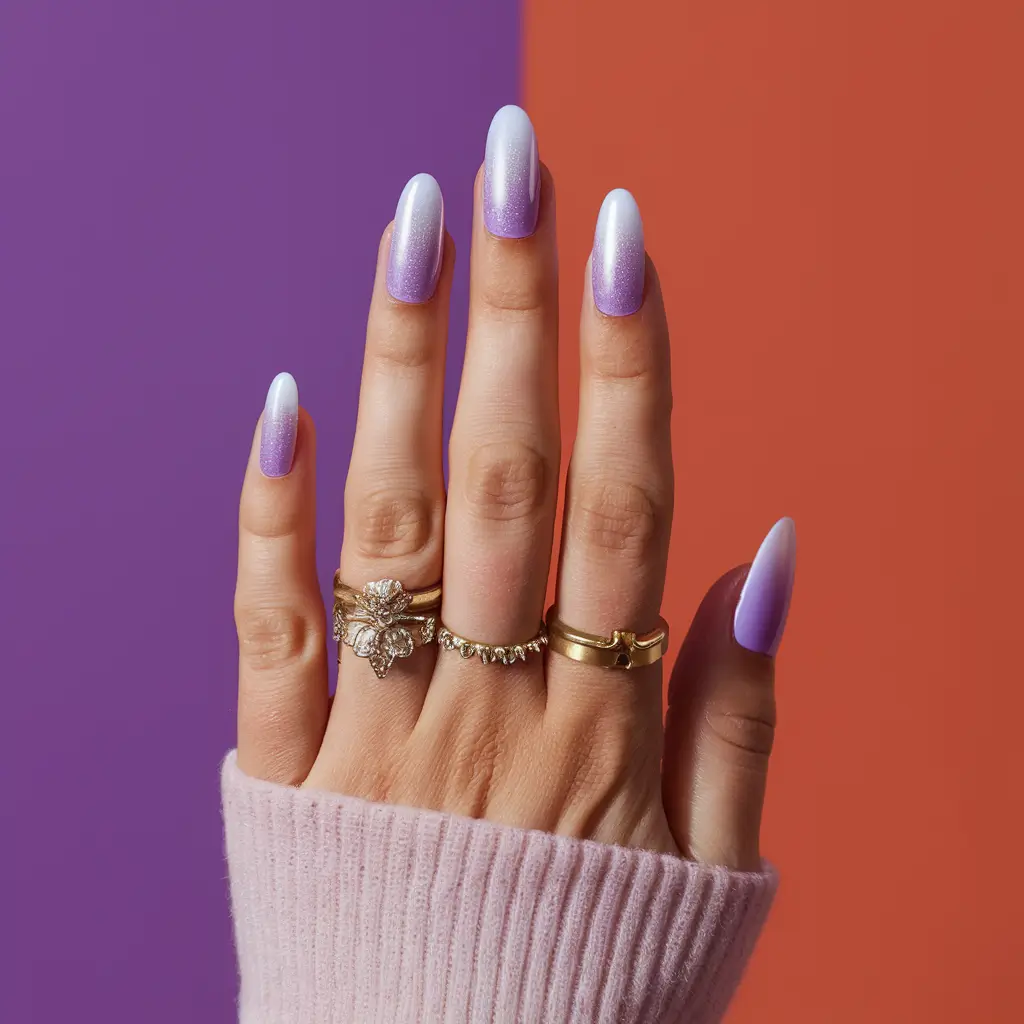
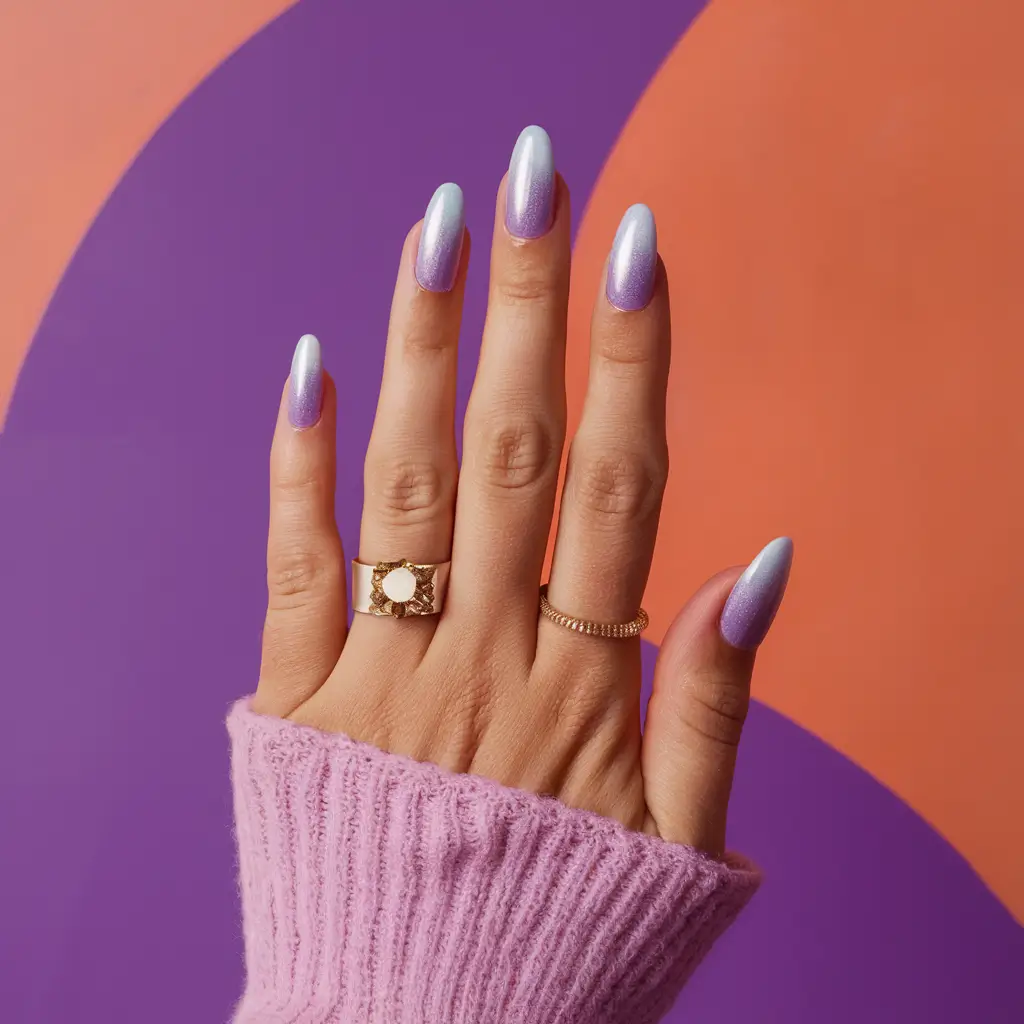
I absolutely love the elegance of gradient lavender shimmer nails. The transition from a soft lavender to a shimmering finish is breathtaking. This look is perfect for any season.
To create this design, I usually start with a base of light lavender. Then, I blend a shimmering polish from the tips to the middle.
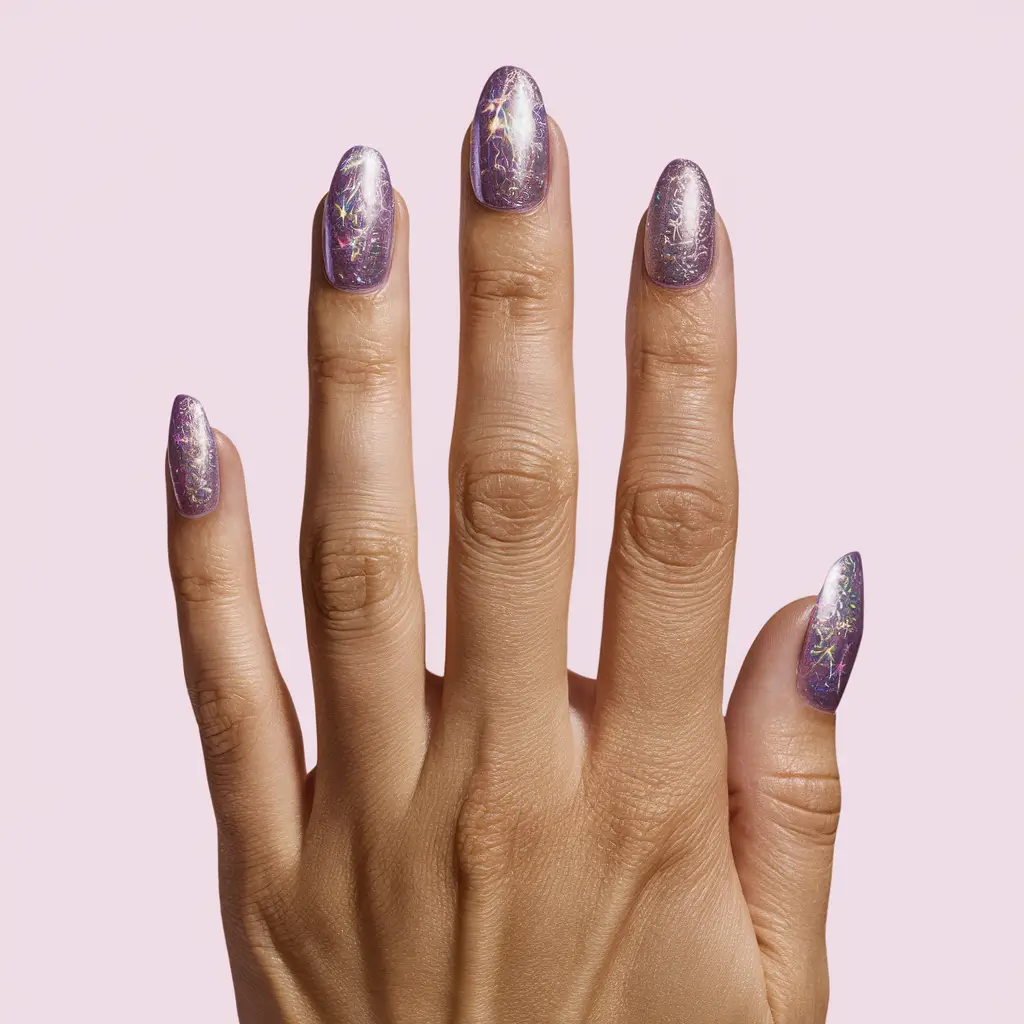
15: Dark Violet Galaxy


I love the deep and mysterious look of dark violet galaxy nails. This design uses a dark purple base reminiscent of the night sky. I add small bursts of white and silver to mimic stars and galaxies.
To create this look, I start with dark violet nail polish. Then, I use a thin brush to add tiny dots and swirls of white for stars. Adding a touch of glitter or metallic silver brings some extra shine.
I like finishing with a glossy top coat to make the design stand out. This style is perfect for those who want something unique and eye-catching.
Choosing The Right Shade Of Purple
Purple nail designs are a stunning choice for anyone looking to make a bold statement. Creating these designs involves several steps, but one of the most important is choosing the right shade of purple.
The perfect shade can enhance your overall look and make your nails pop. Let’s explore how to pick the ideal purple for your nails.
Understanding Your Skin Tone
Skin tone plays a crucial role in selecting the right purple shade. Soft lavenders and lilacs work best for lighter skin tones. They add a delicate touch without overpowering your natural tone.
Deeper purples like amethyst or grape look fabulous on medium skin tones. For darker skin tones, go for rich, bold purples like plum or eggplant. These shades complement the richness of your skin.
Seasonal Considerations
Seasonal trends can influence your shade choice. Spring and summer call for lighter, brighter purples like pastel and orchid. They match the vibrant energy of these seasons.
Fall and winter are perfect for darker, moodier purples like burgundy and violet. These shades add warmth and depth to your look.
Matching Your Outfit
Your nail color should complement your wardrobe. If your outfits are mostly neutral colors, a bold purple can add a pop of color.
For colorful wardrobes, choose a more subdued purple to avoid clashing. Navy and purple make a sophisticated pair, while purple and gold create a regal combination.
Nail Length And Shape
The length and shape of your nails also affect your shade choice. Short nails look great with lighter purples, creating an illusion of length.
Long nails can handle darker and bolder shades. Stiletto or almond-shaped nails are perfect for dramatic purples, while square or round nails suit softer hues.
| Skin Tone | Recommended Shades |
|---|---|
| Light | Lavender, Lilac |
| Medium | Amethyst, Grape |
| Dark | Plum, Eggplant |
Choosing the right shade of purple can enhance your nail design and elevate your style. Consider factors like skin tone, seasonal trends, outfit coordination, and nail length to find the perfect purple for you.

Prepping Your Nails
Introduction paragraph about Purple Nail Designs Tips And Process and Prepping Your Nails…
Prepping your nails is the first and most crucial step in achieving stunning purple nail designs. A well-prepared nail ensures the polish adheres better, lasts longer, and looks more vibrant.
Let’s explore how to get your nails ready for that perfect purple hue!
1. Clean Your Nails
Start by removing any old polish using an acetone-free remover. This helps prevent nails from drying out.
Use a soft brush to clean under your nails. Rinse your hands with mild soap and water. Dry them thoroughly with a clean towel.
2. Shape Your Nails
Decide the shape you want: square, round, or almond. Use a nail clipper for trimming if necessary.
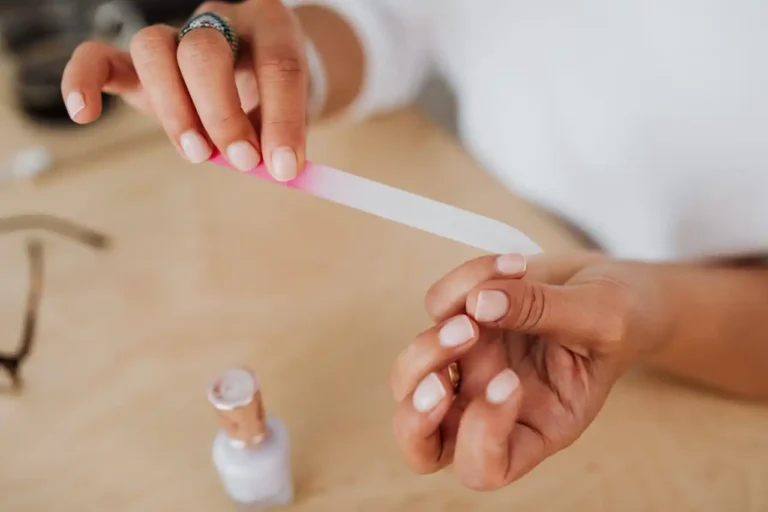
File your nails in one direction to avoid splitting. A nail buffer can smooth the surface, making it easier to apply polish.
3. Cuticle Care
Soak your nails in warm water for 5 minutes to soften the cuticles. Then, use a cuticle pusher to push them back gently.
Trim excess cuticle skin with cuticle nippers. Be gentle to avoid cutting live skin, which can cause infections.
4. Moisturize
Apply a rich hand cream or cuticle oil. Massage it into your nails and cuticles. This keeps the nails hydrated and prevents breakage.
Let the moisturizer absorb for a few minutes before proceeding to the next step.
5. Apply a Base Coat
A base coat is essential for protecting your natural nails and preventing staining from dark polishes like purple. Apply a thin layer and let it dry completely. This creates a smooth surface for your nail polish.
| Steps | Details |
|---|---|
| 1. Clean Your Nails | Remove old polish, clean under nails, rinse, and dry. |
| 2. Shape Your Nails | Trim, file in one direction, and buff the surface. |
| 3. Cuticle Care | Soak, push back cuticles, and trim excess skin. |
| 4. Moisturize | Apply hand cream or cuticle oil and massage. |
| 5. Apply a Base Coat | Protects nails and creates a smooth surface for polish. |
Applying A Base Coat
Creating stunning purple nail designs starts with the basics. Applying a base coat is an essential first step. This layer protects your nails, smoothens the surface, and ensures the polish lasts longer.
Here’s how to master the base coat application process for perfect purple nails.
1. Gather Your Tools
Before starting, make sure you have all the necessary tools. You will need:
- A high-quality base coat
- Nail file
- Buffer
- Cotton pads
- Nail polish remover
2. Clean Your Nails
Clean nails ensure better adhesion for the base coat. Wipe each nail with a cotton pad soaked in nail polish remover to remove any oils or residues.
3. File And Shape
File your nails to your desired shape. Smooth out any rough edges with a buffer. This step helps the base coat adhere better.
4. Apply A Thin Layer
Shake the base coat bottle gently. Apply a thin, even layer to each nail. Start from the cuticle and move toward the tip. Allow this layer to dry completely. This usually takes about two minutes.
5. Add A Second Layer (optional)
You can apply a second thin layer of the base coat for extra protection. Ensure the first layer is completely dry before applying the second. This step is especially useful for those who use their hands a lot throughout the day.
6. Let It Dry
Patience is key. Allow the base coat to dry thoroughly before moving on to your purple polish. This ensures a smooth and long-lasting finish.
By following these steps, you lay a strong foundation for your purple nail design. A good base coat makes all the difference in achieving a salon-quality look.
Adding Accents And Embellishments
Purple nail designs are both trendy and timeless. Adding accents and embellishments can elevate your purple nails to the next level. Use these simple tips to create stunning designs that stand out.
Choosing The Right Accents
The first step is selecting the right accents. Consider using glitter, rhinestones, or stickers. These can add a touch of elegance or playfulness to your purple nails. Choose accents that complement the shade of purple you are using.
Applying Glitter
Glitter can make your nails sparkle. Use a fine-tipped brush to apply glitter to specific areas. For a more subtle look, apply a glitter top coat. Glitter can be used to create patterns, such as stripes or dots.
Adding Rhinestones
Rhinestones can add a touch of glamour to your nails. Use a small amount of nail glue to attach rhinestones. Arrange them in patterns, or place a single rhinestone on each nail for a classic look. Ensure the rhinestones are securely attached to prevent them from falling off.
Using Stickers
Nail stickers are an easy way to add intricate designs. Choose stickers that match your purple polish. Apply the stickers after your base coat is dry. Press down firmly to ensure they stick well. Finish with a clear top coat to seal the stickers in place.
Creating Patterns
Patterns can make your nails look unique. Use a fine-tipped brush to paint designs like stripes, polka dots, or floral patterns.
Combine different shades of purple for a layered effect. Patterns can be simple or complex, depending on your skill level.
Finishing Touches
Finish your design with a clear top coat. This will protect your accents and embellishments, add shine, and help your design last longer. Apply the top coat evenly and let it dry completely.
Sealing The Design With A Top Coat
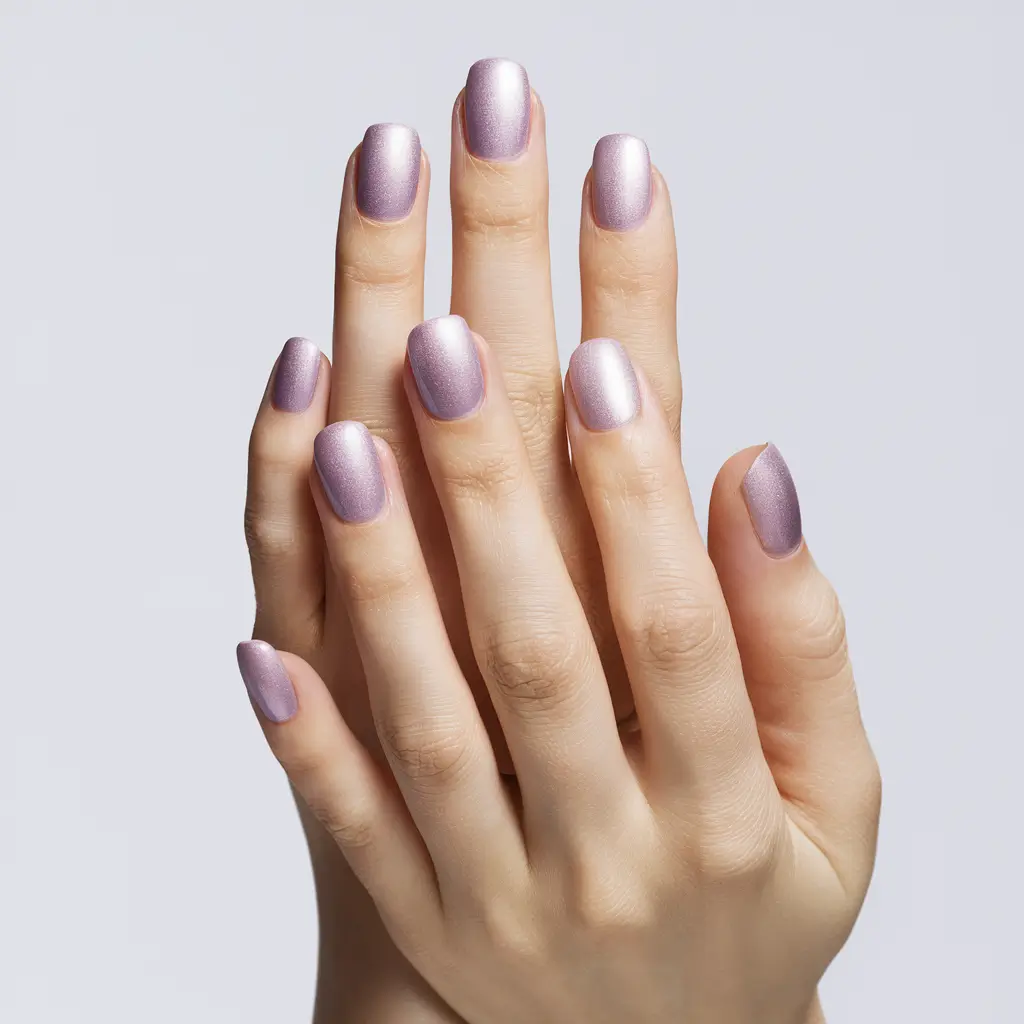
Creating stunning purple nail designs is an art. Sealing the design with a top coat ensures the manicure looks fresh and lasts longer. The top coat acts as a shield, protecting the intricate designs from chipping and fading.
It enhances the overall look, giving the nails a glossy or matte finish, depending on your preference. This final step is crucial for maintaining the durability and brilliance of your nail art.
Choosing The Right Top Coat
Choosing the right top coat is essential. Quick-drying top coats save time and reduce smudging risks. Gel top coats offer extra shine and durability.
Matte top coats provide a unique look, perfect for a sophisticated finish. To avoid peeling, ensure the top coat is compatible with the nail polish used.
Applying The Top Coat Properly
Applying the top coat correctly makes a big difference. Start with a clean brush to avoid streaks. Use thin layers to prevent bubbles.
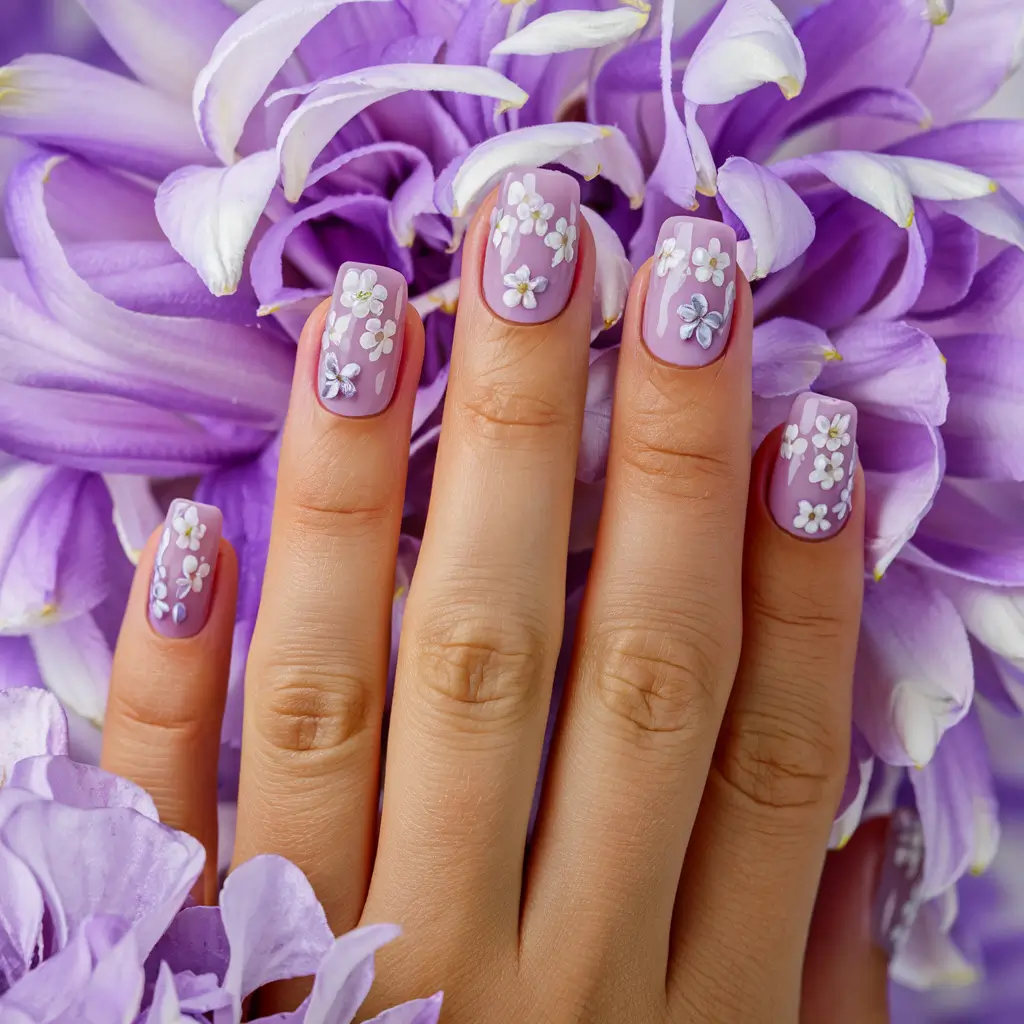
Seal the edges of the nails to protect the tips from chipping. Apply the top coat in even strokes, covering the entire nail surface. Allow each layer to dry completely before applying the next.
Top Coat Maintenance
Maintaining the top coat helps extend the life of your manicure. Reapply the top coat every few days to maintain shine and protection. Avoid using your nails as tools to prevent chips.
Keep your hands moisturized to prevent the top coat from drying out and cracking. Store the top coat in a cool, dark place to maintain its consistency.
Recommended Top Coats
| Brand | Type | Features |
|---|---|---|
| Seche Vite | Quick-Drying | Fast drying, high gloss finish |
| Sally Hansen | Gel | Extra shine, long-lasting |
| OPI | Matte | Unique matte finish, durable |
Maintaining And Removing Purple Nail Designs
Purple nail designs offer a chic and versatile look for any occasion. Whether you opt for deep royal purples or light lavender shades, these designs can make your nails stand out.
While creating stunning purple nail designs is essential, maintaining and removing them correctly ensures your nails stay healthy and look great over time.
Maintaining Purple Nail Designs
Maintaining your purple nail designs is crucial for long-lasting beauty. Follow these steps to keep your nails in top condition:
- Apply a Top Coat: Seal your design with a high-quality top coat. This prevents chipping and adds extra shine.
- Moisturize Your Cuticles: Keep your cuticles hydrated with cuticle oil. Dry cuticles can lead to peeling and breakage.
- Avoid Harsh Chemicals: Wear gloves when using cleaning products. Chemicals can damage your nail polish.
- Touch-Up Regularly: Fix minor chips with a matching polish. This keeps your nails looking fresh and perfect.
Removing Purple Nail Designs
Removing purple nail designs properly helps avoid damage to your natural nails. Follow these easy steps for safe removal:
- Gather Supplies: You need nail polish remover, cotton balls, and aluminum foil.
- Soak the Cotton Balls: Soak cotton balls in nail polish remover. Ensure they are fully saturated.
- Wrap Your Nails: Place soaked cotton balls on each nail. Wrap each finger in aluminum foil to secure.
- Wait and Remove: Leave the foil wraps on for 10-15 minutes. This allows the remover to break down the polish.
- Gently Wipe Off: Remove the foil and cotton balls. Gently wipe off any remaining polish with a clean cotton ball.
- Moisturize Again: Apply cuticle oil and hand cream. This replenishes moisture lost during the removal process.
Frequently Asked Questions
What Colors Go With Purple Nails?
White, silver, gold, black, and shades of pink go well with purple nails. Earth tones like beige and green also complement purple.
What Is The Purple Nail Theory?
The purple nail theory suggests that painting nails purple can attract positive attention and boost confidence. This trend has gained popularity on social media.
Are Purple Nails Trendy?
Yes, purple nails are trendy. They offer a chic and versatile look. Popular shades range from lavender to deep plum.
How Do You Design Nails Step By Step?
Start with clean, trimmed nails. Apply a base coat. Choose and apply nail polish. Add designs or decals. Finish with a top coat.
Conclusion
You can achieve stunning purple nail designs with the right tips and process. Experiment with various shades and patterns.
Remember to use quality tools and products for the best results. Keep practicing, and soon, you’ll master the art of purple nail designs.

