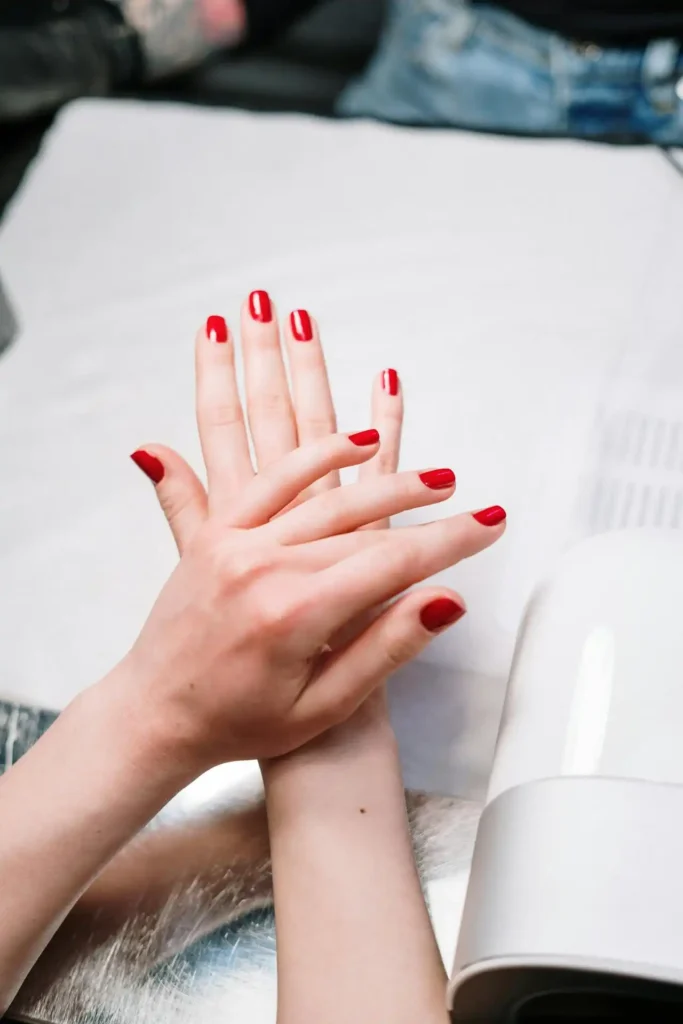
Step-by-Step Ombre Nail Tutorial at Home
You don’t need a salon appointment to achieve stunning Ombre nails that fade seamlessly from one color to another.
This gradient effect creates an elegant, professional look that you can master in your own home with the right technique and patience.
Understanding the Ombre Nail Technique

Ombre nails feature a gradual color transition that blends two or more shades together without harsh lines.
You create this effect by layering colors and blending them while the polish remains wet, resulting in a smooth gradient that flows naturally from light to dark or between complementary colors.
The beauty of Ombre lies in its versatility. The technique works equally well with any color family you prefer.
You can choose subtle transitions using similar shades for an understated look, or create dramatic contrasts with bold color combinations that make a statement.
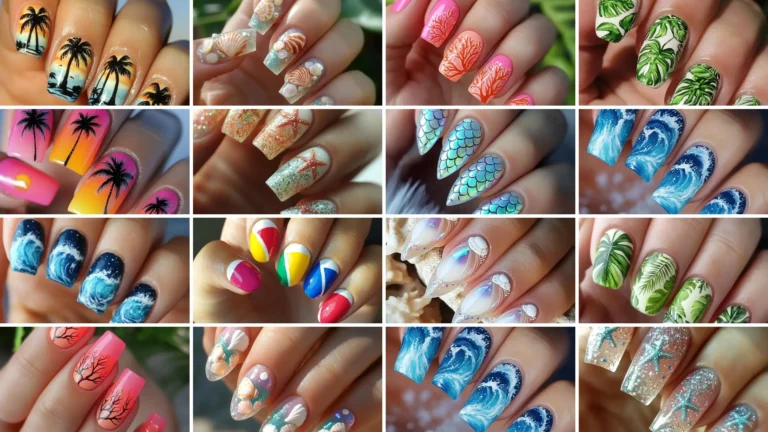
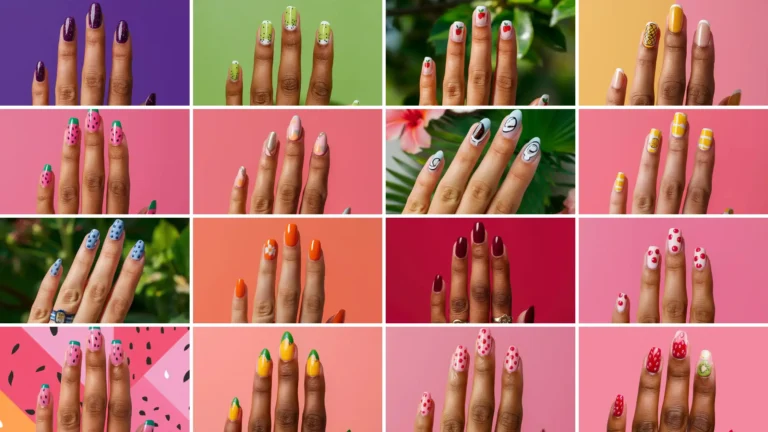
Popular Ombre combinations include pink to white for a classic French manicure twist, blue to purple for an ocean-inspired look, or neutral beiges and browns for everyday elegance.
Success depends on timing and blending technique rather than expensive tools.
Once you understand the basic principle of working with wet polish, you can experiment with different color combinations and create custom looks that reflect your personal style.
Gathering Your Essential Supplies
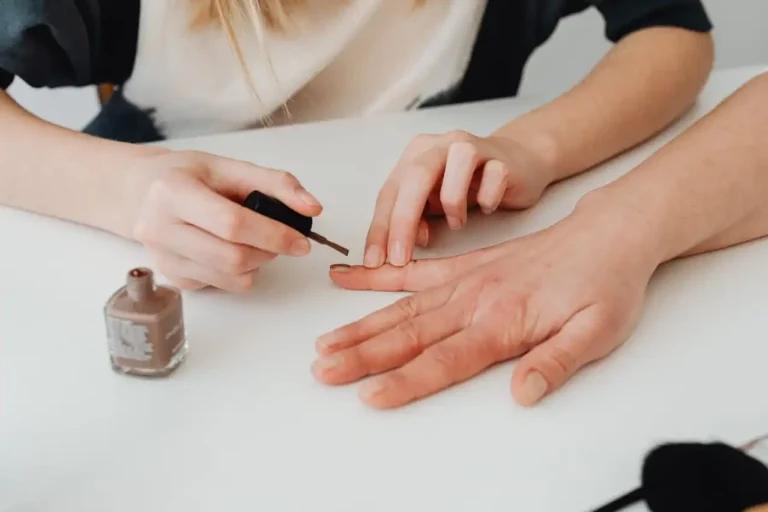
You need specific tools to achieve professional-looking ombre nails at home. Start with a high-quality base coat to protect your natural nails and help the polish adhere properly.
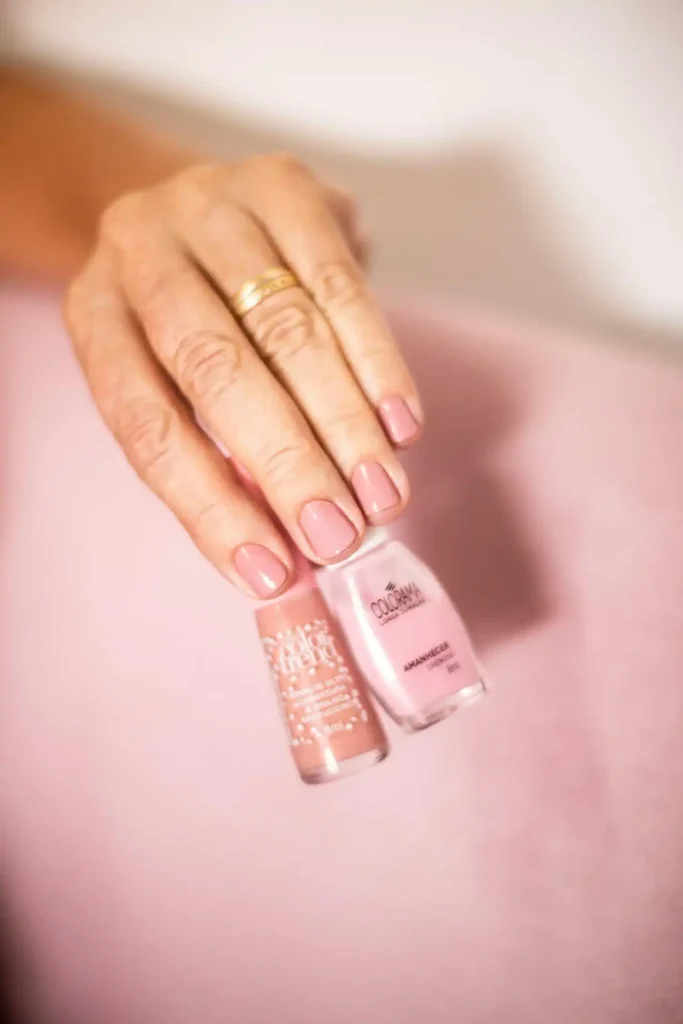
Choose two or more nail polish colors in the same finish—mixing matte and glossy polishes creates uneven results.
Purchase makeup sponges specifically designed for nail art, or use regular triangular makeup sponges cut into smaller pieces.
These sponges create the blending effect that makes ombre possible. Avoid kitchen sponges or bath sponges, which have the wrong texture for smooth color transitions.
Gather cotton swabs, nail polish remover, and a small piece of aluminum foil or plastic wrap to use as your palette.
You’ll also need a top coat to seal your design and cuticle oil to clean up any mistakes around your nail beds.
Set up your workspace near good lighting where you can work comfortably for 30-45 minutes without interruption.
Have all your supplies within easy reach because timing matters when working with wet polish that needs blending before it begins to dry.
Preparing Your Nails for Perfect Results
Start with clean, dry nails that you’ve shaped and filed to your desired length. Push back your cuticles gently and remove any excess skin around the nail bed.
Clean nails provide the best foundation for polish adhesion and color accuracy. Apply a thin layer of base coat to each nail, allowing it to dry completely before proceeding.
This step prevents staining and creates a smooth surface that helps your Ombre colors blend more easily.
Choose your dominant hand to practice on first, since you’ll have better control when applying polish to your non-dominant hand.
Many people find it easier to perfect their technique on one hand before attempting the more challenging opposite hand.
Consider applying cuticle protector or liquid latex around your nail beds if you’re concerned about cleanup.
These products peel off easily after you finish your manicure, taking any excess polish with them and leaving clean, professional-looking results.
Creating Your Color Palette

Squeeze small amounts of your chosen colors onto your aluminum foil or plastic wrap palette, spacing them about an inch apart.
You’ll use this palette to load your sponge with multiple colors simultaneously, which creates the blending effect.
Start with lighter colors first, then add darker shades.
This approach prevents the darker colors from overwhelming the lighter ones and gives you better control over the intensity of your gradient.
If you’re using three colors, arrange them in the order you want them to appear on your nail—lightest at the cuticle, medium in the center, and darkest at the tip, or vice versa depending on your desired look.
Work with small amounts of polish to prevent waste and ensure you can reload your sponge as needed.
You can always add more color to your palette, but removing excess polish once it’s on the sponge proves more difficult.
Mastering the Sponge Technique
Cut your makeup sponge into a piece slightly wider than your nail. The sponge should cover your entire nail width but remain manageable for precise application.
A piece about the size of your thumbnail works well for most nail sizes. Press the sponge gently into your color palette, picking up all colors simultaneously.
The sponge should have distinct color sections that mirror your planned gradient, with the lightest shade on one end and the darkest on the other.
Test your loaded sponge on a practice surface first—a piece of paper or your palette foil—to see how the colors transfer and blend.
This preview helps you adjust the pressure and positioning before applying to your actual nails.
Reload your sponge between each nail to maintain consistent color intensity.
As the polish on the sponge begins to dry, it becomes less effective at creating smooth blends, so fresh polish produces better results.
Applying the Base Ombre Layer
Place the loaded sponge against your nail, aligning it so the lightest color sits where you want it to appear.
Press gently and dab the sponge against the nail rather than dragging it, which can create streaks instead of smooth gradients.
Use a light bouncing motion to blend the colors together on your nail surface. Focus on getting the general gradient placement correct with this initial layer.
The wet polish will naturally start to merge, but the dabbing action helps accelerate and control this blending process.
Don’t worry if the first application looks patchy or uneven—Ombre nails require multiple layers to achieve the desired intensity and smoothness.
Allow this first layer to dry for about two minutes before applying the second coat.
The polish should be dry to the touch but doesn’t need to be completely cured before you add the next layer.
Building Color Intensity and Smoothness
Apply your second layer using the same sponge technique, focusing on areas where you want more color saturation.
The second layer helps fill in any gaps and creates a more even color distribution across your nail.
Pay attention to the transition zones between colors, dabbing gently to ensure smooth blending without harsh lines.
If you notice any obvious color breaks, concentrate your dabbing motion on those specific areas.
Consider applying a third layer if you want more vibrant colors or smoother transitions.
Some color combinations require multiple layers to achieve the desired opacity and gradient effect, especially when working with lighter or more sheer polishes.
Between each layer, check your progress in good lighting to identify any areas that need additional attention.
It’s easier to correct issues while building up layers than to fix problems after your manicure is complete.
Cleaning Up Rough Edges
Use a small brush dipped in nail polish remover to clean up any polish that extended beyond your nail bed onto your skin.
Work carefully around your cuticles and sidewalls to create clean, professional-looking edges.
Cotton swabs also work well for cleanup, especially for larger areas of excess polish.
Wrap the cotton swab around an orange stick for more precise control when working in tight spaces around your nail bed.
Don’t rush the cleanup process—taking time to create clean edges makes the difference between a home manicure and a salon-quality result.
Clean lines frame your Ombre effect and make the gradient appear more intentional and polished.
If you applied cuticle protector before starting, simply peel it off now to reveal clean nail beds.
This method often provides the cleanest results with minimal additional cleanup required.
Perfecting the Gradient Transition
Examine your Ombre effect closely and identify any areas where the color transition appears too abrupt or uneven.
You can fix these issues by lightly dabbing a clean, slightly damp sponge over the problem areas to soften harsh lines.
For transitions that need more blending, load a clean sponge with just a tiny amount of the lighter color and dab it gently over the area where colors meet.
This technique helps create smoother gradients without completely redoing your work. Step back and view your nails from a normal viewing distance rather than up close.
If one color appears too dominant, you can balance it by applying more of the other color using your sponge technique.
Build up colors gradually rather than trying to fix issues with heavy applications that might create new problems.
Sometimes imperfections that seem obvious when you’re working appear completely natural when viewed from arm’s length.
Sealing Your Design with Top Coat
Apply a high-quality top coat to protect your Ombre design and add shine. Pay special attention to sealing the tips of your nails, where chips commonly occur.
Use thin, even strokes and avoid going back over areas you’ve already covered, which can disturb the underlying colors and create streaks.
Start with the top coat brush at the cuticle and draw it smoothly toward the tip in one fluid motion.
This technique prevents dragging and ensures even coverage across your entire nail surface.
Wrap the top coat slightly over the nail edge to create a protective barrier that extends your manicure’s lifespan.
Allow the top coat to dry completely before touching anything or applying cuticle oil.
A properly dried top coat provides better protection and maintains the smooth appearance of your Ombre effect longer.
Troubleshooting Common Ombre Problems
If your colors appear muddy or mixed together instead of maintaining distinct gradient zones, you likely used too much pressure when dabbing or worked with polish that was too wet.
Next time, use lighter pressure and allow each layer to dry slightly longer before blending.
Streaky or uneven coverage usually results from dragging the sponge across the nail instead of using a dabbing motion.
Practice the bouncing technique on paper before applying to your nails to develop the right touch.
When colors won’t blend smoothly, check that you’re using polishes with similar consistency and finish.
Mixing different formula types can create blending difficulties that no amount of technique can overcome.
If your Ombre effect looks too subtle, build up more layers or choose colors with greater contrast between them.
Sometimes what appears dramatic in the bottle looks much more subdued once blended on the nail.
Exploring Advanced Ombre Variations
Try reverse Ombre by placing the darkest color at the cuticle and fading to light at the tips.
This variation creates an unexpected twist on the traditional gradient and works especially well with metallic or glitter polishes.
Create horizontal Ombre effects by loading your sponge with colors arranged side by side instead of top to bottom.
This technique produces unique sideways gradients that stand out from typical vertical Ombre designs.
Experiment with multiple colors in one gradient, using three or four shades to create rainbow effects or complex color stories.
Start with colors that are adjacent on the color wheel for the most harmonious results. Apply glitter sparingly to maintain the gradient visibility while adding sparkle.
Add glitter or shimmer polishes as accent layers over your Ombre base to create dimensional effects that catch light beautifully.
Maintaining Your Ombre Manicure
Apply cuticle oil daily to keep your nail beds healthy and prevent the polish from lifting at the edges.
Healthy cuticles frame your manicure better and help it last longer without chipping or peeling.
Wear gloves when cleaning or doing activities that might damage your nails.
Chemical exposure and rough handling can cause premature chipping that ruins the smooth gradient effect you worked to create.
Touch up small chips immediately with a thin layer of matching polish followed by top coat.
Small repairs prevent larger problems and extend your manicure’s lifespan significantly.
Reapply top coat every few days to maintain shine and protection. Fresh top coat keeps your ombre looking salon-fresh and provides an extra barrier against daily wear and tear.
Conclusion
Practice makes perfect with Ombre nails, so don’t expect salon results on your first attempt.
With patience and the right technique, you’ll create beautiful gradient manicures at home.