7 Rhinestone Nail Art Ideas
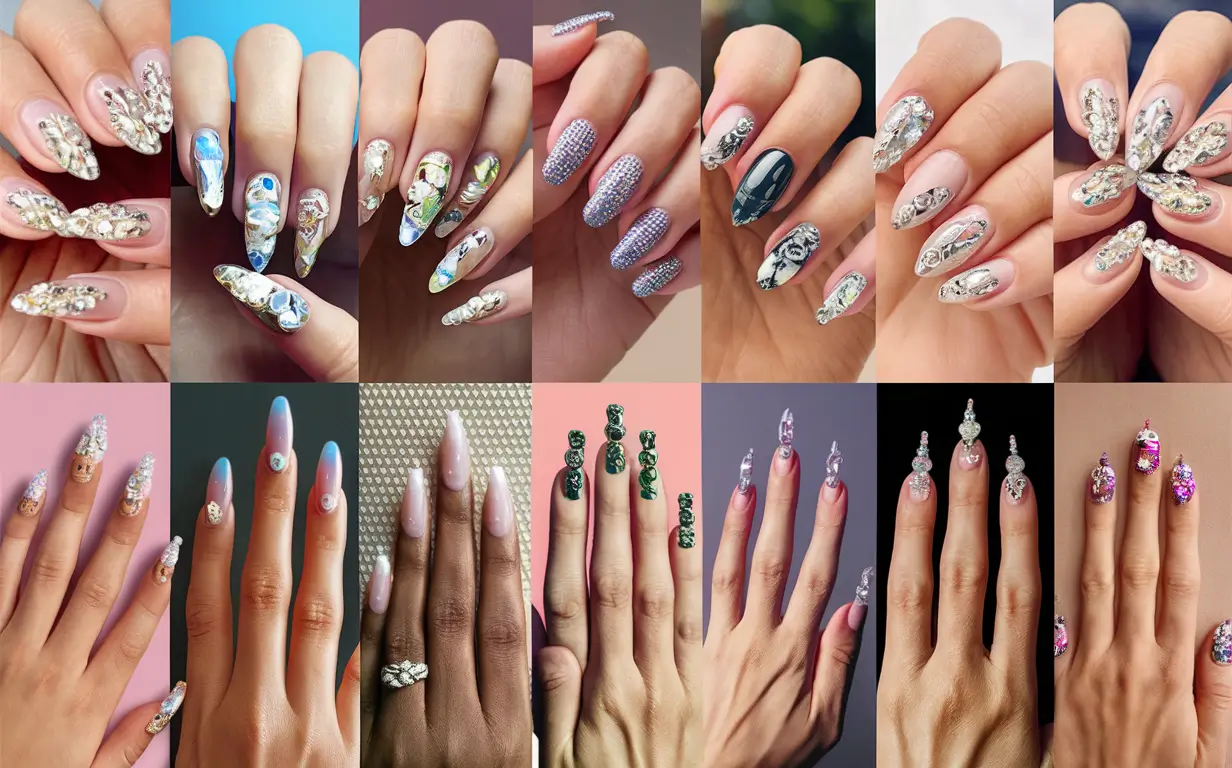
If you’re looking to add some sparkle to your nails, rhinestone nail art is a fantastic choice. I’ve curated 7 standout rhinestone nail art ideas to elevate your manicure game.
These designs range from simple and elegant to bold and intricate, ensuring something for everyone.
Rhinestones can transform a basic manicure into a stunning work of art. Whether you prefer a classic French tip or a vibrant color, rhinestones add a touch of glamour and sophistication.

With these 7 ideas, you’ll find plenty of inspiration to make your nails shine.
1: Sparkling French Tips
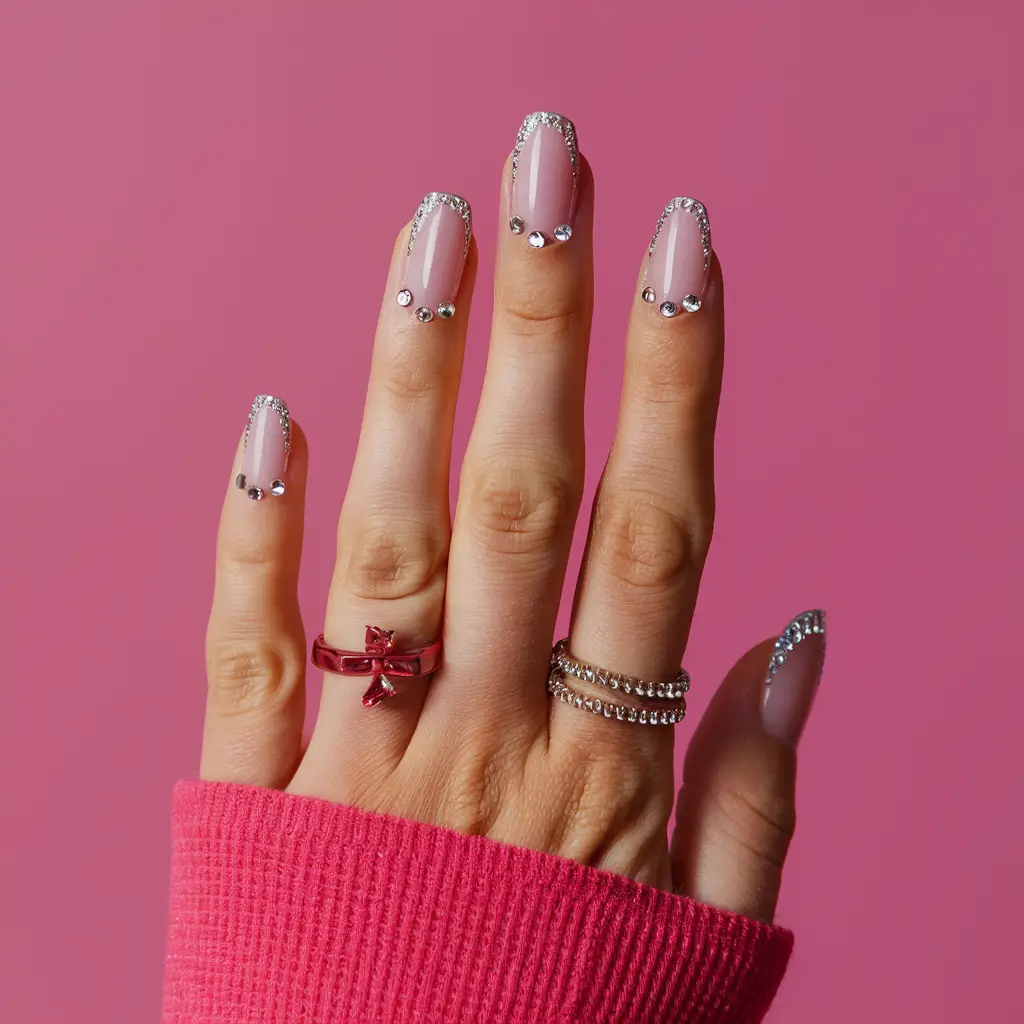

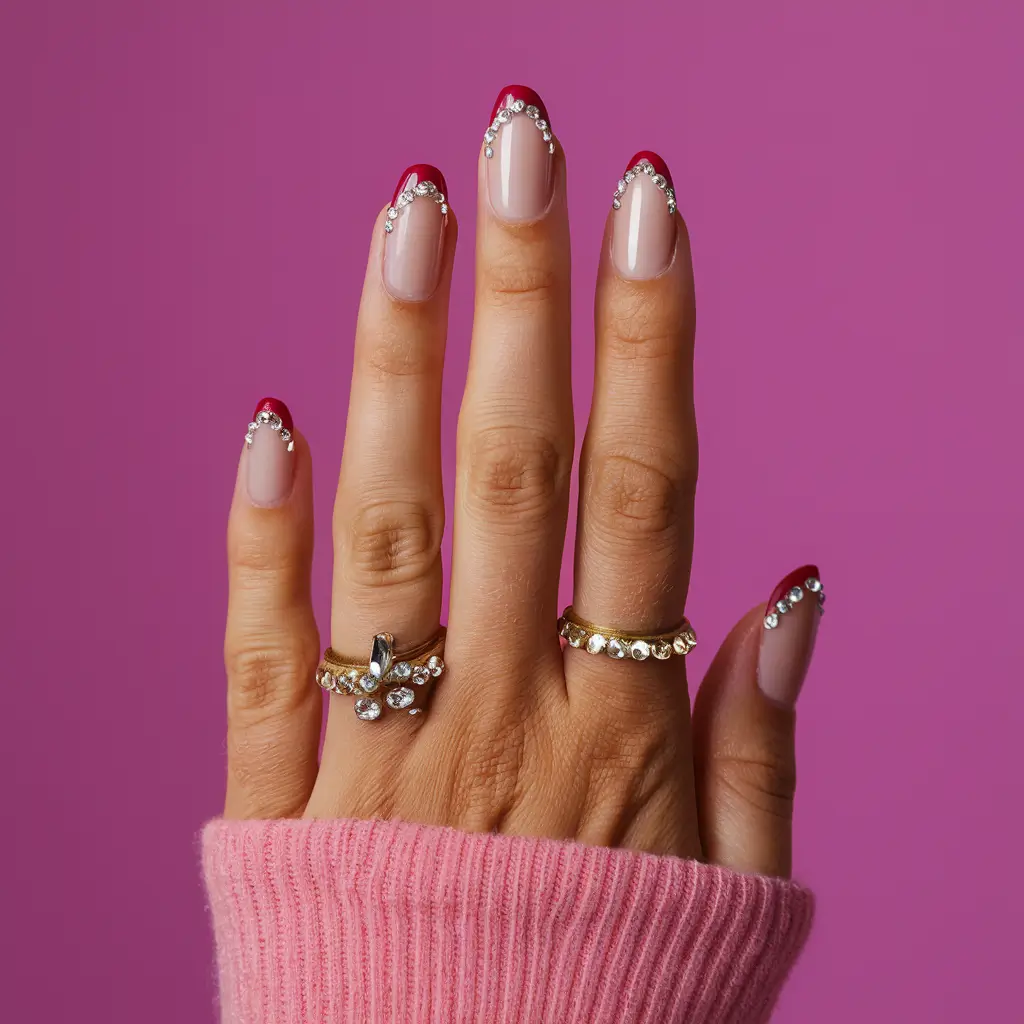
I love how sparkling French tips can turn a classic look into something extraordinary.
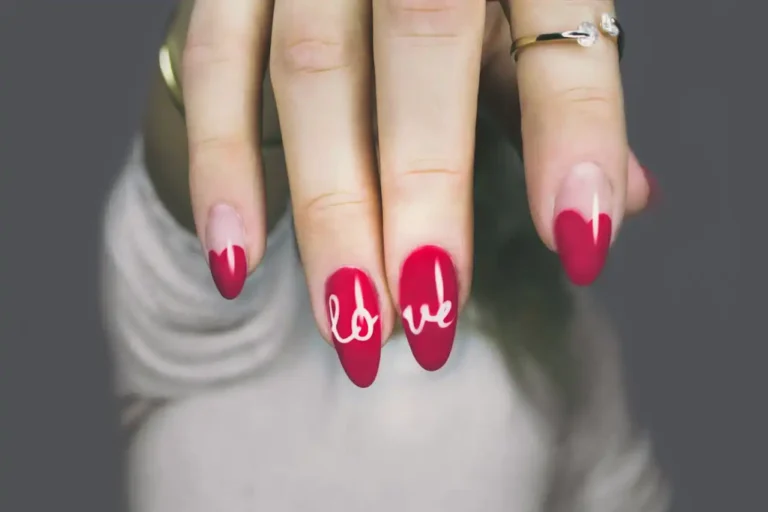
You can start with a base of neutral pink polish and swap the traditional white tip for a shimmering shade, like ruby red or silver.
To add some flair, I place rhinestones along the arches of the French tips. This adds just the right amount of sparkle without feeling over the top.
Consider adding starry decals or tiny bows near the cuticles if you’re feeling fancy.
These little details make all the difference and can elevate a simple manicure to stand out on any occasion.
2: Crystal Accent Nails
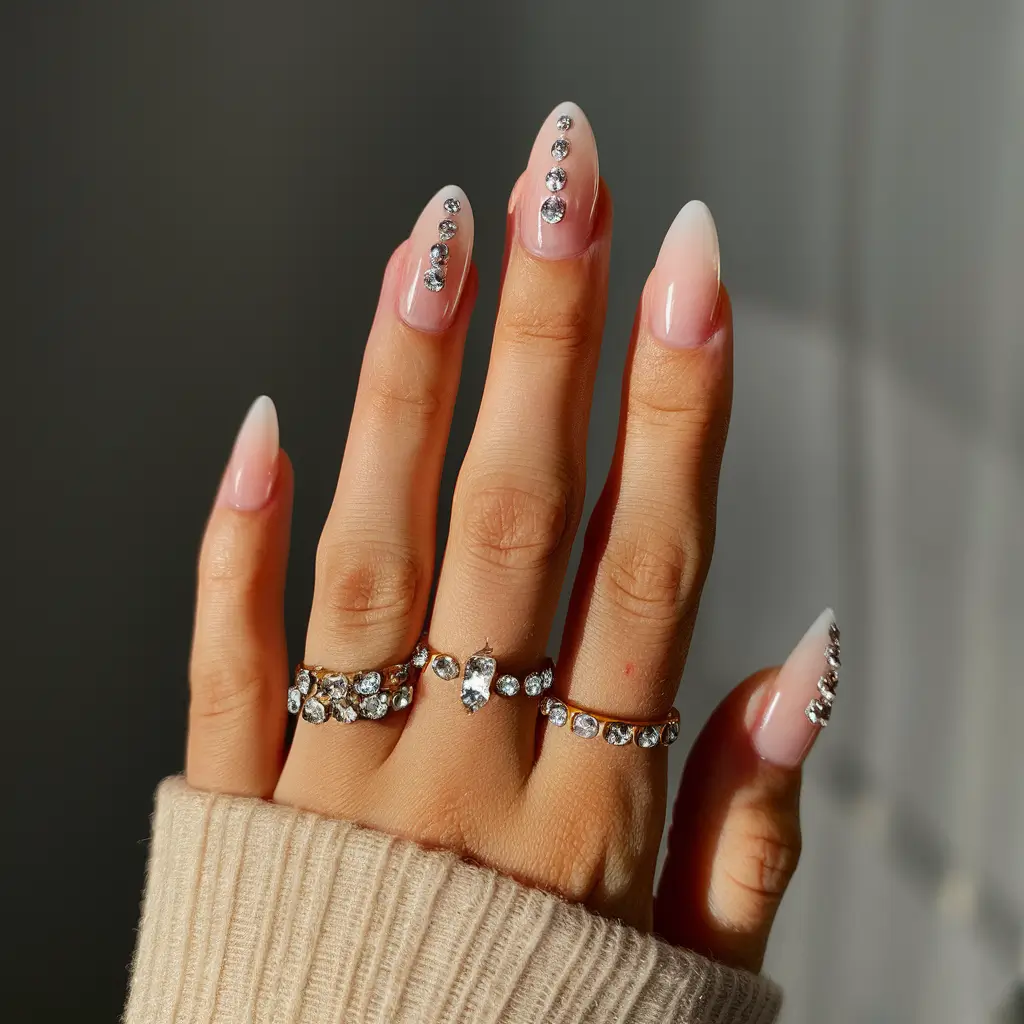

Crystal accent nails are a simple yet stunning way to add sparkle to any manicure.
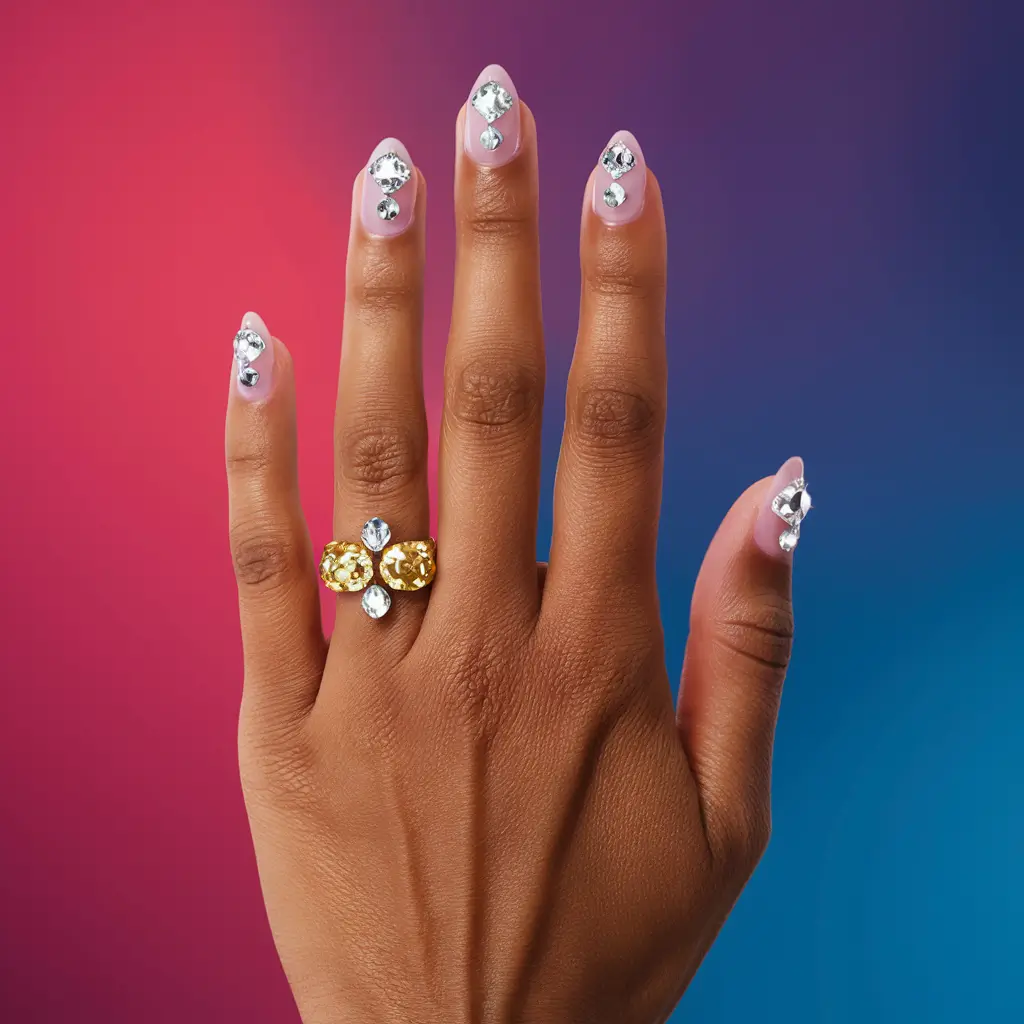
I like using clear or neutral polish as a base. It allows the rhinestones to stand out more. One of my favorite looks is to place a few tiny rhinestones near the cuticle or along the nail’s edge.
This creates a classy, elegant feel without being overly extravagant. You can choose to add a single crystal or make a small pattern.
If you want more bling, try covering one entire nail with rhinestones. This method draws attention and adds an element of luxury to your nails.
Different nail shapes, like square or almond, can also change the look of crystal accents. These small, sparkling gems can elevate any nail style with ease.

3: Pearl-Studded Design
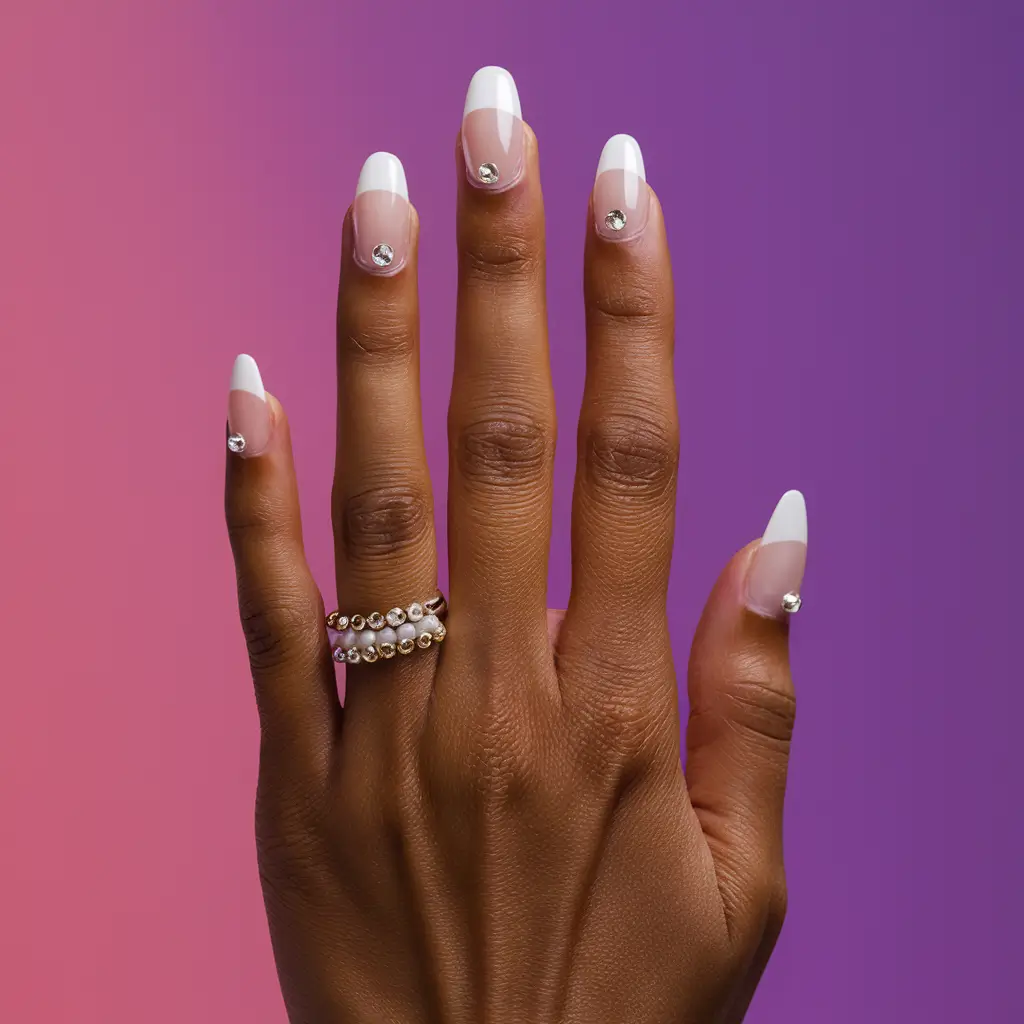
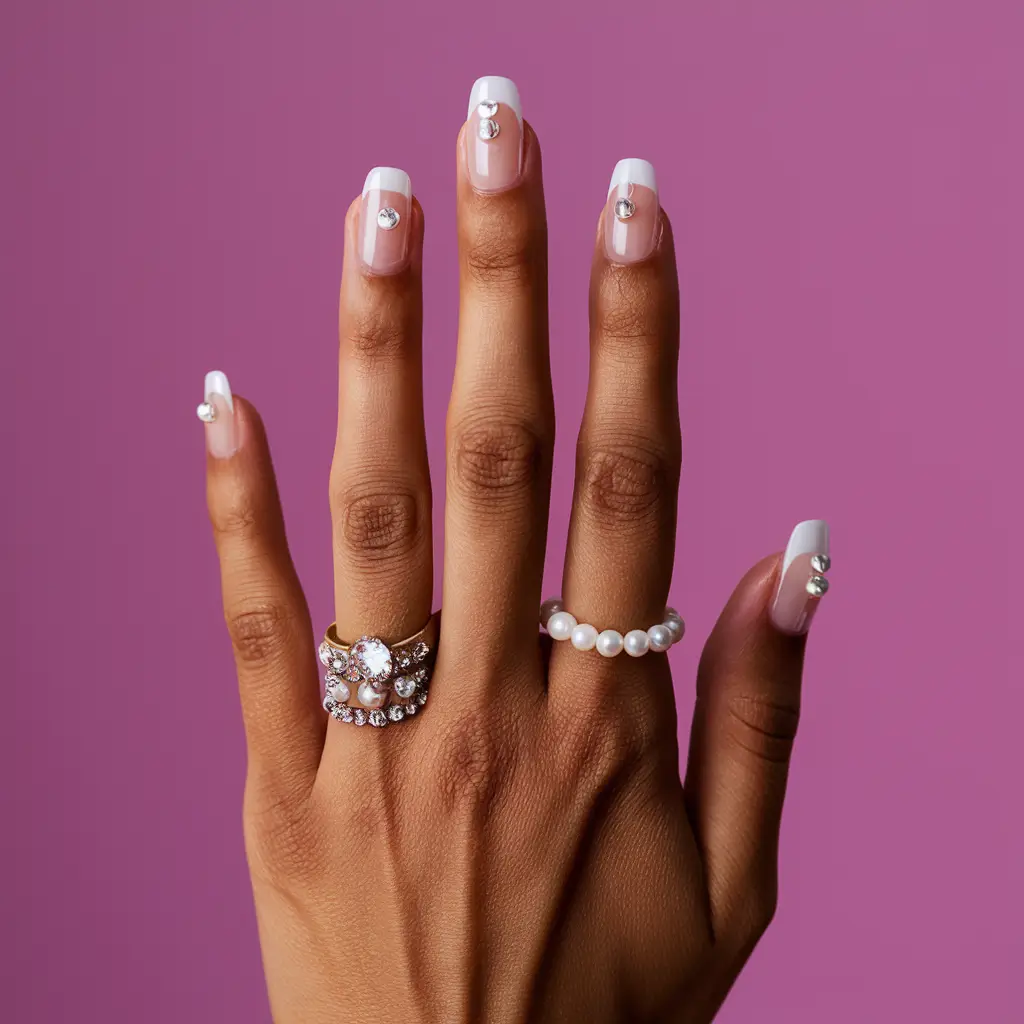
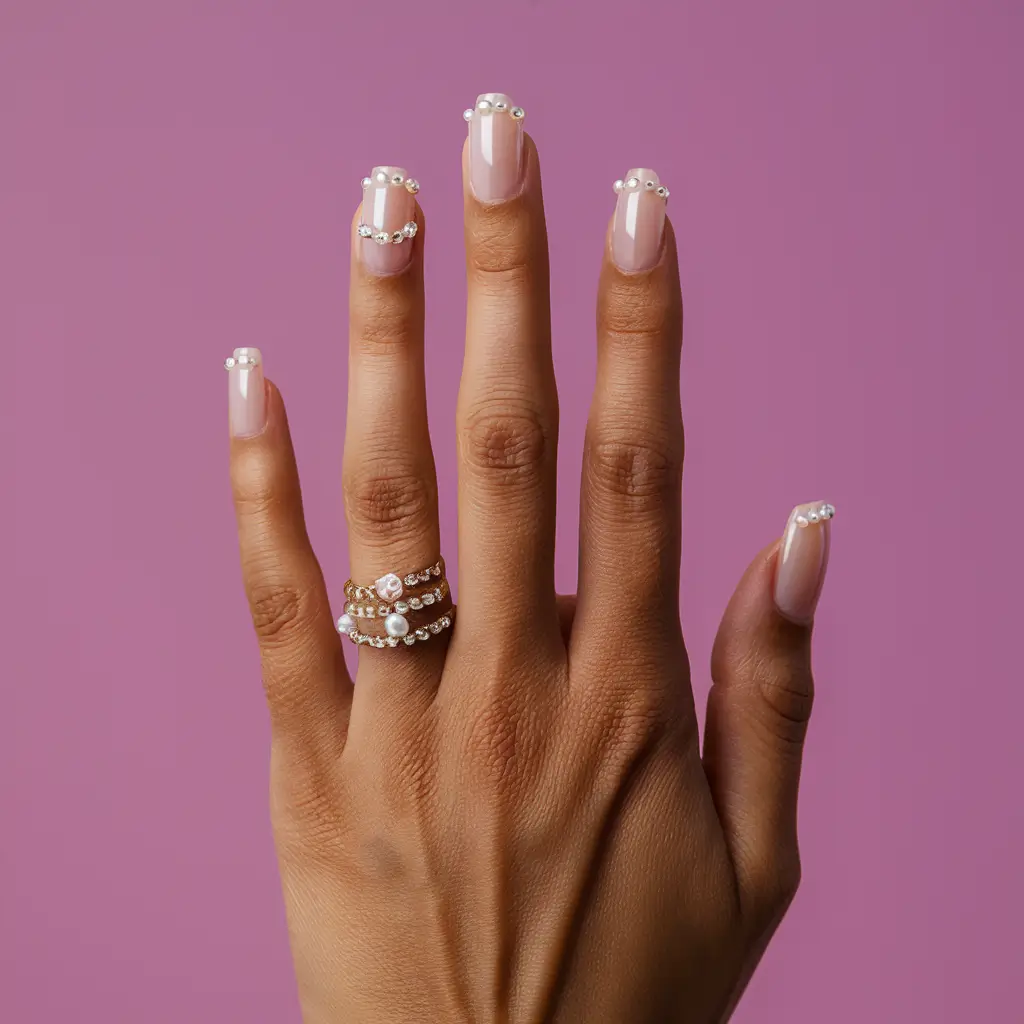
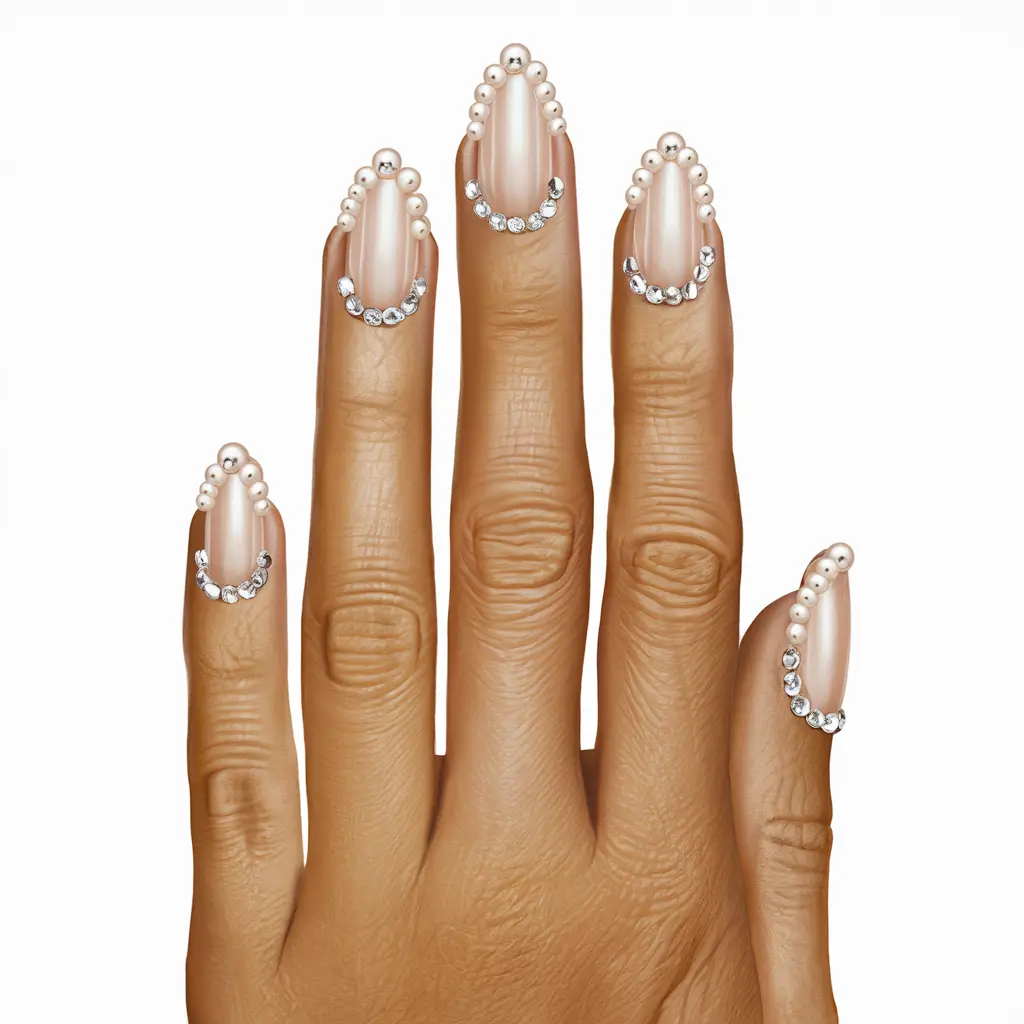
I love combining pearls with rhinestones for a classy and sophisticated touch. Start with a simple French manicure or a neutral base color.
Then, place small pearls around the cuticles or along the tips of the nails. This design creates a stunning and elegant look perfect for any occasion. Pearls add a subtle, refined sparkle.
4: Glam Galaxy Nails


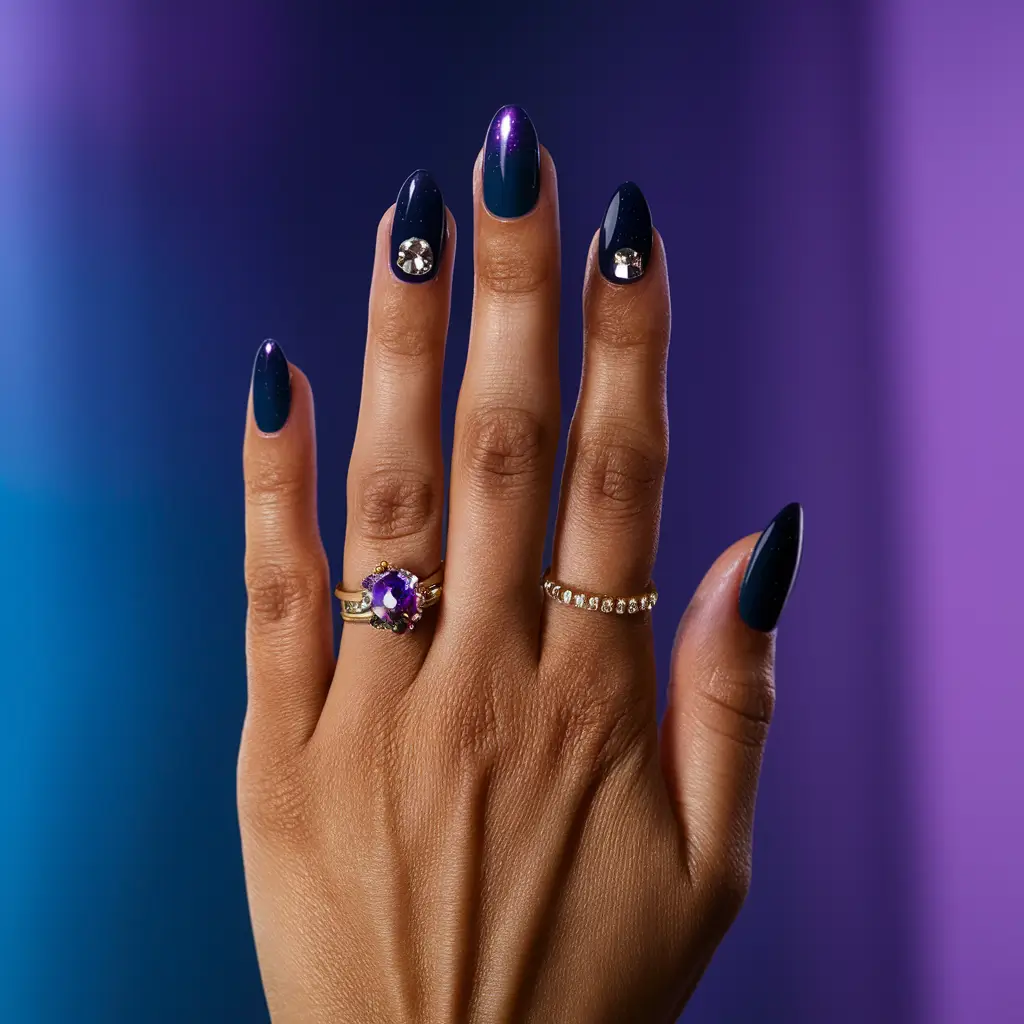
I love the look of galaxy nails combined with rhinestones. The dark, starry design makes a perfect backdrop for some extra sparkle.
First, I start with a base of deep blue or black. Then, I use a makeup sponge to blend in some purple and white polish for a nebula effect.
Next, I add small rhinestones to mimic stars. For a touch of glam, I place the rhinestones randomly on each nail. This gives the design an eye-catching twinkle.
To finish, I apply a top coat to secure the rhinestones and add extra shine. The result is a stunning, out-of-this-world manicure.

5: Vintage Rose Rhinestones


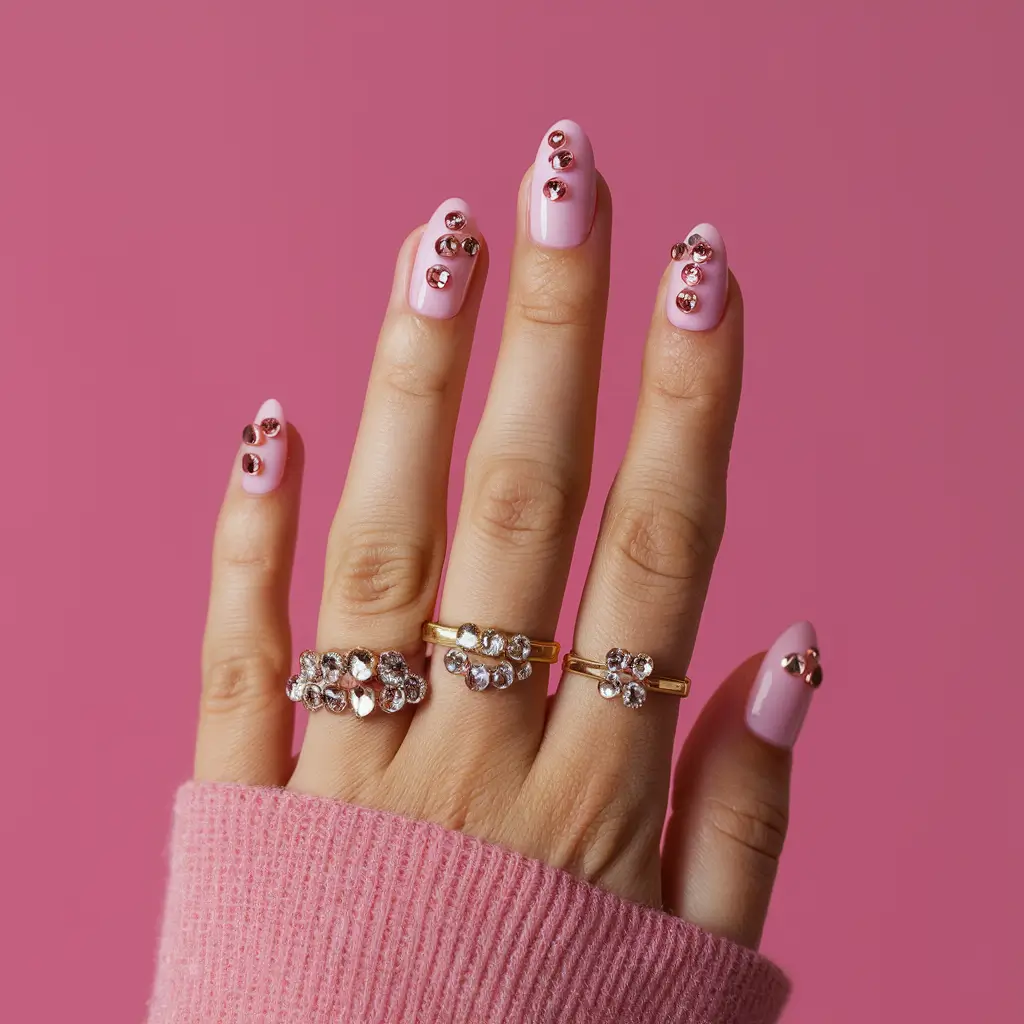
I love the charm of vintage rose rhinestones. These soft pink gems can turn any manicure into a romantic masterpiece. I start with a pale pink or nude base color. This helps the rhinestones stand out more.
I usually place the rhinestones at the base of the nail. Sometimes, I add small gold accents for a touch of elegance. The look is simple yet classy.
Using different sizes of rhinestones creates a lovely 3D effect. It reminds me of antique jewelry. You can arrange them in floral patterns or scatter them randomly.

6: Mystical Mermaid Tears

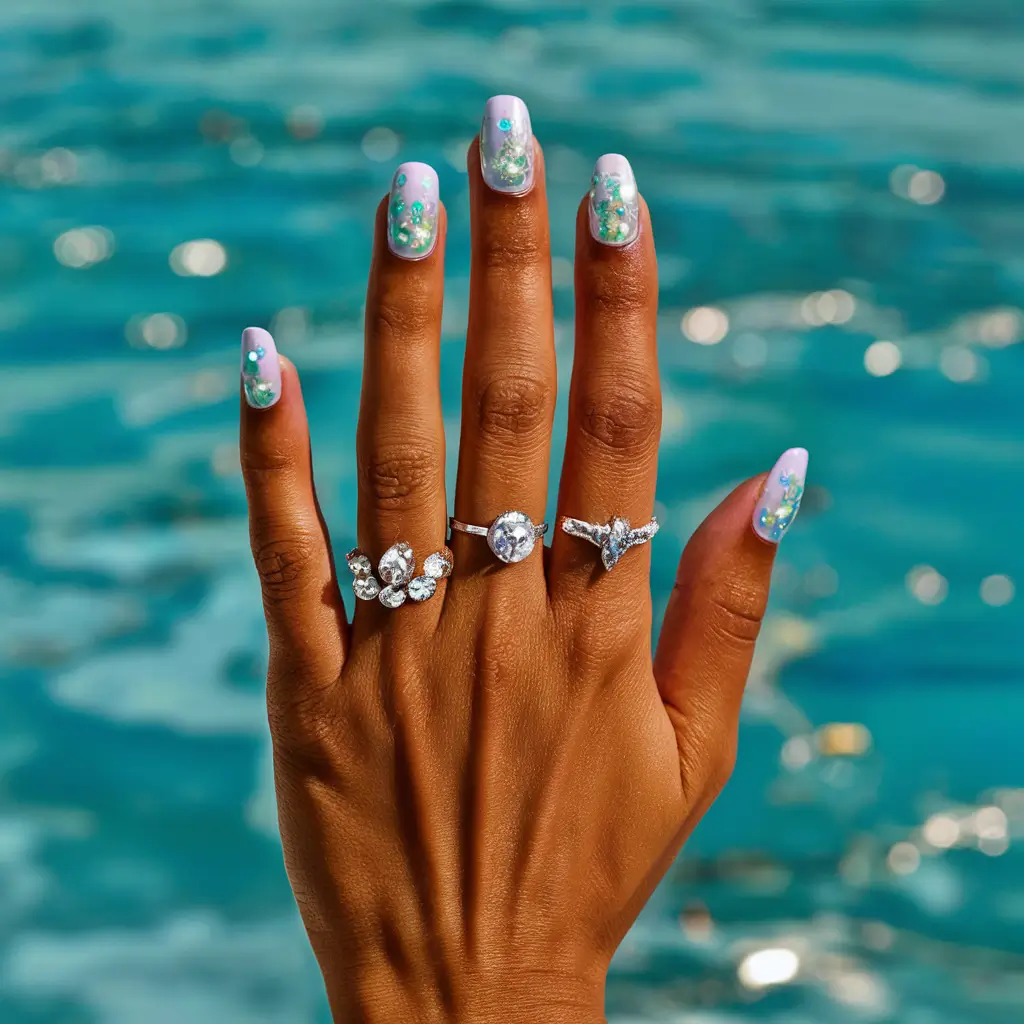
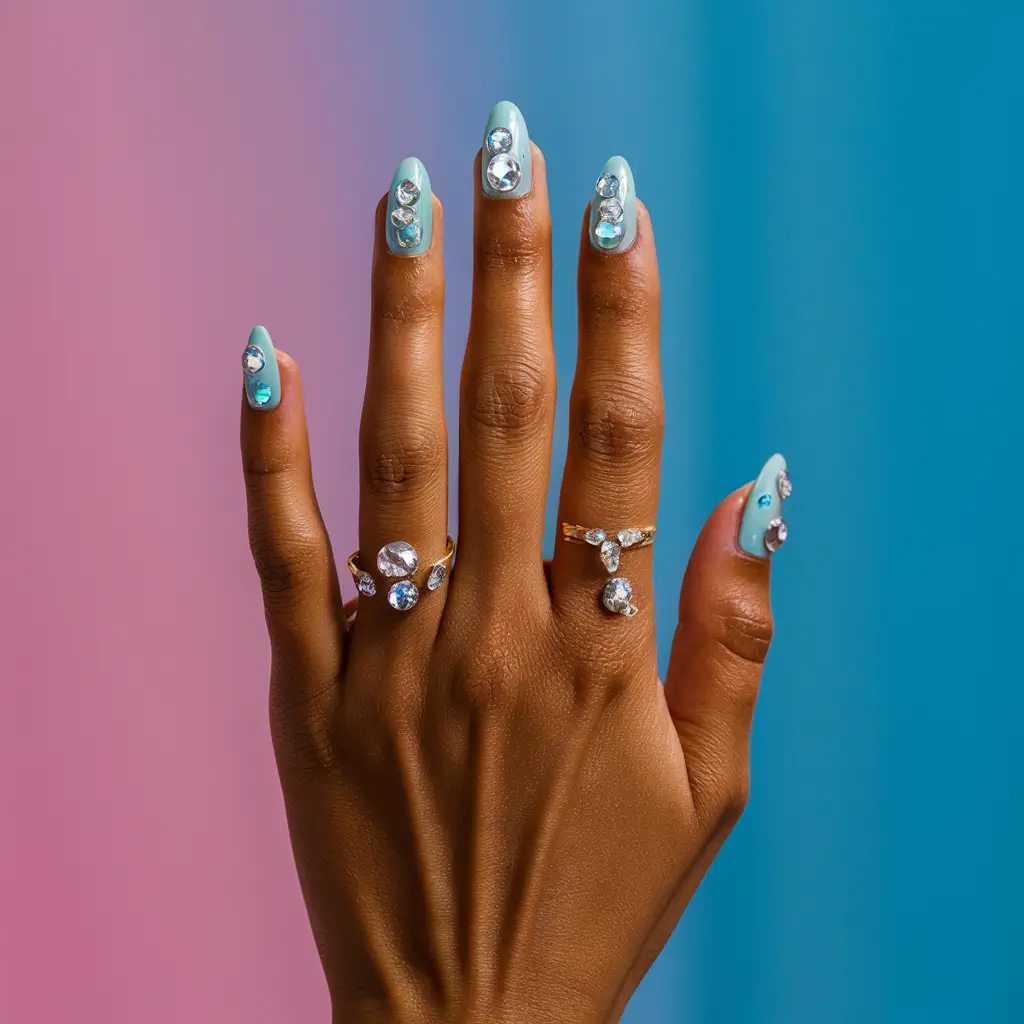
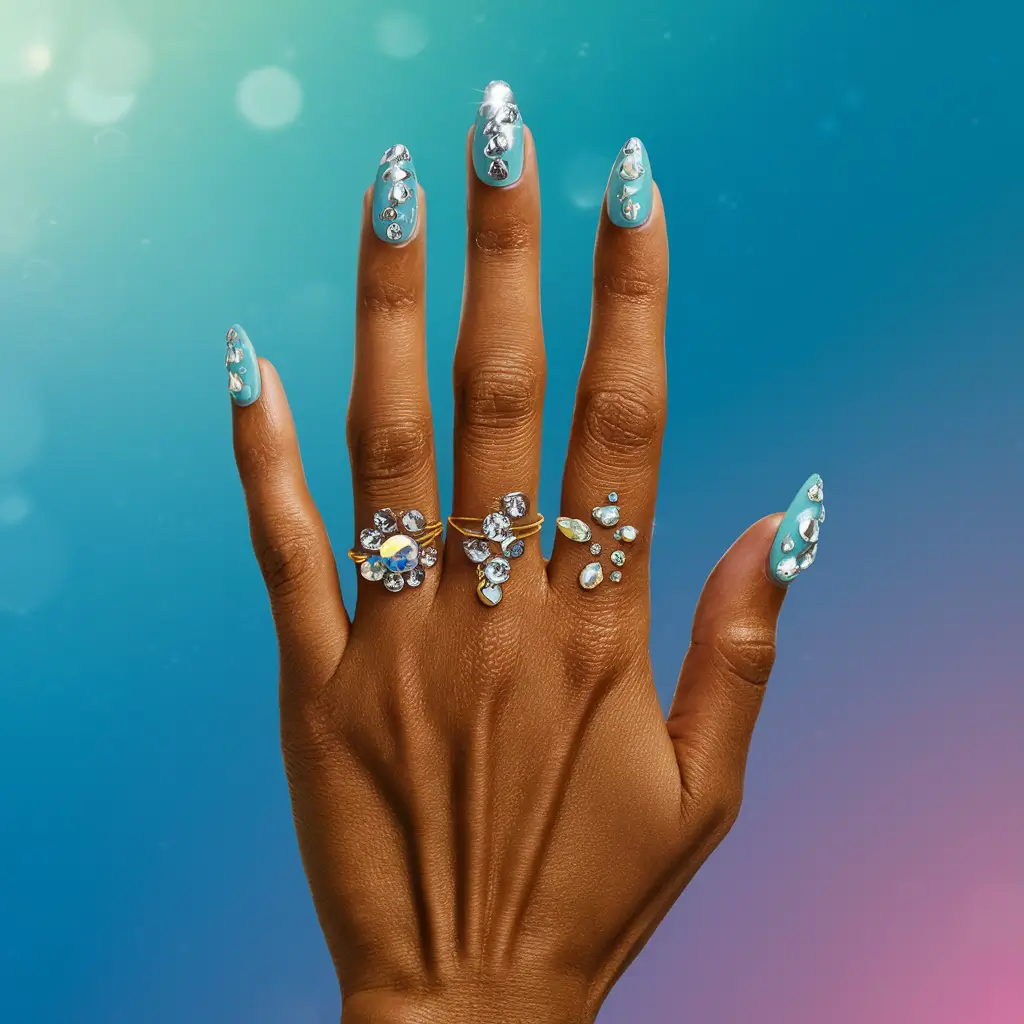
Mystical Mermaid Tears is a dazzling nail art style inspired by the ocean. I start with a light blue or seafoam base coat to mirror the sea.
Next, I apply rhinestones in varying sizes, resembling shimmering droplets.
I use a top coat to seal the design and ensure the rhinestones stay put.
7: Dazzling Diamond Patterns
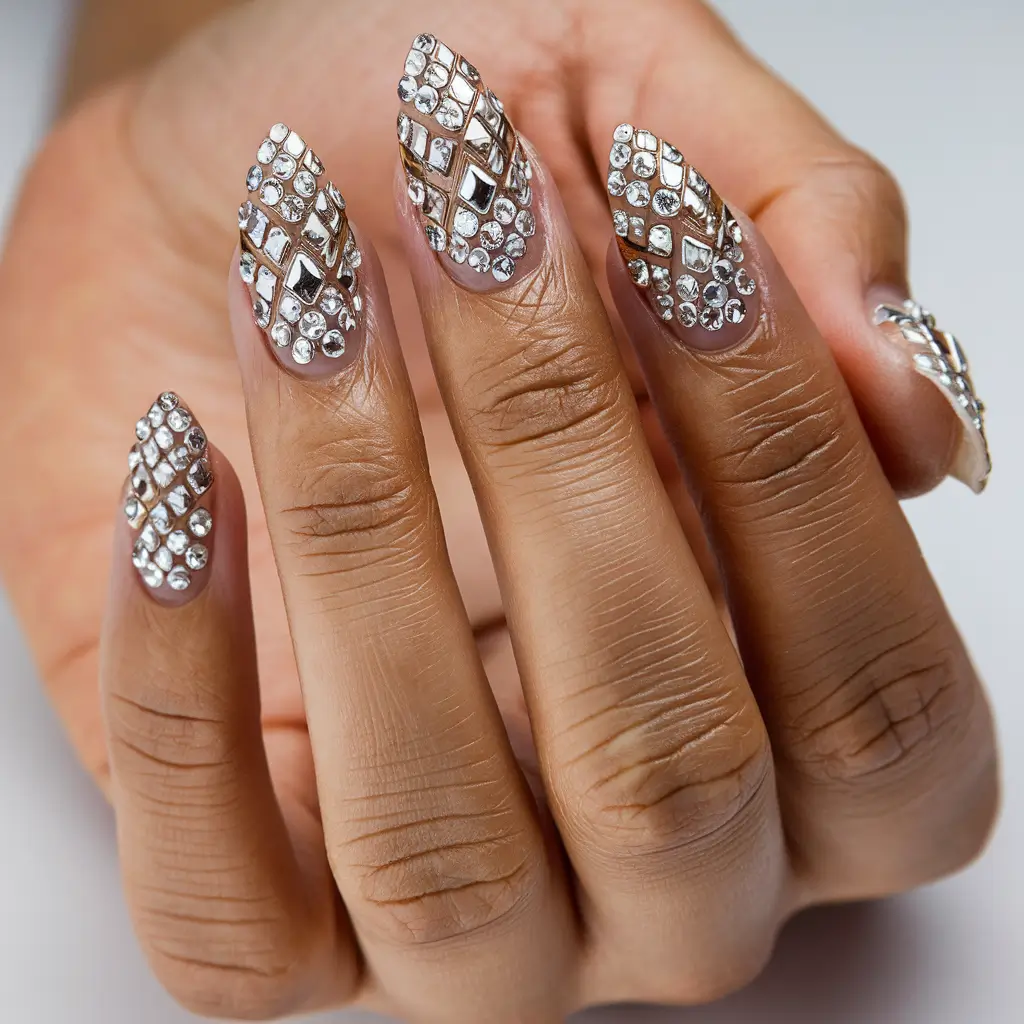
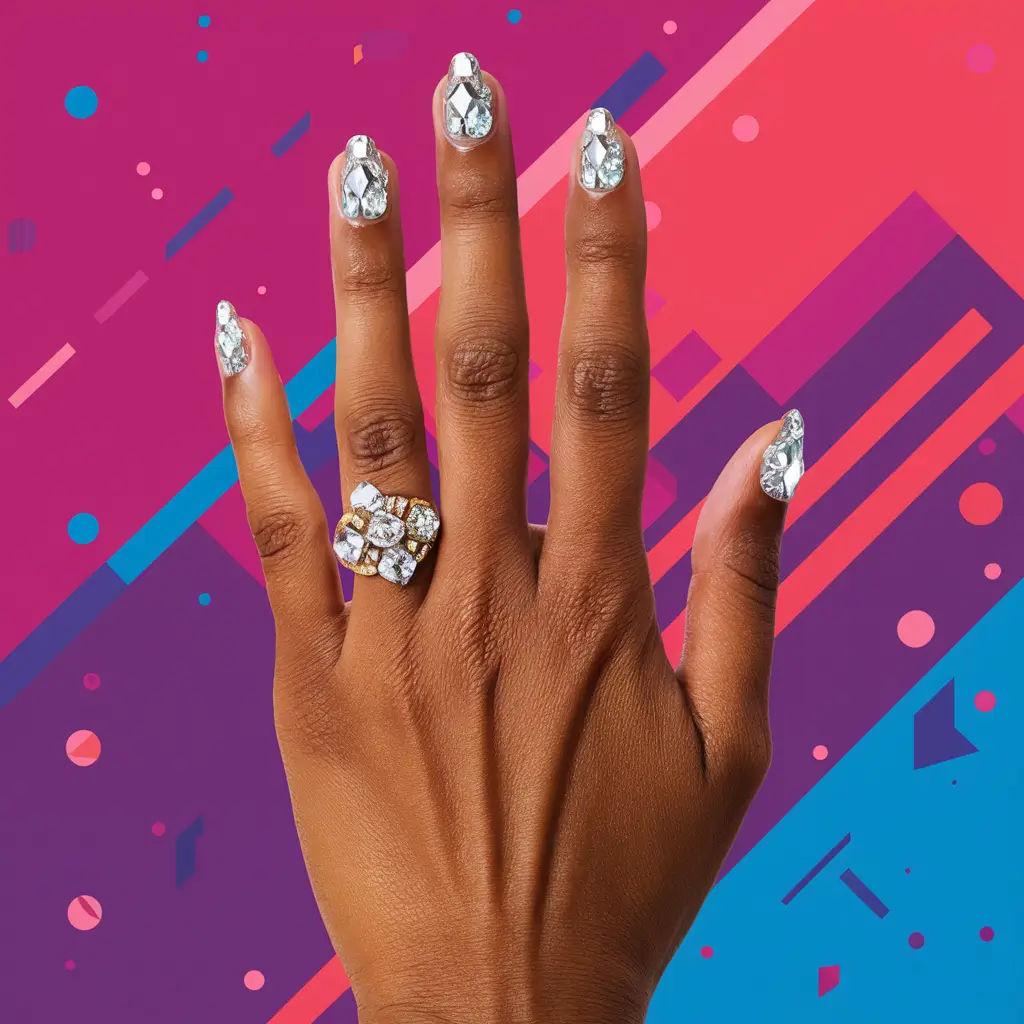
I love creating dazzling diamond patterns on my nails. These designs add sparkle and elegance like no other.
A simple pattern with small rhinestones can look stunning. Placing them in a neat, grid-like format adds sophistication.
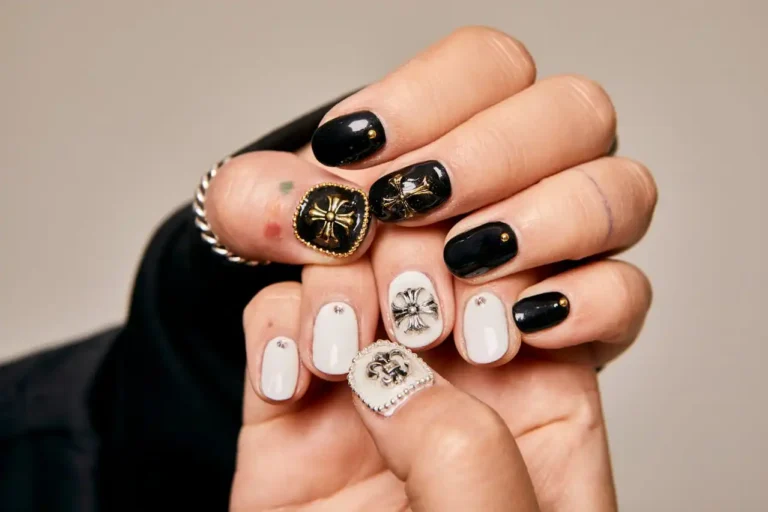
I sometimes use larger gems for a bolder look. Arranging them in geometric shapes makes my nails stand out beautifully.

Things Needed For Rhinestone Nail Art
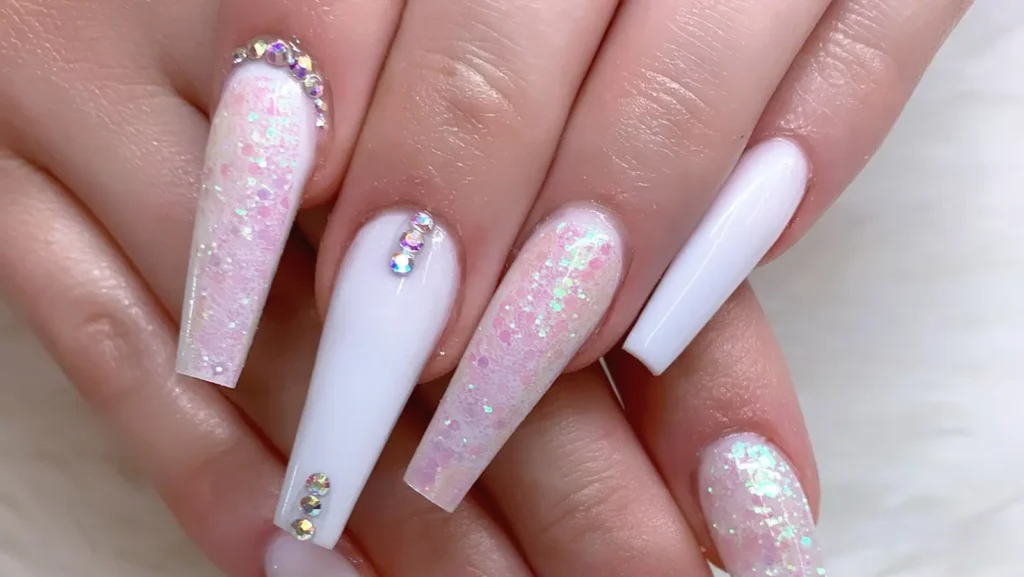
Rhinestone nail art is a popular way to add sparkle and glamour to your manicure. You’ll need a few essential tools and supplies to create stunning rhinestone designs.
First and foremost, you’ll need a selection of rhinestones in various sizes, shapes, and colors.
These tiny gems come in various options, from classic clear crystals to colorful stones and even themed sets like ocean-inspired charms. Having a diverse collection allows you to create intricate and unique designs.
A rhinestone picker or applicator tool is crucial for precisely placing the tiny gems. This tool usually has a wax tip that lets you easily pick up and position rhinestones on your nails.
Some kits may include multiple applicator tools with different tip sizes to accommodate various rhinestone dimensions.
The adhesive is another vital component. While you can use a gel top coat to secure rhinestones, many nail artists prefer specialized glue for a stronger hold.

The type of adhesive you choose may depend on how long you want the rhinestones to last and the base polish you’re using.
A good top coat is essential to seal your design and protect the rhinestones. Look for a thick, durable top coat that won’t cause your nail art to smear. Some artists recommend using a water-based top coat to prevent smudging.
You might want to invest in additional tools to create more complex designs. Tweezers can be helpful for manipulating larger rhinestones or adjusting their position.
A dotting tool can help create perfect dots of glue or polish to act as a base for your rhinestones.
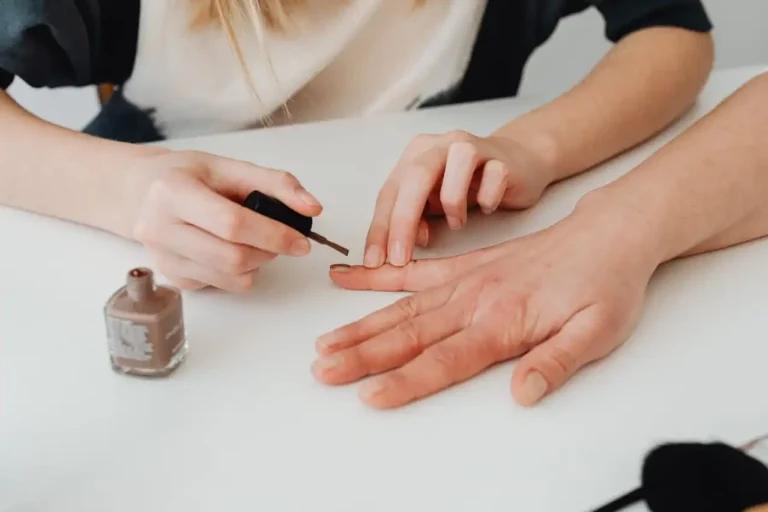
Don’t forget about nail prep supplies like nail polish remover, cotton pads, and a good base coat to ensure your rhinestone design has a clean, smooth surface to adhere to.

Lastly, consider adding some complementary nail art supplies to your kit. When combined with rhinestones, glitter, charms, and nail stickers can help you create more diverse and eye-catching designs.
With these tools and supplies at your disposal, you’ll be well-equipped to create dazzling rhinestone nail art designs.
Remember, practice makes perfect, so don’t be afraid to experiment with different placement techniques and design ideas to find your signature style.
Ways To Remove Rhinestone Nail Art

Removing rhinestone nail art can be a delicate process that requires patience and care to avoid damaging your natural nails.
Here are several methods you can use to remove rhinestones from your nails safely:
Soaking Method:
One of the gentlest ways to remove rhinestones is soaking your nails. Fill a small bowl with warm water and add a few drops of dish soap or cuticle oil.
Soak your nails for about 15-20 minutes. This helps to loosen the adhesive holding the rhinestones in place.
After soaking, gently push the rhinestones off with a wooden cuticle stick or your fingernail. If they don’t come off easily, soak them for a few more minutes.
Acetone Technique:
Acetone can be effective for stubborn rhinestones or those applied with strong adhesive. Soak a cotton ball in acetone-based nail polish remover and place it on the nail.
Wrap the fingertip in aluminum foil to keep the cotton ball in place and leave it for 10-15 minutes.
Acetone dissolves the glue, making it easier to remove the rhinestones. Gently scrape off the loosened stones with a cuticle pusher.

Oil Method:
Apply cuticle or olive oil around and under the edges of the rhinestones. Let it sit for a few minutes to allow the oil to penetrate beneath the stones.
Then, gently use a wooden cuticle stick to pry up the rhinestones’ edges. The oil helps break down the adhesive, making removal easier and less damaging to your nails.
Professional Removal:
If you’re concerned about damaging your nails or the rhinestones are particularly stubborn, consider visiting a nail salon. Professionals have specialized tools and techniques for safely and efficiently removing nail art.
Nippers or Tweezers:
Larger rhinestones or those applied with minimal adhesive can be carefully removed using nippers or tweezers.
Gently grip the edge of the stone and slowly lift it off the nail. Be careful not to apply too much pressure, as this could damage your nail bed.
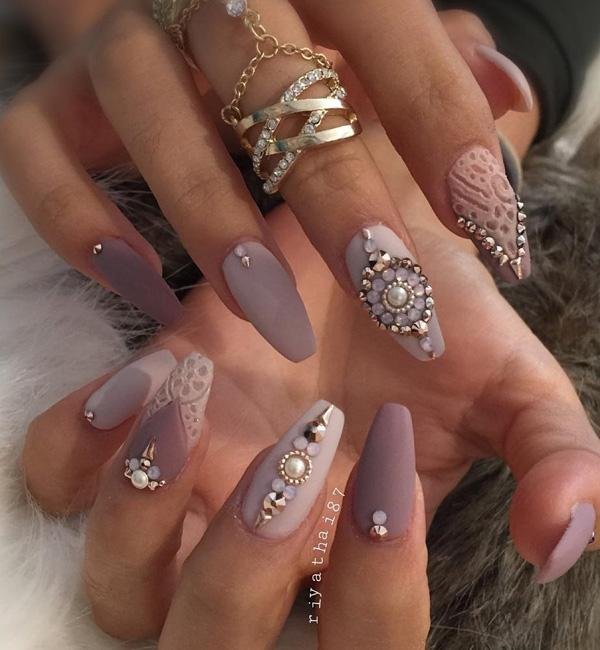
Filing Method:
Sometimes, you can gently file down the top of the rhinestones with a nail file. This weakens their structure and makes them easier to remove.
Once you’ve filed them down, you can use one of the other methods to remove the remaining adhesive.
Regardless of your chosen method, it’s important to be gentle and patient. Rushing the process or using excessive force can damage your natural nails.
After removing the rhinestones, moisturize your nails and cuticles to help them recover from the removal process.
If you experience pain or see signs of damage, stop the removal process and seek professional help.
Remember, prevention is key. When applying rhinestones, consider using a peel-off base coat underneath.
This will make future removal much easier and less damaging to your nails.

