Nail Art Mistakes That Ruin Your Look
You’ve spent hours perfecting your nail art design, only to step back and realize something looks off.
Whether you’re a beginner or experienced nail artist, certain mistakes can instantly transform your masterpiece into a beauty disaster.
These common pitfalls sabotage even the most creative designs and leave you frustrated with the results.
Skipping the Foundation: Base Coat Blunders
You might think base coat is just an extra step you can skip when you’re in a rush. The result? Your beautiful design chips and peels within days instead of lasting weeks.
This thinking destroys your manicure before you even start applying color. Base coat serves as the foundation that makes everything else possible.
When you skip base coat, your nail polish struggles to adhere properly to your natural nail surface. You create an uneven surface when you apply polish directly to bare nails.
Base coat also prevents staining, especially important when you’re working with dark or highly pigmented colors.
Your nail’s natural oils interfere with polish adhesion, causing bubbles and streaks that make your design look amateur.
Professional nail artists never skip this crucial step because they understand its importance.
Choose a base coat that matches your specific needs. If you have weak nails, select a strengthening formula.
For ridged nails, opt for a smoothing base coat that fills in imperfections and creates the perfect canvas for your art.
The Impatience Trap: Rushing Your Drying Time
You finish applying your nail polish and immediately start using your hands, thinking the surface feels dry enough.
This impatience ruins more manicures than any other single mistake. What feels dry on top remains wet underneath for much longer than you realize.
Surface drying happens quickly, but complete curing takes time. When you use your hands too soon, you create dents, smudges, and fingerprints that destroy your hard work.
Even gentle activities like putting on clothes or opening doors can damage seemingly dry polish.
Professional nail salons understand this principle. They schedule appointments with sufficient drying time between services.
You should apply the same patience to your home manicures. Plan your nail art sessions when you can afford to wait properly.
Speed up the process safely by using thin coats instead of thick ones. Thin layers dry faster and more evenly than heavy applications.
You can also invest in a LED nail lamp or quick-dry top coat to reduce waiting time without compromising quality.
Color Chaos: Poor Polish Application Techniques
You load your brush with too much polish and wonder why your manicure looks messy and unprofessional.
Heavy polish application creates numerous problems that even the most intricate nail art can’t overcome. Thick coats take forever to dry and often remain gummy for hours.
Excess polish also causes bubbling, streaking, and uneven coverage that makes your nails look sloppy.
When you apply too much product at once, it pools around your cuticles and creates messy edges that are difficult to clean up properly.
You should wipe excess polish from your brush before each stroke. The perfect amount barely covers the brush tip without dripping.
This technique requires more coats but produces infinitely better results than rushing with heavy applications.
Practice your brush control by working from cuticle to tip in smooth, confident strokes.
Hesitation and multiple passes over the same area create streaks and texture problems that ruin even simple solid colors.
Design Disasters: Attempting Beyond Your Skill Level
You see an intricate nail art tutorial online and decide to recreate it without considering your current skill level.
This overambition leads to frustration and disappointing results that make you want to give up on nail art entirely.
Complex designs require specific tools, techniques, and experience that develop over time.
When you jump ahead too quickly, you lack the foundational skills needed to execute advanced patterns successfully. Your attempts end up looking messy rather than impressive.
Master basic techniques like clean lines, dots, and simple gradients before moving on to detailed artwork.
Start with simple designs that match your current abilities. Each successful project builds confidence and skills for more challenging designs.
You can break down complex tutorials into individual elements and practice each component separately.
This approach helps you understand the techniques involved and identify which skills need development before attempting the full design.
Tool Troubles: Using Inadequate Equipment
You try creating professional-looking nail art with household items and wonder why your results look amateur.
While creativity matters, proper tools make the difference between frustration and success.
Cheap brushes shed bristles, create uneven lines, and make detailed work nearly impossible.
Using cotton swabs instead of proper cleanup brushes leaves fuzzy residue around your cuticles.
Regular tape doesn’t create clean lines like nail art tape designed specifically for manicures. These shortcuts seem economical but actually waste time and create poor results.
Invest in basic nail art tools that match your interests and skill level. Professional tools last longer and perform better than improvised alternatives.
You don’t need every available gadget, but quality brushes, dotting tools, and cleanup brushes dramatically improve your results.
Clean and maintain your tools properly to extend their lifespan and ensure consistent performance.
Store brushes properly, clean them thoroughly after each use, and replace them when they become worn or damaged.
Cuticle Catastrophes: Neglecting Nail Prep
You focus entirely on the polish and design while ignoring the importance of proper nail preparation. Your nail art becomes secondary to obvious maintenance issues.
Messy cuticles, uneven nail length, and poor shaping make even perfect polish application look unprofessional.
Overgrown cuticles create uneven polish lines and make cleanup difficult. When you don’t push back your cuticles, polish application looks sloppy around the nail bed.
Proper cuticle care creates clean lines that make your nail art look professional. Choose a nail shape that flatters your fingers and maintains it consistently.
File your nails to consistent lengths and shapes before starting any nail art project. Mismatched nail lengths draw attention away from your design and create an unfinished appearance.
Buff away ridges and smooth rough areas that interfere with polish application. Clean nails thoroughly to remove oils and debris that prevent proper adhesion.
This preparation takes extra time but ensures professional-looking results.
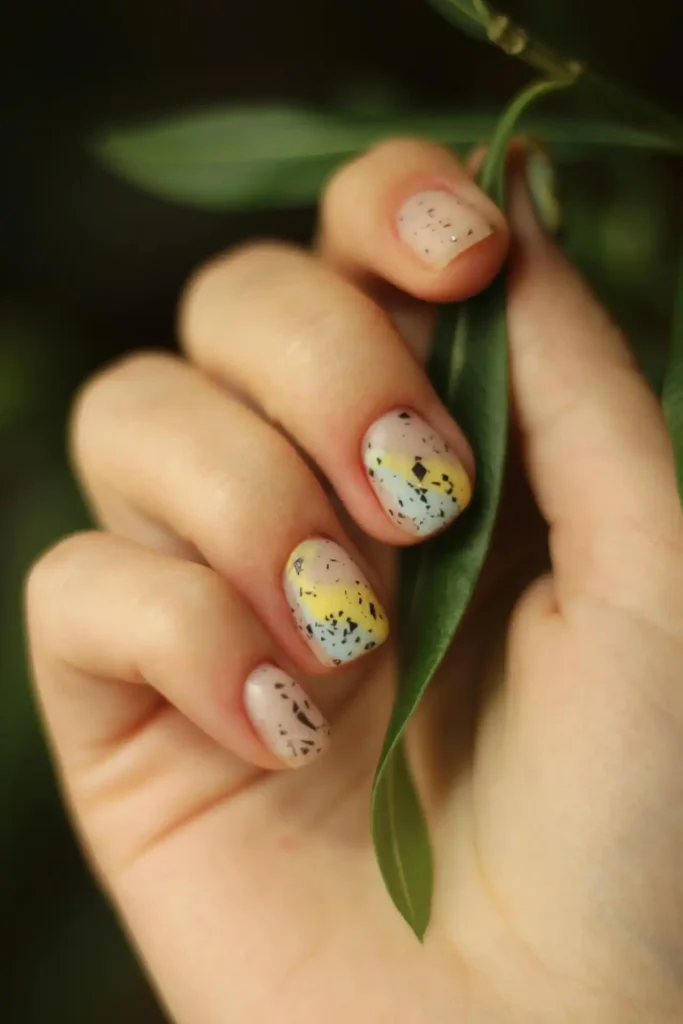
Color Combination Confusion: Clashing Schemes
You choose colors based on individual preference without considering how they work together in your overall design.
Poor color combinations can make even technically perfect nail art look unpleasant and uncoordinated. Understanding basic color theory prevents these visual disasters.
Certain color combinations create visual vibration that makes your nails difficult to look at.
Others clash so severely that they appear muddy or chaotic rather than intentional. Some combinations work beautifully in other contexts but look wrong when applied to nails.
Study color wheels and basic harmony principles to understand which combinations work well together.
Complementary colors create striking contrasts, while analogous colors provide subtle sophistication. Monochromatic schemes offer elegant simplicity that’s difficult to mess up.
Consider your skin tone when selecting colors for nail art. Some shades complement your natural coloring while others wash you out or create unflattering contrasts.
Test color combinations on practice wheels before committing to your actual nails.
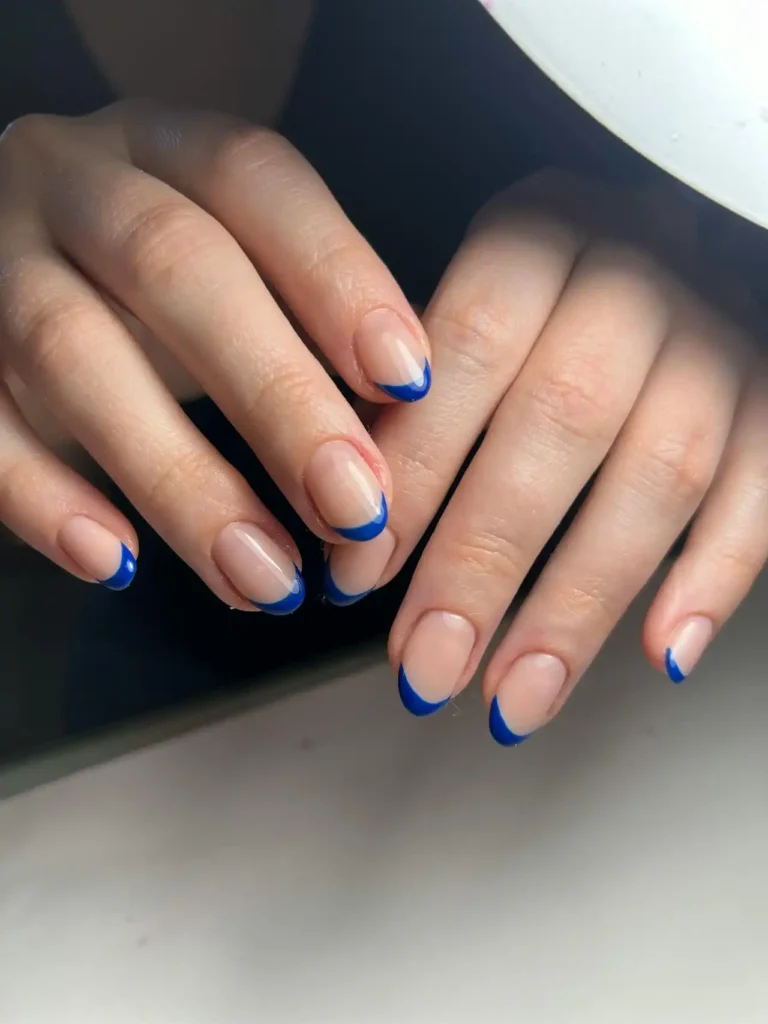
Seal the Deal: Top Coat Troubles
You finish your nail art and skip the top coat because your design already looks complete.
This final step makes the difference between amateur and professional-looking results. Top coat protects your artwork, adds shine, and extends wear time significantly.
Without proper top coat protection, your nail art chips, fades, and loses its visual impact within days. Intricate designs that took hours to create disappear quickly when left unprotected.
Top coat also smooths over textural elements and creates uniform shine across your entire design.
Different top coats serve different purposes in nail art. Quick-dry formulas help when you’re in a hurry, while ultra-glossy versions create mirror-like shine.
Matte top coats completely change the look of your design and create sophisticated, modern finishes.
Apply top coat carefully to avoid disturbing underlying nail art. Use thin, even strokes and avoid going back over areas you’ve already covered.
Seal the tips of your nails by running the brush along the free edge to prevent chipping.
Maintenance Mishaps: Ignoring Upkeep
You complete a beautiful manicure and expect it to maintain its appearance without any additional care.
Nail art requires ongoing maintenance to look its best throughout its wear time. Ignoring simple upkeep tasks causes premature deterioration of your hard work.
Daily activities gradually wear down your nail art through normal use. Simple maintenance extends wear time and keeps your nails looking fresh.
Without touch-ups and protective measures, small chips become major problems that require complete removal and restart.
Apply cuticle oil daily to keep your nail area healthy and prevent dry, ragged cuticles from detracting from your nail art.
Wear gloves during cleaning and gardening to protect your manicure from harsh chemicals and rough surfaces.
Perform minor touch-ups as soon as you notice small chips or wear spots. Address problems immediately rather than waiting until they become major issues.
Carry a small touch-up kit with base coat, your main color, and top coat for emergency repairs.
Timing Troubles: Poor Planning and Scheduling
You start an elaborate nail art project late in the evening when you’re tired and rushed. Nail art requires focus, patience, and adequate time to complete properly.
Poor timing leads to mistakes, shortcuts, and disappointing results that could have been avoided with better planning.
Fatigue affects your precision and decision-making abilities, leading to sloppy application and poor design choices.
When you’re rushed, you skip important steps like proper drying time and careful cleanup that make the difference between good and great results.
Schedule nail art sessions when you have sufficient time and energy to complete the project properly.
Plan for longer than you think you’ll need, especially when trying new techniques or complex designs. Account for drying time between coats and final curing.
Prepare your workspace and gather all necessary tools before starting your manicure.
Good lighting, comfortable seating, and organized supplies contribute to better results and more enjoyable nail art sessions.
Learning from Mistakes: Building Better Habits
You recognize that mistakes are part of the learning process rather than reasons to give up on nail art entirely.
Every error teaches valuable lessons that improve your future results. Professional nail artists made countless mistakes while developing their skills and expertise.
Document your nail art attempts with photos to track your progress and identify areas for improvement.
Note which techniques work well for you and which need more practice. Keep records of successful color combinations and design elements for future reference.
Practice regularly to develop muscle memory and improve your technique consistency.
Set aside time for experimentation without pressure to create perfect results. Play with new tools, colors, and techniques in low-stakes situations.
Connect with other nail art enthusiasts through online communities and local groups. Share experiences, ask questions, and learn from others who share your interests.
The nail art community is generally supportive and willing to help newcomers develop their skills.
Conclusion
Avoiding these common nail art mistakes transforms your manicures from frustrating disasters into stunning successes.
Focus on proper preparation, quality tools, and patience rather than rushing through the process for consistently beautiful results.