How to Remove Gel Nails Without Damaging Your Natural Nails
You’ve enjoyed your gorgeous gel manicure for weeks, but now it’s time to say goodbye.
Removing gel nails properly protects your natural nails from damage, peeling, and weakness.
With the right technique and patience, you can achieve salon-quality removal at home while keeping your nails healthy and strong.
Why Proper Gel Nail Removal Matters
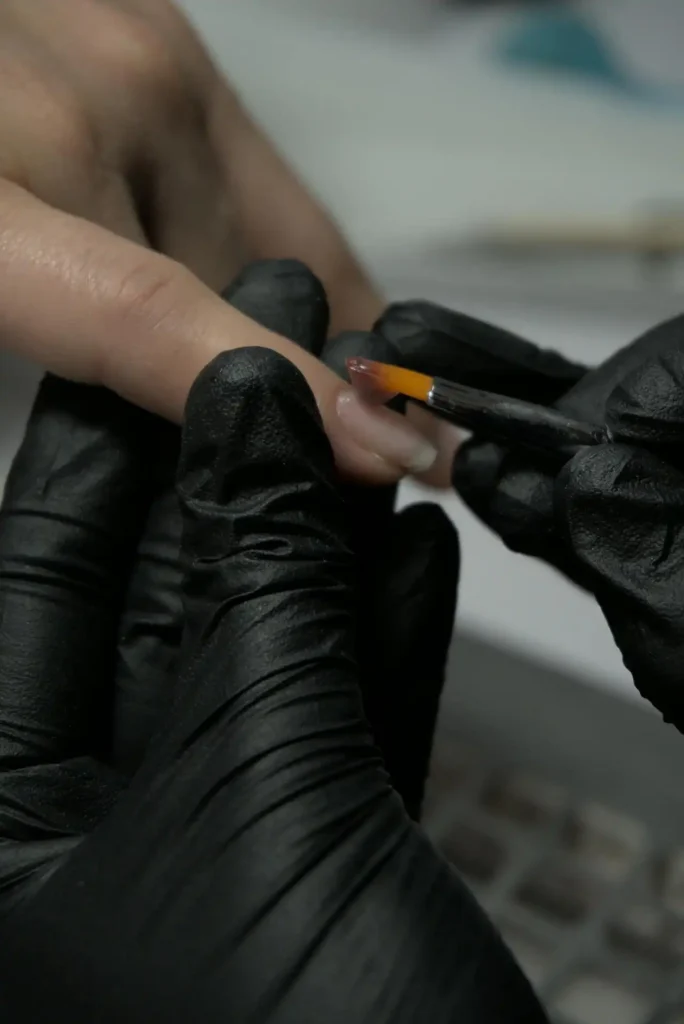
Your natural nails deserve the same care you give them during application. Improper removal can leave you with thin, brittle nails that take months to recover.
Gel polish bonds strongly to your nail bed through chemical adhesion. When you peel or force off gel nails, you often remove layers of your natural nail along with the polish.
This damage appears as white spots, ridges, or painful thin areas. You can achieve the same results at home by following proper techniques and avoiding shortcuts.
Professional nail technicians understand that patience during removal prevents long-term damage.
Your nails need time to break down the gel’s chemical bonds safely. Rushing this process always leads to damage that could have been easily prevented.
Essential Tools for Safe Gel Removal
Gathering the right supplies makes removal easier and more effective. You don’t need expensive equipment, but quality tools produce better results.
Start with pure acetone, not nail polish remover. Acetone dissolves gel polish efficiently, while regular remover lacks the strength needed for thorough removal.
Cotton balls or pads work better than tissues for holding acetone. They absorb more product and conform to your nail shape during soaking.
Aluminum foil creates an airtight seal around each nail. This prevents acetone evaporation and concentrates the dissolving action where you need it most.
A cuticle pusher or orange stick helps remove softened gel without scratching your nails. Metal tools can cause damage, so choose wood or plastic alternatives.
The Acetone Soaking Method
This method works best for most people and causes minimal damage when done correctly. You’ll need about 30 minutes of uninterrupted time.
Start by filing off the top coat of your gel manicure. Use a coarse nail file to remove the shiny surface layer.
You don’t need to file down to your natural nail, just break through the protective coating.
Cut cotton balls in half and saturate each piece with pure acetone. Place the soaked cotton directly on each nail, ensuring complete coverage of the gel surface.
Wrap each fingertip tightly with aluminum foil. The foil should cover the cotton and extend past your nail tip to prevent leakage.
This creates a mini sauna effect that speeds up the dissolving process. Patience during this step determines your success.
Wait 15-20 minutes without disturbing the wraps. Use this time to relax, read, or watch something entertaining.
Removing the Softened Gel
After soaking, your gel polish should appear cloudy or lifted around the edges. This indicates the acetone has broken down the chemical bonds effectively.
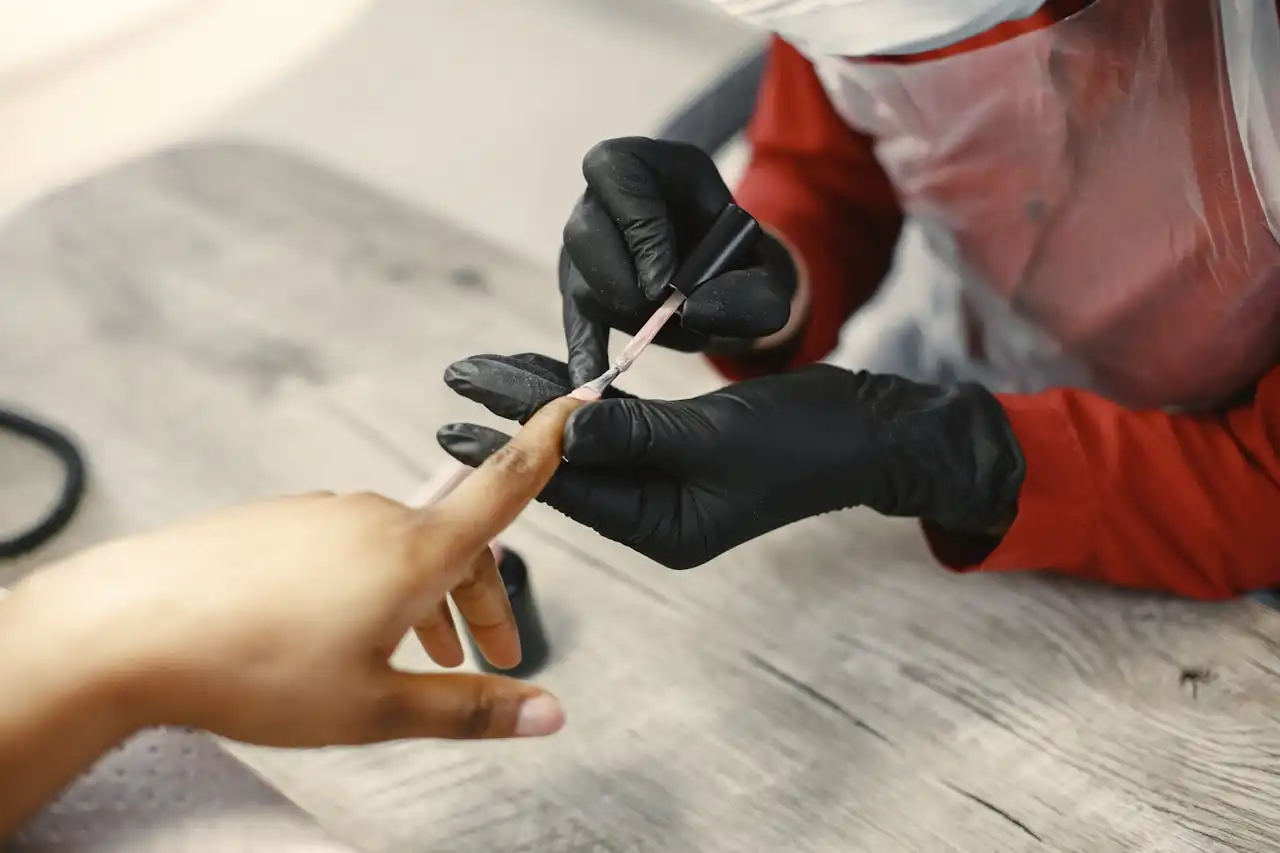
Remove the foil and cotton from one nail at a time. Work quickly since gel can re-harden when exposed to air for too long.
Use your cuticle pusher to gently slide off the softened gel. Start at the cuticle area and push toward the nail tip. The gel should come off in large pieces without resistance.
If gel remains stuck, don’t force it off. Re-wrap that nail with fresh acetone-soaked cotton for another 5-10 minutes. Forcing removal causes the damage you’re trying to avoid.
Some nails may require multiple rounds of soaking. Thick gel applications or older manicures often need extra attention. Consider this normal rather than a failure of technique.
The Filing Method Alternative
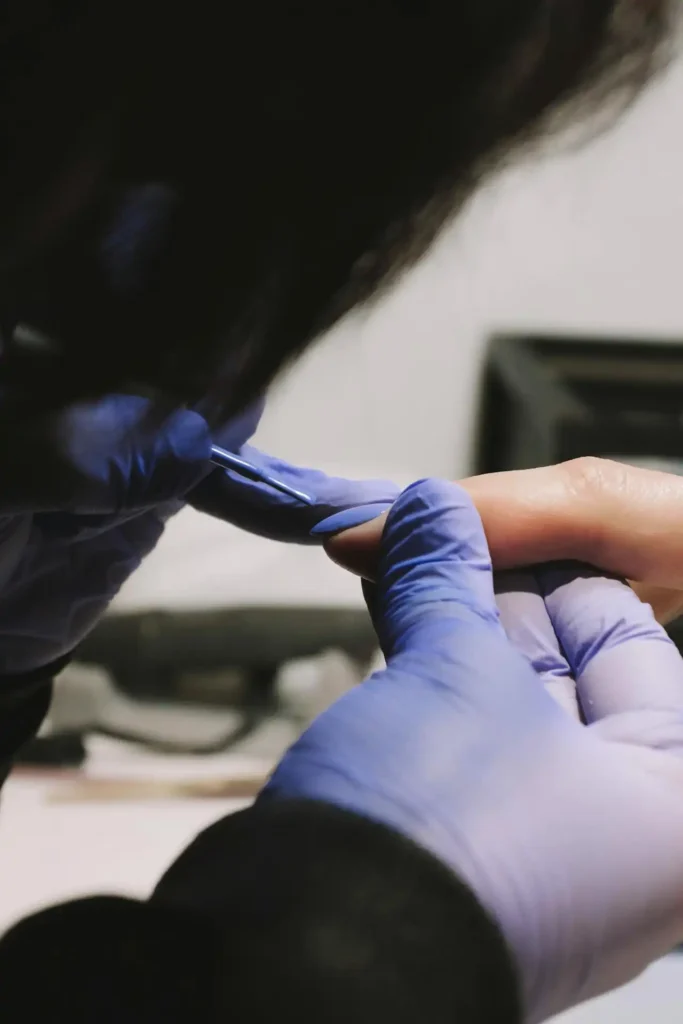
Some people prefer filing when acetone irritates their skin or when time constraints make soaking impractical. This method requires more skill but works effectively.
Use a coarse nail file to carefully file away the gel layer by layer. Work slowly and check your progress frequently to avoid filing into your natural nail.
File in one direction rather than back and forth. This prevents heat buildup that can damage your nail bed. Take breaks if your nails feel warm.
Switch to a finer grit file as you approach your natural nail. The change in texture will be obvious when you reach the natural nail surface.
This method takes longer than soaking but gives you complete control over the removal process. Many people find it less messy than acetone soaking.
Dealing with Stubborn Areas
Even with proper technique, some areas may resist removal. These trouble spots usually occur around the cuticle or nail edges where gel is thickest.
Apply a small amount of acetone to a cotton swab and target these areas specifically. Let the acetone work for a few minutes before attempting removal again.
Use the pointed end of your orange stick to gently work under lifted edges. Apply steady, gentle pressure rather than quick forceful movements.
Never use metal tools or your teeth to remove stubborn gel. These methods guarantee damage and can cause painful injuries to your nail bed.
If an area absolutely won’t budge, leave it alone and let it grow out naturally. A small patch of remaining gel is better than a damaged nail that takes months to heal.
Professional vs. At-Home Removal
Understanding when to seek professional help prevents costly mistakes. Nail technicians have specialized tools and experience that sometimes make the difference.
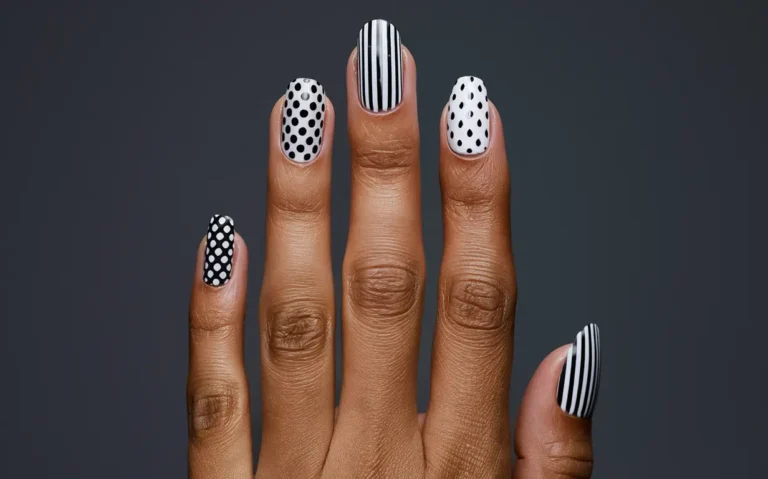
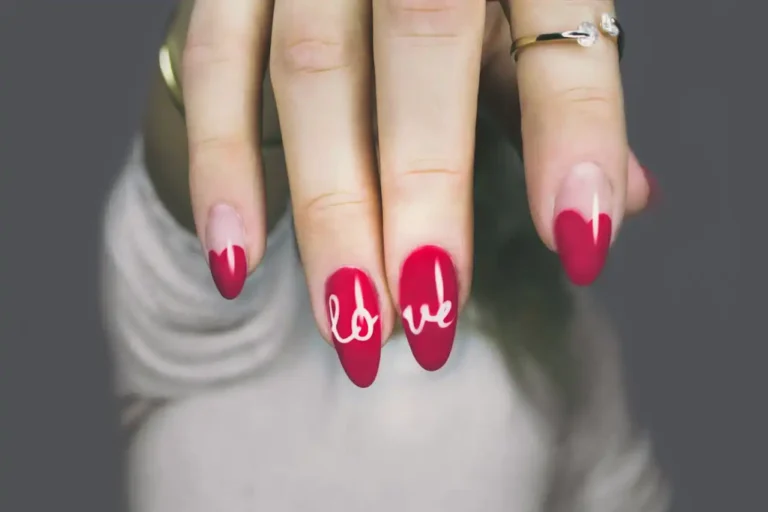
Consider professional removal if you have very thick gel applications, nail art, or multiple gel layers. These situations require expertise that takes time to develop.
Your first few at-home removals should be on simple, single-color manicures. Build your skills gradually before attempting complex removal projects.
If you experience pain, bleeding, or signs of nail damage during removal, stop immediately and consult a professional. Your nail health is worth more than the cost of professional removal.
Some nail salons offer removal services even if you didn’t get your manicure there. This option provides professional results without the full cost of a new manicure.
Post-Removal Nail Care
Your nails need special attention immediately after gel removal. The acetone and removal process can leave them temporarily weakened and dehydrated.
Wash your hands thoroughly with soap and water to remove acetone residue. This prevents continued chemical exposure that can dry out your skin and nails.
Apply cuticle oil generously to your nails and surrounding skin. Massage the oil into your nail beds to restore moisture and promote healthy growth.
Use a strengthening base coat if you plan to apply regular polish immediately. This creates a protective barrier and helps rebuild nail strength.
Consider taking a break from all nail polish for a few days. This recovery time allows your nails to rehydrate and regain their natural strength.
Common Mistakes to Avoid
Learning from others’ mistakes saves you time, money, and nail damage. These errors occur frequently but are completely preventable.
Never peel or pick at lifting gel polish. This irresistible urge causes more damage than any other removal mistake. Train yourself to leave lifting edges alone until proper removal.
Don’t use regular nail polish remover instead of pure acetone. The weaker formula won’t dissolve gel effectively, leading to frustration and potential damage from excessive scrubbing.
Avoid rushing the soaking process. Fifteen minutes feels long, but it’s minimal compared to the months needed to repair damaged nails from improper removal.
Don’t reuse cotton balls or foil during removal. Fresh supplies work more effectively and prevent cross-contamination between nails.
Maintaining Nail Health Between Manicures
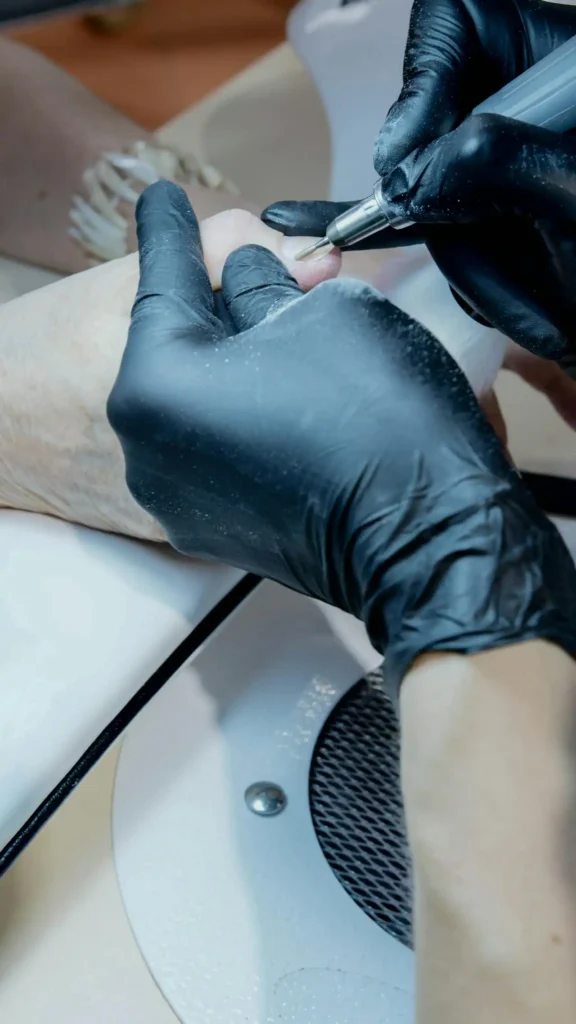
Healthy nails start with good care between gel applications. Your maintenance routine determines how well your nails handle future gel manicures.
Keep your nails and cuticles moisturized daily. Use hand cream, cuticle oil, or nail treatments designed to strengthen and protect natural nails.
File your nails regularly to prevent breaks and maintain shape. Use a glass or crystal file that won’t cause splitting or damage.
Take breaks between gel manicures to let your nails recover. A week or two of bare nails or regular polish gives them time to rebuild strength.
Consider biotin supplements or nail-strengthening treatments if your nails show signs of damage or weakness. These products can improve nail health over time.
Signs Your Nails Need a Break
Recognizing when your nails need recovery time prevents serious damage that requires professional intervention. Watch for these warning signs.
White spots, ridges, or discoloration indicate nail damage that needs attention. These changes mean your nails have been stressed beyond their capacity.
Thin, bendy nails that tear easily need immediate care and protection. Continue gel manicures on damaged nails only makes the problem worse.
Pain, sensitivity, or soreness around your nail beds suggests over-processing or allergic reactions. These symptoms require a complete break from gel products.
If your natural nails have become significantly shorter or weaker since starting gel manicures, it’s time for a recovery period.
Troubleshooting Removal Problems
Sometimes removal doesn’t go as planned, even with proper technique. Knowing how to handle problems keeps minor issues from becoming major damage.
If acetone burns your skin, dilute it slightly with water or take more frequent breaks. Some people have sensitive skin that needs modified techniques.
When gel won’t soften after extended soaking, check your acetone’s strength. Old or diluted acetone loses effectiveness and needs replacement.
Thick gel applications may require professional removal tools like electric files. Don’t attempt to force these manicures off with home methods.
If you accidentally file too deep and expose pink nail bed, stop immediately and apply antibiotic ointment. Cover with a bandage until healing occurs.
Choosing Quality Products
Investing in good removal supplies makes the process easier and safer. Quality products cost more initially but provide better results and last longer.
Pure acetone from beauty supply stores works better than drugstore versions. Professional-grade acetone dissolves gel more efficiently with less exposure time.
High-quality nail files cut more efficiently and last longer than cheap alternatives. Glass files never wear out and provide consistent results.
Professional cuticle oils contain ingredients specifically chosen for nail health. These products work better than household alternatives like olive oil.
Cotton pads designed for nail care hold more acetone and conform better to nail shapes than regular cotton balls.
Building Your Removal Routine
Developing a consistent removal process ensures reliable results every time. Your routine should prioritize safety and nail health over speed.
Set aside adequate time for proper removal. Rushing leads to mistakes that damage your nails and require additional time to fix.
Prepare all your supplies before starting. Having everything ready prevents interruptions that can compromise the soaking process.
Work in a well-ventilated area to avoid acetone fumes. Open windows or use a fan to maintain air circulation during removal.
Keep a nail repair kit handy for unexpected damage. Quick action on small problems prevents them from becoming major issues.
Long-Term Nail Health Strategy
Thinking beyond individual manicures helps maintain healthy nails throughout years of gel use. Your long-term strategy should balance beauty goals with nail health.
Alternate between gel manicures and regular polish to give your nails recovery periods. This prevents cumulative damage from continuous gel use.
Monitor your nail health regularly and adjust your routine as needed. What works for your nails may change over time due to age, health, or lifestyle factors.
Invest in professional removal when attempting complex or problematic manicures. The cost of professional help is minimal compared to nail damage repair.
Document your nail care routine and results to identify what works best for your specific needs. This information helps you refine your approach over time.
Conclusion
With patience and proper technique, you can safely remove gel nails while protecting your natural nail health for future manicures.

