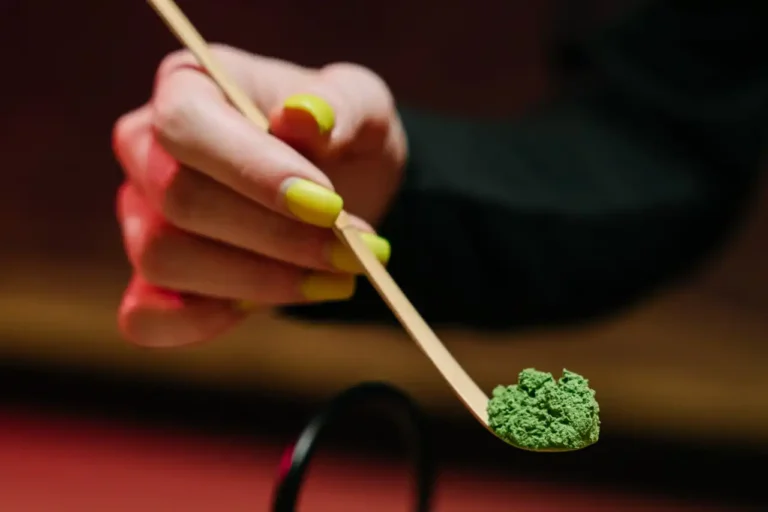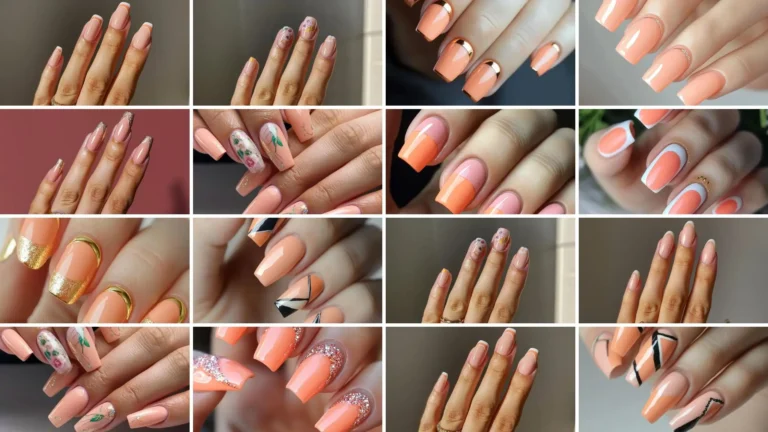
How to Make Your Manicure Last Twice as Long
You spend time and money on beautiful manicures, only to watch them chip and fade within days.
With the right techniques and products, you can double your manicure’s lifespan and keep your nails looking salon-fresh for weeks instead of days.
Master the Foundation: Proper Nail Preparation
Start with Completely Clean Nails
Your manicure’s longevity begins before you even open a bottle of polish.
Remove every trace of old polish using an acetone-based remover, which cuts through stubborn lacquer more effectively than acetone-free alternatives.
Wash your hands thoroughly with dish soap after polish removal.
Dish soap removes oils and residue that regular hand soap might leave behind.
These invisible oils create a barrier between your nail and the polish, causing premature peeling and chipping.
Push back your cuticles gently with a cuticle pusher or orange stick.
Never cut your cuticles unless you’re a trained professional, as this can lead to infection and irregular nail growth that affects polish application.
File your nails in one direction only, from the outer edge toward the center.
Back-and-forth filing creates microscopic tears that weaken the nail and provide entry points for chips to spread.
Buff Away Imperfections
Use a fine-grit buffer to smooth out ridges and create an even surface. Your nail plate should feel completely smooth when you run your finger across it.
Even tiny bumps will show through polish and create weak spots where chips can start.
Pay special attention to the nail edges where chips commonly begin.
Round these edges slightly with your buffer to prevent sharp corners that catch on clothing and accessories.
Clean your nails with rubbing alcohol on a lint-free pad after buffing.
This removes any oils from your skin and tiny nail particles left from buffing. Your nails should look completely matte and feel squeaky clean.
Allow your nails to dry completely before applying any products.
Even the smallest amount of moisture trapped under polish will cause bubbling and premature lifting.
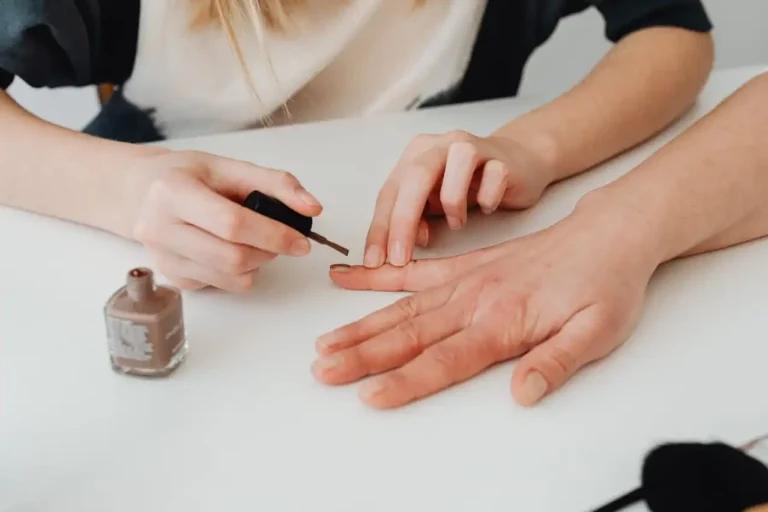
Apply Base Coat Like a Professional

Choose the Right Base Coat for Your Needs
Ridge-filling base coats work best for nails with texture issues, while strengthening formulas benefit weak or brittle nails.
Adhesion base coats provide the strongest grip for your polish but may be overkill for healthy nails.
Apply base coat in thin, even strokes from cuticle to tip.
Start with a stroke down the center of your nail, then fill in the sides with overlapping strokes.
This technique ensures complete coverage without streaking.
Seal the tip of your nail by running the brush horizontally across the nail edge.
This technique, called capping, prevents water and daily wear from lifting the polish at the most vulnerable point.
Wait for the base coat to dry completely before proceeding.
A tacky or wet base coat will mix with your polish and compromise the entire manicure. Test dryness by gently touching a hidden area like your pinky nail.
Build Proper Foundation Layers
Some nail types benefit from two thin coats of base coat rather than one thick application.
If you have oily nail beds or struggle with polish adhesion, this extra step significantly improves longevity.
Allow each base coat layer to dry completely before applying the next.
Rushing this process creates a weak foundation that will fail quickly under normal use.
Check for any missed spots or thin areas before moving to color application.
These weak points in your foundation will show up as chips or peeling within the first few days.
Your base coat should create a perfectly smooth, uniform surface that feels dry to the touch.
Any tackiness or texture will telegraph through your color coats and affect the final appearance.
Perfect Your Color Application Technique
Apply Thin, Even Coats
Thick polish coats take longer to dry and are more prone to chipping and denting.
Load your brush with just enough polish to cover the nail without flooding the cuticle area.
Start your first stroke slightly away from the cuticle, then push the brush back toward the cuticle without touching the skin.
This technique prevents polish from pooling around your cuticles and creating a messy, unprofessional appearance.
Apply color in three strokes: one down the center, then one on each side.
Overlap your strokes slightly to avoid streaking, but don’t go back over areas that have already started to set.
Build your color gradually with two or three thin coats rather than trying to achieve opacity in one thick application.
Each coat should dry completely before you apply the next layer.
Master the Drying Process
Wait at least two minutes between each coat, longer in humid conditions.
Wet polish underneath will cause your entire manicure to remain soft and vulnerable to damage for hours or even days.
Use quick-dry drops or spray between coats if you’re impatient, but avoid touching your nails for at least 10 minutes after your final coat.
Even quick-dry products need time to work effectively.
Test dryness by gently tapping two nails together. Properly dried polish will make a clear tapping sound, while wet polish will feel sticky or make a dull sound.
Consider using a fan or cool air setting on your hair dryer to speed drying time.
Keep the airflow moving rather than focused on one spot to prevent bubbling in the polish.
Lock in Your Color with Top Coat
Select High-Performance Top Coats
Fast-drying top coats save time but may not provide the same durability as traditional formulas.
Choose based on your priorities: quick application or maximum longevity.
Gel-effect top coats create an incredibly hard, glossy finish that resists chips better than standard formulas.
These typically require slightly longer drying times but provide superior protection.
Apply top coat using the same capping technique you used for base coat.
This seals the entire nail tip and prevents the most common starting point for chips and peeling.
Refresh your top coat every three to four days to maintain shine and add an extra layer of protection.
This simple step can extend your manicure’s life significantly with minimal effort.
Perfect Your Top Coat Application
Clean your brush on the bottle edge to remove excess product before application.
Too much top coat can cause bubbling or an uneven finish that detracts from your manicure’s professional appearance.
Work quickly when applying top coat, as most formulas begin to set within seconds.
Avoid going back over areas that have started to dry, as this can cause dragging and streaking.
Extend your top coat slightly beyond your color onto the skin around your nails.
Remove this excess with a cleanup brush dipped in acetone after everything has dried completely.
Allow your top coat to cure for at least 30 minutes before using your hands normally.
Even though it may feel dry to the touch, the polish continues hardening during this time.
Daily Maintenance for Maximum Longevity
Protect Your Investment
Wear rubber gloves when cleaning, washing dishes, or using harsh chemicals.
Water and cleaning products are the biggest enemies of long-lasting manicures, causing polish to soften and lift.
Apply cuticle oil daily to keep the skin around your nails healthy and flexible.
Dry, cracked cuticles can catch on clothing and pull at your polish, creating starting points for larger chips.
File away any small chips immediately before they spread.
Use a fine file to smooth the damaged area, then apply a thin layer of matching polish and top coat to the repaired spot.
Keep your hands moisturized with a quality hand cream, but avoid getting lotion on your nail plates.
Oil-based products can break down polish over time and cause premature failure.
Smart Habits for Nail Protection
Use tools instead of your nails for opening cans, scratching off stickers, or typing on keyboards.
Your nails aren’t tools, and treating them as such guarantees chips and breaks.
Be mindful of your hand movements throughout the day.
Activities like gardening, exercising, or even aggressive hand washing can damage your manicure if you’re not careful.
Sleep with cotton gloves if you tend to scratch or pick at your nails unconsciously.
This simple barrier prevents overnight damage that you might not even realize you’re causing.
Carry a small nail file for emergency touch-ups.
Smoothing rough edges immediately prevents small problems from becoming major chips that ruin your entire manicure.
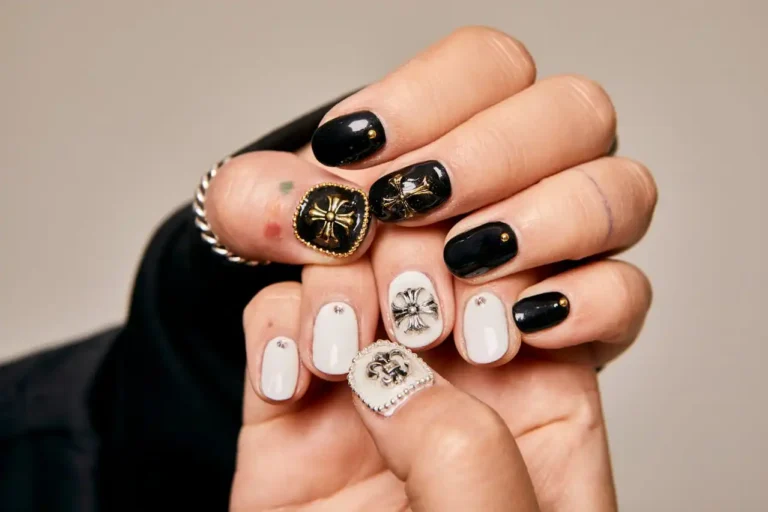
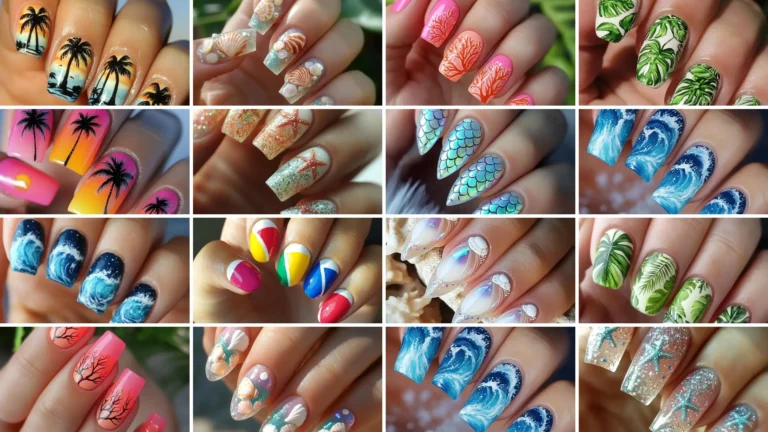
Advanced Techniques for Professional Results
Layer Different Polish Types Strategically
Use a strengthening base coat under gel polish for added durability, or apply regular polish over gel base for easier removal while maintaining longevity benefits.
Experiment with color layering techniques that hide minor chips better.
Slightly lighter colors on top of darker bases create depth and make small imperfections less noticeable.
Consider using a peel-off base coat under difficult-to-remove polishes.
This technique allows for easy removal without compromising wear time if applied correctly.
Mix different brands strategically, but test compatibility first on a practice nail.
Some formulas work better together than others, and incompatible products can cause premature failure.
Professional Timing and Environment
Apply polish in a dust-free environment away from fans or air conditioning vents.
Airborne particles can settle on wet polish and create texture issues that lead to chipping.
Choose optimal timing for your manicures. Avoid applying polish immediately before bed, workouts, or activities that involve water or chemicals.
Work in good lighting to ensure even application and proper color matching.
Poor lighting leads to mistakes that compromise the overall quality and longevity of your manicure.
Maintain comfortable room temperature during application. Extreme heat or cold can affect how polish flows and dries, impacting the final result.
Troubleshooting Common Problems
Fix Issues Before They Spread
Address bubbles immediately by gently popping them with a sterilized needle and smoothing the area with a tiny brush dipped in fresh polish.
Repair small chips within 24 hours of occurrence.
Clean the area with rubbing alcohol, apply a thin layer of matching polish, and finish with top coat for seamless repairs.
Deal with smudges while the polish is still workable by gently smoothing the area with a brush dipped in polish thinner, not fresh polish.
Remove polish floods around cuticles with a small cleanup brush dipped in acetone.
Clean skin contact prevents lifting and extends the life of your manicure significantly.
Prevent Future Problems
Identify patterns in where your manicures typically fail first.
If you always chip your dominant hand’s index finger, pay extra attention to base coat and capping on that nail.
Adjust your technique based on your lifestyle. If you type frequently, consider shorter nails and extra attention to tip sealing.
Track which products work best for your specific nail type and lifestyle. Keep a nail journal noting which combinations provide the longest wear time.
Experiment with different application techniques until you find what works best for your hands.
Everyone’s nails are different, and customizing your approach yields the best results.
Conclusion
With proper preparation, quality products, and smart maintenance habits, you can easily double your manicure’s lifespan and enjoy beautiful nails for weeks.