DIY Press-On Nails: Affordable & Stunning
You don’t need to break the bank for gorgeous nails anymore. Press-on nails offer salon-quality results at a fraction of the cost, and you can apply them from your own home.
With the right techniques and a little practice, you’ll achieve stunning manicures that rival professional work.
Why Press-On Nails Are Your New Best Friend
Press-on nails have revolutionized the beauty world, and for good reason. You save both time and money while getting incredible results.
No more waiting weeks for salon appointments or spending hundreds of dollars each month on professional manicures.
These artificial nails give you instant length and perfect shape. You control the entire process, from selecting colors to choosing designs.
Whether you want classic French tips or bold geometric patterns, press-ons deliver exactly what you envision.
The convenience factor cannot be overstated. You apply them whenever you want, wherever you want.
Late-night nail emergencies become a thing of the past when you keep a few sets on hand. Your natural nails stay protected underneath the press-on.
Unlike some nail treatments that can damage your nail beds, quality press-on nails actually shield your nails from everyday wear and tear.
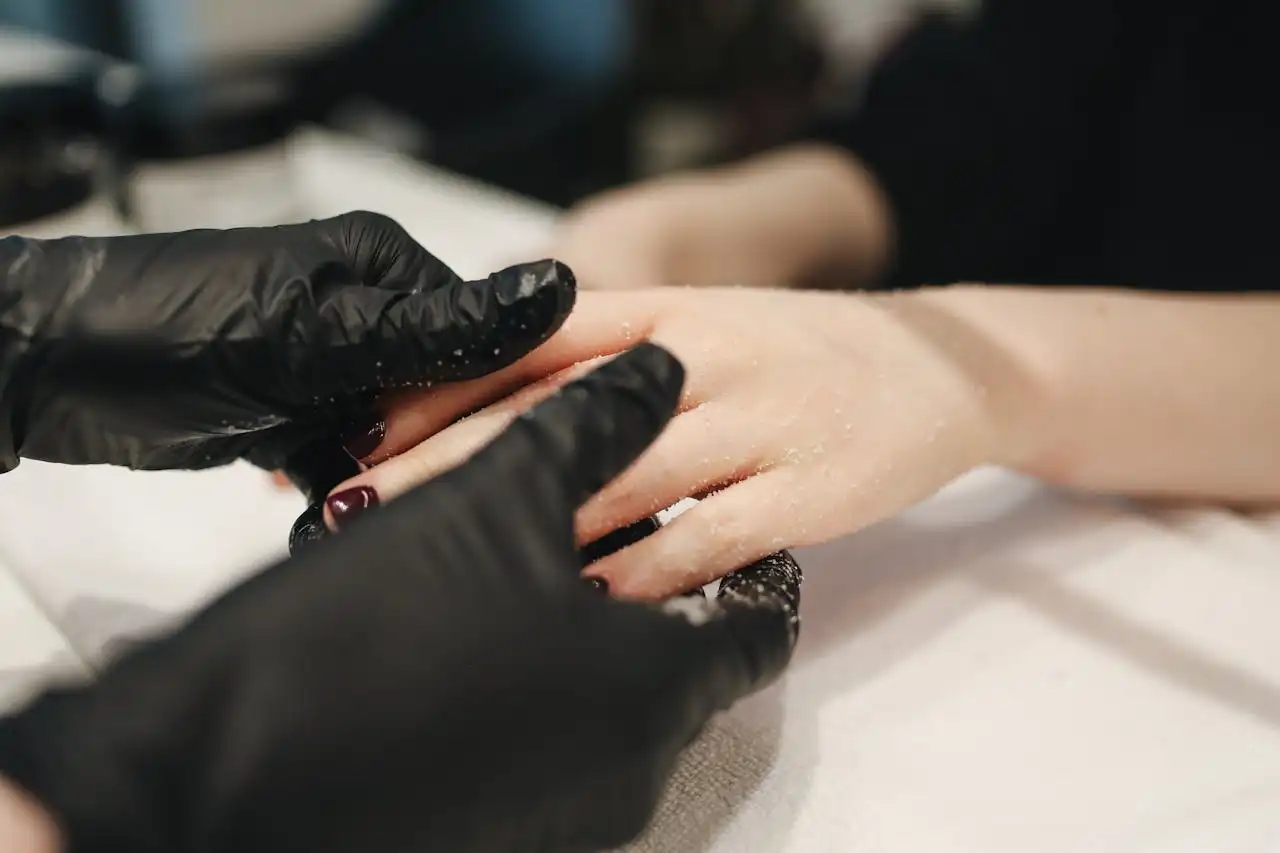
Essential Supplies for Perfect Application
You need the right tools to achieve professional-looking results. Start with a basic nail kit that includes a nail file, buffer, cuticle pusher, and nail clippers.
These tools form the foundation of your press-on nail routine. Alcohol or nail dehydrator helps clean your natural nails before application.
This step removes oils and residue that could interfere with adhesion. You want your press-ons to stick securely and last as long as possible.
Choose between nail glue and adhesive tabs for attachment. Nail glue provides stronger, longer-lasting hold, while adhesive tabs allow for easier removal and reuse.
Consider your lifestyle and how long you plan to wear the nails when making this choice.
A good base coat protects your natural nails and improves adhesion. Some people skip this step, but you’ll notice significantly better results when you include it in your routine.
Step-by-Step Application Process
Start by preparing your natural nails properly. Remove any existing polish completely and wash your hands thoroughly.
Push back your cuticles gently and trim your natural nails short to prevent lifting. File your natural nails to create a slightly rough surface.
This texture helps the press-on adhere better and last longer. Use a buffer to smooth any ridges or imperfections on your nail surface.
Clean your nails with rubbing alcohol or nail dehydrator. This removes any remaining oils or moisture that could prevent proper bonding.
Let your nails dry completely before moving to the next step. Select the correct size press-on nail for each finger.
The nail should cover your natural nail from side to side without overlapping onto your skin. If you’re between sizes, choose the slightly smaller option and file the sides to fit perfectly.
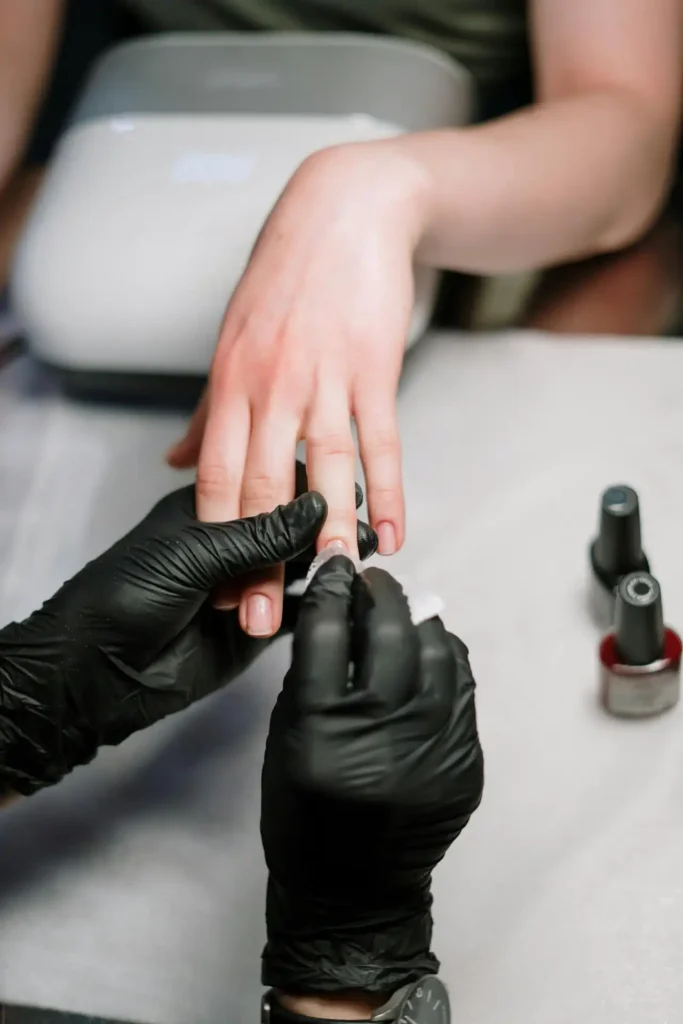
Apply a thin layer of nail glue to your natural nail, avoiding the cuticle area. You can also apply glue directly to the press-on nail if you prefer. Work quickly since nail glue sets fast.
Press the artificial nail onto your natural nail at a 45-degree angle, then lower it flat. Trim the press-on nails to your desired length using nail clippers.
Hold firmly for 10-15 seconds to ensure proper bonding. Avoid air bubbles by pressing from the cuticle area toward the tip.
File the edges to your preferred shape, whether that’s square, round, or almond. Take your time with this step since it determines your final look.
File where the press-on nail meets your natural nail to create a seamless blend. This step makes the difference between obvious fake nails and professional-looking results.
Pro Tips for Salon-Quality Results

Size your press-on nails before applying any adhesive. Lay them out in order from thumb to pinky so you can work efficiently during application.
This preparation prevents mistakes and ensures you use the correct nail for each finger. Warm nails conform better to your natural nail shape.
Warm the press-on nails slightly before application. You can do this by holding them in your hands or placing them in warm water for a few seconds.
Apply thin coats of nail glue rather than thick globs. Too much glue creates messy application and can cause the nails to lift prematurely.
You want just enough to create a strong bond without excess. Don’t rush this step even if you’re eager to see the final result.
Press each nail firmly for at least 15 seconds after application. This ensures the glue sets properly and creates the strongest possible bond.
File in one direction rather than back and forth. This prevents splitting and creates smoother edges. Start with a coarser file for shaping, then finish with a finer file for smoothing.
Blend the seam where the press-on meets your natural nail by filing at a slight angle. This creates the illusion that the artificial nail is growing from your nail bed naturally.
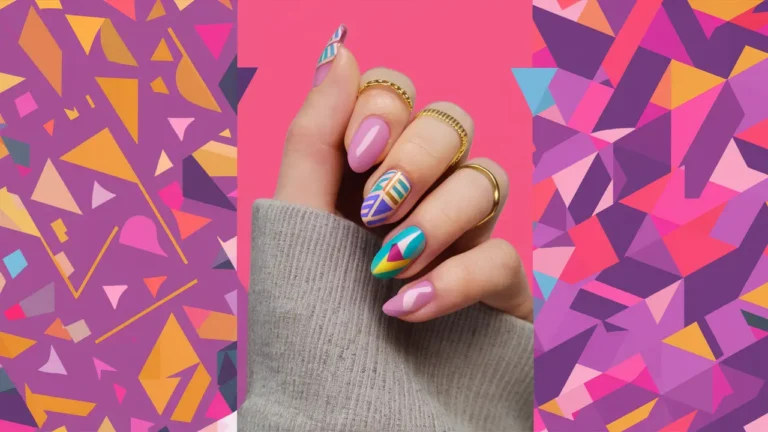
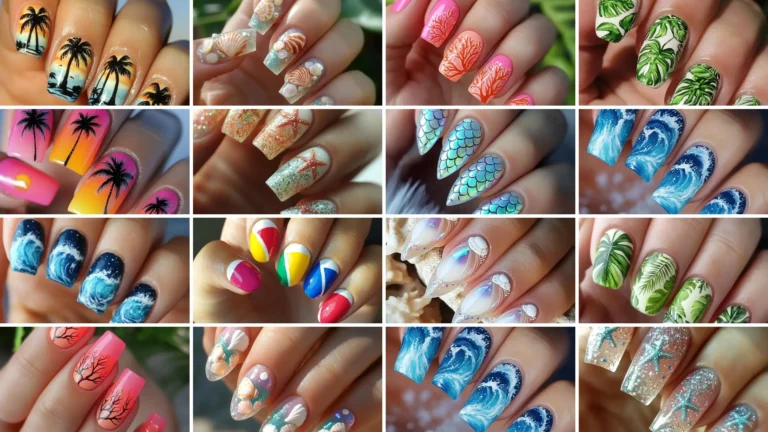
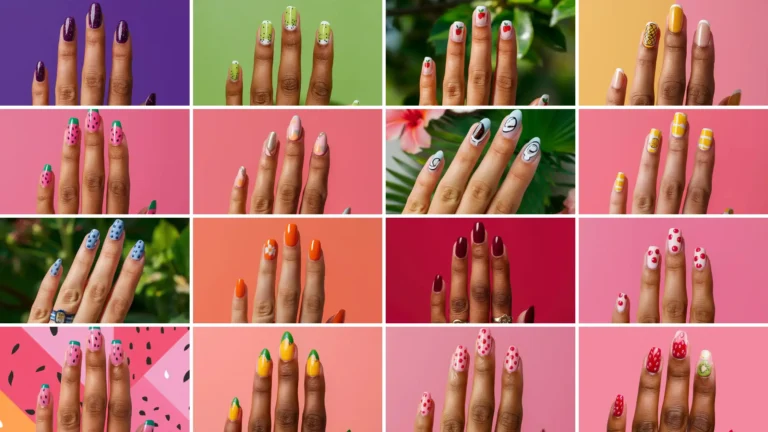
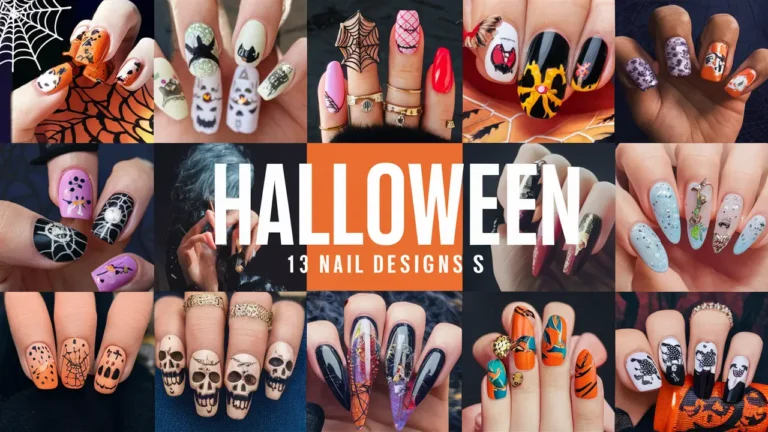
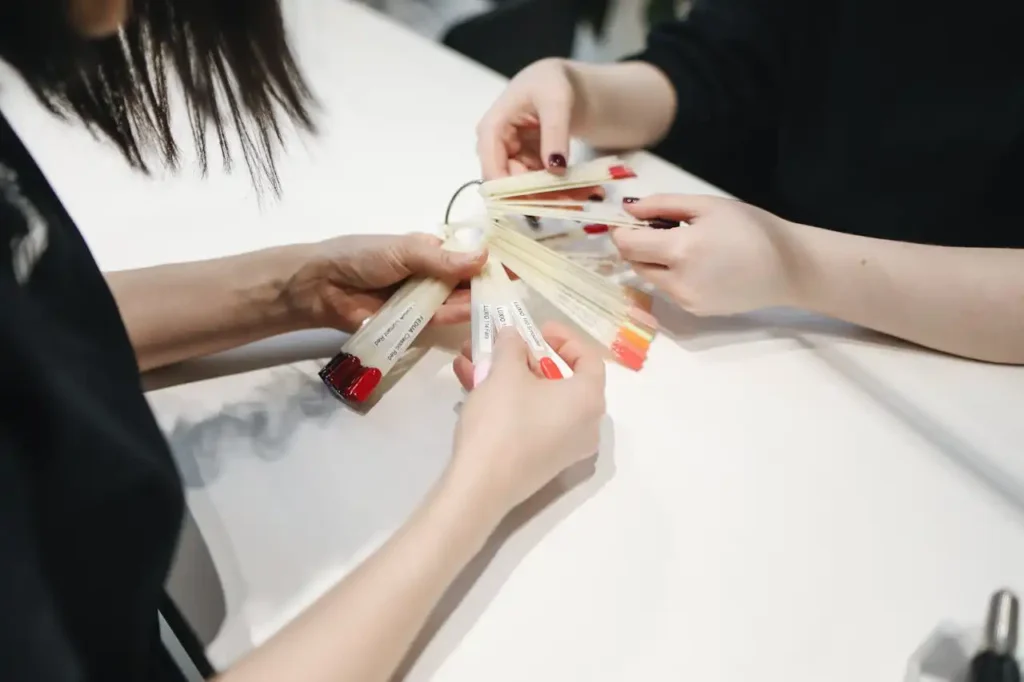
Popular Styles and Design Options
French manicures remain timeless and elegant. You can create classic white tips or experiment with colored tips for a modern twist.
French press-on work for both professional settings and special occasions. Solid color press-ons also serve as excellent bases for additional nail art.
Solid colors offer versatility and ease of application. Choose neutral shades for everyday wear or bold colors to make a statement.
Glitter and sparkle nails bring glamour to any outfit. These designs work particularly well for parties, holidays, or special events.
You can find everything from subtle shimmer to full-coverage glitter options. Geometric patterns and abstract designs offer contemporary style.
Ombre effects create stunning gradient looks that seem complex but come ready-made on press-on nails.
These designs transition smoothly from one color to another, creating visual interest and sophistication.
These modern looks work well for fashion-forward individuals who want to showcase their personality through their nails.
Maintenance and Longevity Tips
Treat your press-on nails gently during the first 24 hours after application. Avoid excessive water exposure and heavy-handed activities that could cause lifting.
The initial bonding period determines how long your nails will last. This protects both the press-on nails and the adhesive bond from premature breakdown.
Wear gloves when cleaning, washing dishes, or doing other activities that involve water and chemicals.
Apply cuticle oil regularly to keep the area around your nails healthy and moisturized. This prevents the press-ons from looking dry or lifting at the edges due to skin changes.
Touch up any small chips or imperfections with matching nail polish. Keep a bottle of the base color on hand for quick repairs that extend the life of your manicure.
Avoid using your nails as tools. Don’t open cans, scrape surfaces, or pick at things with your press-on nails. These activities put stress on the bond and can cause premature failure.
Sleep with cotton gloves if you tend to scratch or pick in your sleep. This simple step prevents accidental damage and helps your press-ons last their full potential lifespan.
Safe Removal Process
Never force or pull off press-on nails, as this can damage your natural nails underneath. Soak your nails in warm, soapy water for 10-15 minutes to soften the adhesive.
Patience during removal protects your nail health and allows you to reuse the press-on if desired.
You can also use acetone-free nail polish remover for faster results, though this method prevents reuse of the nails.
Gently wiggle the press-on nails from side to side once the adhesive softens. They should come off relatively easily without force. If they resist, soak longer rather than pulling harder.
Clean any remaining adhesive from your natural nails using a soft buffer or orange stick. Take your time with this step to avoid damaging your nail surface.
Moisturize your natural nails and cuticles thoroughly after removal. The adhesive and removal process can be drying, so restoration of moisture helps maintain nail health.
Troubleshooting Common Issues
If your press-on nails keep lifting at the edges, you likely have excess cuticle or oil on your natural nails.
Improve your prep work by pushing back cuticles further and using a nail dehydrator before application.
Nails that pop off completely usually indicate insufficient prep or wrong sizing. Make sure you’re selecting the correct size and cleaning your natural nails thoroughly before application.
Air bubbles under the press-on nails create weak spots and unsightly appearance. Apply the nail at an angle and press from cuticle to tip to push out air during application.
If the nails feel loose or wobbly, you may have applied too much glue or failed to press firmly enough during application. Remove and reapply rather than trying to fix loose nails.
Visible seams where the press-on meets your natural nail require more filing and blending. Take extra time to smooth this transition area for professional-looking results.
Cost-Effective Beauty Solution
Press-on nails cost a fraction of salon manicures while delivering comparable results. You can match your nails to outfits, seasons, or moods whenever inspiration strikes.
A single set of quality press-on costs less than one professional manicure and can be reused multiple times with proper care.
You eliminate tip costs, travel time, and appointment scheduling when you do your own nails. This convenience saves both money and valuable time in your busy schedule.
Building a collection of different styles and colors allows you to change your look frequently without additional salon visits.
The learning curve pays off quickly as you become more efficient and skilled at application.
Your technique improves with practice, leading to better results and longer-lasting manicures. Quality press-on nails often last 1-2 weeks with proper application and care.
This longevity rivals professional manicures while giving you complete control over timing and removal.
Creating Your Press-On Nail Collection
Start with neutral, versatile colors that work with most outfits and occasions. Classic shades like nude, soft pink, and clear give you reliable options for everyday wear.
Add seasonal colors to refresh your look throughout the year. Spring pastels, summer brights, fall jewel tones, and winter metallics keep your nail game current and exciting.
Invest in special occasion nails for holidays, parties, and important events. Glitter, rhinestones, and bold patterns give you glamorous options when you want to make a statement.
Consider different lengths and shapes to suit various activities and preferences. Proper storage prevents damage and helps you see all your options at a glance.
Keep shorter nails for active periods and longer nails for special occasions or when you want dramatic impact.
Store your press-on nail collection in organized containers so you can easily find what you need.
Conclusion
Press-on nails deliver professional results at home while saving time and money.
With practice and the right techniques, you’ll achieve stunning manicures that last.