Best At-Home Manicure Kits for Beginners
You deserve salon-quality nails without the hefty price tag. At-home manicure kits offer the perfect solution for beginners ready to master nail care.
These comprehensive sets provide everything you need to create stunning manicures from your living room. Professional results become achievable with the right tools and techniques.
Starting your nail journey feels overwhelming, but the perfect kit simplifies the process. You’ll discover which features matter most and how to choose wisely.
Transform your nail routine today with kits designed specifically for newcomers to nail artistry.
Why Choose At-Home Manicure Kits?
You gain complete control over your nail care schedule when you invest in quality at-home kits.
No more rushing to appointments or waiting weeks for availability. Your bathroom becomes a personal nail salon where you set the pace and choose the timing.
Financial benefits stack up quickly with home manicures. A single salon visit often costs what you’d spend on a comprehensive kit that lasts months.
You save hundreds annually while developing valuable skills that serve you indefinitely.
Hygiene concerns disappear when you use your own tools. You know exactly how everything gets cleaned and stored.
Cross-contamination risks vanish, and you avoid exposure to harsh chemicals some salons use.
Creative freedom flourishes at home. You experiment with colors, techniques, and styles without judgment.
Mistakes become learning opportunities rather than expensive disappointments. Your nail art journey progresses naturally without external pressure.
Essential Features to Look For
Quality tools form the foundation of any effective manicure kit. You need stainless steel implements that resist rust and maintain sharp edges.
Cheap metal tools dull quickly and can damage your nails or cuticles. Look for kits containing nail clippers, cuticle nippers, nail files, buffer blocks, and cuticle pushers.
Each tool serves a specific purpose in creating professional results. Missing pieces force you to make additional purchases later.
LED or UV lamps distinguish gel polish kits from regular ones. You need adequate wattage for proper curing – typically 36 watts minimum.
Higher wattage reduces curing time and ensures complete polish hardening. Storage solutions keep your investment organized and protected.
Hard cases prevent tool damage during travel or storage. Foam inserts hold each piece securely and make finding specific tools effortless.
Base coats, top coats, and color polishes should offer good coverage and longevity.
Quality formulas apply smoothly without streaking or bubbling. They resist chipping and maintain shine longer than bargain alternatives.
Top At-Home Manicure Kit Recommendations
The Sally Hansen Complete Salon Manicure Kit appeals to budget-conscious beginners. You receive nail polish, base coat, top coat, and basic tools for under twenty dollars.
The formula provides decent coverage and acceptable wear time for occasional use. The gel formula lasts up to three weeks without chipping when applied correctly.
Beetles Gel Polish Kit elevates your results with professional-grade components. You get a 36-watt LED lamp, multiple gel colors, and essential tools.
Makartt Poly Nail Gel Kit offers versatility for nail extension and strengthening. You learn advanced techniques while building natural-looking length.
The included forms and files support various nail shapes and styles. The system delivers long-lasting results that rival expensive salon treatments.
Red Carpet Manicure Pro Kit brings salon quality to your home. You receive a professional LED light, gel polishes, and premium tools.
Essie Complete Salon Manicure provides classic elegance with trusted quality.
You get beautiful color options and reliable formulas that apply smoothly. The brand’s reputation ensures consistent results across their product line.
Step-by-Step Guide for Beginners
Start your manicure by removing old polish completely. You need clean nails for proper adhesion of new products.
Use acetone-based remover for stubborn polish, but avoid over-exposure to prevent nail damage.
Trim and shape your nails to your desired length and style. Cut straight across, then file the corners to create your preferred shape.
Round shapes work best for beginners because they’re forgiving and natural-looking. Push back your cuticles gently after soaking your hands in warm water.
Never cut healthy cuticles – this creates infection risks and damage. Use a cuticle pusher or orange stick for safe manipulation.
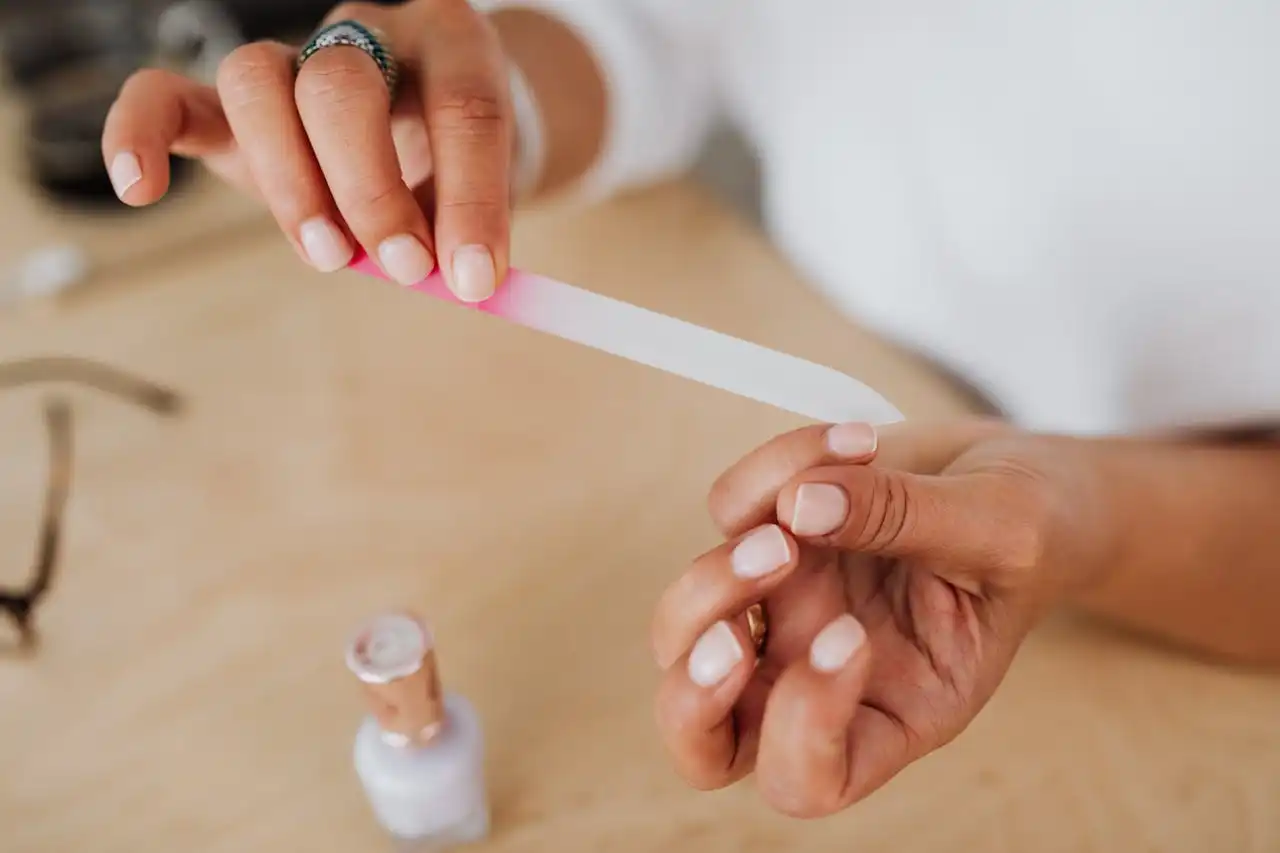
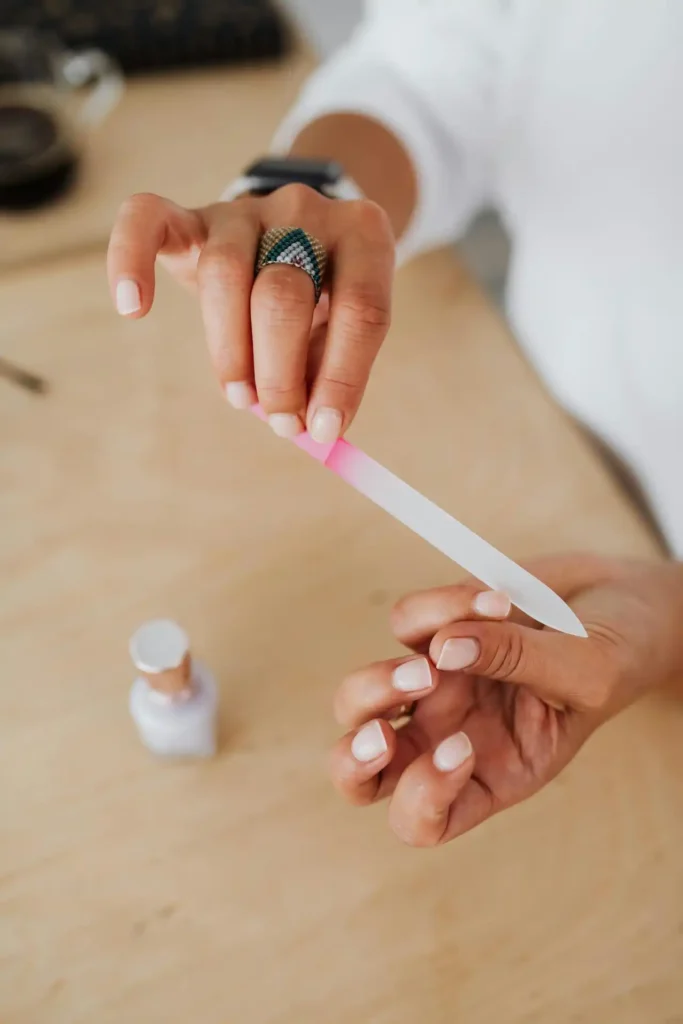
Buff your nail surface lightly to create texture for polish adhesion. Don’t over-buff, which weakens nails.
A few gentle strokes remove ridges and create the perfect base for color application.
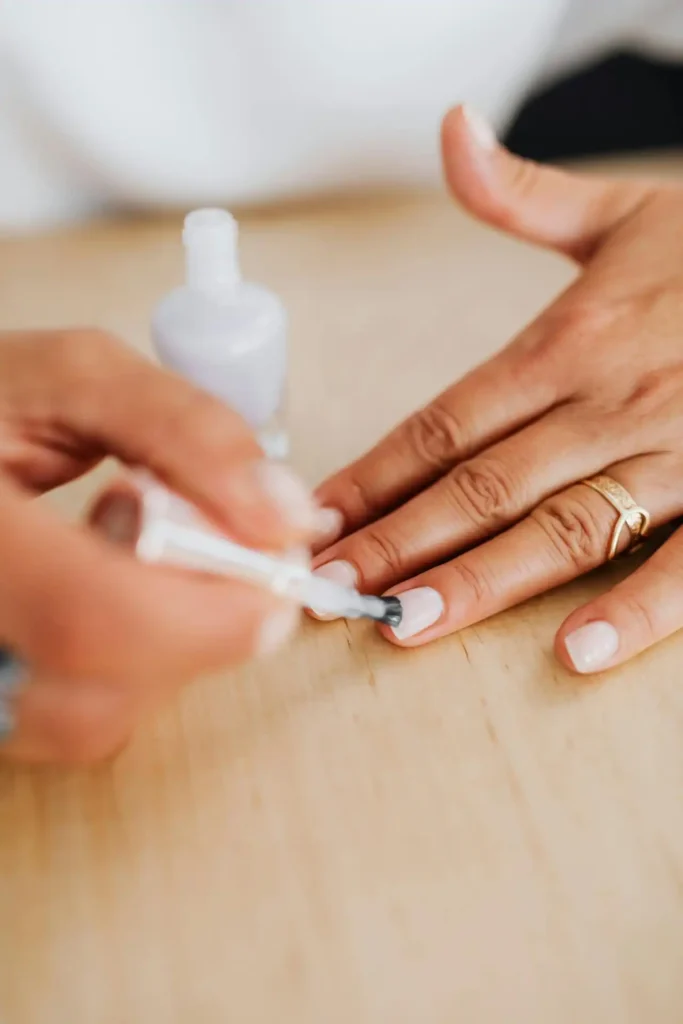
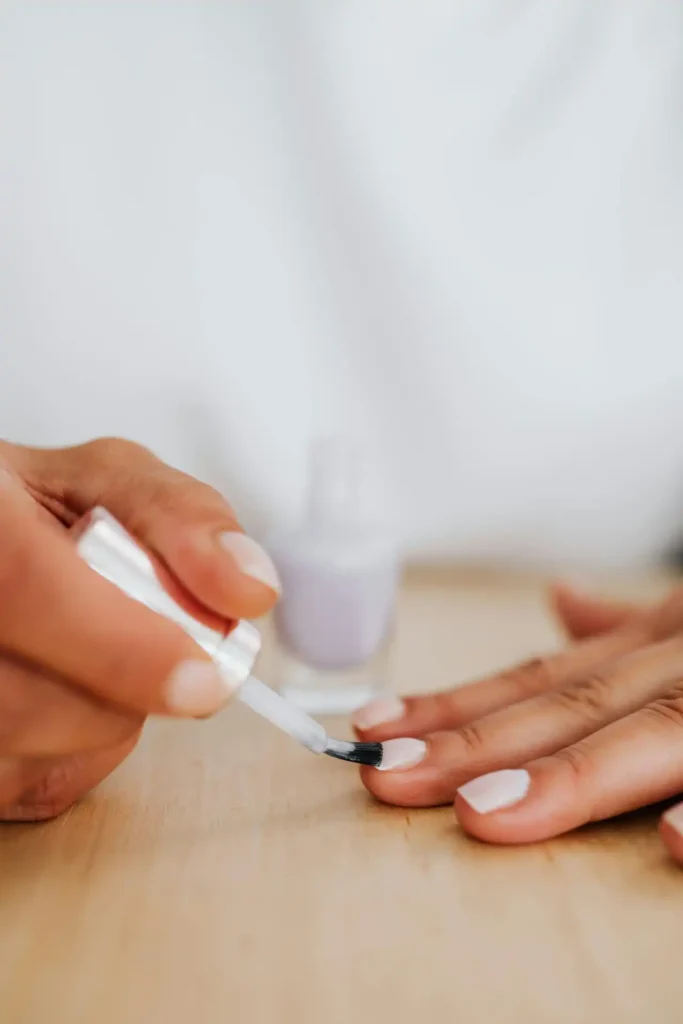
Apply base coat in thin, even strokes from cuticle to tip. This step prevents staining and extends polish wear time. Allow complete drying before proceeding to color application.
Add color polish in two thin coats rather than one thick layer. Thin applications dry faster and look smoother. Wait for the first coat to dry completely before adding the second.
Finish with top coat for shine and protection. This final step seals your color and adds durability. Clean up any mistakes with a small brush dipped in remover.
Common Mistakes to Avoid
You rush the drying process and ruin perfect polish with smudges or dents. Each layer needs adequate time to set properly.
Plan extra time for your manicure to avoid this frustrating mistake. This step takes minutes but saves hours of maintenance later.
Skipping base coat seems harmless but creates multiple problems. Your polish won’t last as long, and dark colors may stain your natural nails.
Over-filing weakens your nails and causes breakage. You only need light strokes to achieve smooth edges.
Aggressive filing creates thin, fragile nails that break easily and look unhealthy. Cutting cuticles instead of pushing them back leads to infections and painful hangnails.
Your cuticles protect against bacteria and shouldn’t be removed unless by professionals. Gentle pushing maintains health while improving appearance.
Using old or low-quality polish produces streaky, uneven results. Expired formulas separate and apply poorly regardless of your technique.
Invest in fresh, quality products for consistent success. Flooding your cuticles with polish creates messy, unprofessional results.
You need steady hands and proper brush control. Practice makes perfect, so don’t expect salon results immediately.
Maintenance and Care Tips
Store your polish in cool, dark places to extend shelf life. Heat and light break down formulas and change consistency.
A bedroom drawer or bathroom cabinet works perfectly for most climates. Proper care extends tool life and protects your nail health.
Clean your tools after each use to prevent bacteria buildup and maintain sharpness. Rubbing alcohol effectively disinfects metal implements.
Moisturize your hands and cuticles daily between manicures. Dry skin makes polish application difficult and causes premature chipping.
Quality hand cream keeps your skin supple and healthy-looking. File nails in one direction rather than back and forth.
This technique prevents splitting and maintains nail strength. Use gentle pressure and work from outside edges toward the center.
Reapply top coat every few days to maintain shine and extend wear time. Protect your manicure by wearing gloves during cleaning or gardening.
This simple step refreshes your manicure without complete removal and reapplication. Your polish looks fresh longer with minimal effort.
Chemical exposure and rough work damage polish quickly. A few seconds putting on gloves saves hours of repair work.
Budget-Friendly Options for Beginners
Drugstore brands offer excellent value for newcomers testing their interest in nail care. You find quality options from Revlon, Essie, and OPI without premium pricing.
These brands provide reliable results while you develop skills. Dollar stores carry basic tools that work well for occasional use.
You can assemble a starter kit for under ten dollars including files, clippers, and pushers. Quality varies, but functionality remains adequate for beginners.
DIY alternatives reduce costs further while maintaining effectiveness. Orange sticks replace expensive cuticle pushers, and glass files last longer than metal ones.
Creativity helps stretch your budget without sacrificing results. This approach helps you discover preferences before making larger investments.
Subscription boxes introduce you to various brands and products affordably. You receive multiple polishes and tools monthly for less than single salon visits cost.
Sample sizes let you test expensive products without full commitments. Many brands offer mini versions of popular items.
You explore premium options while keeping costs manageable during your learning phase.
Advanced Techniques to Try Later
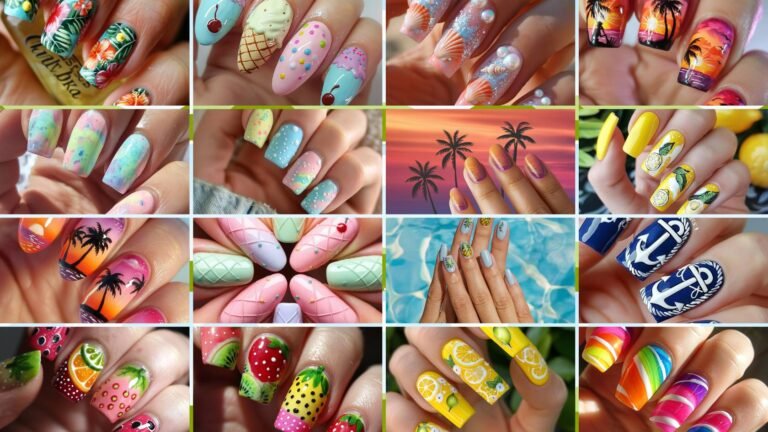
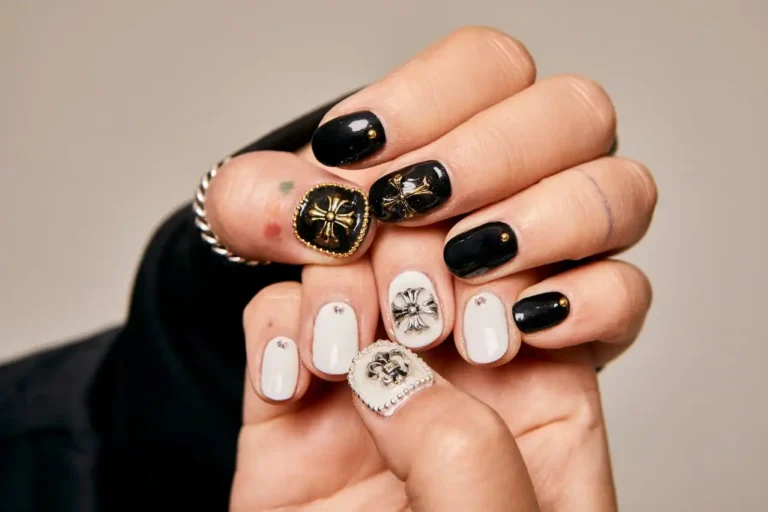
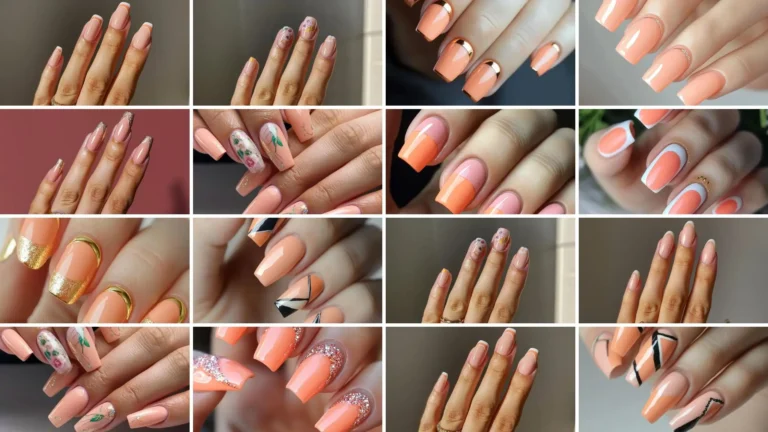
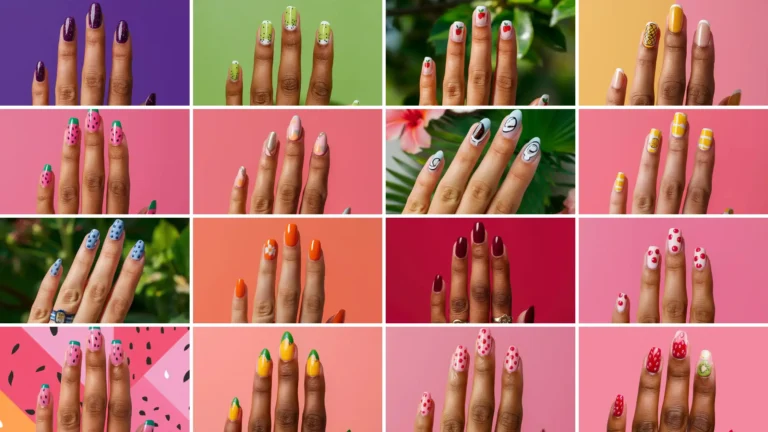
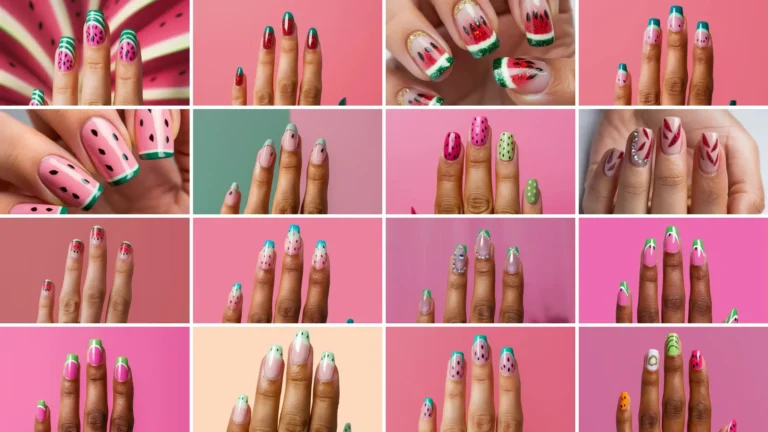
Nail art opens creative possibilities once you master basic manicures. You can try simple designs like dots, stripes, or gradients.
Start with contrasting colors and basic patterns before attempting complex artwork. French manicures create timeless elegance suitable for any occasion.
You need steady hands and practice to achieve clean lines. Start with guides or stickers until your freehand skills develop.
Gel extensions allow length without salon visits. You build natural-looking nails using forms and gel products.
This technique requires patience and practice but offers professional results at home. The learning curve is manageable, and results look professional quickly.
Ombre effects blend colors beautifully for trendy looks. You need makeup sponges and complementary shades.
The technique takes practice but creates stunning gradients impossible with single colors.
Stamping transfers intricate designs effortlessly onto your nails. You need special plates, stampers, and polishes designed for this technique.
Troubleshooting Common Issues
Bubbles in your polish indicate application problems or product issues. You might be shaking the bottle too vigorously or applying coats too thickly.
Roll the bottle between your palms instead of shaking to mix contents. Chipping occurs when you skip preparation steps or use inferior products.
Proper cleaning, base coat application, and quality polish prevent most chipping. Your technique improves with practice and attention to detail.
Streaky coverage results from old polish, wrong brush angle, or rushed application. Thin your polish with a few drops of thinner if it becomes thick. Maintain consistent brush pressure and overlap strokes slightly.
Smudging happens when you don’t allow adequate drying time between coats. Uneven application comes from inconsistent pressure or technique.
Each layer needs complete setting before proceeding. Use a fan or quick-dry drops to speed the process safely.
Practice steady strokes from cuticle to tip in smooth motions. Your muscle memory develops with repetition and conscious attention to form.
Seasonal Nail Care Considerations
Winter weather demands extra moisture and protection for your nails and cuticles. Cold air and heating systems create dry conditions that affect polish adhesion and nail health.
Use heavier hand creams and apply them more frequently. Spring cleaning often involves harsh chemicals that damage manicures quickly.
Summer heat can cause polish to thin and bubble during application. Store your products in cool areas and avoid direct sunlight exposure.
Beach and pool activities require extra top coat protection against water and chemicals.
Plan your nail care around deep cleaning projects or invest in quality rubber gloves. Fresh seasonal colors motivate you to try new shades.
Fall brings perfect conditions for nail care with moderate temperatures and humidity. You can experiment with deeper, richer colors that complement autumn fashion.
This season offers ideal learning conditions for new techniques. Holiday seasons inspire festive nail art and special occasion looks.
Plan ahead for parties and gatherings with longer-lasting gel formulas. Glitter and metallic polishes add celebration-appropriate sparkle to your style.
Building Your Nail Care Routine
Establish weekly manicure sessions to maintain healthy, attractive nails consistently.
Choose a specific day and time that works with your schedule. Consistency develops your skills faster than sporadic attempts.
Document your progress with photos to track improvement and identify successful techniques.
You’ll notice subtle changes that motivate continued practice. Before and after shots highlight your developing expertise clearly.
Join online communities for tips, inspiration, and troubleshooting help. Social media groups share techniques and product recommendations freely.
You learn from others’ experiences and mistakes without costly experimentation. Practice makes perfect, so don’t expect salon results immediately.
Your skills develop gradually with each manicure attempt. Embrace mistakes as learning opportunities rather than failures to overcome.
Invest in quality gradually rather than buying everything at once. You’ll identify your preferences and needs through experience.
Build your collection thoughtfully based on actual use patterns and results.
Conclusion
You now have the knowledge to choose perfect at-home manicure kits and create beautiful nails independently.
Start your nail journey today with confidence and creativity.