Beginner’s Guide to Nail Art Tools You Actually Need
You’ve scrolled through countless nail art tutorials, dreaming of creating those stunning designs yourself.
But when you search for nail art supplies, the overwhelming array of tools and gadgets leaves you confused and your wallet lighter.
Here’s the truth: you don’t need everything to start creating beautiful nail art that rivals salon quality.
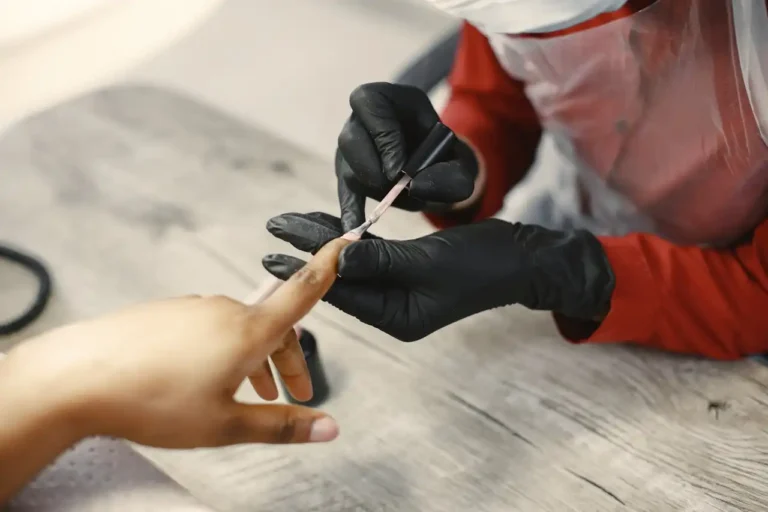
Start with Essential Nail Prep Tools
Your nail art journey begins with proper preparation, and you can’t skip this step if you want your designs to last longer than a day.
Basic nail prep tools form the foundation of every successful manicure. You’ll use this tool constantly to shape your nails and create the perfect canvas for your art.
A good nail file becomes your best friend in nail art. Choose a glass or crystal file over metal ones because they seal the nail edge and prevent splitting.
Cuticle pushers help you achieve that clean, professional look that makes any nail art design shine.
You can find affordable wooden or metal options that work perfectly for beginners. Push back your cuticles gently after softening them in warm water.
Nail clippers save time when you need to remove significant length before filing. A buffer smooths out ridges and creates an even surface for your base coat.
Choose a high-quality pair that cuts cleanly without crushing or splitting your nails. Sharp, clean cuts make the filing process much easier.
You don’t need expensive buffing systems—a simple four-way buffer works perfectly for beginners and covers all your smoothing needs.
Invest in Quality Base and Top Coats
Base and top coats might seem like optional extras, but they’re actually the most important products in your nail art toolkit.
These products determine how long your beautiful designs will last and how professional they’ll look.
A good base coat protects your natural nails from staining and helps polish adhere better.
Look for base coats that dry quickly and create a smooth surface. Some base coats also strengthen weak nails, which becomes important when you start doing nail art regularly.
Top coats seal your design and add shine that makes even simple nail art look expensive. Fast-drying top coats save you time and reduce the chance of smudging your finished design.
Matte top coats offer versatility by transforming any design into a modern, sophisticated look.
Ridge-filling base coats help beginners achieve salon-quality results by smoothing out imperfections in the nail surface.
These products create the perfect foundation for intricate designs and help your polish apply more evenly.
Quick-dry drops or sprays can be lifesavers when you’re starting out. These products help set your nail art faster, reducing the risk of accidents that can ruin hours of careful work.
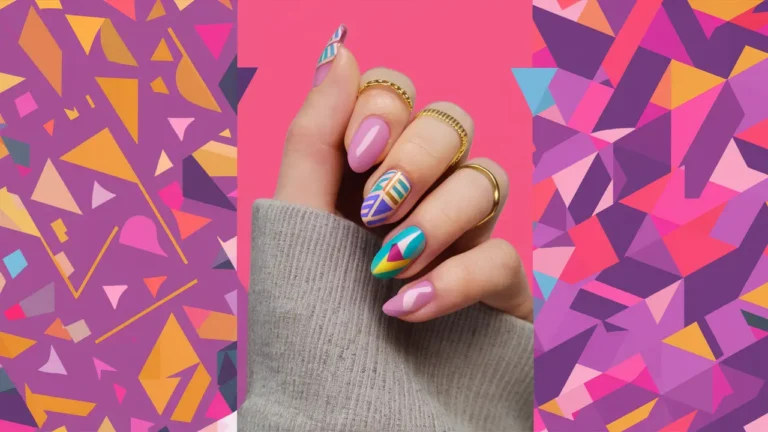
Choose Your Essential Nail Art Brushes
Nail art brushes open up a world of design possibilities, but you don’t need dozens of brushes to create stunning art.
Start with three essential brush types that cover most design techniques. You’ll use this brush constantly once you discover how easy it makes geometric designs.
A detail brush with a fine point becomes indispensable for creating lines, writing, and adding small details to your designs.
Look for brushes with synthetic bristles that maintain their shape and don’t shed. A size 0 or 00 detail brush works perfectly for most beginner projects.
A flat brush helps you create gradients, blend colors, and apply polish to large areas with precision.
This brush type excels at Ombre effects and can help you achieve smooth color transitions that look professionally done.
A striping brush creates perfect lines and curves that would be impossible with regular polish brushes.
These long, thin brushes hold just enough polish to draw continuous lines without reloading.
Fan brushes create beautiful texture effects and help you apply glitter or create unique patterns.
While not essential for every design, fan brushes add versatility to your toolkit and help you create effects that look complex but are actually simple.
Master Dotting Tools for Endless Possibilities
Dotting tools might look simple, but they’re incredibly versatile and perfect for beginners who want to create professional-looking designs without advanced skills.
These tools help you achieve precise dots, drag designs, and create intricate patterns. The larger end works for bold statements, while the smaller end handles delicate details.
Double-ended dotting tools offer two different sized tips, giving you options for various dot sizes in one tool.
You can create polka dots, flowers, mandalas, and abstract designs using just this simple tool.
You can make your own dotting tools using household items like bobby pins, toothpicks, or the head of a straight pin.
These DIY options work surprisingly well and help you experiment before investing in professional tools.
Dotting tools excel at creating gradient effects when you use them to blend wet polish.
You can create beautiful Ombre nails by dotting different colors together while they’re still wet, then blending them seamlessly.
These tools also work perfectly for creating negative space designs by removing polish in specific patterns.
You can create intricate-looking designs that are actually quite simple when you use dotting tools strategically.
Utilize Tape and Stencils for Perfect Lines
Tape and stencils help beginners achieve crisp, professional lines without years of practice.
These tools eliminate shaky hand problems and guarantee perfect geometric designs every time.
Regular striping tape designed for nail art stays put without damaging your base design when you remove it.
This tape creates perfectly straight lines and helps you section off areas for different colors. You can find striping tape in various widths and colors to match your design needs.
Masking tape from your craft supplies works well for larger sections and bold geometric designs.
Make sure to press the edges down firmly and remove the tape while your polish is still slightly wet to prevent peeling.
Vinyl stencils offer pre-cut shapes that help you create complex designs without drawing skills.
You can find stencils for everything from French tips to intricate lace patterns. These reusable stencils pay for themselves quickly and expand your design options significantly.
Hole reinforcement stickers from office supplies create perfect half-moon and reverse French manicures.
These inexpensive stickers work brilliantly for curved designs and cost a fraction of specialty nail stencils.
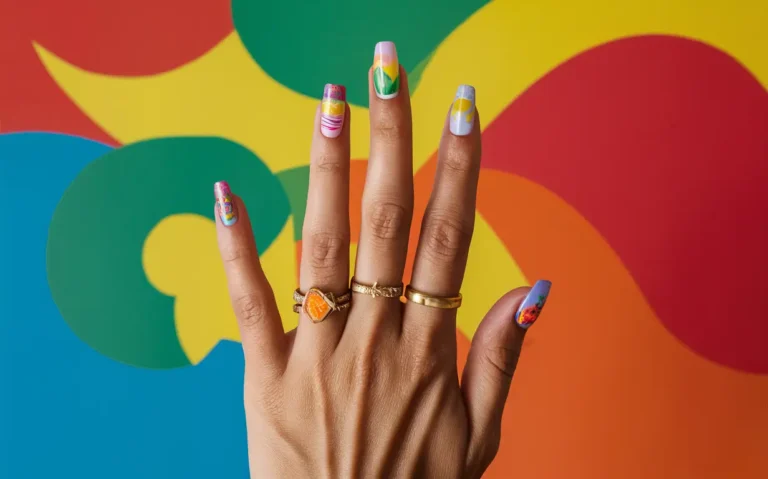
Build Your Polish Collection Strategically
You don’t need hundreds of polish colors to create stunning nail art, but choosing the right colors makes a huge difference in your design possibilities.
Start with a strategic collection that offers maximum versatility. You’ll use these colors in almost every nail art design you create.
White and black polishes serve as your foundation colors and help create contrast in every design.
These colors work as bases for other techniques, help clean up mistakes, and create striking geometric patterns.
A few bright, saturated colors give you options for bold designs and seasonal looks. Choose colors you love wearing and that complement your wardrobe.
Three to five bright colors provide enough variety without overwhelming your budget or storage space.
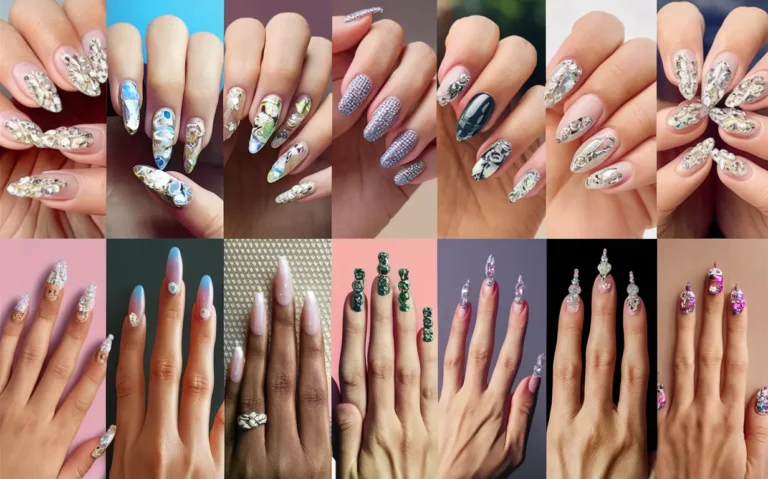
Metallic polishes add instant glamour to any design and work beautifully as accent colors.
Gold, silver, and rose gold metallic complement almost any color scheme and help elevate simple designs into special occasion looks.
A good nude or clear polish serves multiple purposes in nail art. You can use it as a base for subtle designs, create negative space effects, or tone down bright colors by layering it on top.
Essential Clean-Up Tools for Professional Results
Clean-up tools separate amateur-looking nail art from professional results. These tools help you fix mistakes and create crisp edges that make your designs look salon-quality.
Small, flat brushes dipped in acetone or nail polish remover become precision clean-up tools.
These brushes help you remove polish from cuticles and skin without disturbing your nail art. Keep several cheap flat brushes dedicated to clean-up duties.
Cotton swabs work for larger clean-up jobs but can leave fibers behind.
Use them for removing excess polish around your nails, but switch to brushes for detailed work near your cuticles and nail art.
Orange wood sticks help you scrape away polish from specific areas and create clean lines.
You can sharpen the tip for precise work or use the flat end for larger areas. These inexpensive tools work perfectly for detailed clean-up work.
Liquid latex or peel-off base coat protects your skin during messy techniques like sponge gradients or splatter designs.
Apply this product around your nails before starting messy techniques, then peel it away after your design dries for perfectly clean results.
Smart Storage Solutions Keep Everything Organized
Proper storage keeps your tools in good condition and makes nail art sessions more enjoyable.
You don’t need expensive storage systems—simple organization makes a huge difference in your experience.
A basic tackle box or craft organizer with compartments keeps small tools separated and easy to find.
Choose clear containers so you can see everything at a glance. Compartments prevent tools from getting damaged and help you stay organized during creative sessions.
Brush holders protect your investment in good brushes and keep them ready for use.
You can use a small cup or create a brush roll from fabric. Store brushes with tips up to maintain their shape and prevent damage.
Polish storage doesn’t require special racks—a simple basket or drawer organizer works perfectly for small collections.
Store polishes upright and away from heat sources to maintain their consistency and color.
A dedicated workspace, even if it’s just a small tray, helps contain your supplies and protects surfaces.
Having everything in one place makes nail art more enjoyable and reduces setup time for spontaneous creative sessions.
Advanced Tools to Consider Later
Once you’ve mastered the basics, certain advanced tools can expand your creative possibilities.
However, resist the urge to buy everything at once—build your skills with basic tools first.
UV or LED lamps open up the world of gel nail art, which lasts longer than regular polish. Wait until you’re comfortable with basic techniques before making this investment.
Gel systems require more investment upfront but offer durability that regular polish can’t match.
Airbrush systems create stunning gradient effects and allow for complex shading techniques.
These tools require practice and represent a significant investment, so they’re better suited for intermediate nail artists who have mastered hand-painting techniques.
Electric nail files and drills help with nail shaping and gel removal but aren’t necessary for beginners.
These tools can damage nails if used incorrectly, so stick with hand filing until you’ve developed good nail care habits.
Stamping plates and stampers help you create intricate designs quickly once you learn the technique.
While these tools seem beginner-friendly, they require practice to master and work best when you already understand basic nail art principles.
Practice Techniques Before Buying More Tools
The best way to improve your nail art skills involves practicing with the tools you already have rather than constantly buying new supplies.
Master each tool completely before adding to your collection. Start with simple designs using just one or two tools at a time.
Master dots before attempting complex mandalas. Perfect your line work before trying intricate geometric patterns.
Building skills gradually leads to better results than trying complex techniques too early.
Practice on nail wheels or fake nails before working on your actual nails. Nail wheels cost less than constantly removing and redoing your own nails.
This approach lets you experiment without commitment and helps you develop muscle memory for different techniques.
Document your favorite techniques and tool combinations in a nail art journal. Take photos of successful designs and note which tools you used.
This reference helps you recreate favorite looks and track your progress over time.
Conclusion
Master these essential tools first, then expand your collection as your skills grow. Quality basics create better results than countless mediocre supplies.