5 Scalp Massaging Techniques for Thicker Hair
Your hair deserves more than shampoo and conditioner. Scalp massage transforms thin strands into fuller, healthier hair.
These techniques boost blood circulation to your follicles. Better circulation delivers more nutrients to your roots.
You don’t need expensive tools or salon visits. Your fingertips and daily practice create remarkable differences.
Ready to unlock natural thickness? Let’s explore five proven massage techniques.
Technique 1: The Classic Circular Motion Massage
The circular motion massage forms the foundation of all effective scalp treatments.
You’ll use this technique to stimulate blood flow across your entire scalp while creating a relaxing ritual that reduces stress levels.
Start by washing your hands thoroughly and removing any jewelry that might snag your hair.
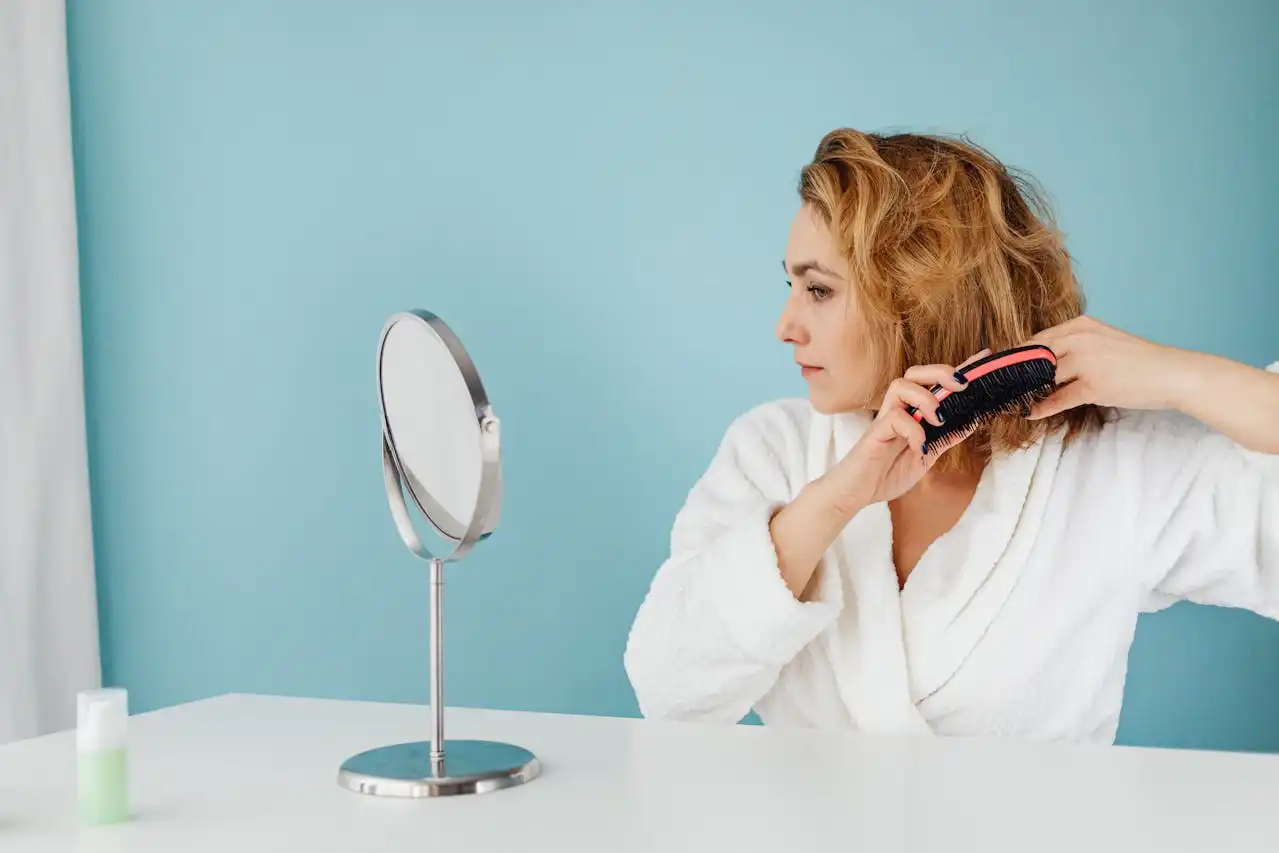
Position yourself comfortably in front of a mirror so you can monitor your technique and ensure you’re covering all areas evenly.
Place your fingertips on your scalp at the hairline above your forehead. Use the pads of your fingers, not your nails, to avoid scratching or damaging your scalp.
Apply gentle pressure and begin making small circular motions about the size of a quarter.
Work systematically across your scalp, spending 10-15 seconds in each area before moving to the next section.
Move from your hairline toward the crown of your head, then work down the sides toward your ears. Don’t forget the back of your head and the area just above your neck.
The pressure should feel firm but comfortable – imagine you’re shampooing your hair with extra attention.
You’ll know you’re applying the right pressure when you feel a pleasant tingling sensation without any discomfort or pain.
Maintain consistent circular motions throughout the massage. Some areas might feel more sensitive than others, which is completely normal.
Varying the direction occasionally helps ensure you’re stimulating all the blood vessels effectively.
Complete this massage for 5-7 minutes daily, preferably before bedtime when your body naturally enters repair mode.
The relaxation benefits will help you sleep better while the increased circulation works overnight to nourish your hair follicles.
You can perform this technique on dry hair, but adding a few drops of lightweight oil like jojoba or sweet almond oil enhances the benefits.
The oil provides slip that prevents tugging while delivering additional nutrients to your scalp.
Technique 2: The Pressure Point Activation Method
Pressure point activation targets specific areas of your scalp that correspond to improved hair growth and overall scalp health.
This ancient technique combines the benefits of acupressure with modern understanding of circulation enhancement.
Locate the pressure points by feeling for slight depressions or areas that feel particularly responsive to touch.
The most important points for hair growth sit at the base of your skull where it meets your neck, the temples, and the crown of your head.
Begin with the occipital points at the base of your skull. Place your thumbs on these points and apply steady pressure for 30 seconds.
You should feel a deep, satisfying sensation that might radiate slightly into your neck and shoulders.
Move to your temples and use your middle fingers to apply gentle pressure in small circles.
These points often hold tension from daily stress, so you might notice immediate relaxation when you work on them properly.
The crown point sits at the very top of your head where a baby’s soft spot would be. Use your middle finger to apply gentle downward pressure for 45 seconds.
This point particularly benefits overall scalp circulation and can help with hair growth at the crown area where many people experience thinning.
Don’t rush between pressure points. Allow 15-20 seconds of rest between each point to let your circulation adjust to the stimulation.
This pause also helps you become more aware of the sensations and benefits.
Perform pressure point activation 3-4 times per week, either as a standalone treatment or combined with other massage techniques.
Morning sessions can energize you for the day, while evening sessions promote relaxation and better sleep quality.
Pay attention to how different pressure points feel on different days. Consistent attention to these points often resolves the sensitivity over time.
Areas that feel particularly tender might indicate stress or tension that could be affecting your hair growth.
Some people notice tingling sensations or even slight headache relief when performing this technique correctly.
These responses indicate that you’re successfully stimulating the intended areas and improving circulation patterns.
Technique 3: The Lifting and Pulling Technique
The lifting and pulling technique works by gently stretching the scalp skin to improve flexibility and blood flow.
This method particularly benefits people with tight scalps that restrict proper circulation to hair follicles.
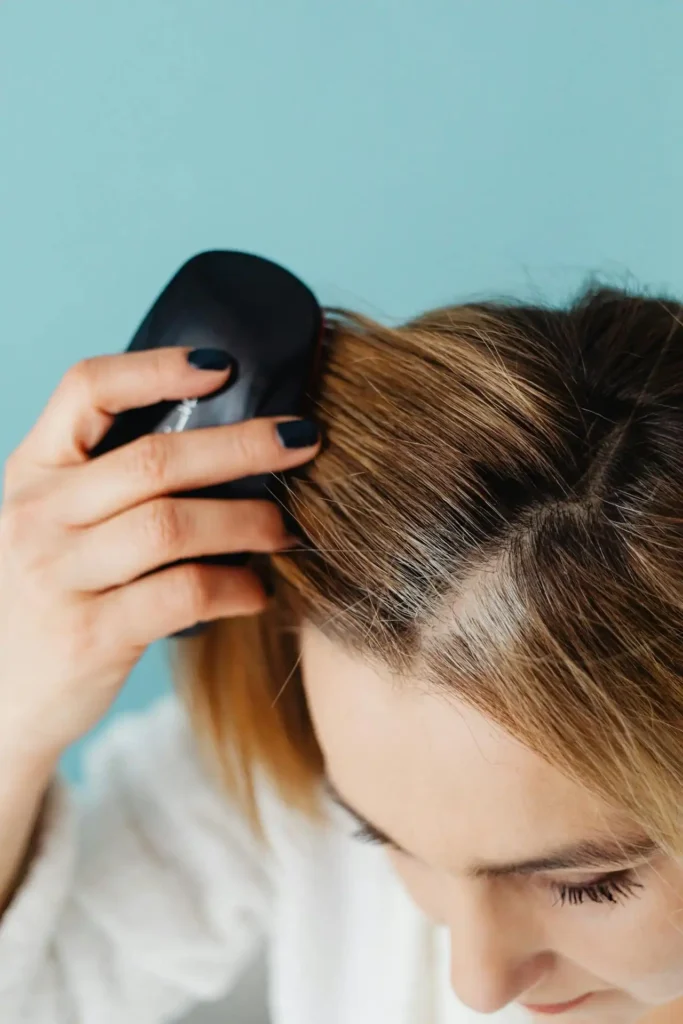
Start by dividing your hair into small sections using your fingers. Grasp a small section of hair near the roots between your thumb and forefinger.
You don’t need perfect parts – just create manageable sections that allow you to grip your hair close to the roots without pulling too hard on any single strand.
Hold the hair about half an inch from your scalp to avoid putting stress directly on the follicles while still creating the lifting effect you need.
Gently lift the section of hair straight up from your scalp, creating slight tension. Hold this position for 5-10 seconds, then release slowly.
You should feel a gentle stretching sensation across your scalp without any pain or discomfort.
Move systematically across your entire head, working from front to back and side to side.
Spend extra time on areas where your hair feels particularly flat or where you’ve noticed thinning, as these areas often benefit most from improved circulation.
The key lies in the gentle, sustained lifting motion rather than quick tugs or jerky movements.
Think of it as creating space between your scalp and hair roots, allowing fresh blood to flow into areas that might be compressed or restricted.
Vary the direction of your lifts occasionally. Pull some sections straight up, others slightly forward or backward.
This variation ensures you’re stretching the scalp skin in multiple directions and preventing any one area from becoming overworked.
Perform this technique 2-3 times per week for best results. Some people describe it as feeling like their scalp is “opening up” or becoming more flexible.
Daily lifting can sometimes irritate sensitive scalps, so start slowly and increase frequency only if your scalp responds well to the treatment.
Many people find this technique particularly effective when combined with deep breathing exercises.
The relaxation response from controlled breathing enhances the circulation benefits and makes the entire experience more therapeutic.
You’ll know you’re performing the technique correctly when you feel a pleasant loosening sensation across your scalp.
Technique 4: The Scalp Kneading Method
Scalp kneading mimics the deep tissue massage techniques used by professional therapists, adapted specifically for the delicate skin and structures of your head.
This method provides the deepest level of stimulation among all the techniques. Position your hands so that your fingers curve naturally to match the shape of your head.
Your fingertips should contact your scalp while your palms hover slightly above, creating a gentle dome shape with your hands.
Begin the kneading motion by pressing your fingertips into your scalp and then rolling them in a wave-like motion from your knuckles toward your fingertips.
Think of it as mimicking the motion you’d use to knead bread dough, but much more gently.
Start at your hairline and work systematically toward the back of your head.
The kneading motion should move your scalp skin back and forth slightly, creating a deep massage effect that reaches the underlying muscles and blood vessels.
Apply consistent pressure throughout each kneading motion. The pressure should feel substantial but never painful.
You’re working to increase circulation in the deeper layers of your scalp, not just the surface skin.
Pay special attention to areas where you feel knots or tension. Work each section for 20-30 seconds before moving to the next area.
Many people carry stress in their scalp muscles without realizing it, and this technique effectively releases that built-up tension while improving hair growth conditions.
Overlap your sections slightly to ensure complete coverage and avoid missing any spots that could benefit from the deep stimulation.
The entire kneading session should last 8-10 minutes for full effectiveness. Many people experience immediate relaxation and stress relief from scalp kneading.
This longer duration allows the deep massage to create lasting changes in circulation patterns and muscle tension release.
Perform scalp kneading 2-3 times per week, preferably on days when you’re not washing your hair.
The technique works best on slightly dirty hair that provides better grip for the kneading motions.
The deep pressure stimulates the release of endorphins while the improved circulation brings fresh nutrients to your hair follicles.
You might notice your hair feels thicker and more voluminous immediately after kneading sessions.
This temporary effect comes from increased blood flow and often becomes more permanent with consistent practice over several weeks.
Technique 5: The Vibration and Tapping Method
The vibration and tapping method uses rapid, light movements to stimulate your scalp through frequency rather than pressure.
This technique awakens dormant hair follicles and creates a tingling sensation that indicates improved blood flow.
Begin with the vibration component by placing your fingertips lightly on your scalp. Focus on creating a gentle buzzing sensation against your scalp.
Keep your fingers relaxed and flexible as you create rapid, small vibrating movements. The motion should come from your wrists and fingers, not your entire arm.
Your fingertips should barely lift off your skin with each vibration, creating a rapid percussion effect that stimulates nerve endings and blood vessels.
Work systematically across your scalp, spending 15-20 seconds in each area before moving on.
The vibration should feel energizing and slightly ticklish, never uncomfortable or irritating to your skin.
Transition into the tapping component by using your fingertips to create light, rapid tapping motions across your scalp.
Think of playing a very gentle drum roll using all ten fingers simultaneously.
The tapping should sound like light rain falling on a roof – rapid and consistent but not forceful.
Your fingertips should bounce lightly off your scalp rather than pressing down hard with each tap.
Vary the rhythm and intensity of your tapping to prevent your scalp from becoming accustomed to the stimulation.
Sometimes use all fingers together, other times alternate between hands or use different finger combinations.
This technique works particularly well for morning energy boosts. The stimulation helps wake up your scalp and can even help you feel more alert and focused for the day ahead.
Many people find that vibration and tapping helps with itchy or flaky scalp conditions. Perform this technique 4-5 times per week for best results.
The gentle stimulation improves circulation while helping to loosen dead skin cells and product buildup.
The gentle nature of the movements makes it safe for daily use, and the energizing effects make it perfect for morning routines.
You’ll know you’re performing the technique correctly when you feel a pleasant tingling sensation that lasts for several minutes after you stop.
This lingering effect indicates improved circulation that continues working even after the massage ends.
Maximizing Your Massage Results
Consistency matters more than intensity when it comes to scalp massage for hair growth.
You’ll see better results from gentle daily sessions than from occasional aggressive massages that might damage your scalp or hair follicles.
Time your massages strategically for maximum benefit. Morning sessions energize your scalp and help products absorb better throughout the day.
Evening massages promote relaxation and allow overnight repair processes to work more effectively.
Track your progress by taking photos of your hair from multiple angles before starting your massage routine.
Many people notice subtle improvements in hair density and thickness that become obvious only when comparing before and after photos.
Consider incorporating essential oils known for promoting hair growth. Be patient with results.
Rosemary, peppermint, and cedarwood oils can enhance your massage results when diluted properly with carrier oils like jojoba or coconut oil.
Stay hydrated and maintain a healthy diet to support the improved circulation you’re creating through massage.
Your newly stimulated hair follicles need adequate nutrients to produce stronger, thicker hair.
Most people notice initial improvements in scalp health and hair texture within 2-3 weeks, but significant thickness changes typically require 2-3 months of consistent practice.
Listen to your scalp’s responses and adjust your techniques accordingly. Combine different techniques throughout the week rather than using the same method daily.
Some days your scalp might feel more sensitive, requiring gentler pressure or shorter sessions. Other days you might crave deeper stimulation.
This variety ensures you’re stimulating your scalp in multiple ways and prevents your circulation from plateauing.
Common Mistakes to Avoid
Many people apply too much pressure during scalp massage, thinking that harder pressure equals better results.
Excessive pressure can damage hair follicles and reduce the circulation you’re trying to improve.
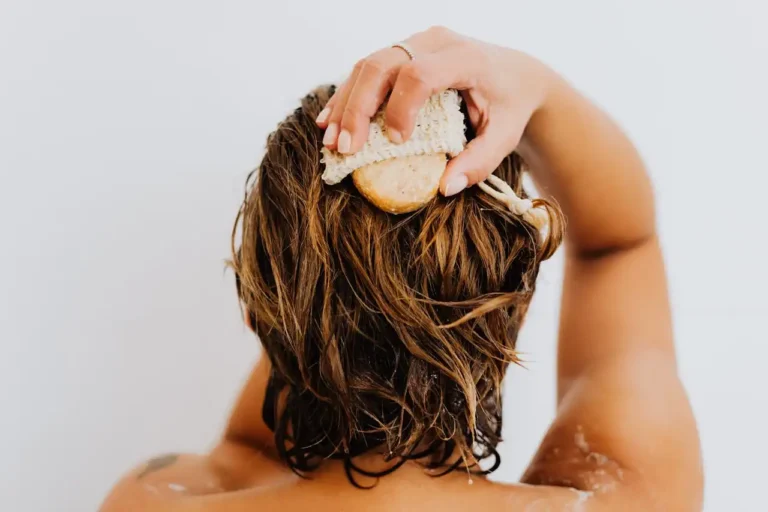
Don’t massage wet hair aggressively, as wet strands are more fragile and prone to breakage.
If you prefer massaging with wet hair, use extra gentle pressure and avoid any pulling or tugging motions.
Avoid using your fingernails instead of fingertips during massage. Don’t expect overnight results from scalp massage.
Nails can scratch your scalp, create micro-injuries, and potentially introduce bacteria that leads to scalp problems.
Hair growth occurs in cycles, and it takes time for improved circulation to translate into visible thickness improvements.
Never massage inflamed, injured, or severely irritated scalp areas. Avoid massaging immediately before important events if you’re prone to frizzy hair.
Allow any scalp conditions to heal completely before resuming your massage routine to avoid worsening the problem.
Don’t skip rest days between intensive massage sessions. Your scalp needs recovery time just like any other part of your body that receives regular stimulation.
The stimulation can temporarily increase hair volume and texture in ways that might disrupt your styling routine.
Conclusion
Consistent scalp massage transforms thin hair into thicker, healthier strands through improved circulation.
Start with gentle techniques and build your routine gradually for lasting results.