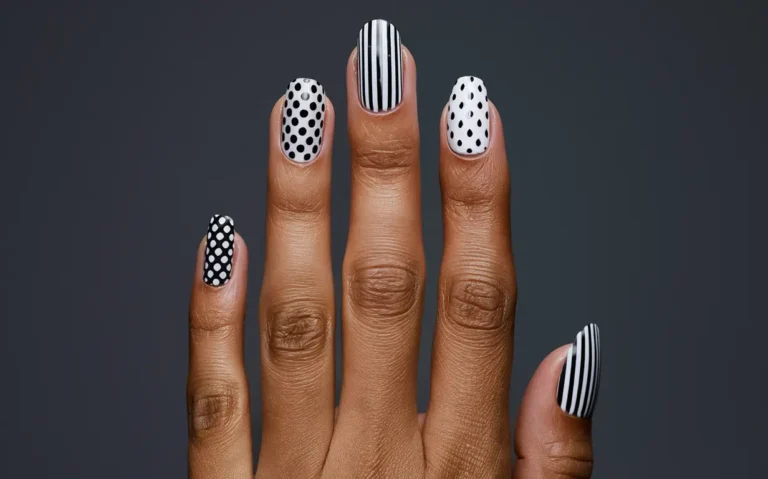
13 Halloween Nail Designs Idea: Creative and Spooktacular Looks
When Halloween approaches, I get excited about all the creative ways to celebrate the spooky season. One fun and expressive way to dive into the Halloween spirit is through nail art.
Halloween-themed nail designs are playful and festive, adding just the right amount of spooky flair to any outfit.
There are endless possibilities for Halloween nail designs, from ghosts and goblins to pumpkins and spiderwebs.
I always find it thrilling to see how different colors and shapes combine to create unique, eye-catching looks. Whether you’re aiming for something cute or creepy, these designs can help make your Halloween season even more fun.
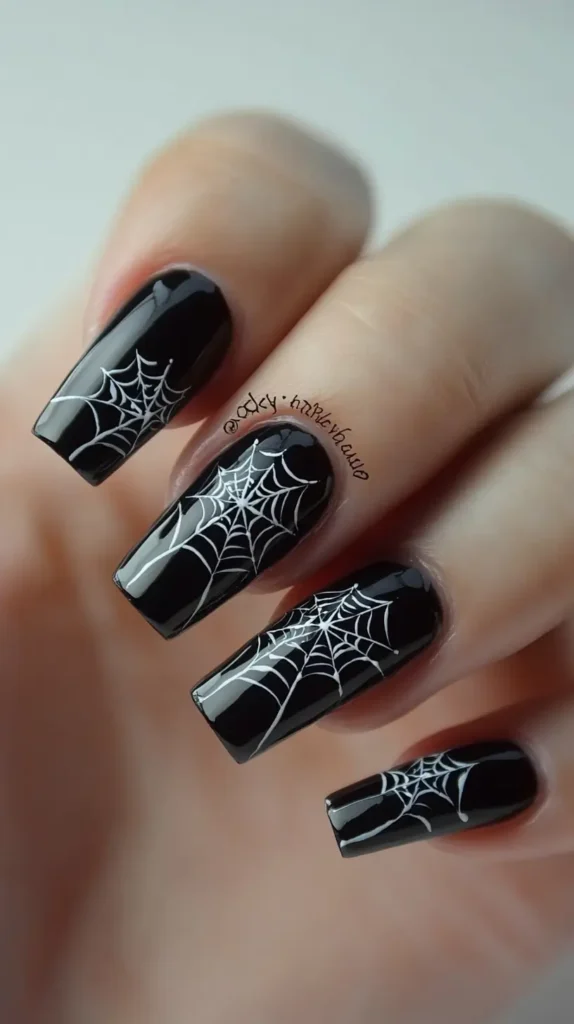
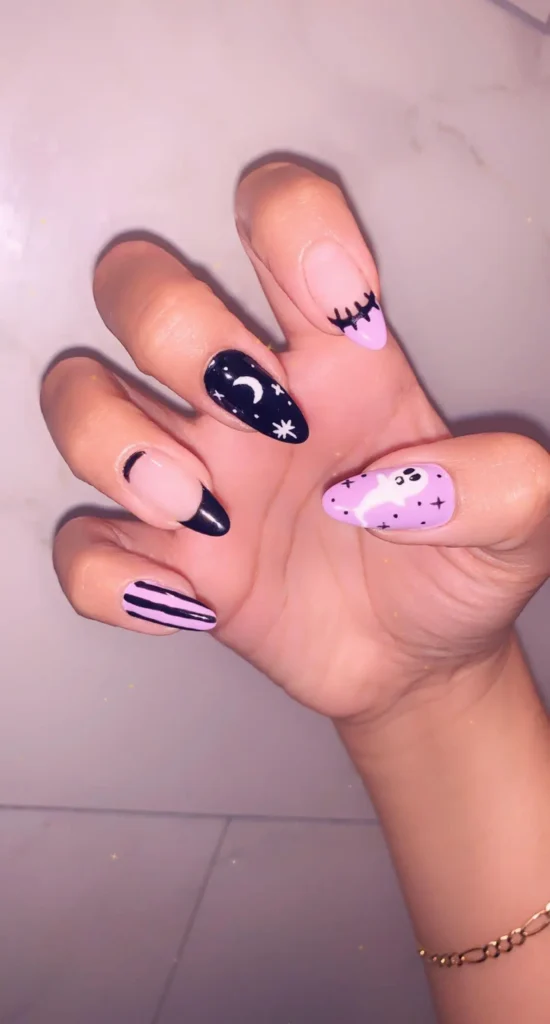
1: Spooky Spider Webs

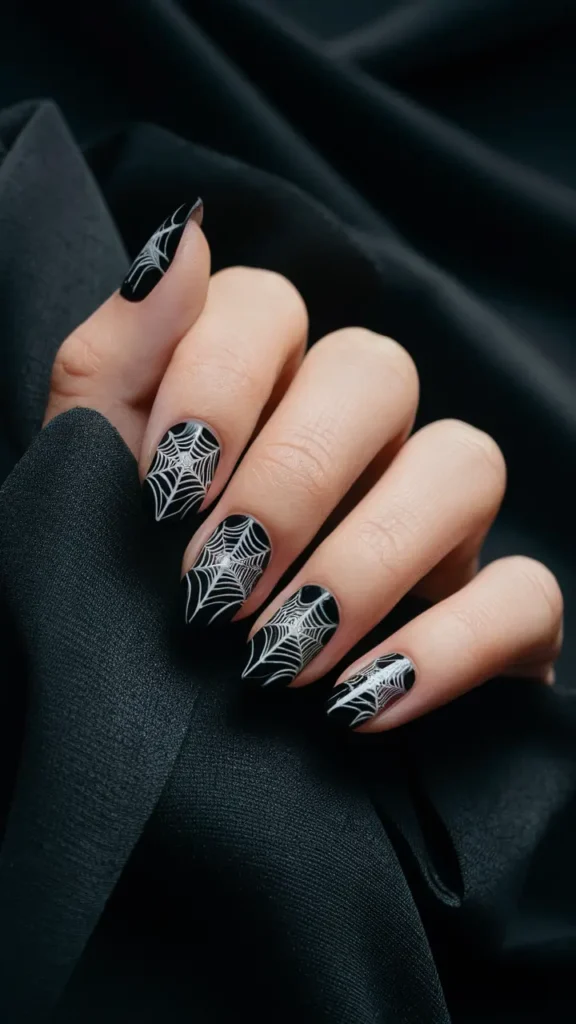
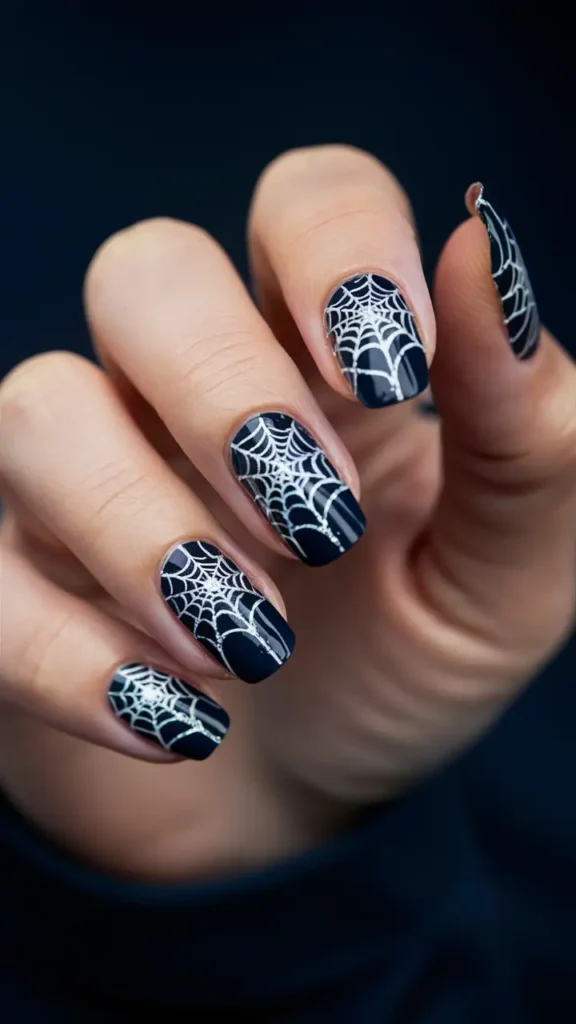
Spider-web nail designs are a classic choice for Halloween. They bring a spooky yet stylish vibe to your nails.
I love starting with a dark base coat, like black or navy. Then, I used a fine-lining brush to draw the spider webs.
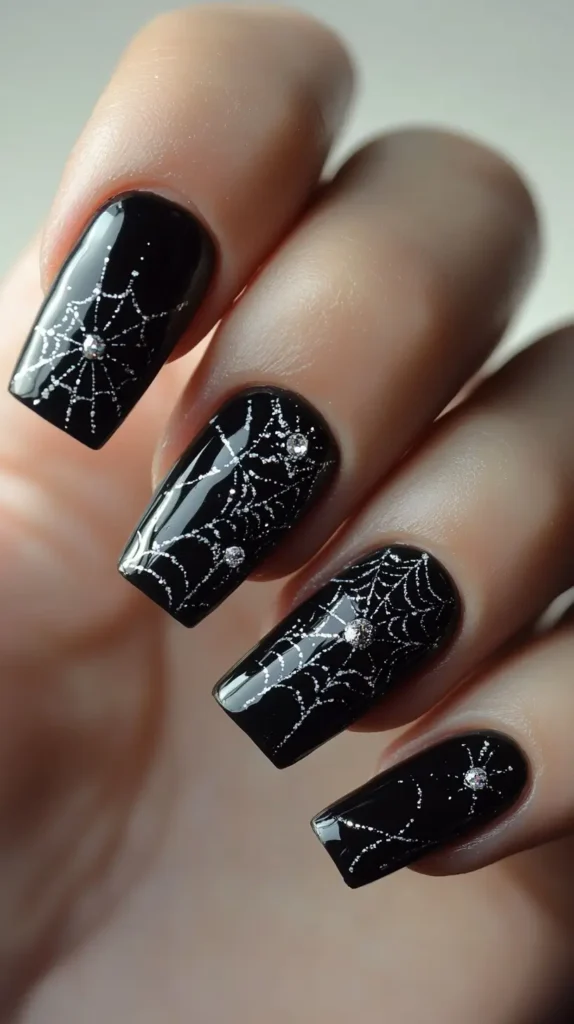
For a fun twist, sometimes I add tiny glitter accents to the webs.



2: Gothic Black Roses
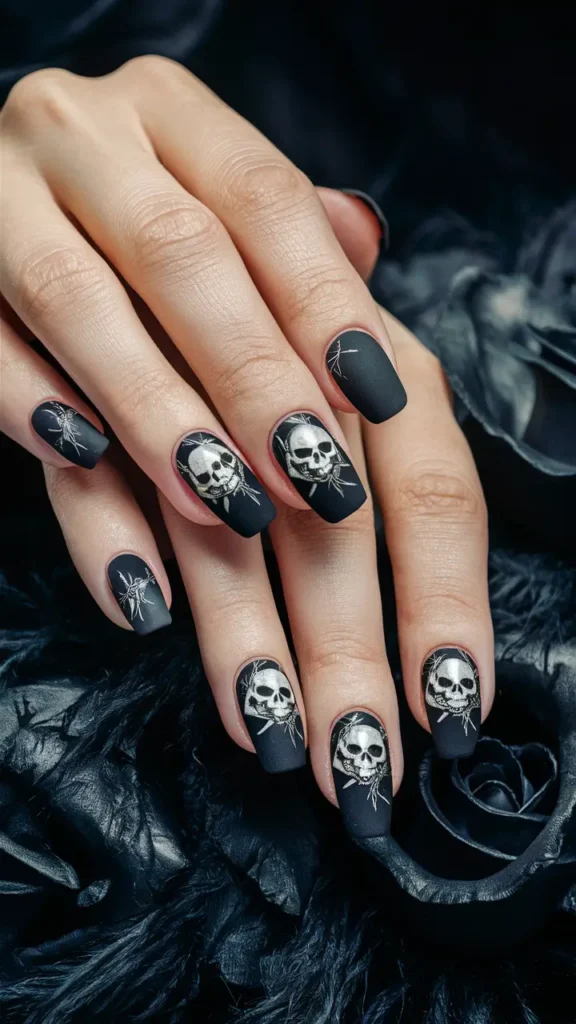
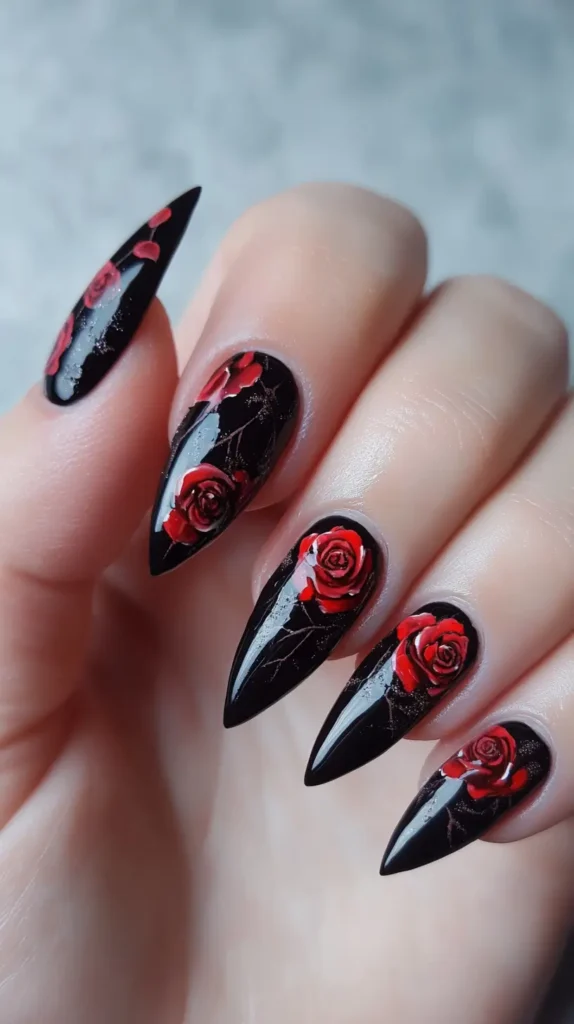
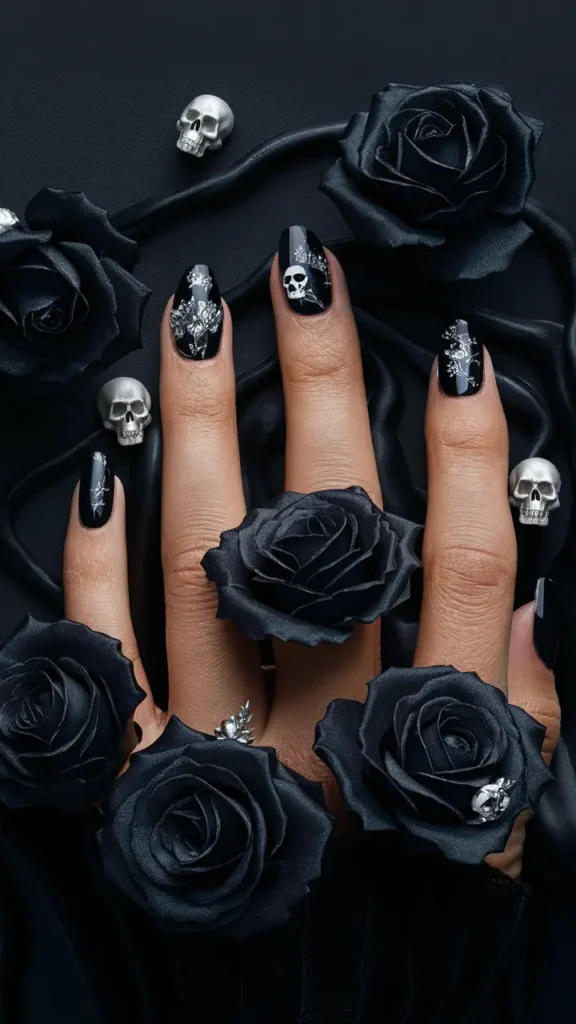
I love the elegance and mystery that Gothic black roses bring to Halloween nails. This design is both dark and beautiful, perfect for the spooky season.
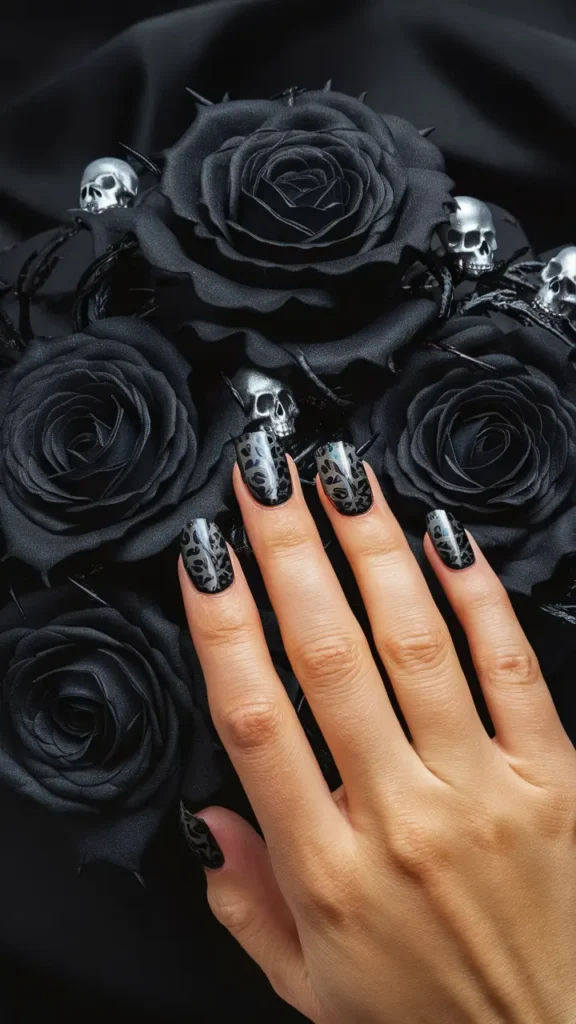
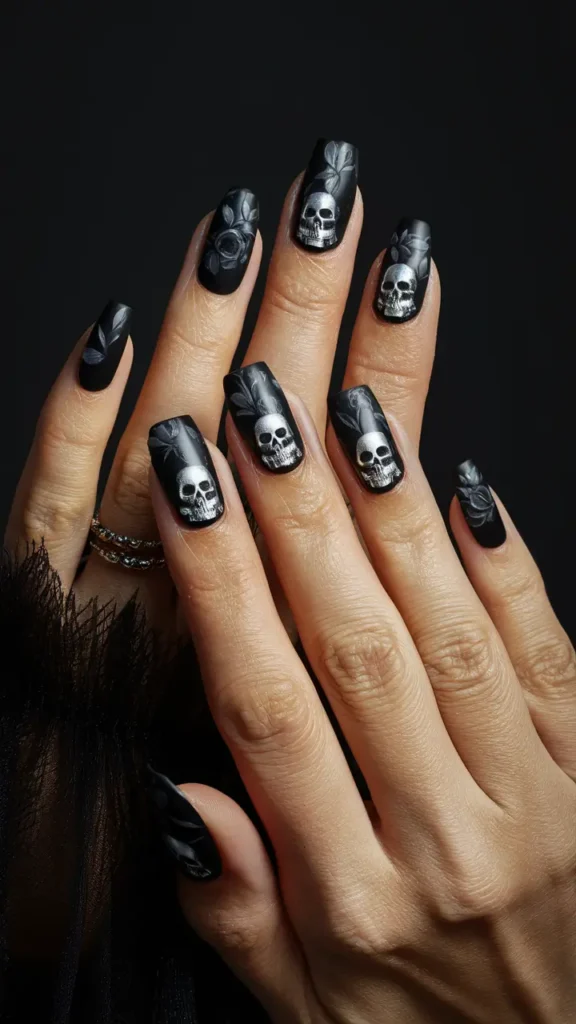
I created this look by painting detailed rose patterns with black nail polish on a matte black base. Adding tiny skulls or silver accents gives the design an extra creepy yet chic touch.


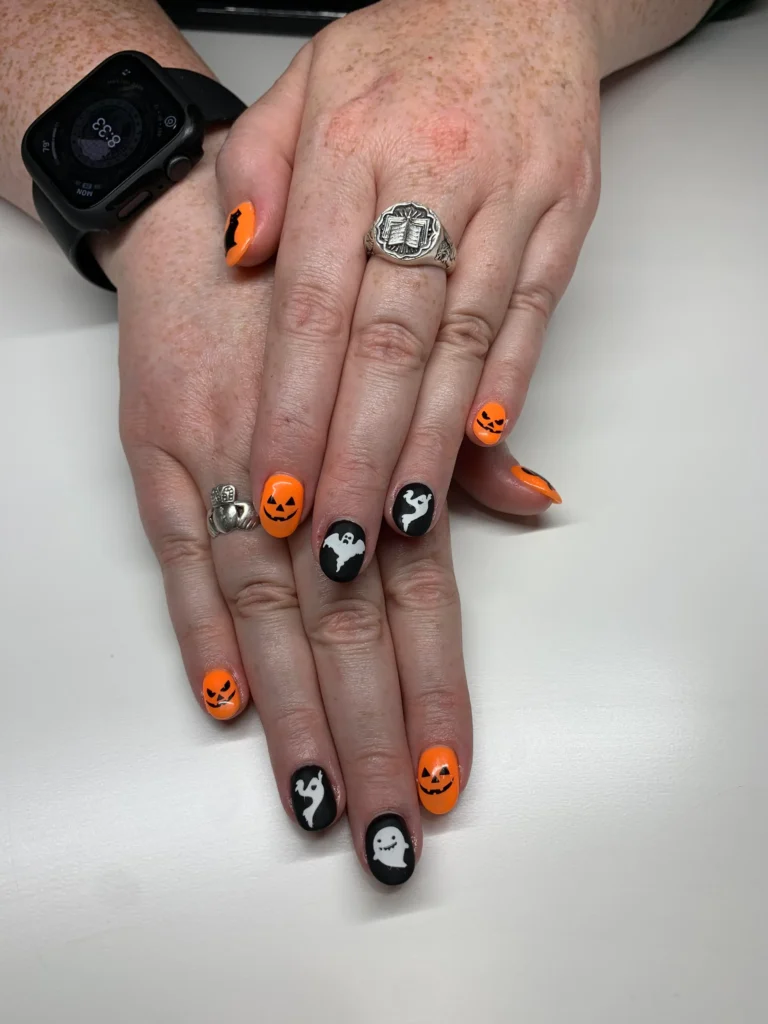
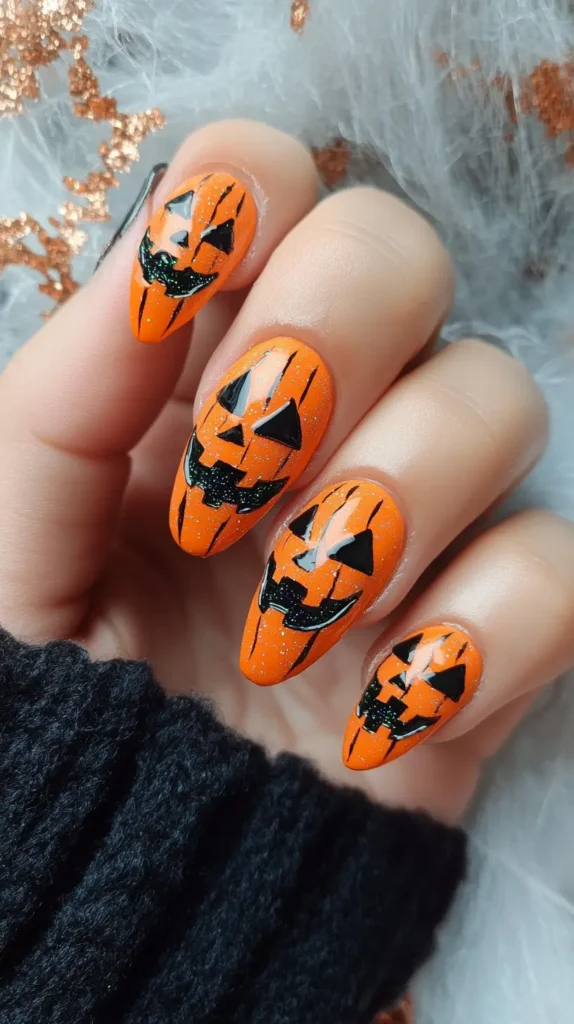
3: Pumpkin Patch Delight
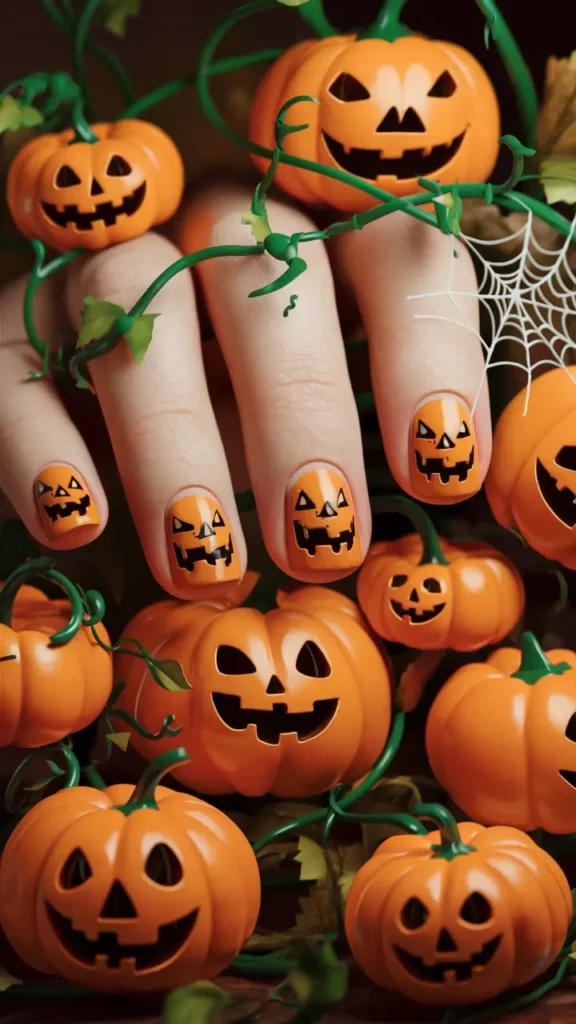
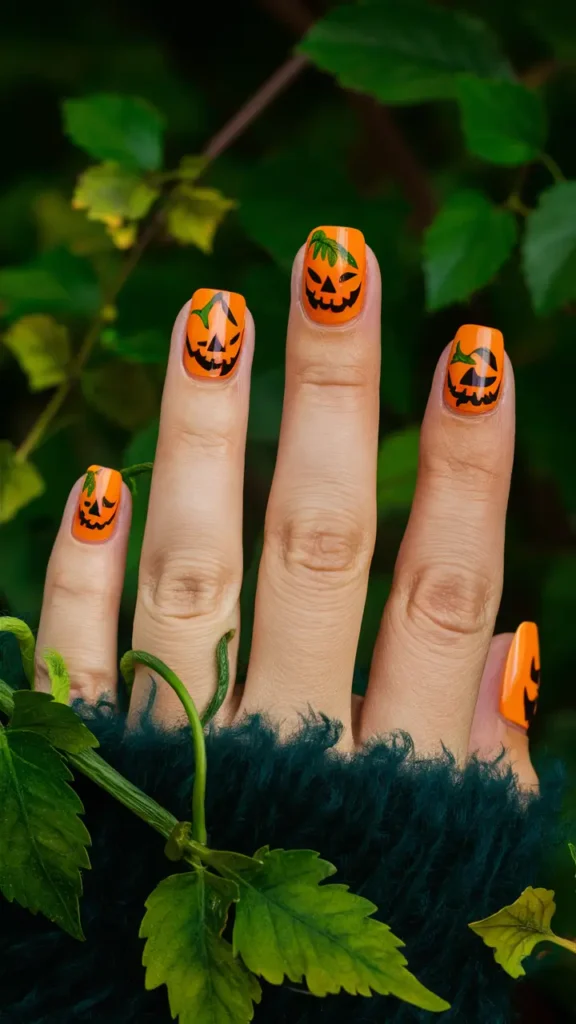

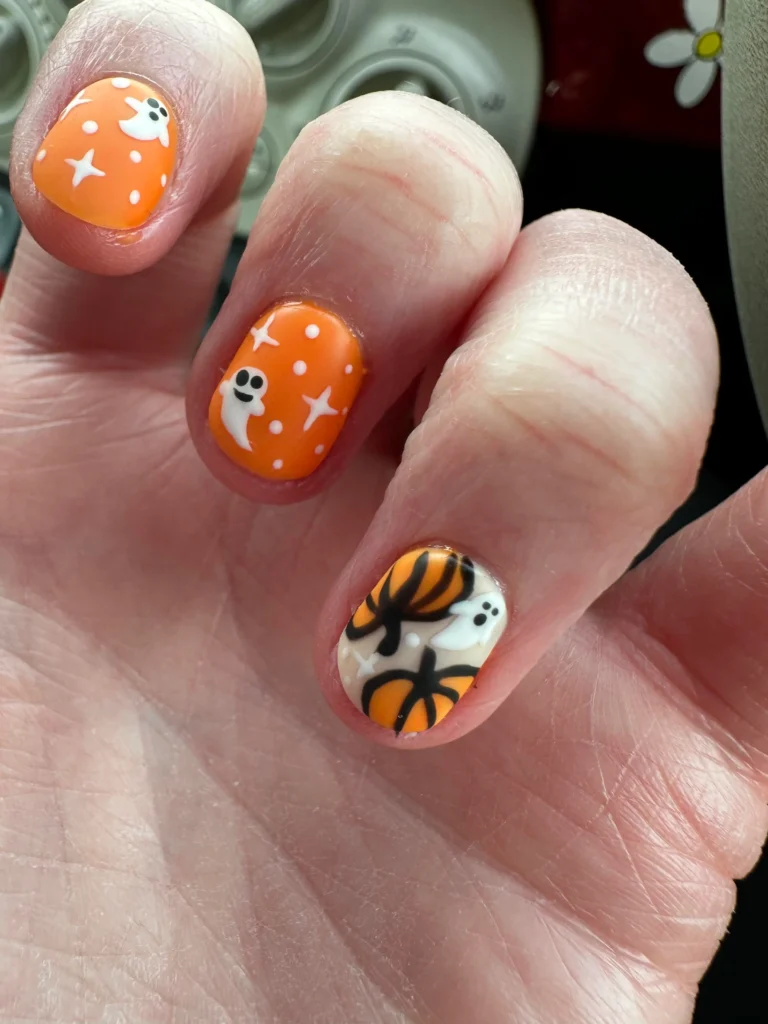
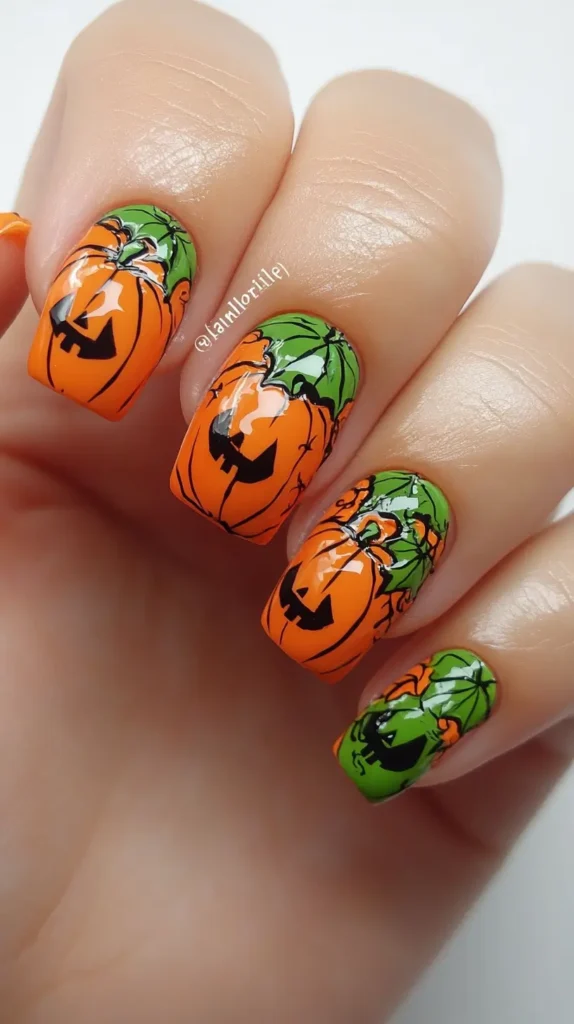
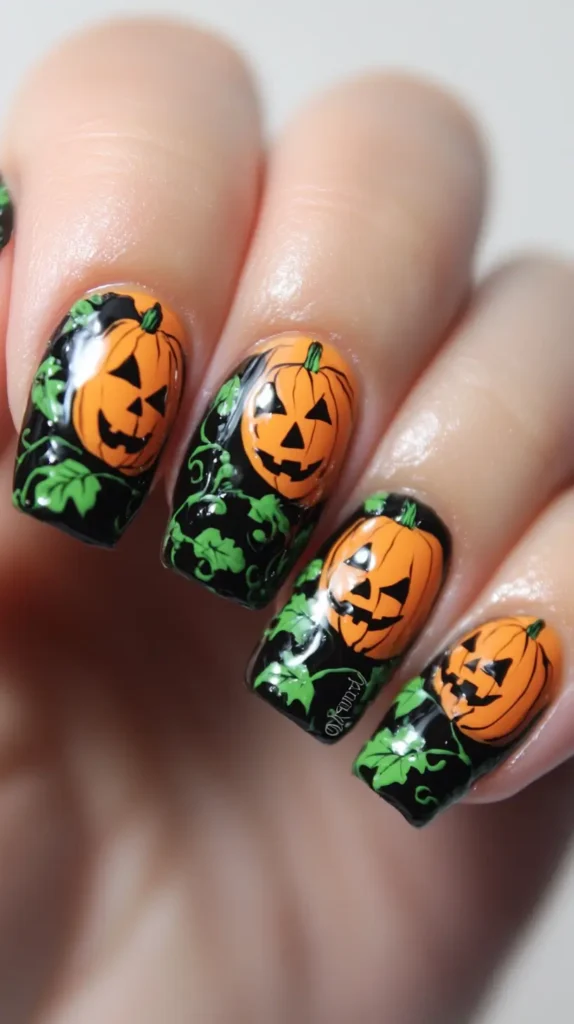
I love the classic charm of pumpkins for Halloween nails. A pumpkin patch design can be both cute and festive.
Start with an orange base to mimic the pumpkin. Then, use green for the vines and leaves.
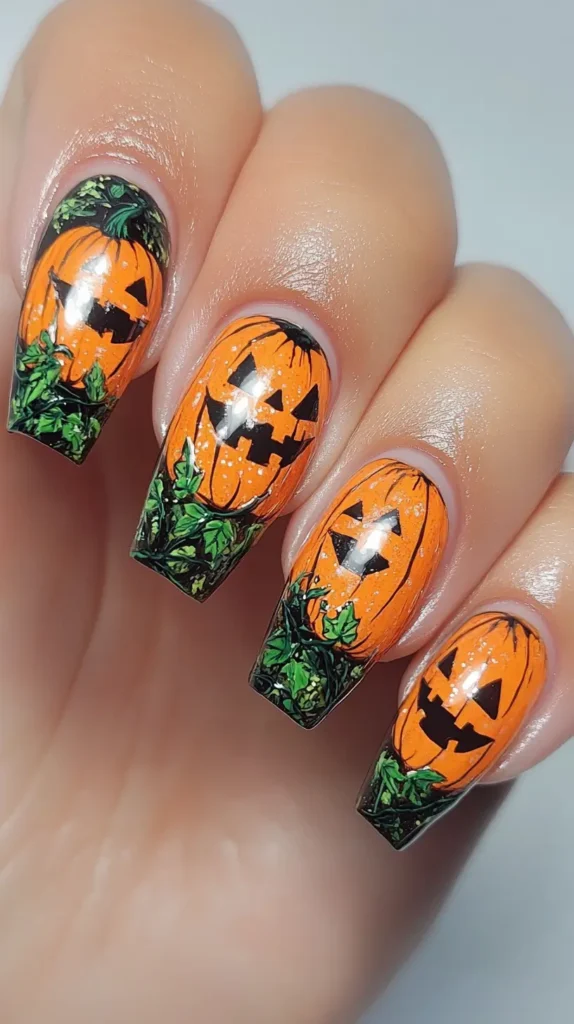
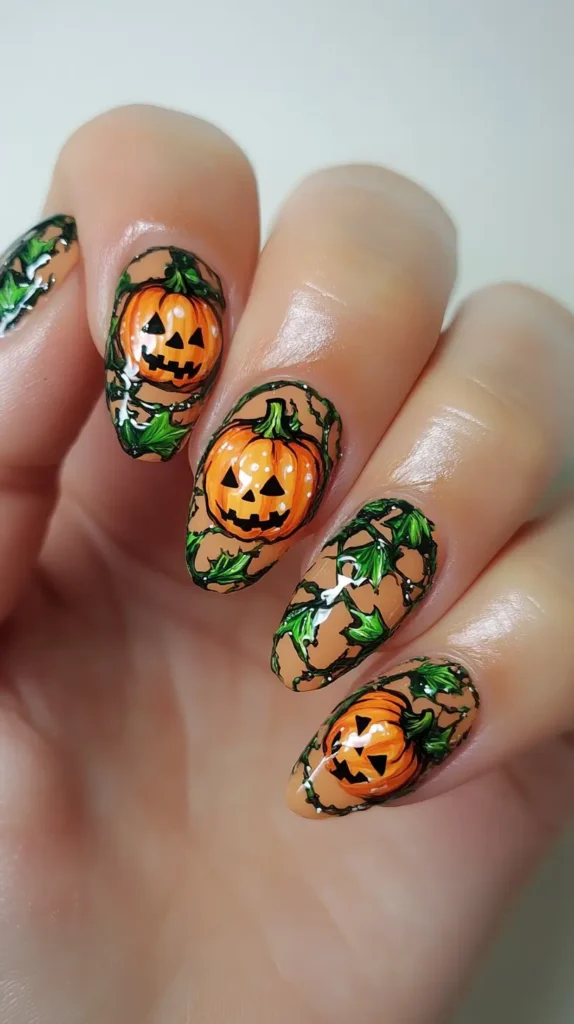
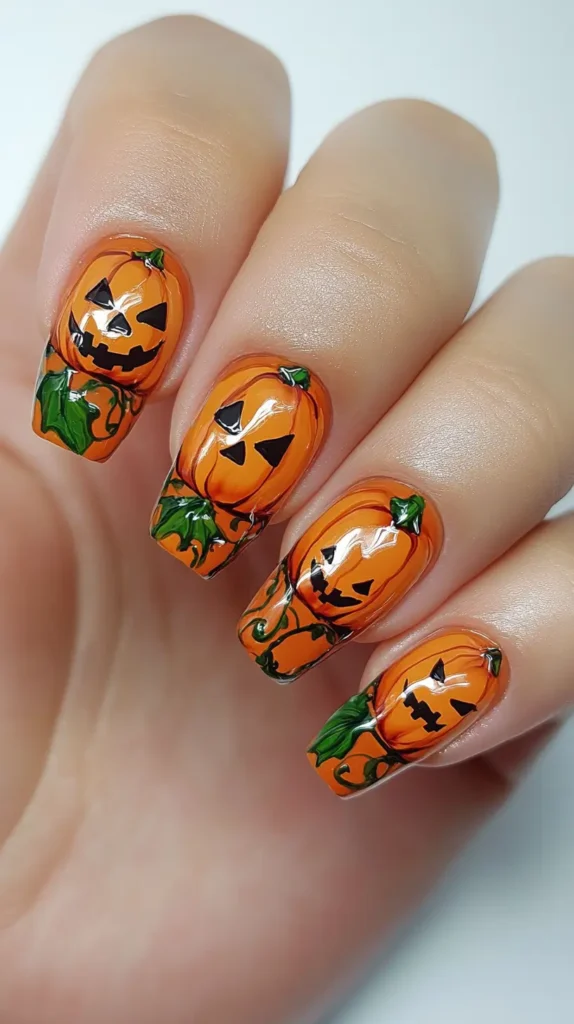
You can draw jack-o’-lantern faces for added detail. This makes the design pop and adds a spooky touch. These nails are perfect for any Halloween party.
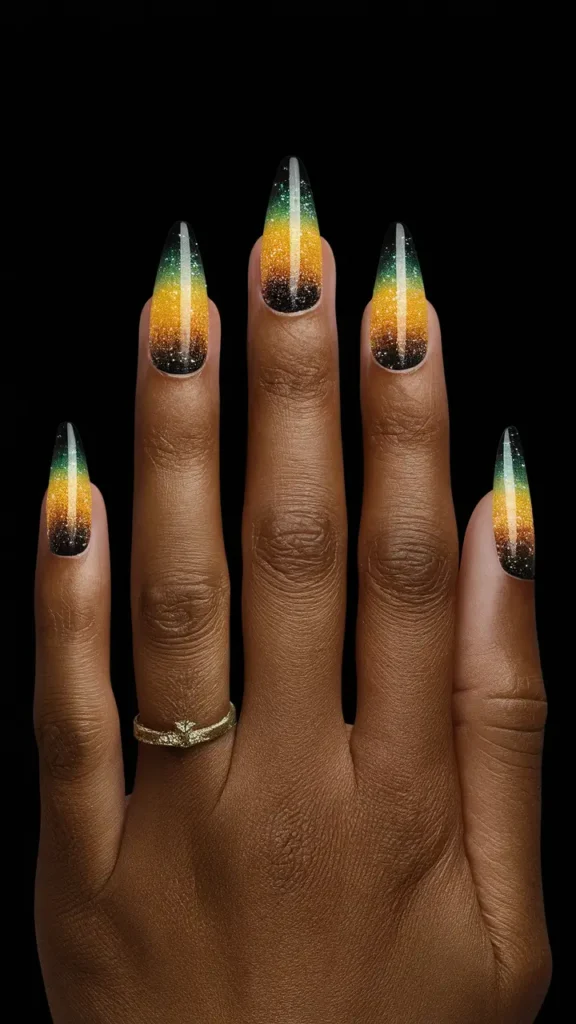
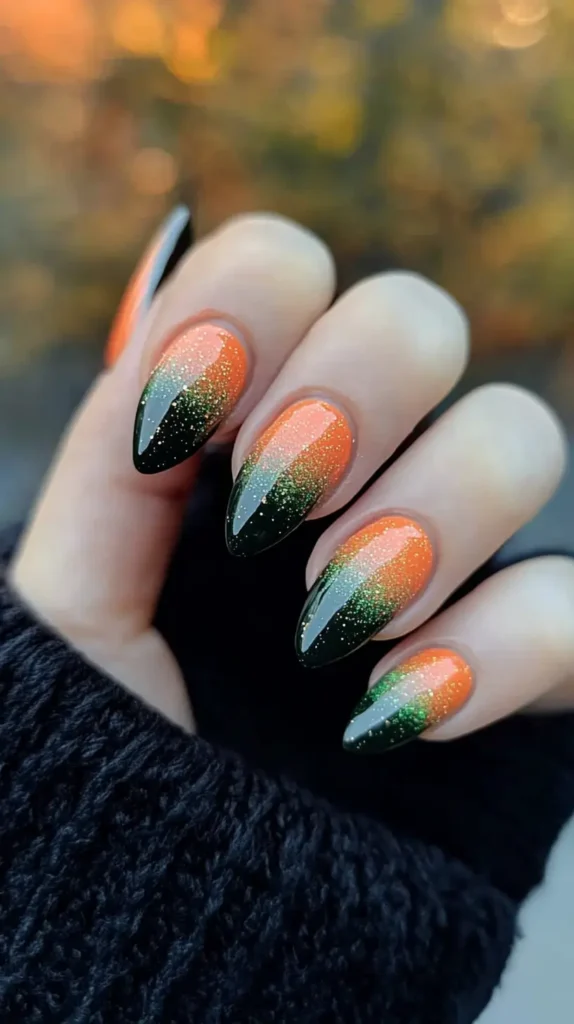
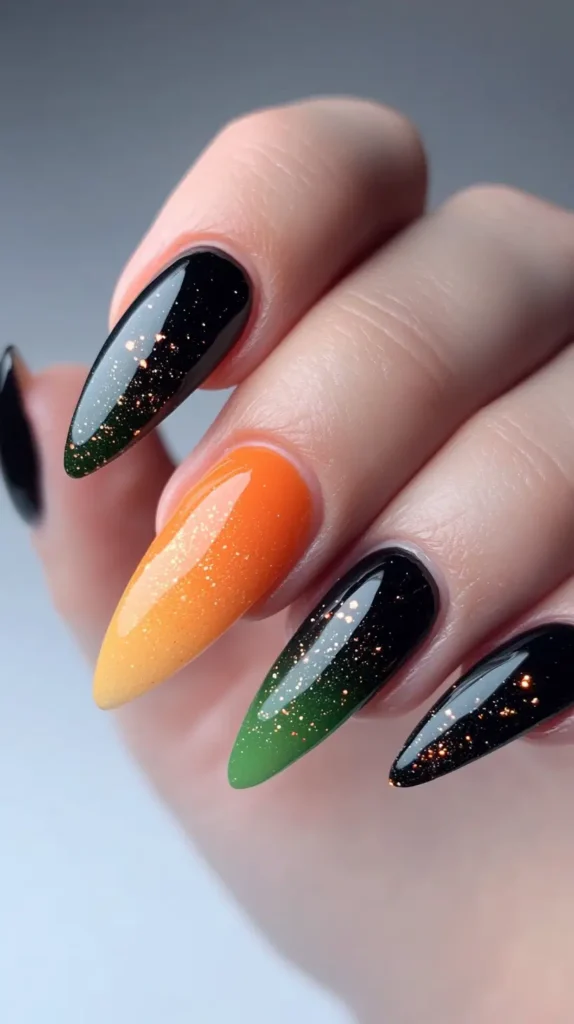
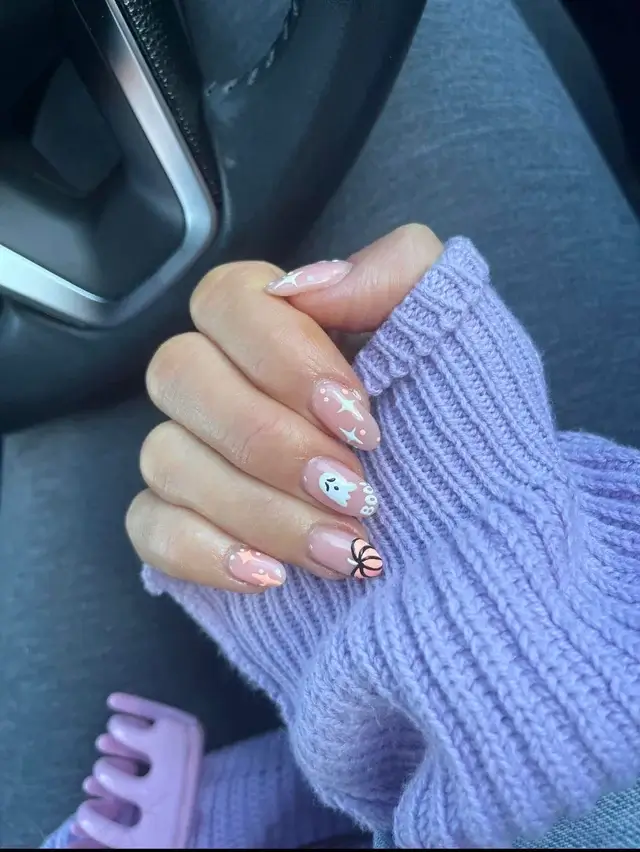
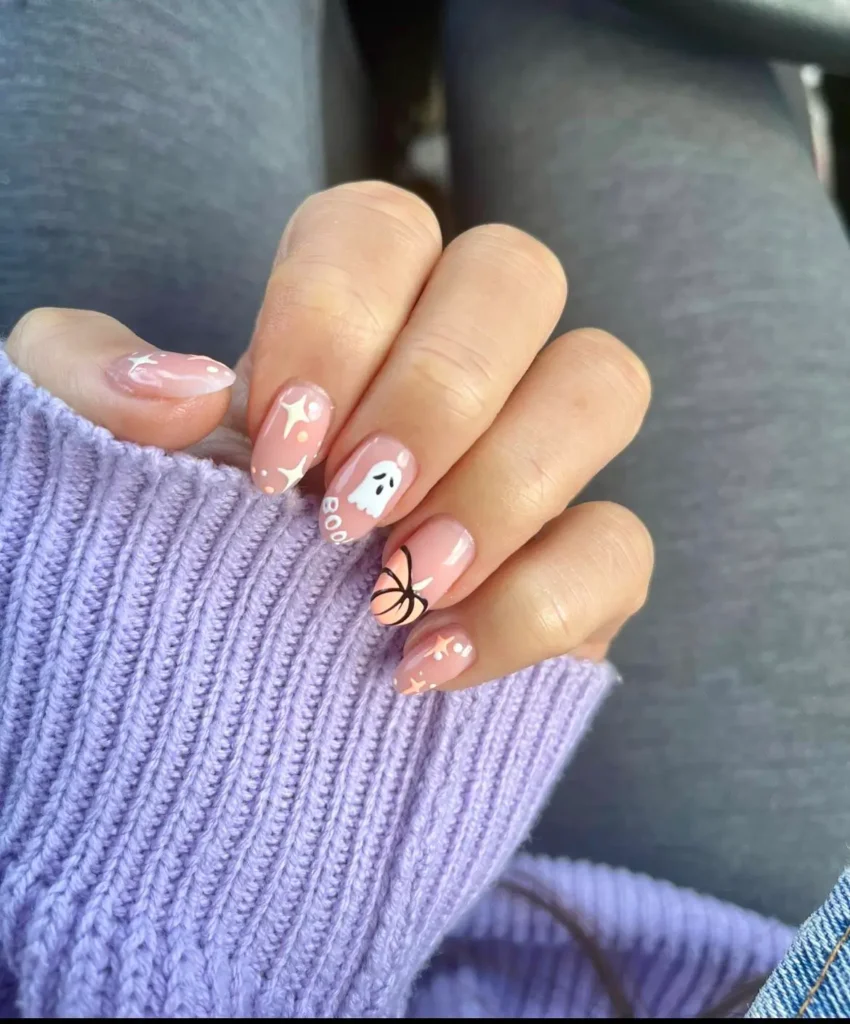
4: Ombre Gradient Glow
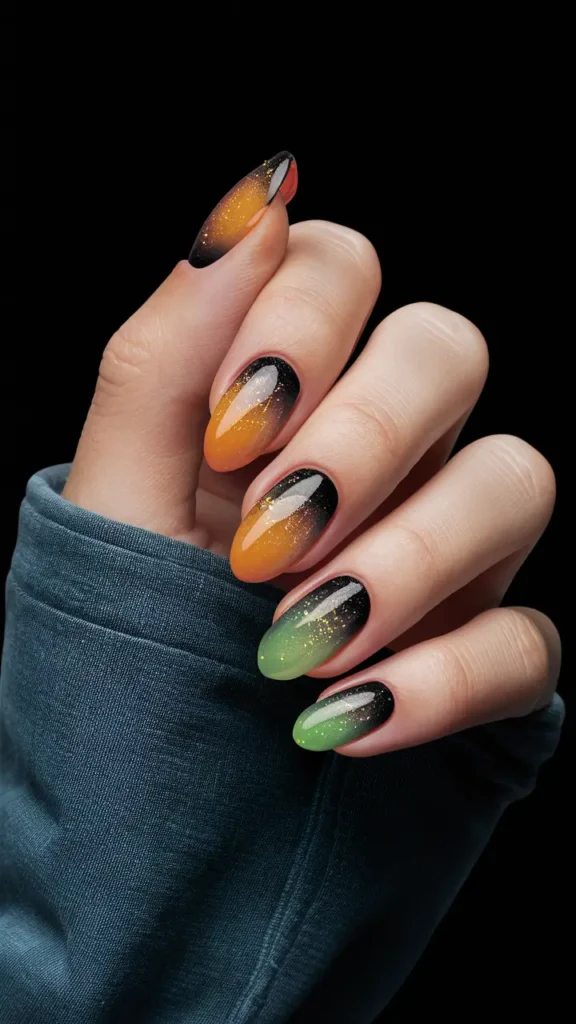
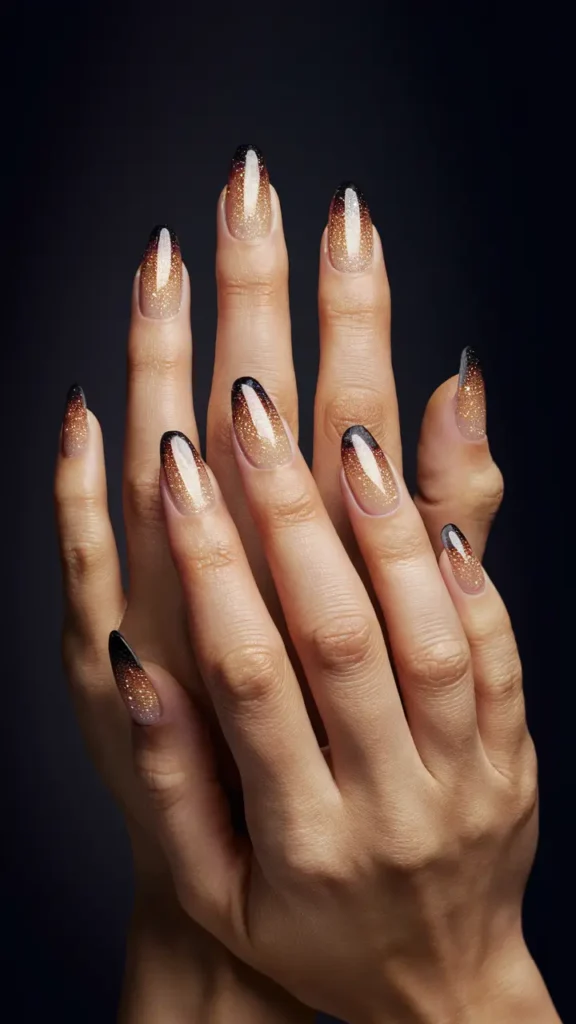

Ombre Gradient Glow nails are perfect for Halloween. I love how they blend two or more colors smoothly. The gradient effect can create a spooky yet stylish look.
You can start with a dark color at the base and fade it into a lighter shade.

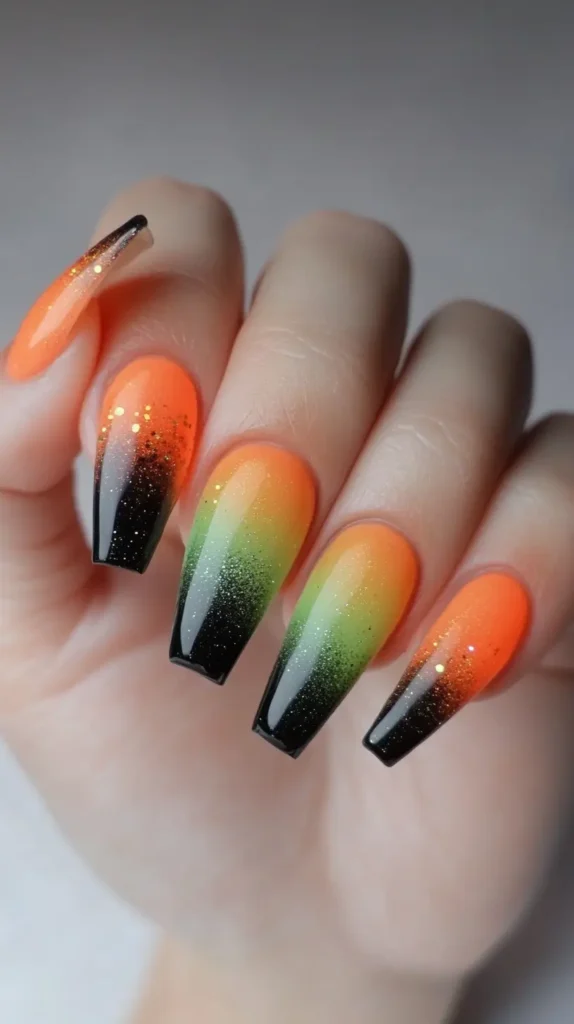
Try using colors like orange, black, or green and purple for a more festive touch. Add a bit of glitter to make them pop. This style is easy to create and works well for any Halloween event.

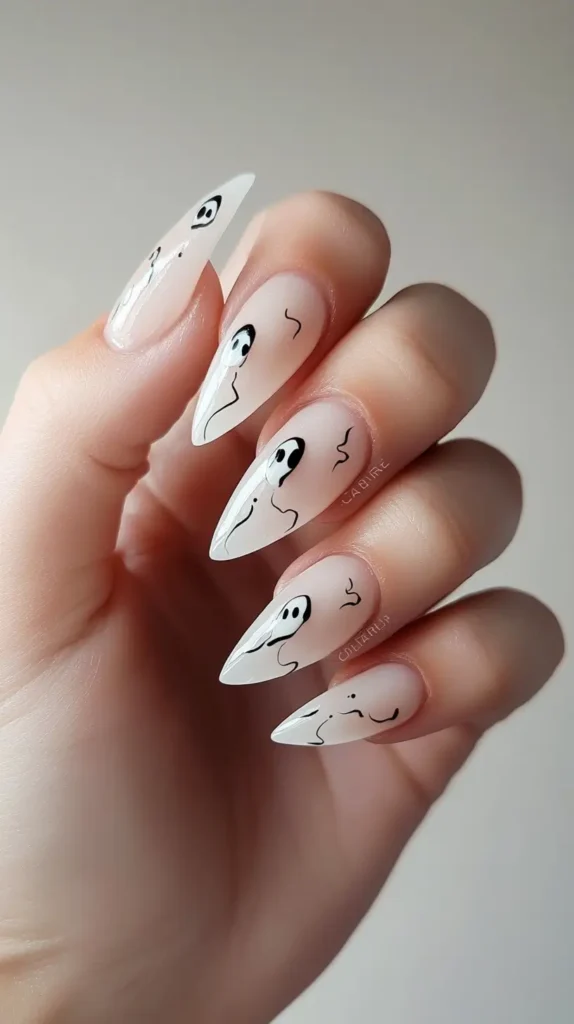
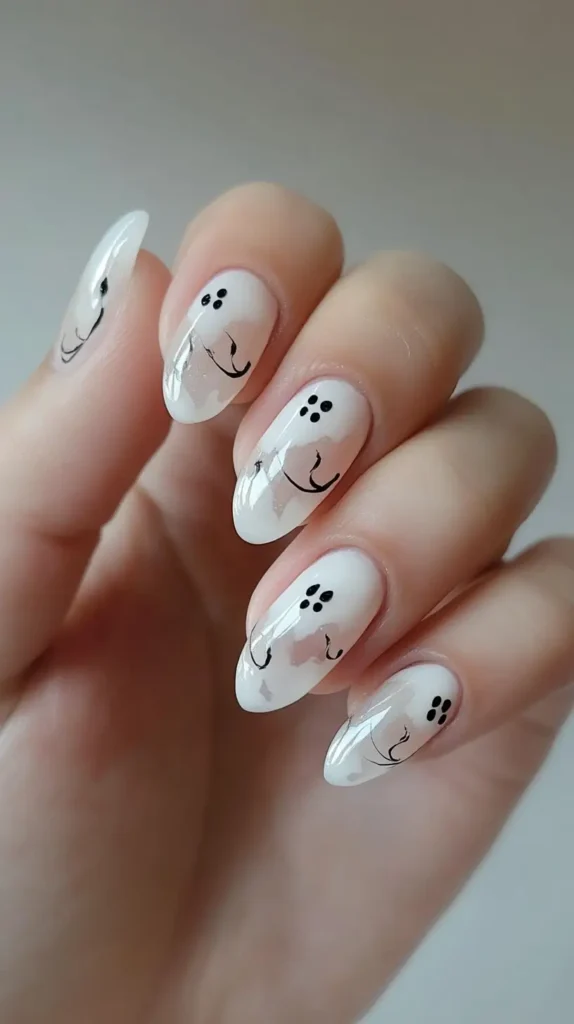
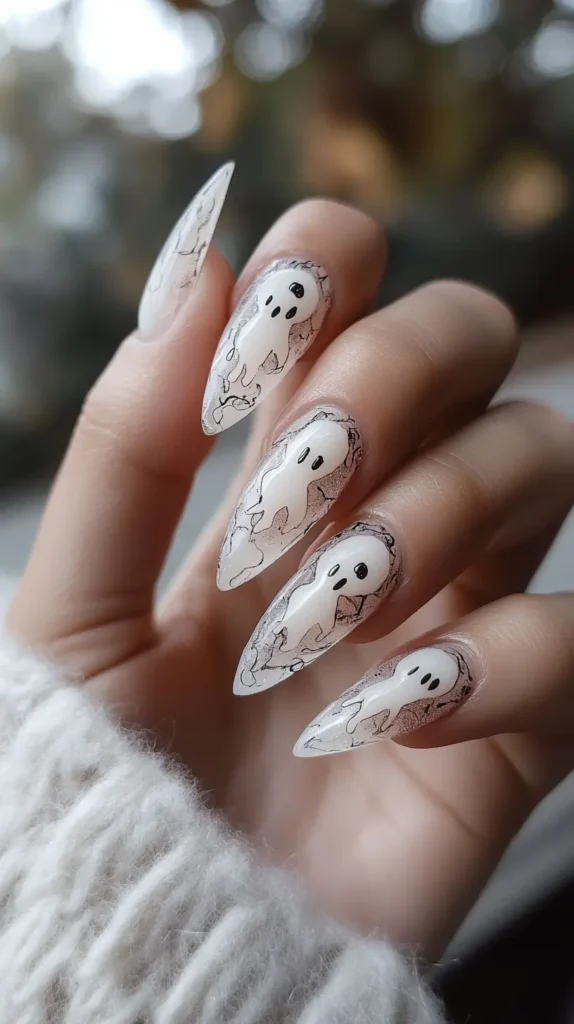
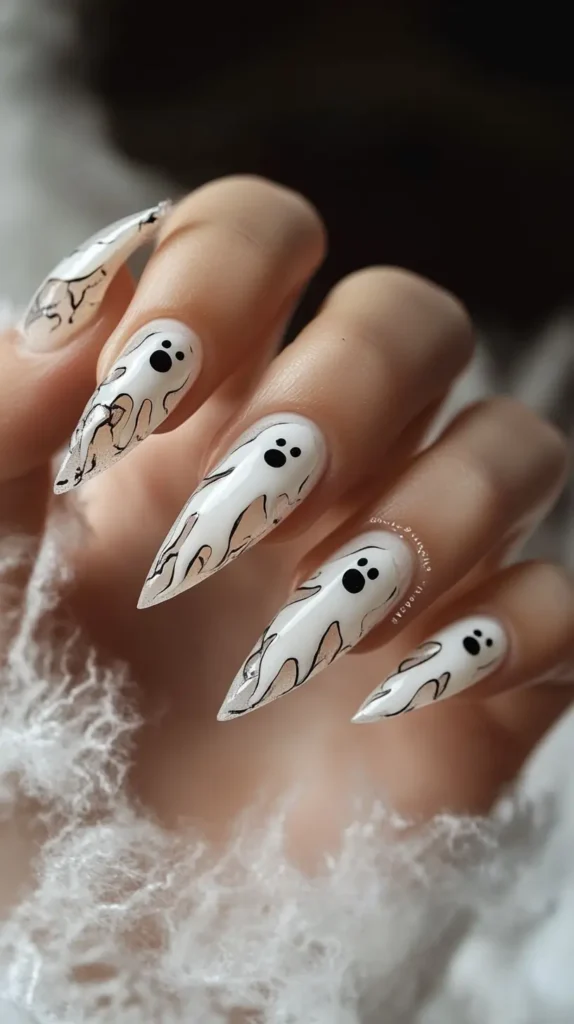
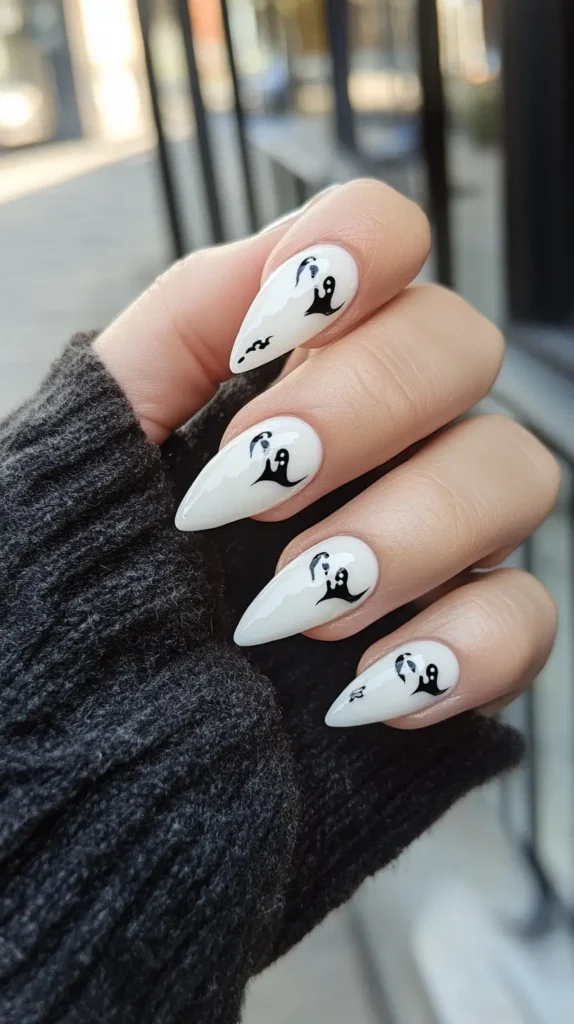
5: Ghostly White Tips
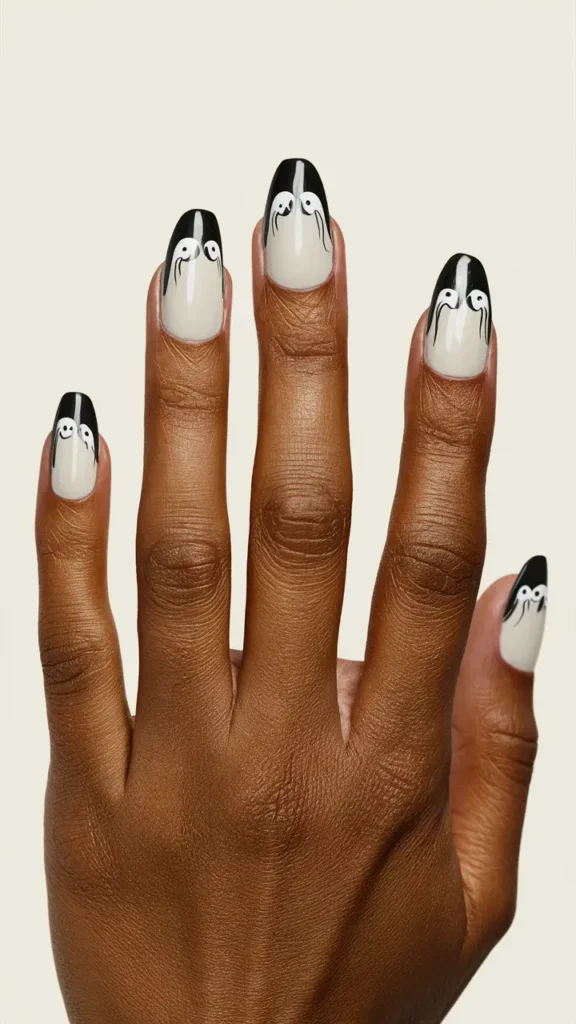
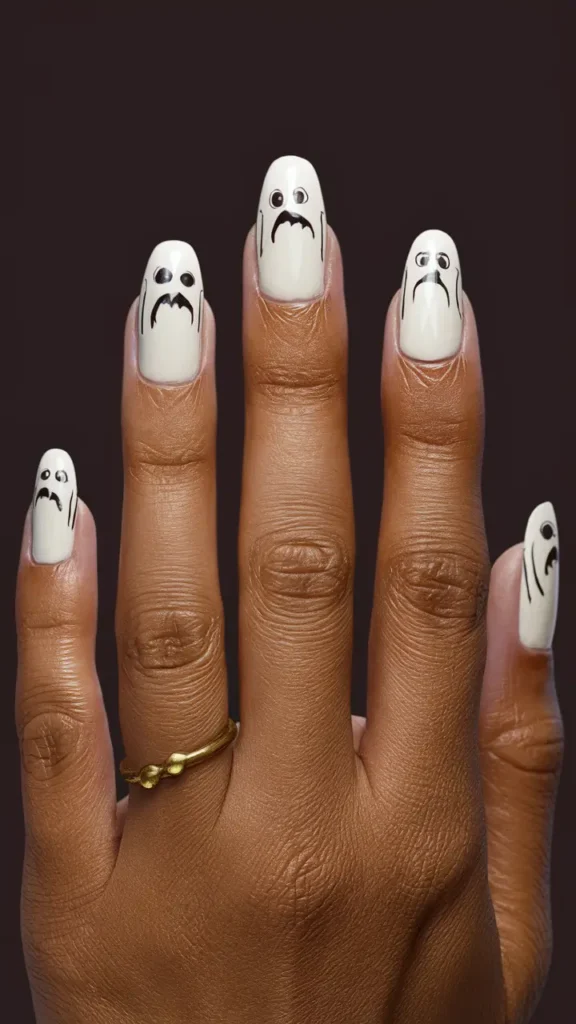

For this design, I use a creamy white polish as the base.
I then paint spooky ghost shapes on the tips of each nail.
To add a bit of flair, I outline the ghosts with a thin black line.
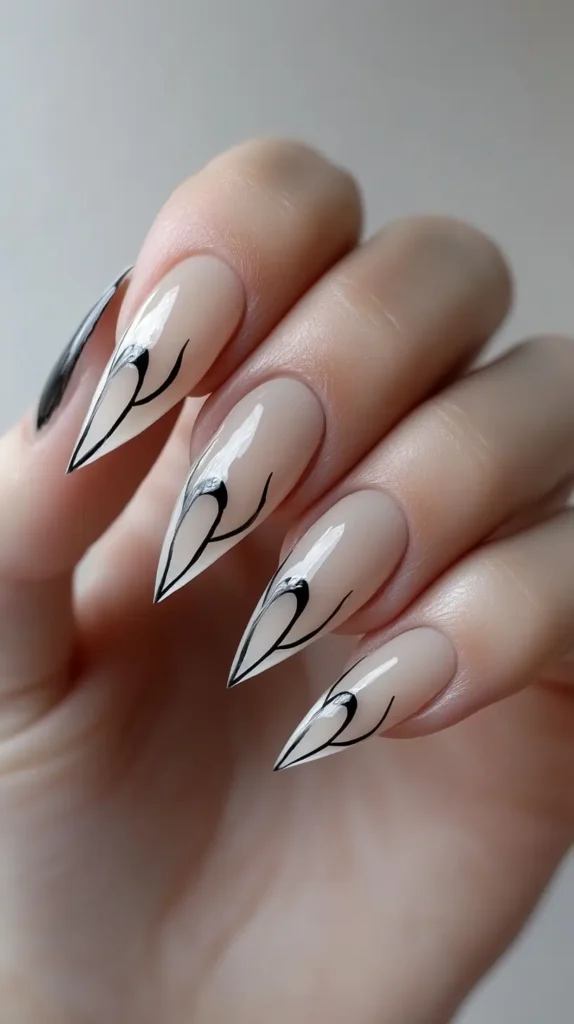
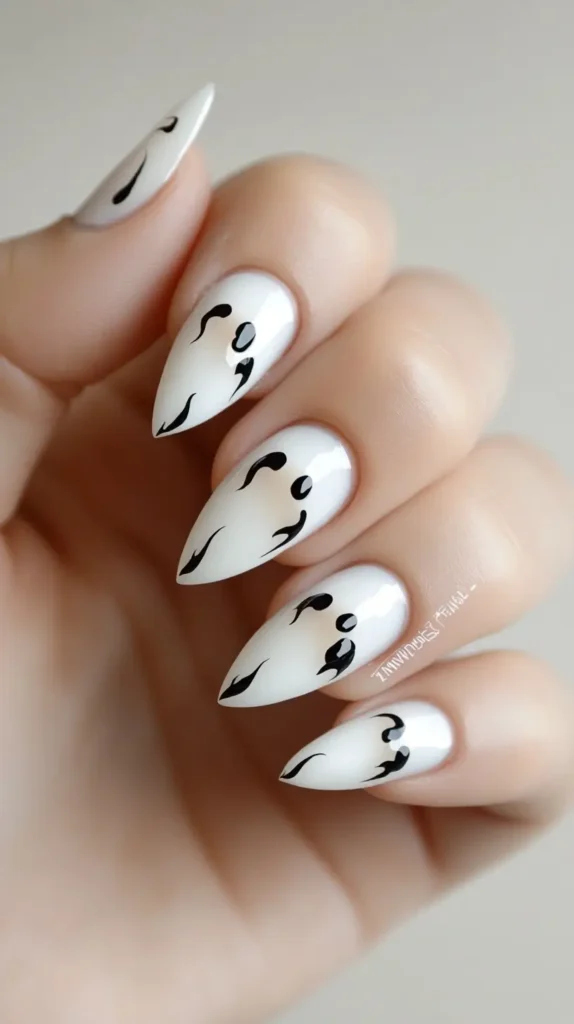
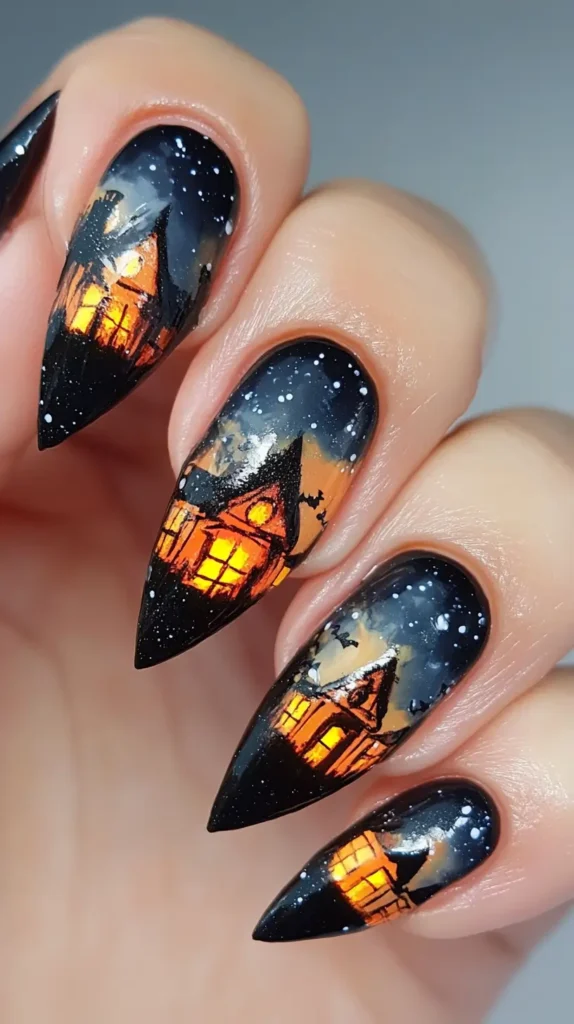
6: Haunted House Scene
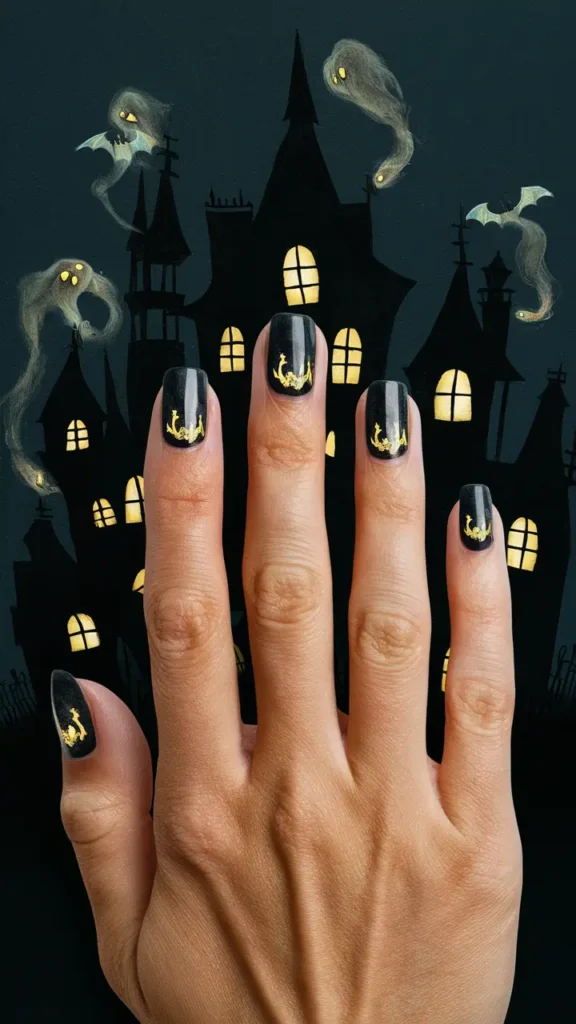

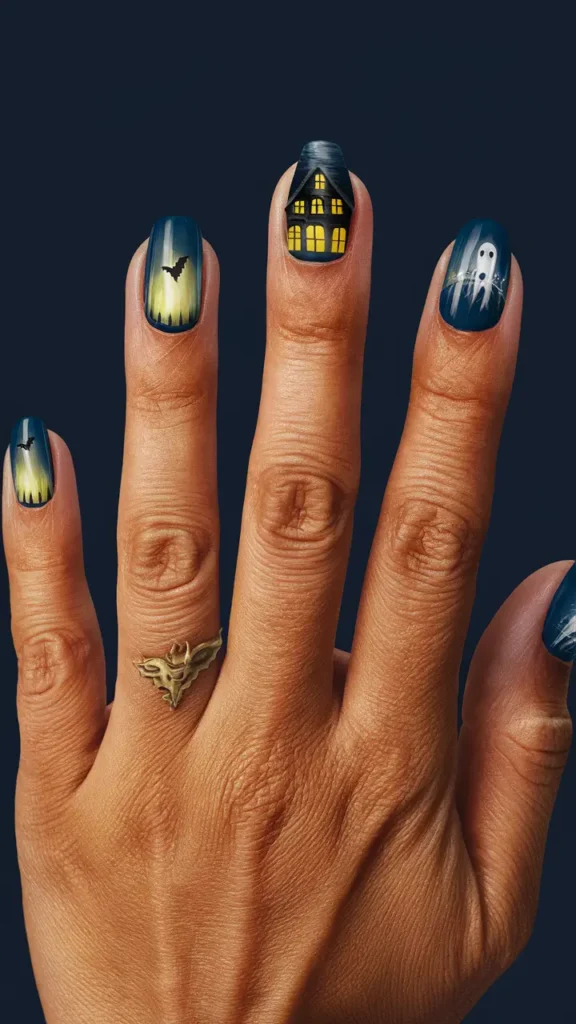
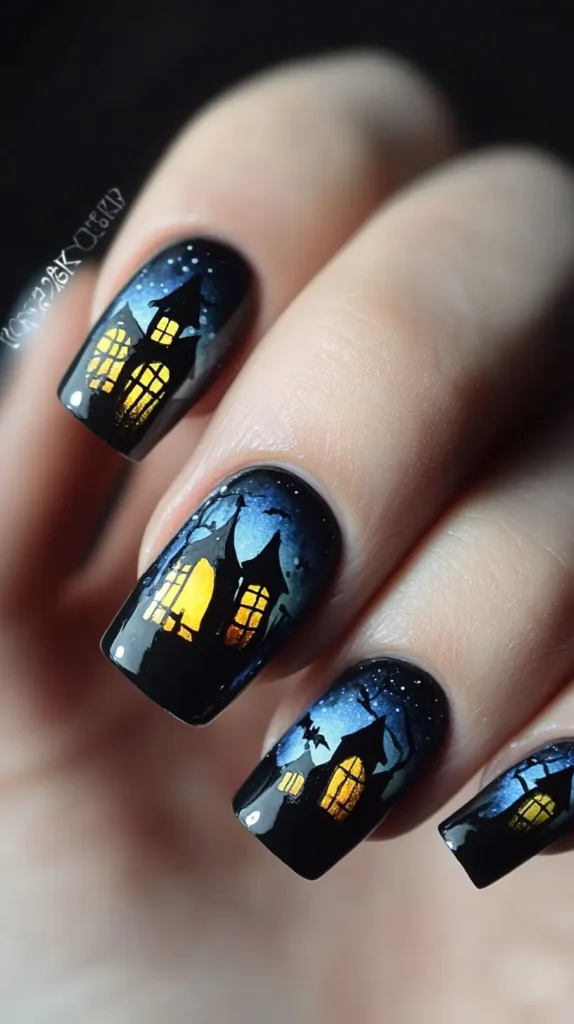
I love the spooky vibe of haunted houses. Painting them on nails captures that eerie feeling. Use a black or dark blue base. Add haunted house silhouettes.
Include tiny windows glowing with a pale yellow to mimic lights. A few bats or ghostly figures complete the look.

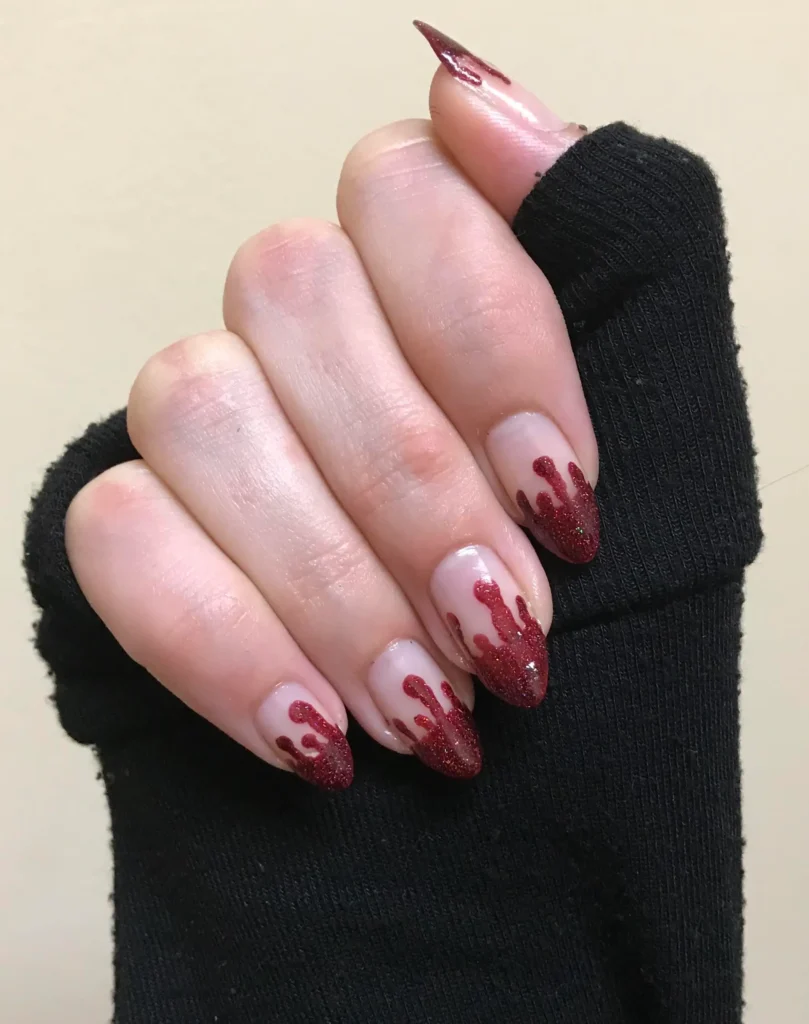
7: Bloody Red Drips
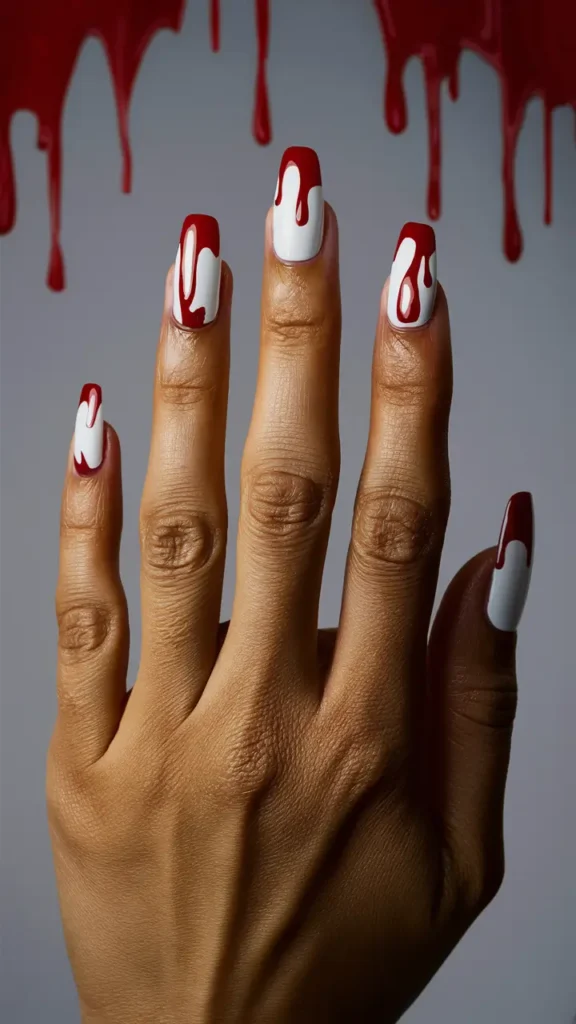


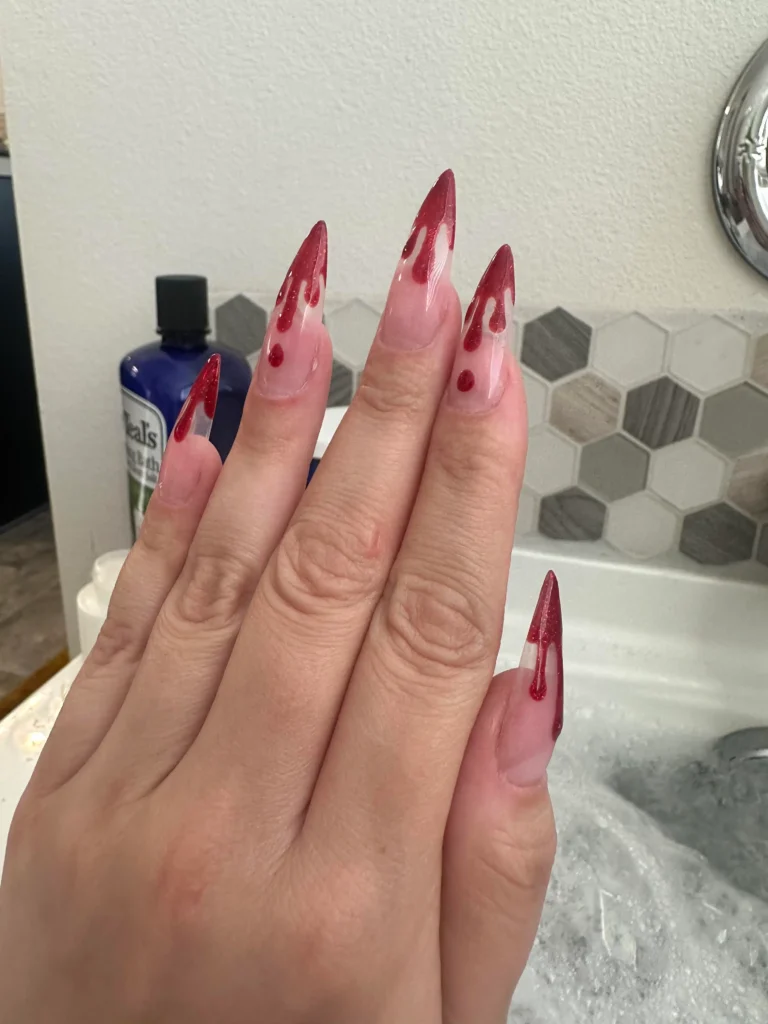
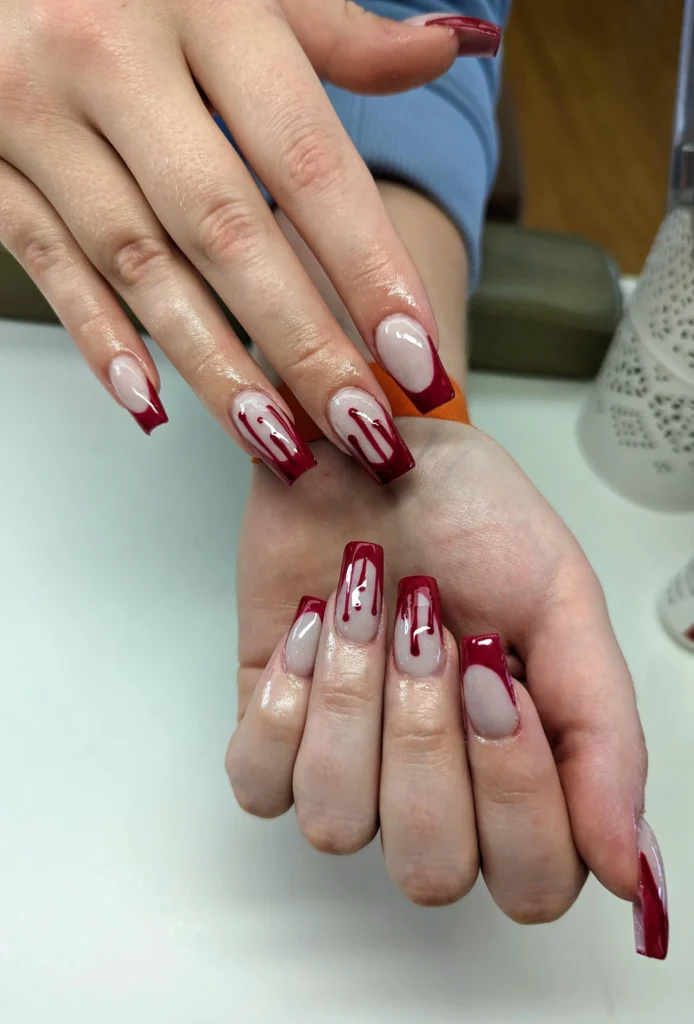
I love the dramatic look of bloody red drips on Halloween nails. They’re the perfect blend of spooky and stylish.
I create this design with a solid base color, usually white or nude.
Next, I use a deep red polish to make the drips, starting from the base of the nail and moving upward.


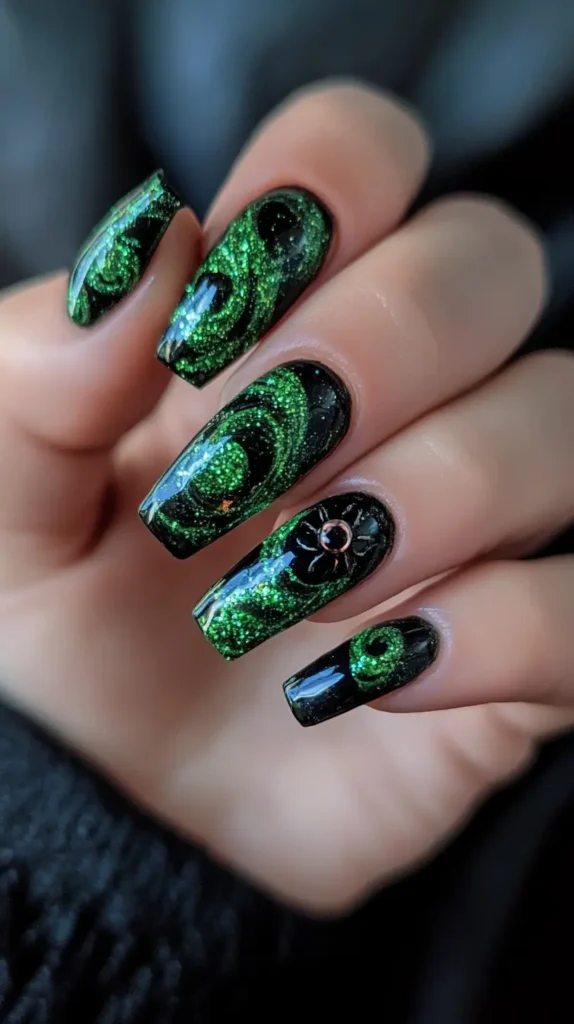
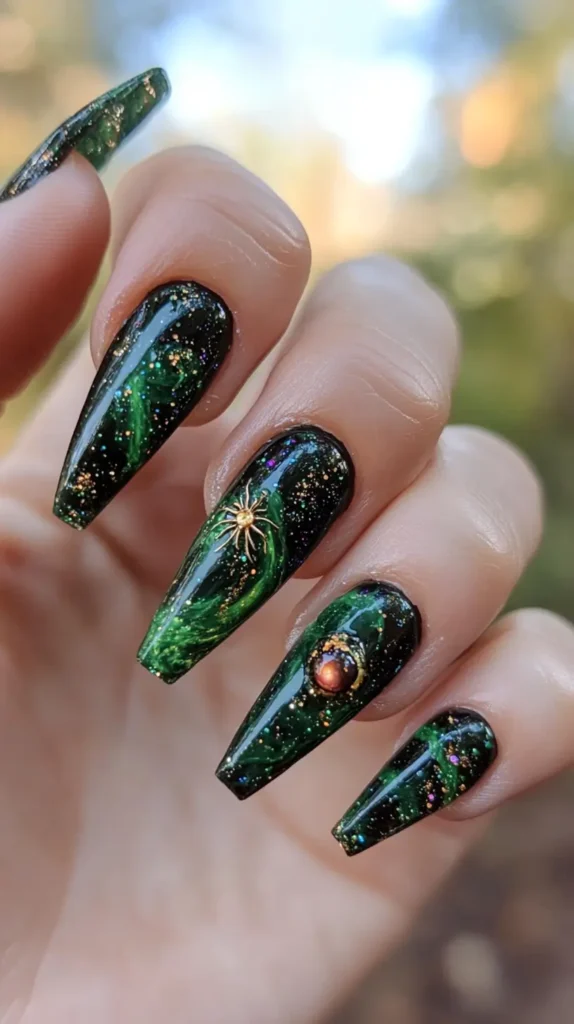
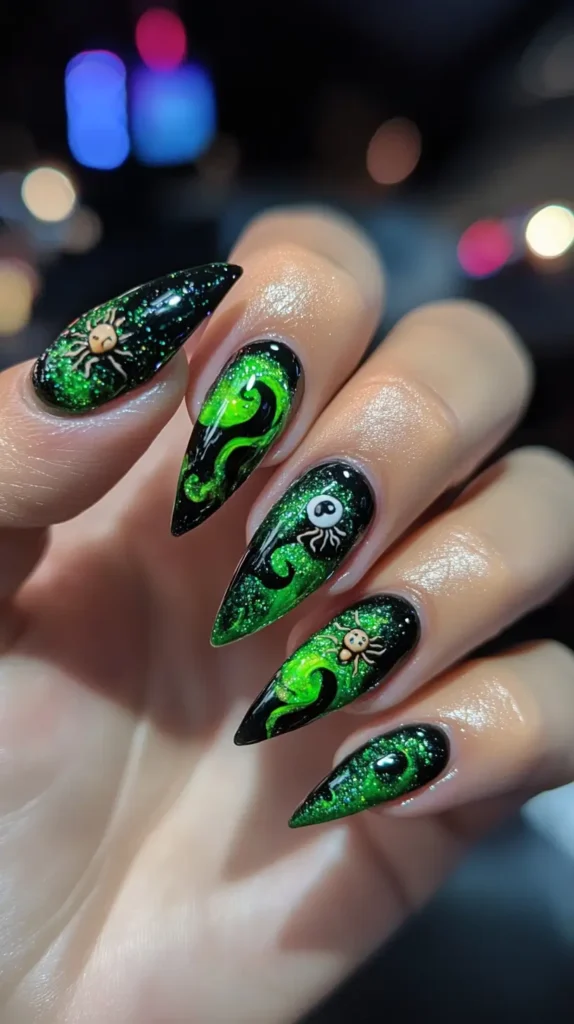
8: Witch’s Brew
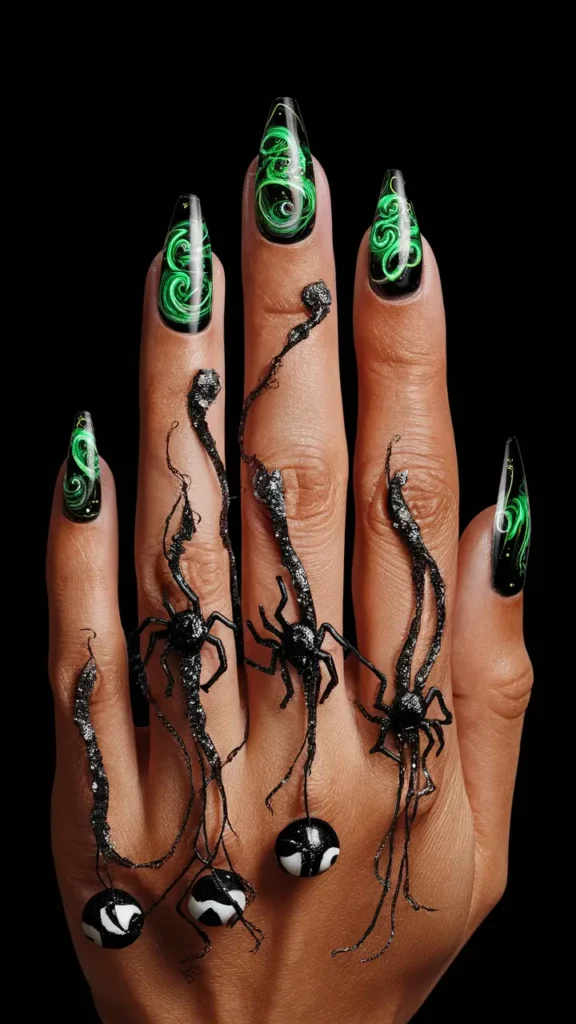

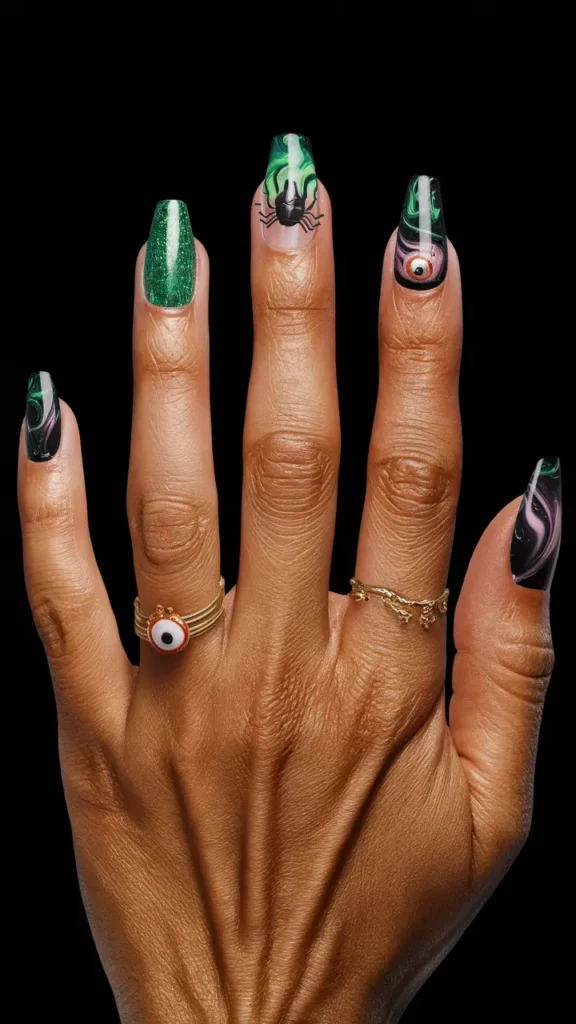
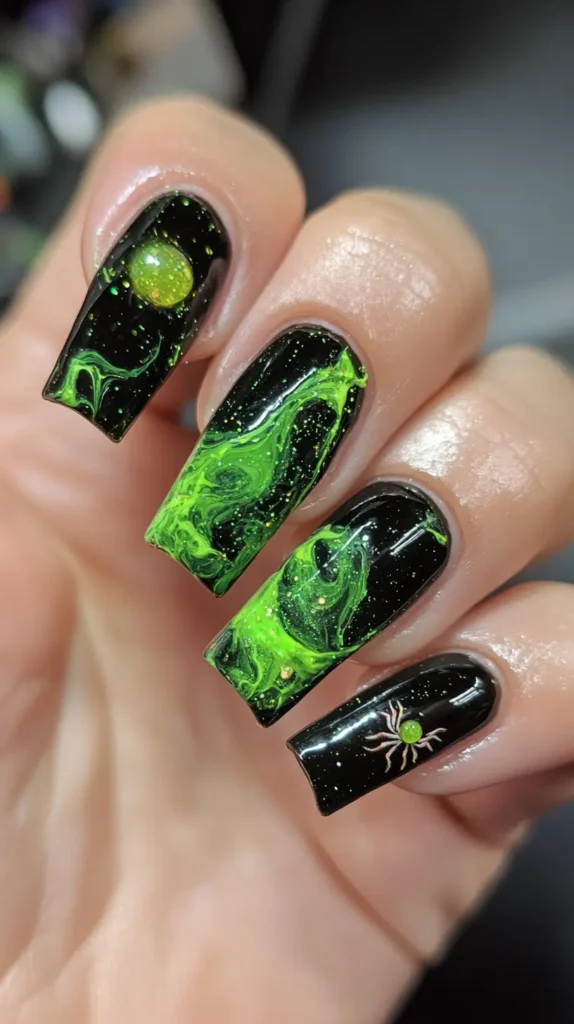
I love the Witch’s Brew nail design for Halloween. It’s both spooky and cute.
This look features a gooey potion effect, with glitter, spiders, and eyeballs mixed in.
The colors are usually green and black, perfect for a witchy vibe.

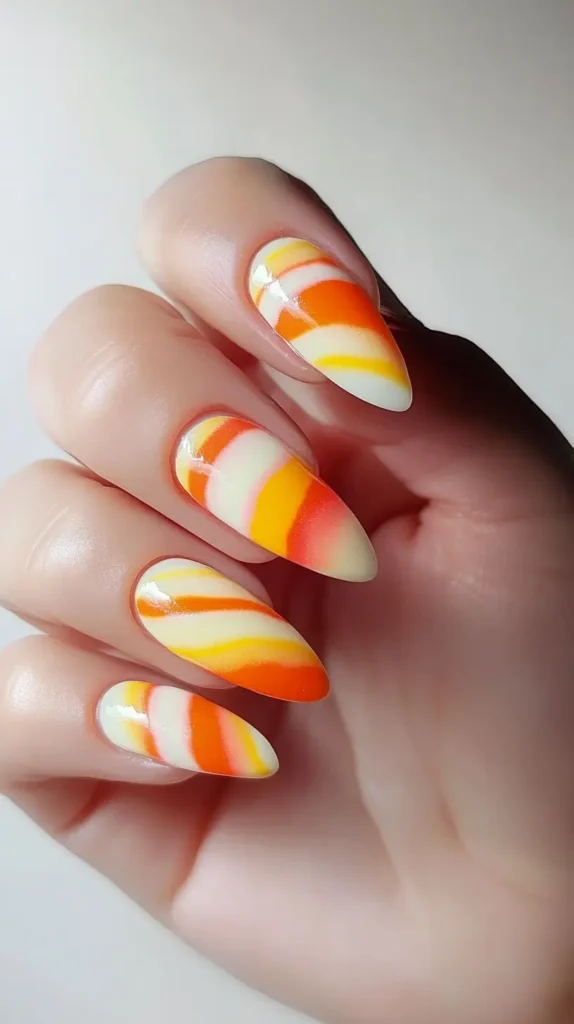
9: Candy Corn Stripes


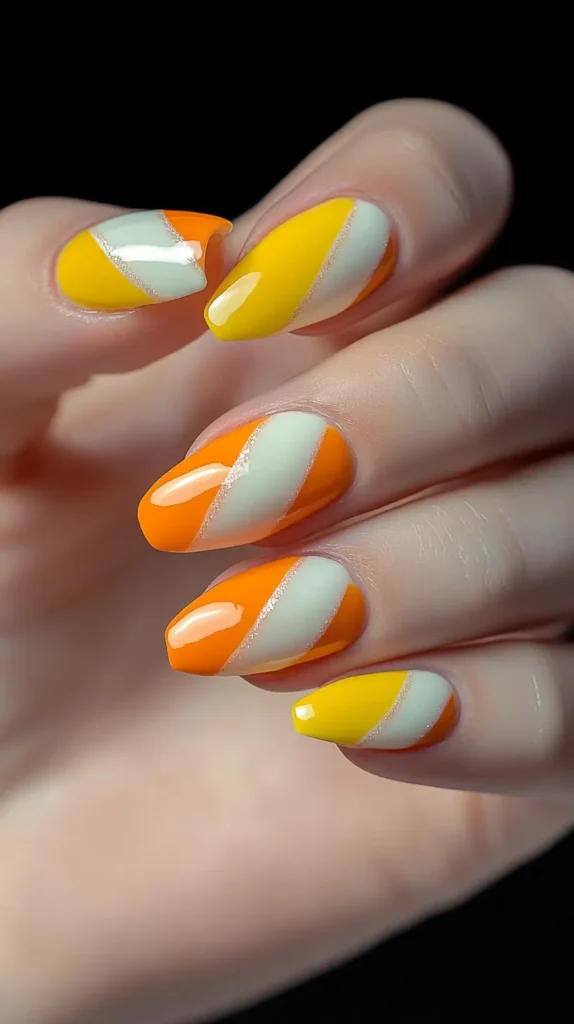
Candy corn stripes make for a classic Halloween nail look. I love how this design captures the essence of Halloween candy with vibrant orange, soft yellow, and creamy white stripes.
To achieve this look, start with a base coat. Then, apply orange nail polish to the bottom third of the nail.
Next, paint the middle section with yellow. Finally, add white polish to the top. This creates a perfect candy corn stripe pattern.
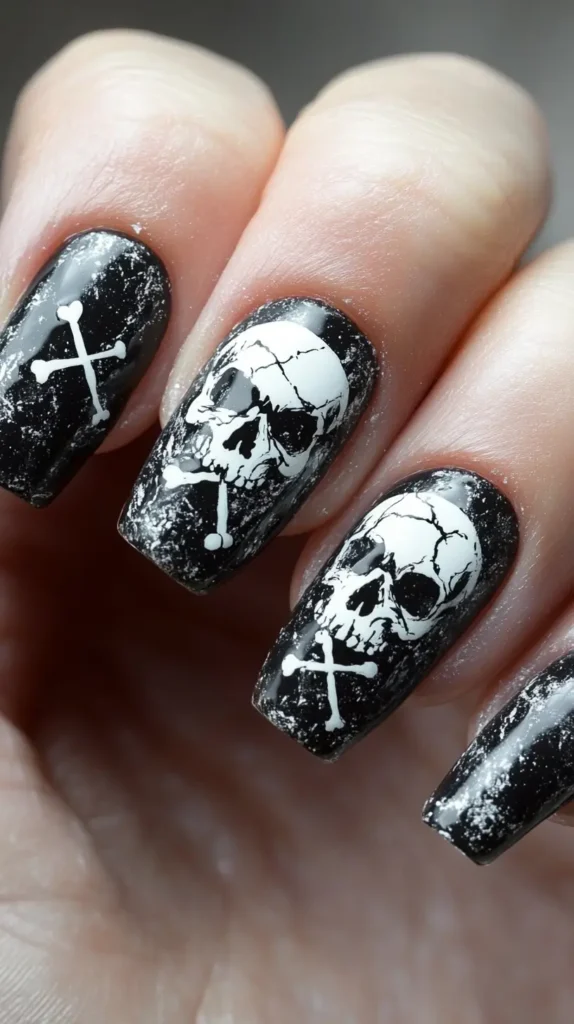
10: Skull and Crossbones
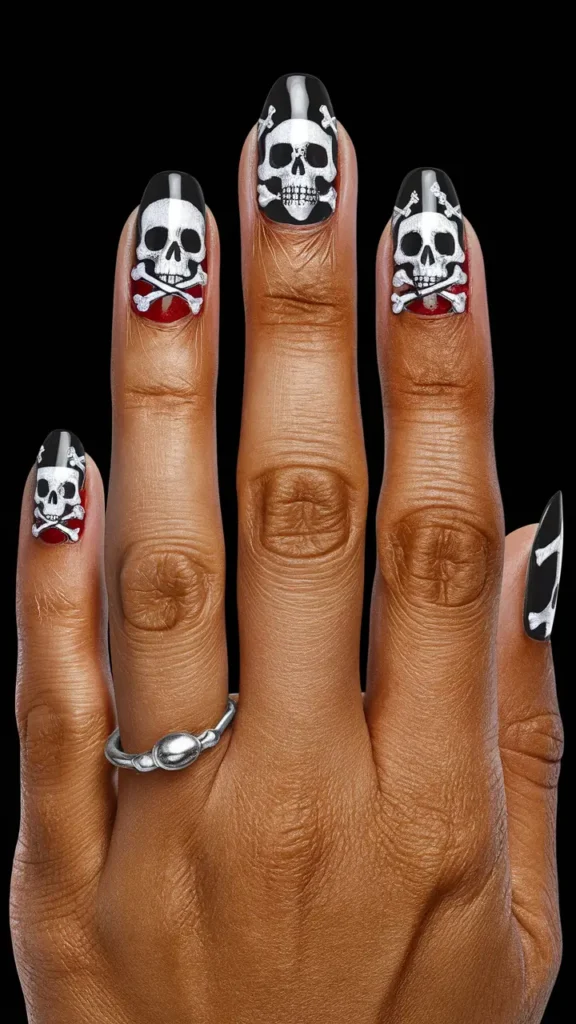

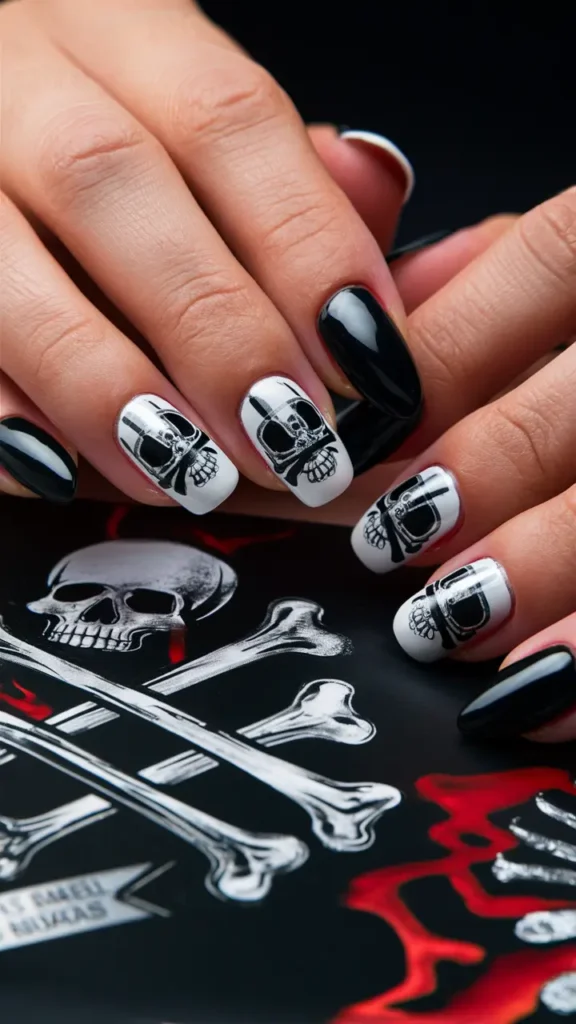
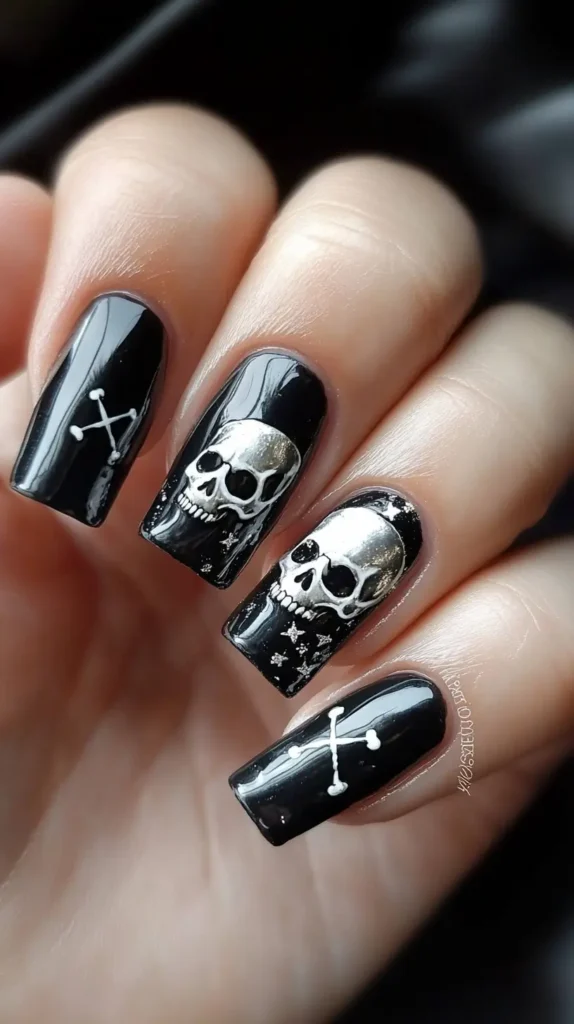
Skull and crossbones nail art is a perfect Halloween choice. It brings a spooky yet stylish look to your nails. I like to use classic black and white colors for a bold contrast.
Adding silver or gold accents can make the design stand out even more. I sometimes add a touch of red to mimic blood for a more dramatic effect.
Using waterslide decals is a quick way to achieve detailed skull and crossbones art. They are easy to apply and look fantastic.
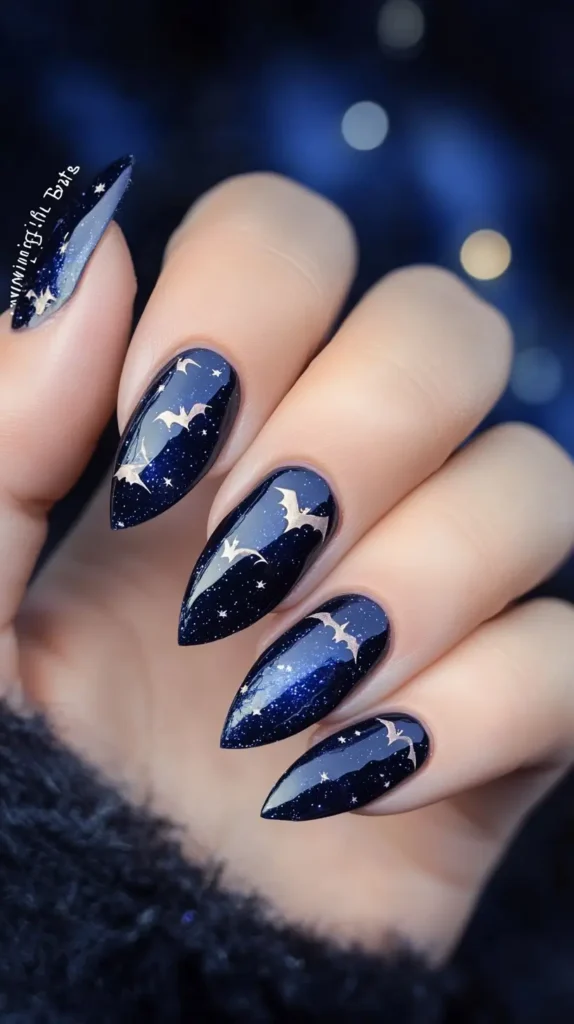
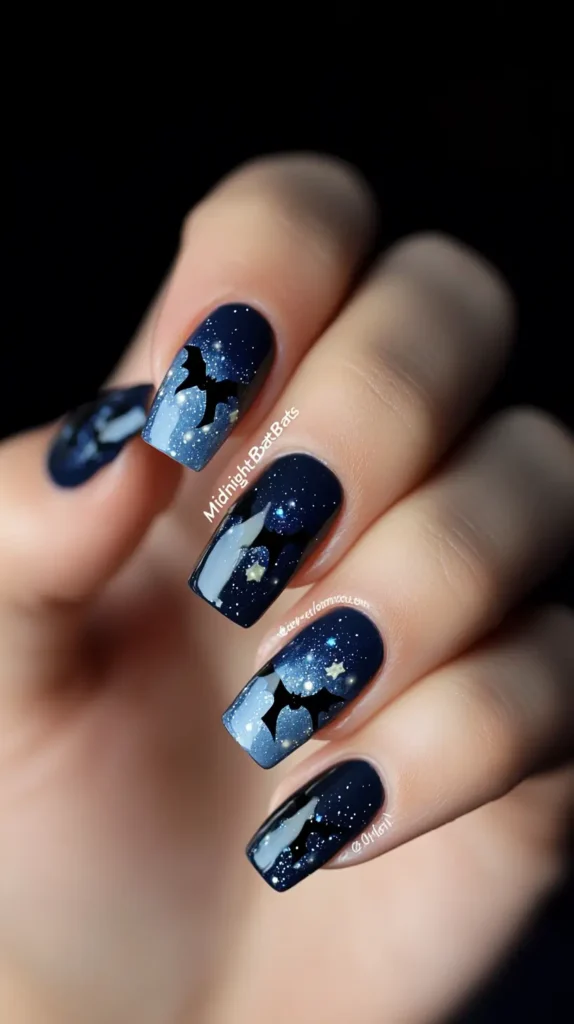
11: Midnight Bats

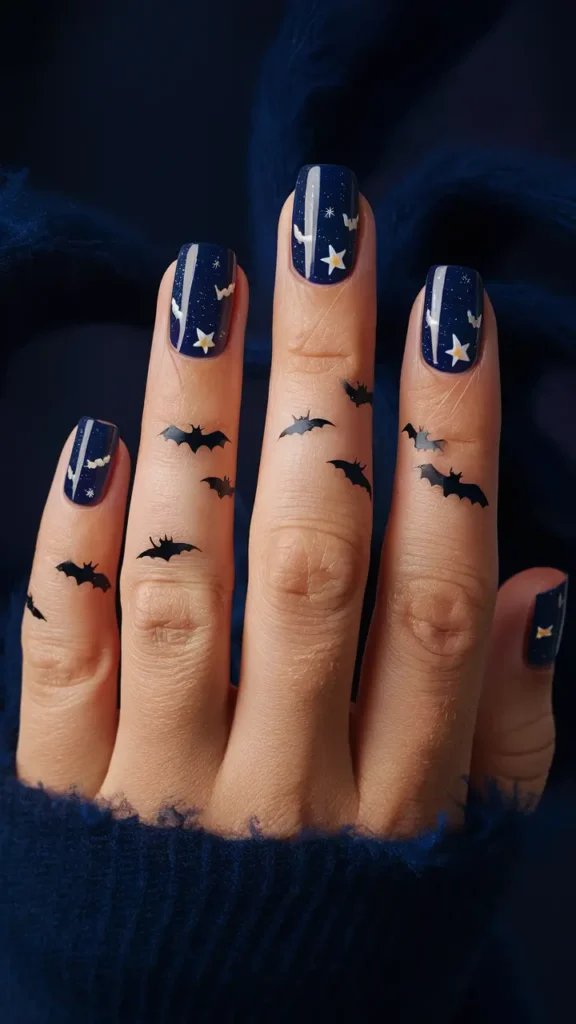
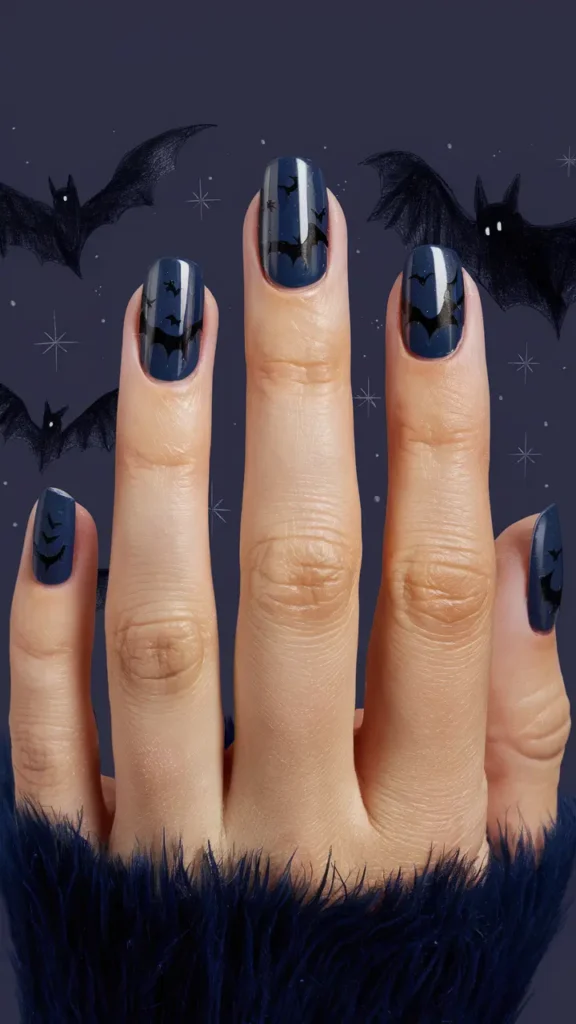
I love the look of midnight bats for Halloween nails. This design features small, dark bat shapes against a moody, night-like background. It’s perfect for anyone who wants a spooky yet stylish look.
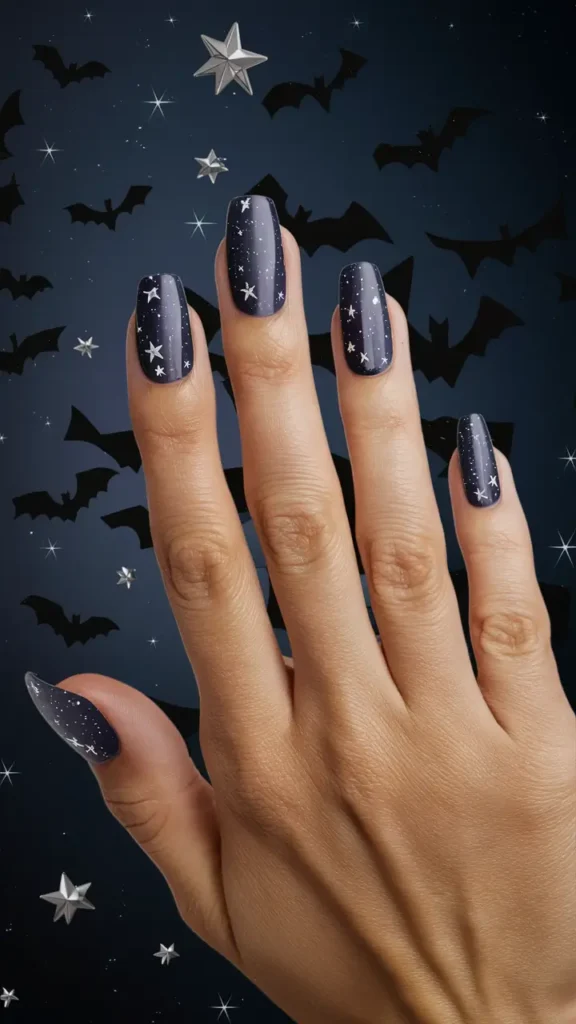
First, I start with a deep blue or black base coat to mimic the night sky. Then, I carefully paint tiny bat silhouettes using a fine nail art brush. Adding a bit of silver or white for the stars adds an extra touch.
Finally, I sealed the design with a glossy top coat to make the bats pop. This keeps the bats from chipping and makes the design last longer.
12: Frankenstein’s Stitches
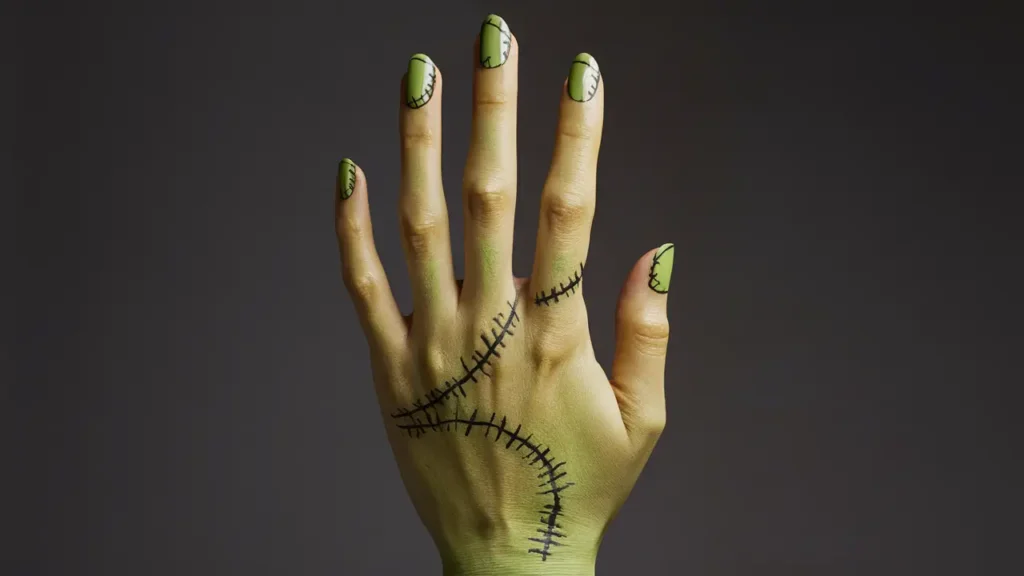
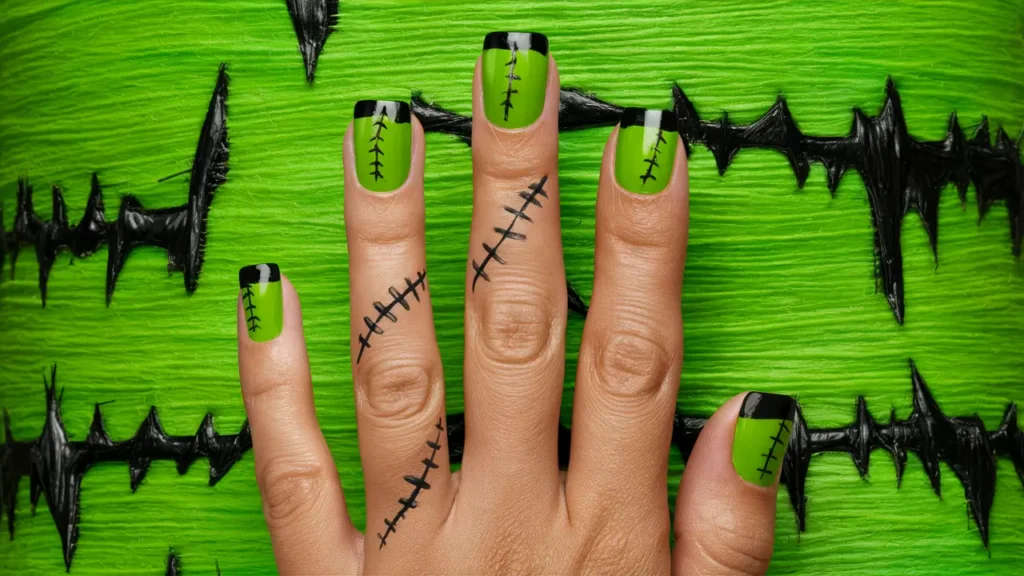
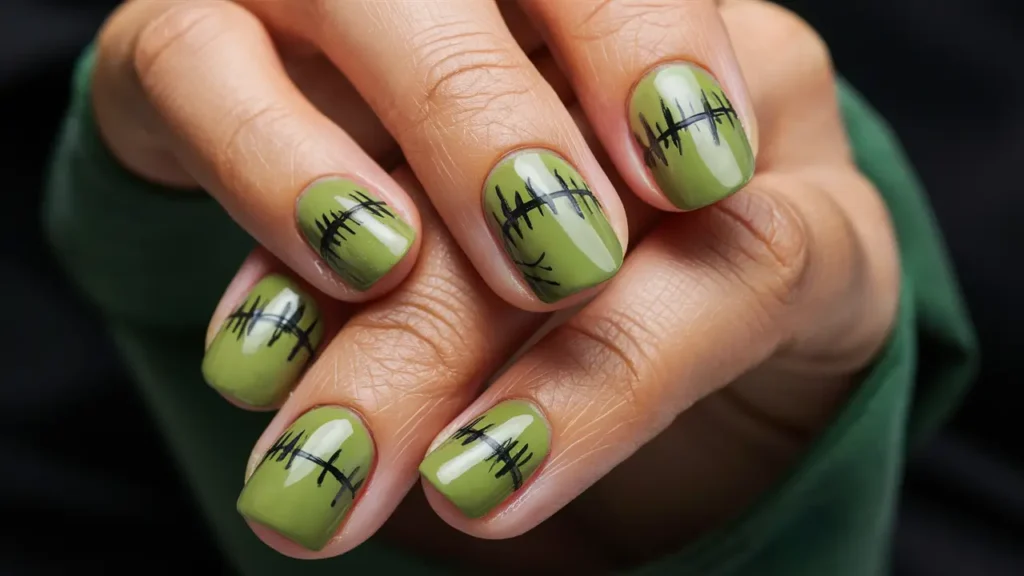
Frankenstein’s Stitches are a fun way to bring spooky vibes to your Halloween nails.
I start with a green base to mimic Frankenstein’s skin.
Next, I use a thin brush to add black lines, creating the look of stitches.

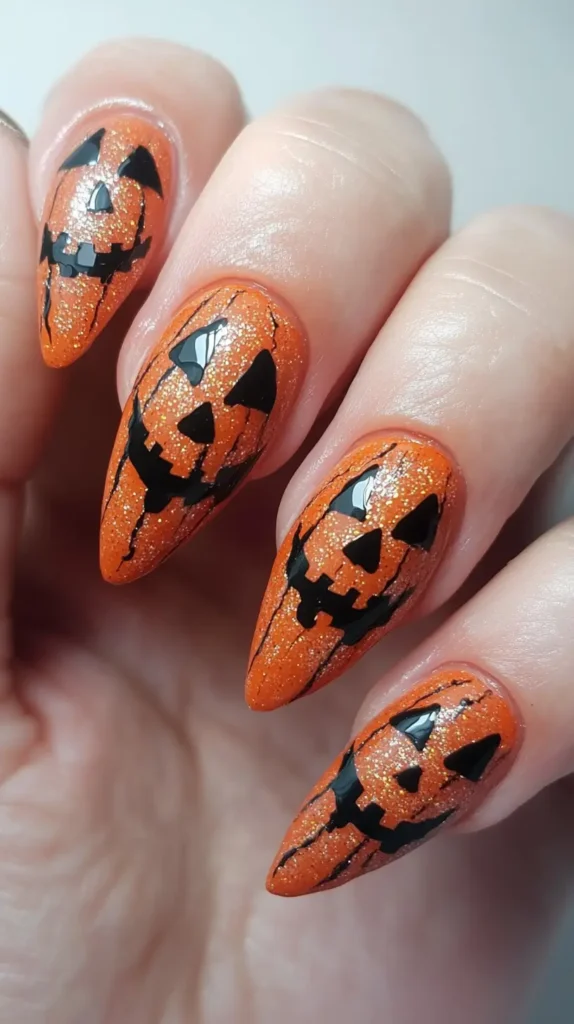
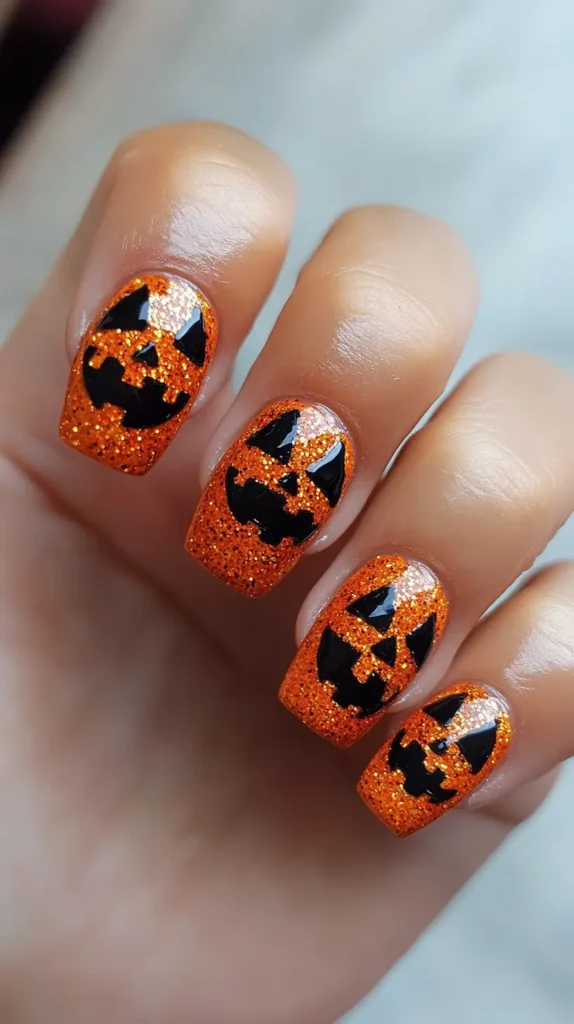
13: Glittering Jack-o’-lanterns
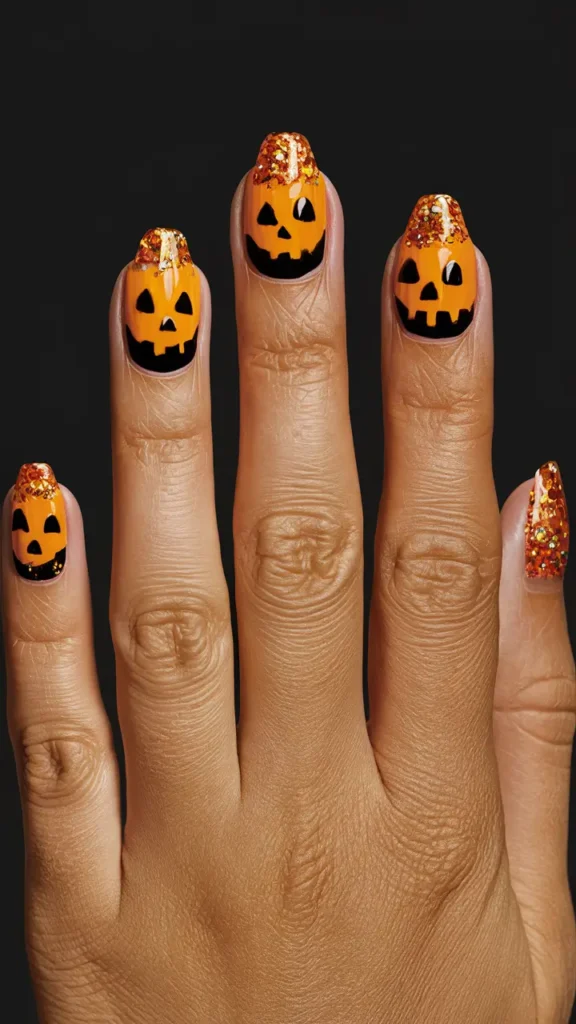
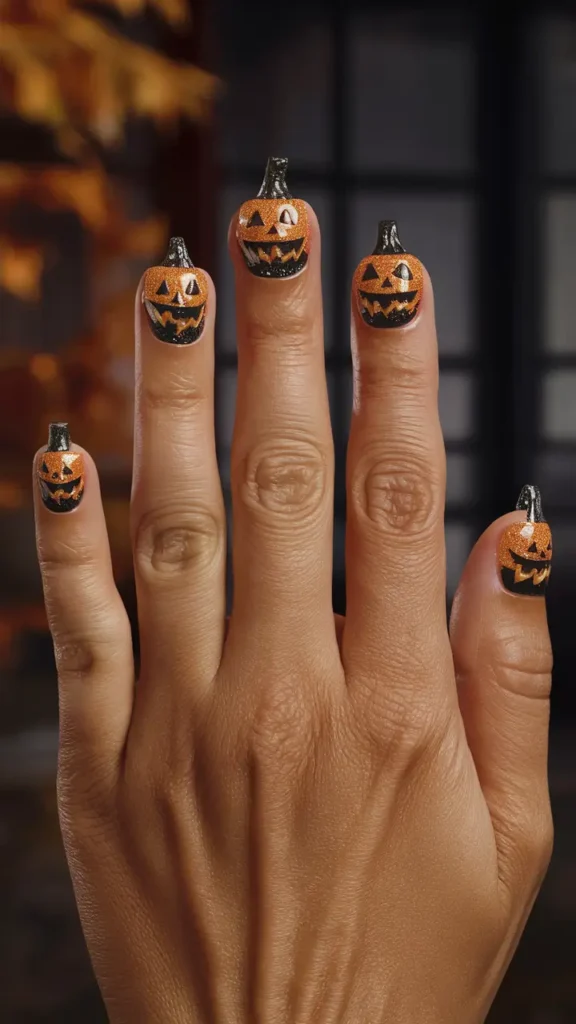

I love turning my nails into little Jack-o’-lanterns with a sparkling twist. The glitter adds a fun and festive vibe.
I start with an orange base and use black polish for the faces. Adding some glitter gives them an extra pop!
Trending Colors for Halloween Nails
Halloween is the perfect time to get creative with your nail art; choosing the right colors can make all the difference.
This spooky season, nail enthusiasts are embracing a mix of traditional Halloween hues and unexpected shades to create eye-catching and festive manicures.
From classic orange and black combinations to more subtle and sophisticated options, there’s a Halloween nail color trend for everyone.
Classic Orange
- Pumpkin-inspired shades remain a Halloween staple
- It pairs well with black for a traditional Halloween look
- It can be used as a base or accent color
- Matte finish orange is gaining popularity
Midnight Black
- It is a versatile color that works with any Halloween theme
- Perfect for creating spooky designs or as a base
- Glossy, matte, or textured finishes all trending
- Often used for negative space nail art
Blood Red
- Deep, rich reds reminiscent of vampire themes
- It can be metallic or glossy for added drama
- Works well as an accent color or full manicure
- It pairs beautifully with black or gold
Ghostly White
- Crisp, clean white for ethereal Halloween looks
- It is ideal for creating contrast in nail art designs
- It can be used to paint skulls, ghosts, or cobwebs
- Matte white is particularly popular this season
Witchy Green
- Emerald and forest greens channeling witch aesthetics
- Often used with glitter or metallic finishes
- Works well for accent nails or full manicures
- It pairs nicely with purple or black
Mysterious Purple
- Deep purples add a touch of mystique
- Ranges from eggplant to lavender shades
- Famous for gradient effects with black
- Often features a shimmer or metallic finish
Glittery Gold
- Adds a touch of luxury to Halloween designs
- Perfect for accent nails or intricate details
- Complements orange, black, and purple well
- Holographic gold is trending for extra sparkle
Candy Corn Yellow
- Bright, cheerful yellow inspired by the classic treat
- Often used in combination with orange and white
- Great for creating playful Halloween designs
- Works well for accent nails or nail art details
Smoky Gray
- A softer alternative to black for a subtle spooky vibe
- It is ideal for creating gradient effects or misty looks
- Pairs well with purple, black, or silver
- Matte gray is particularly on-trend this season
Metallic Silver
- Pairs well with black, purple, or blue
- Adds a futuristic or otherworldly element
- Perfect for creating moon, star, or alien-themed nails
- Often used for accents or full chrome effects
Tips for Long-Lasting Halloween Manicures

Creating the perfect Halloween manicure is exciting, but ensuring it lasts through all your spooky celebrations is equally essential. Here are some valuable tips to help your Halloween nail art stay intact and look fabulous throughout the season.
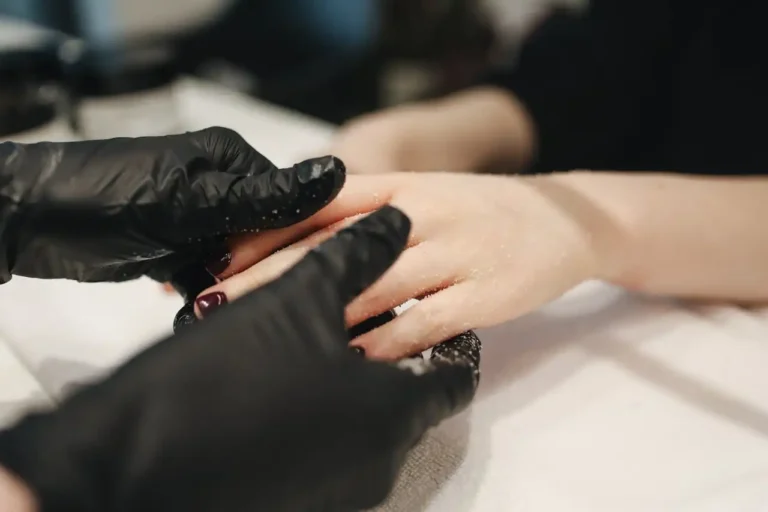
Start with a thorough nail preparation. Push back your cuticles and lightly buff the nail surface to create a smooth canvas. This step helps the polish adhere better and last longer. Always clean your nails with nail polish remover or rubbing alcohol before applying any product to remove any oils or residue.
Invest in a high-quality base coat. This crucial step protects your nails from staining and provides a sticky surface for your color polish to cling to. Apply a thin, even layer and allow it to dry completely before moving on to your color.
When applying your Halloween-themed colors, use thin, even coats. Two to three thin layers will last longer than one thick coat, which is prone to chipping and peeling. Allow each layer to dry completely before applying the next.

Consider using nail art brushes or dotting tools instead of toothpicks or pins for intricate Halloween designs. These professional tools allow for more precise application and help your design last longer.
Seal your masterpiece with a top-quality top coat. This final layer protects your design from chips and adds shine. For even more durability, apply an additional thin layer of top coat every two to three days.
If you’re using glitter in your Halloween nail art, apply it with a sponge instead of brushing it on. This technique creates a more even, dense glitter effect that’s less likely to chip or peel off.
If you want your Halloween manicure to last several weeks, consider using gel polish. When properly applied and cured under a UV or LED lamp, gel polish can withstand more wear and tear than regular polish.
Wear gloves while doing dishes or other wet chores to protect your nails from water damage. Extended exposure to water can cause your polish to lift and chip prematurely.
Avoid using your nails as tools. Opening cans, peeling off stickers, or scratching surfaces can quickly damage your Halloween nail art.
Lastly, moisturize your hands and cuticles regularly. Well-hydrated nails are less likely to chip or break, helping your manicure last longer. Apply cuticle oil daily to keep your nails and the surrounding skin healthy and nourished.
By following these tips, you can ensure your Halloween manicure remains a frightfully fabulous focal point of your costume long after the last trick-or-treater has gone home.


