11 Black And White Nail Art Designs: Elegant and Timeless Styles
Black and white nail art designs offer a timeless, versatile aesthetic that never goes out of style.
These classic colors create striking contrasts and elegant patterns that can suit any occasion, from casual outings to formal events.
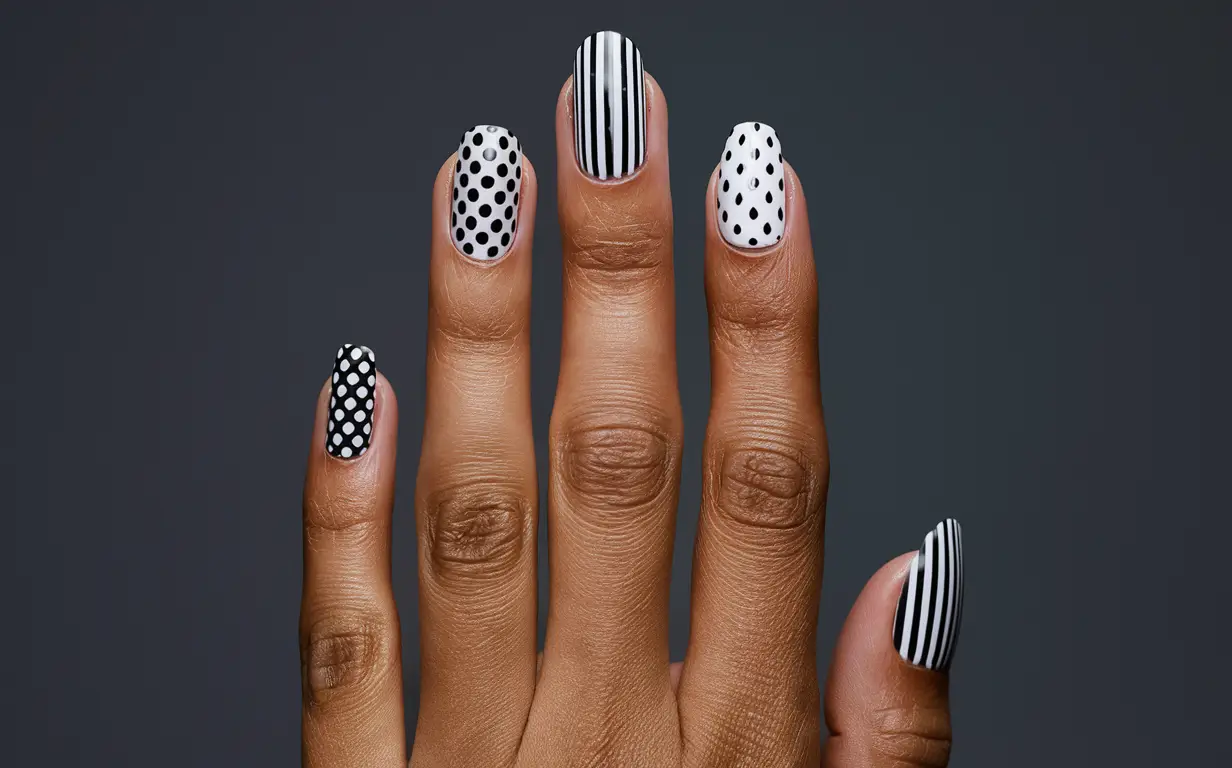
Black and white nail designs range from simple stripes and polka dots to intricate geometric shapes and abstract art.
Whether you prefer a minimalist look or a bold statement, these monochromatic designs provide endless possibilities for creativity.
In 2024, black-and-white nail art will continue to trend, with new and innovative techniques emerging alongside classic favorites.
Let’s explore 11 stunning black-and-white nail art designs that will inspire your next manicure.

1: Chic Minimalist Stripes

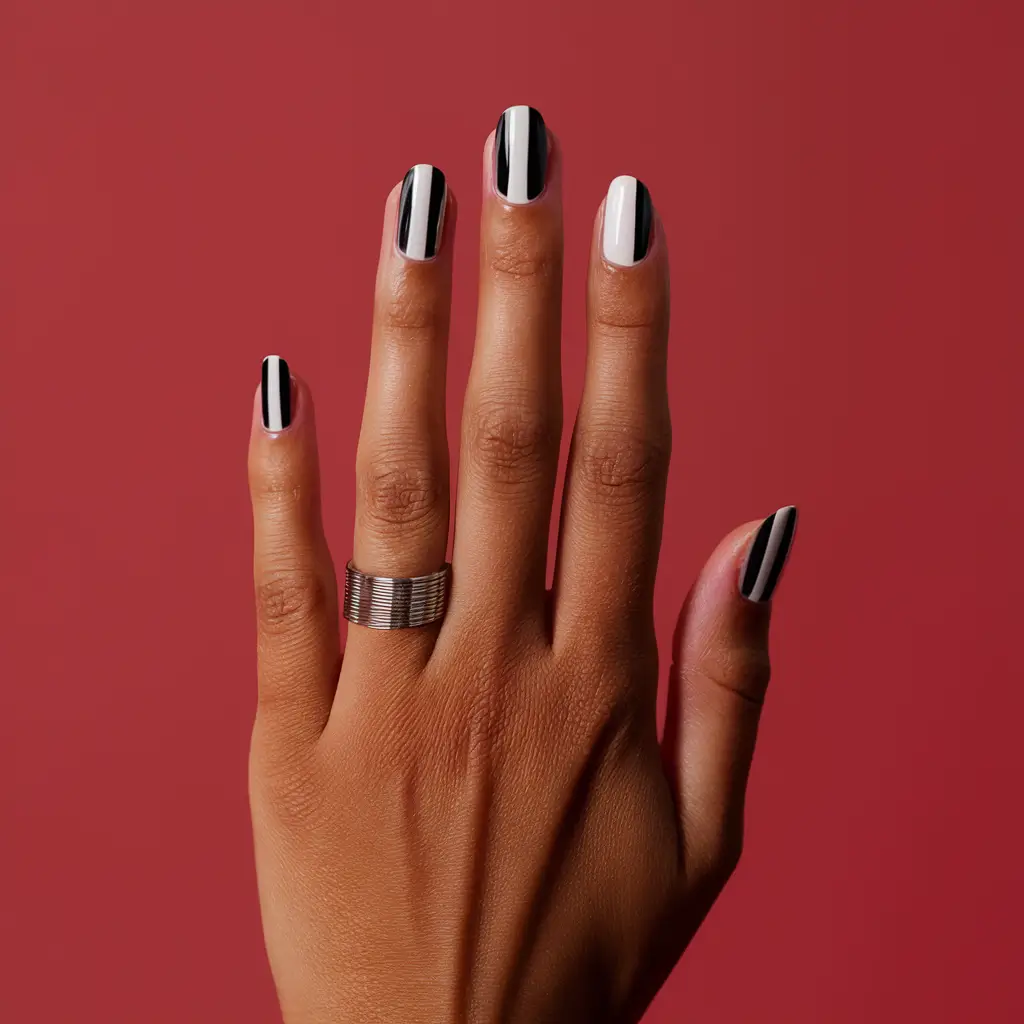
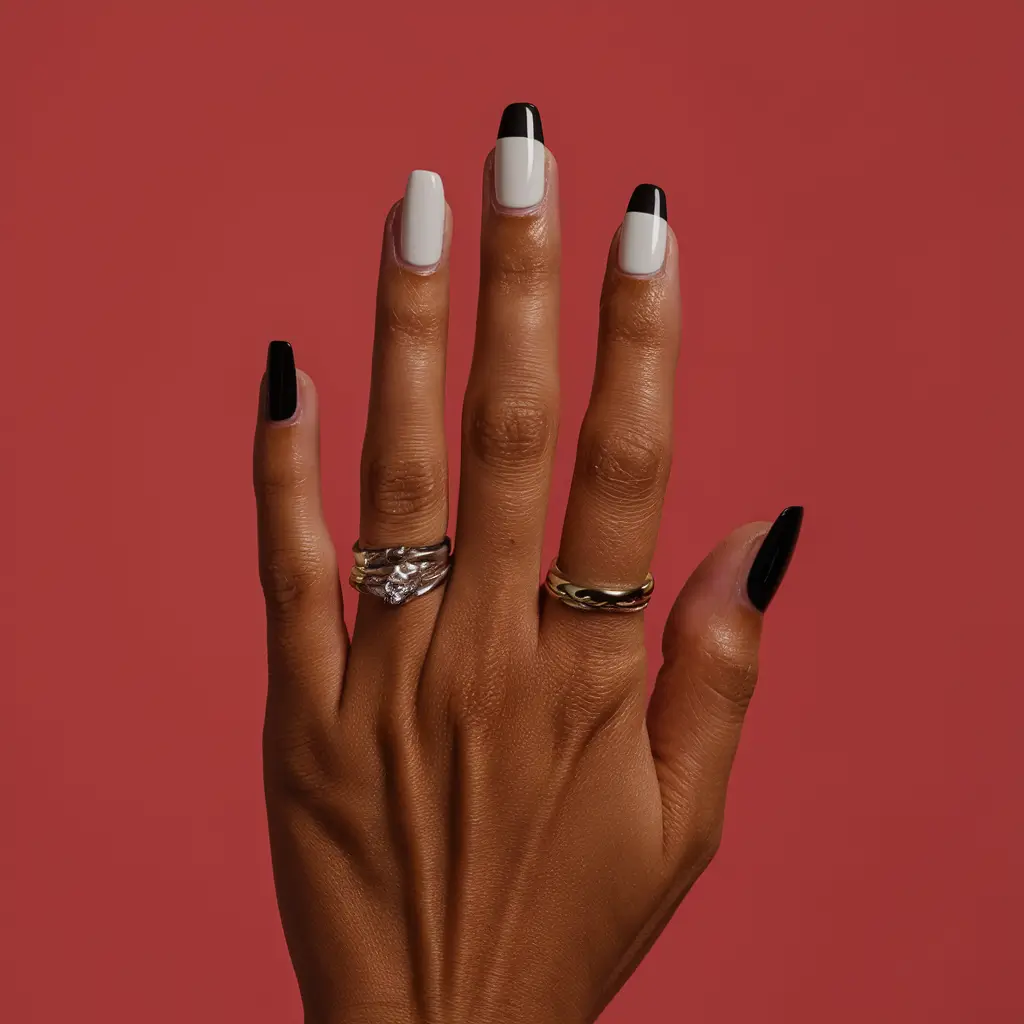
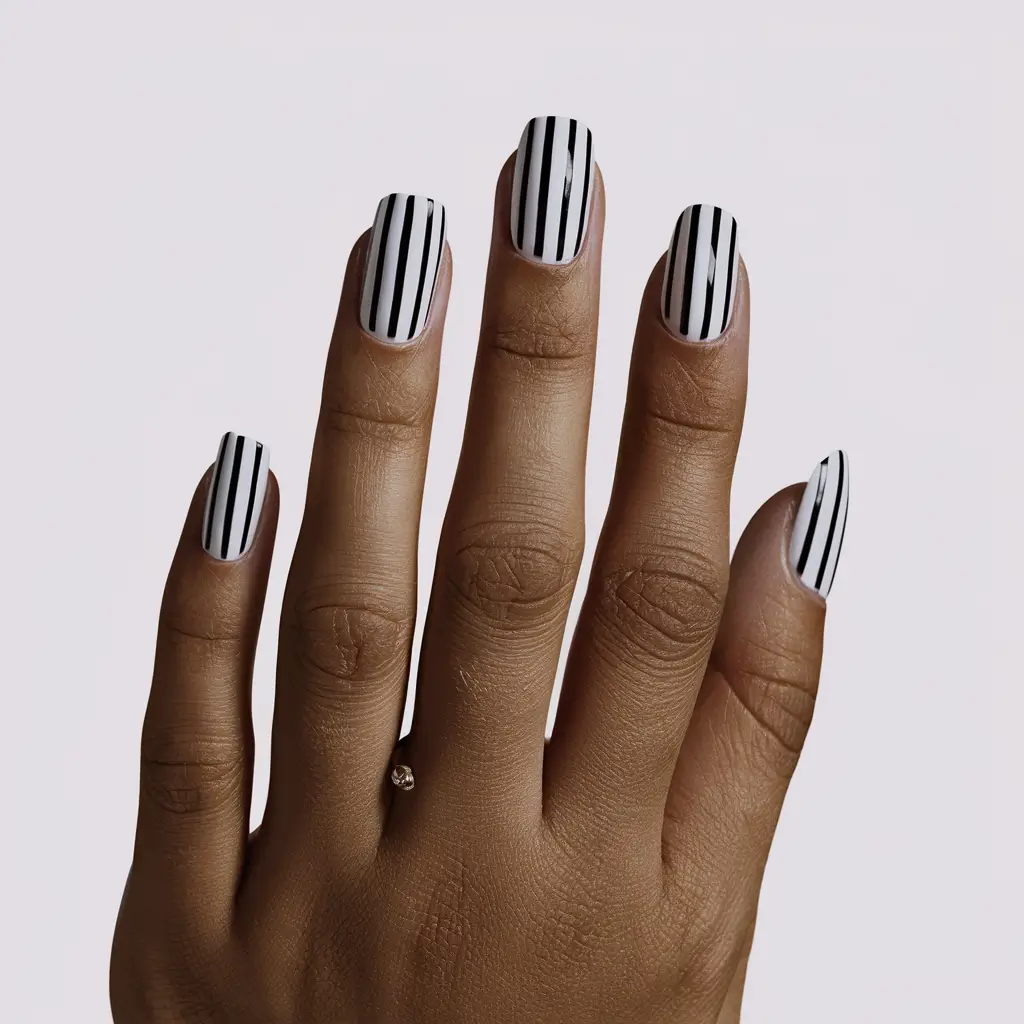
Minimalist stripes in black and white are perfect for a sleek, stylish look. I love how the simplicity of the design makes it versatile for any occasion.
You can create vertical, horizontal, or diagonal stripes to match your outfit or mood. Sometimes, less is more, and minimalist stripes prove that.
For this design, you’ll need:
| Things Needed |
|---|
| Black nail polish |
| White nail polish |
| Thin nail art brush |
| Top coat |
2: Elegant Floral Patterns

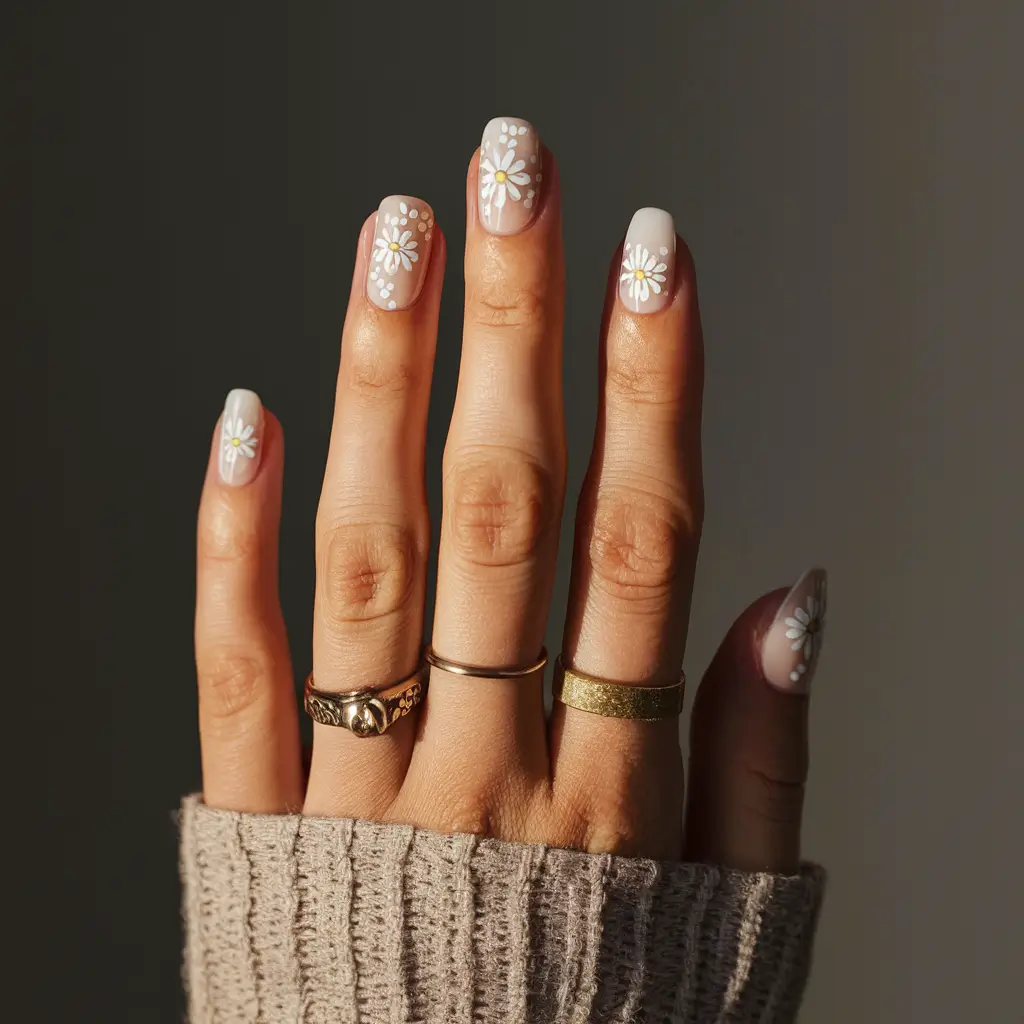
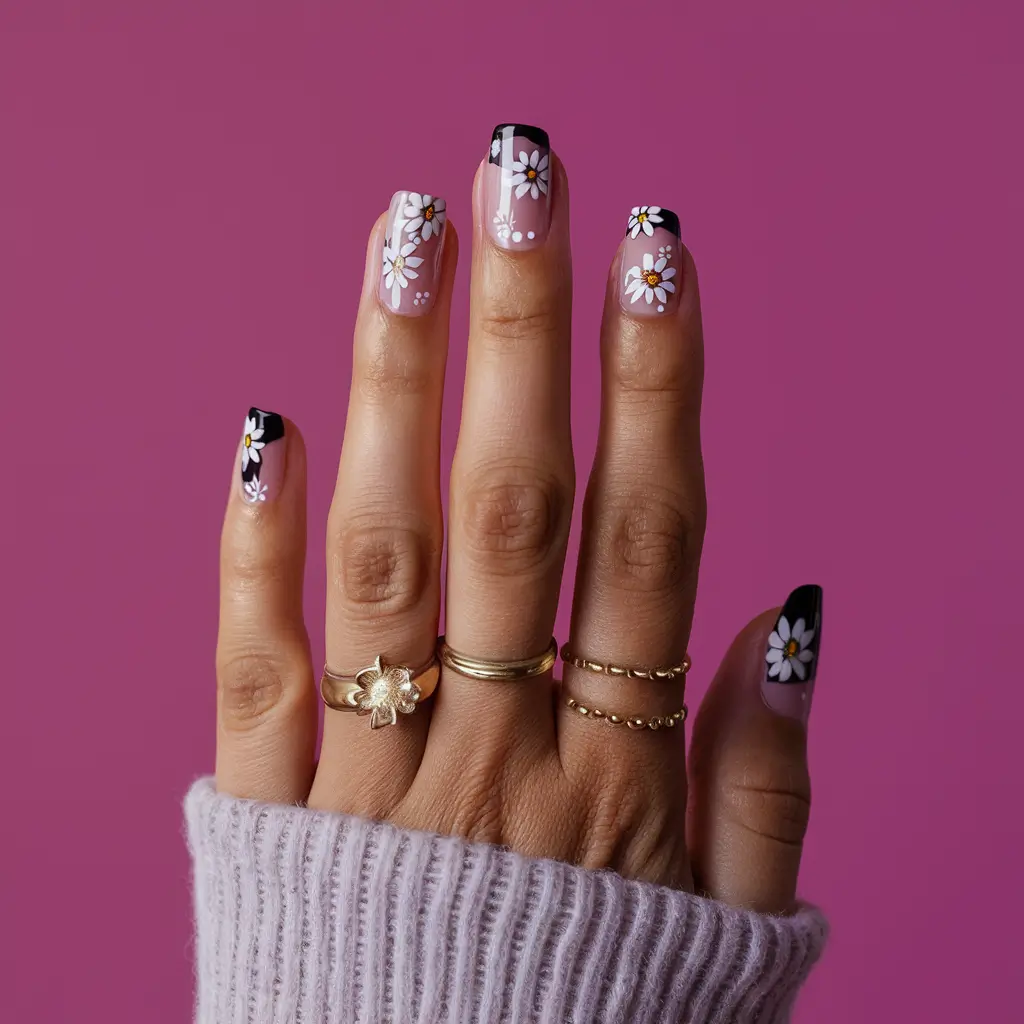
Elegant floral patterns in black and white nail art have a timeless charm. I love how they can suit any occasion, from casual days to formal events. Starting with a glossy black base, I paint delicate white flowers using a fine nail art brush.
Small white dots add detail and depth to the design. For a minimalist look, a thin white outline of flowers against a black backdrop is perfect. Depending on your skill level and patience, these patterns can range from simple daisies to intricate roses.
Creating these designs is therapeutic. I often use a dotting tool to ensure each flower is evenly spaced and symmetrical. A top coat seals the design, making it last longer without chipping.
| Item | Quantity |
|---|---|
| Glossy Black Nail Polish | 1 Bottle |
| White Nail Polish | 1 Bottle |
| Fine Nail Art Brush | 1 |
| Dotting Tool | 1 |
| Top Coat | 1 Bottle |
3: Classic Polka Dots
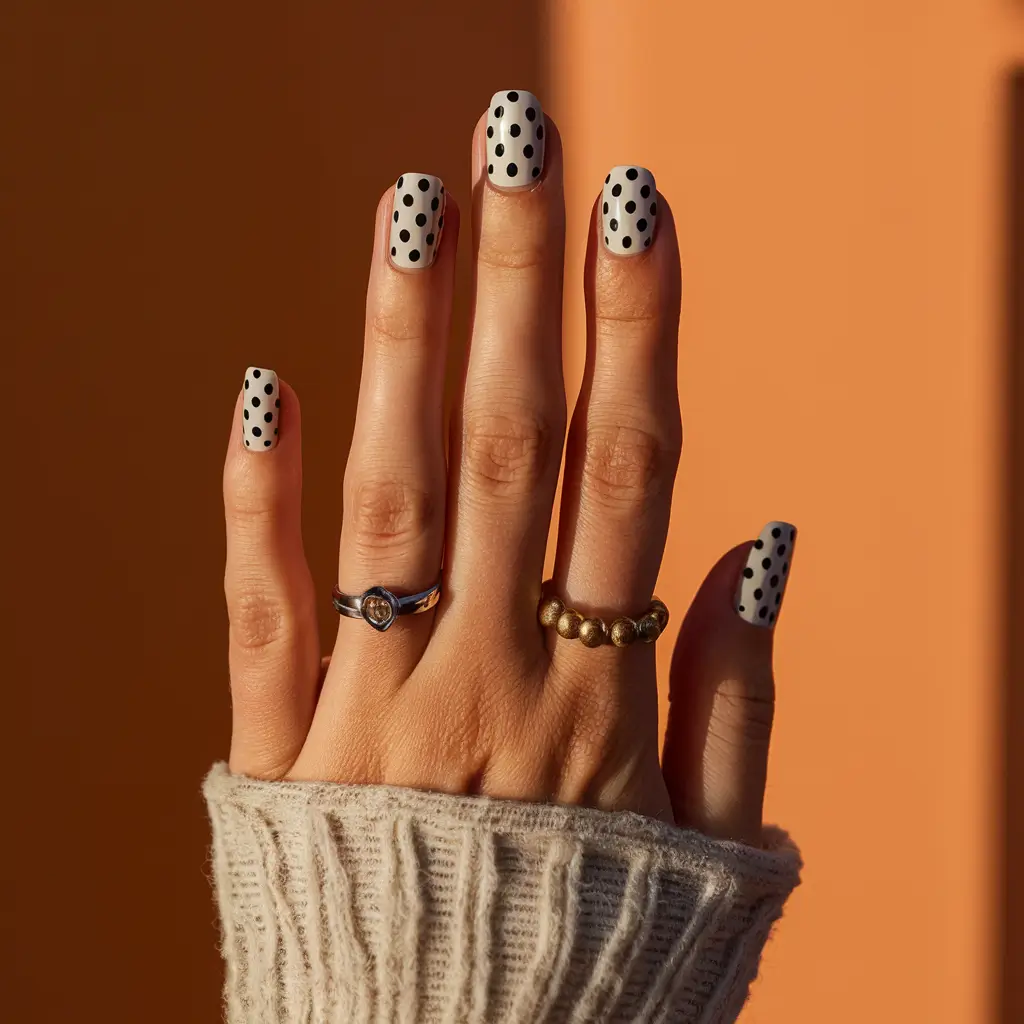

Polka dots remain a timeless choice for a black-and-white nail design. This look is simple to create and delivers a playful yet chic appearance.
I start by painting the nails with a white or black base color. Once dry, I use a dotting tool to add contrasting dots.
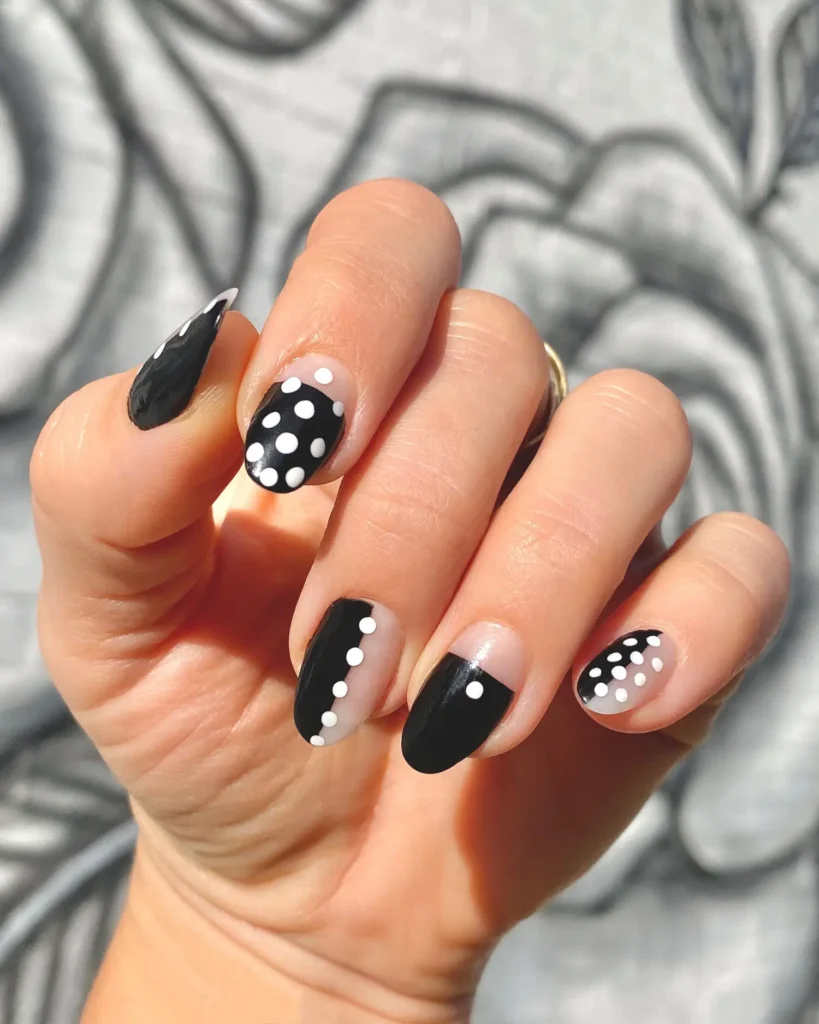
Spacing the dots evenly adds a polished feel. For a twist, I sometimes vary the size of the dots across different nails.
Things Needed for This Design
- Black nail polish
- White nail polish
- Dotting tool
- Clear topcoat


4: Dazzling Glitter Accents
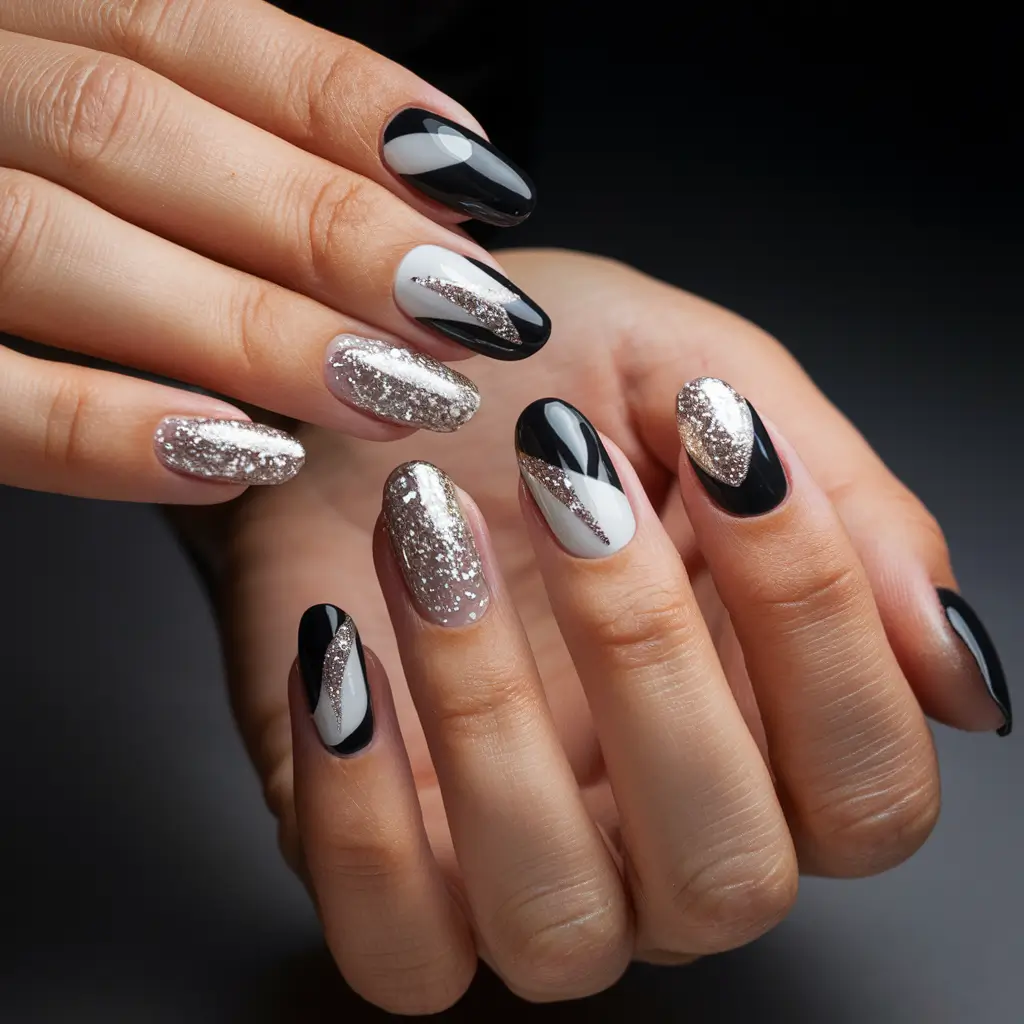

Adding glitter accents to black-and-white nail art can create a captivating look. I love how the sparkle contrasts with the base colors, making each nail design pop.
You can add glitter to the tips, create a gradient effect, or highlight one nail for a more subtle shimmer.

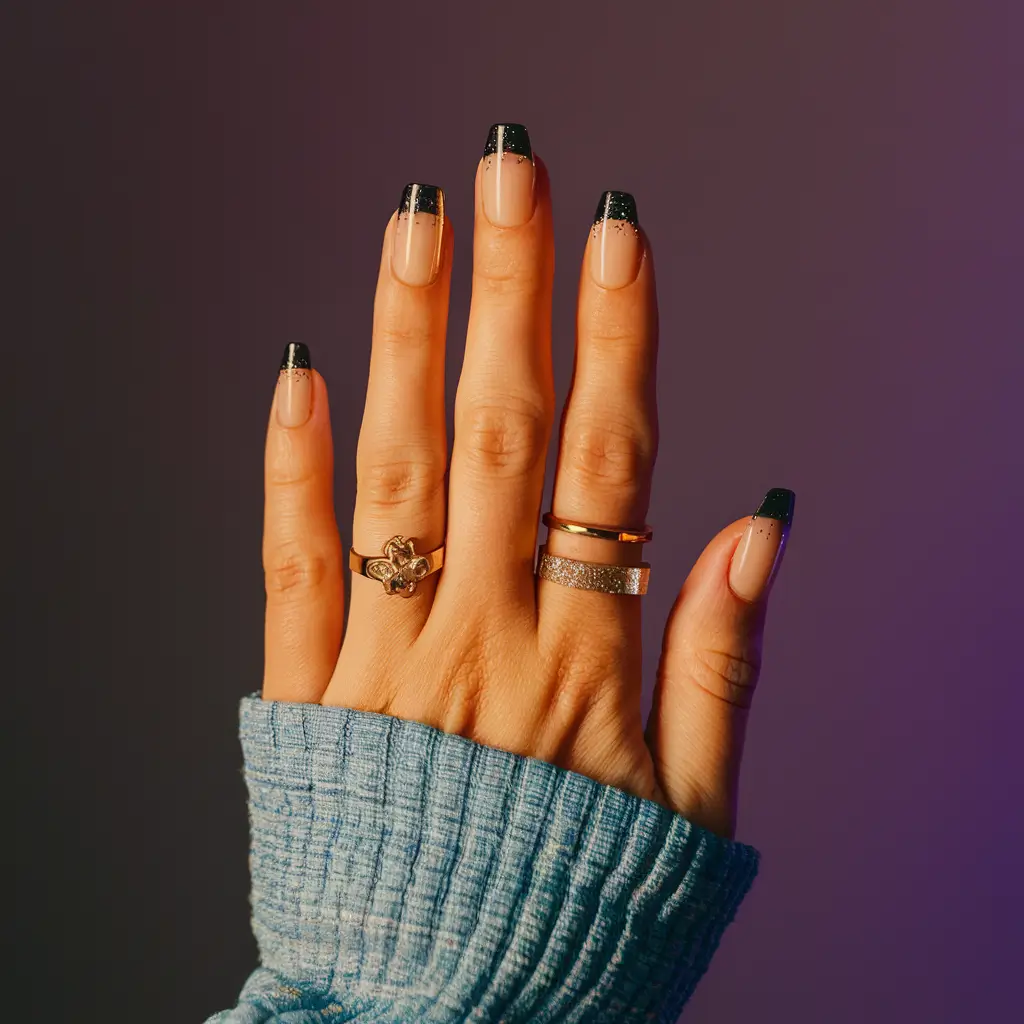
For this design, you’ll need:
| Item | Description |
|---|---|
| Black nail polish | Base color or patterns |
| White nail polish | It seals in the design and adds shine |
| Glitter polish | Adds dazzling, sparkly accents |
| Top coat | Seals in the design and adds shine |
| Nail strips | For clean lines and patterns (optional) |
5: Timeless Chevron Style
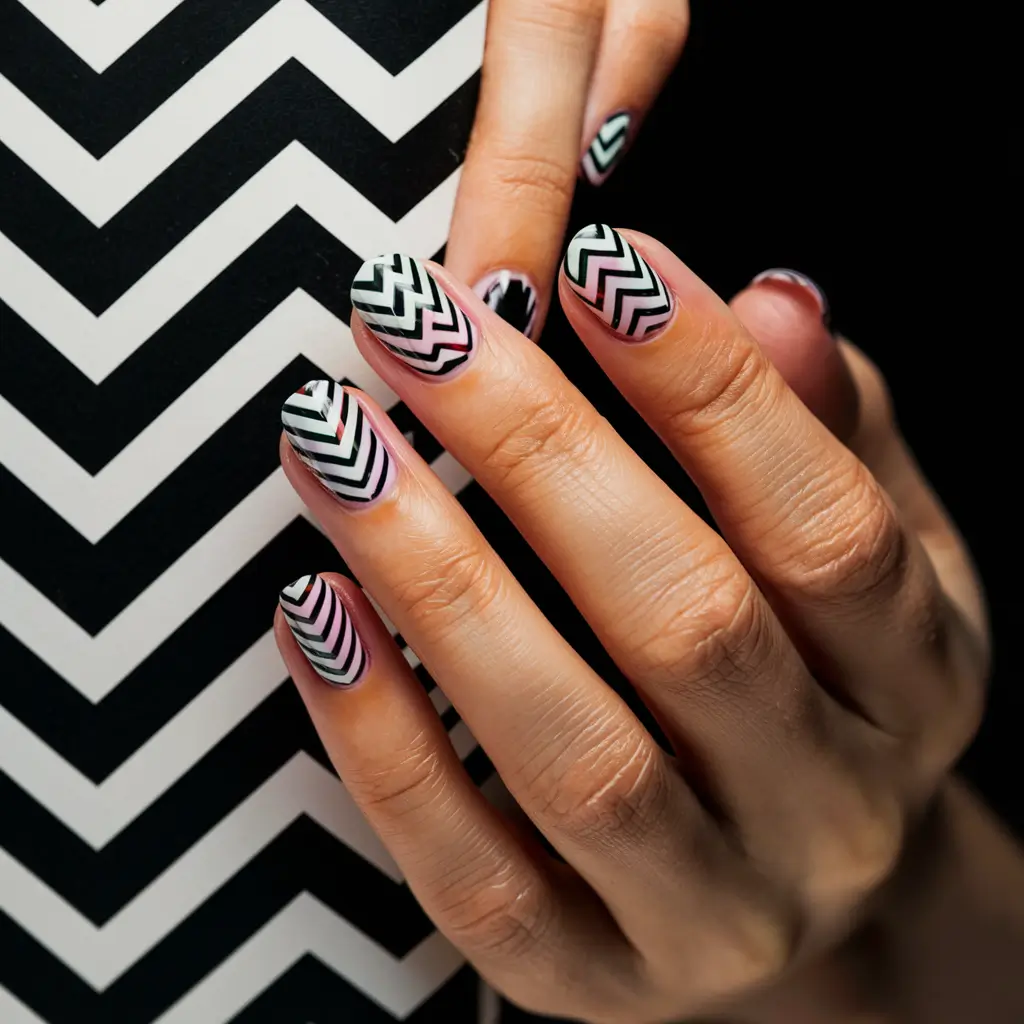
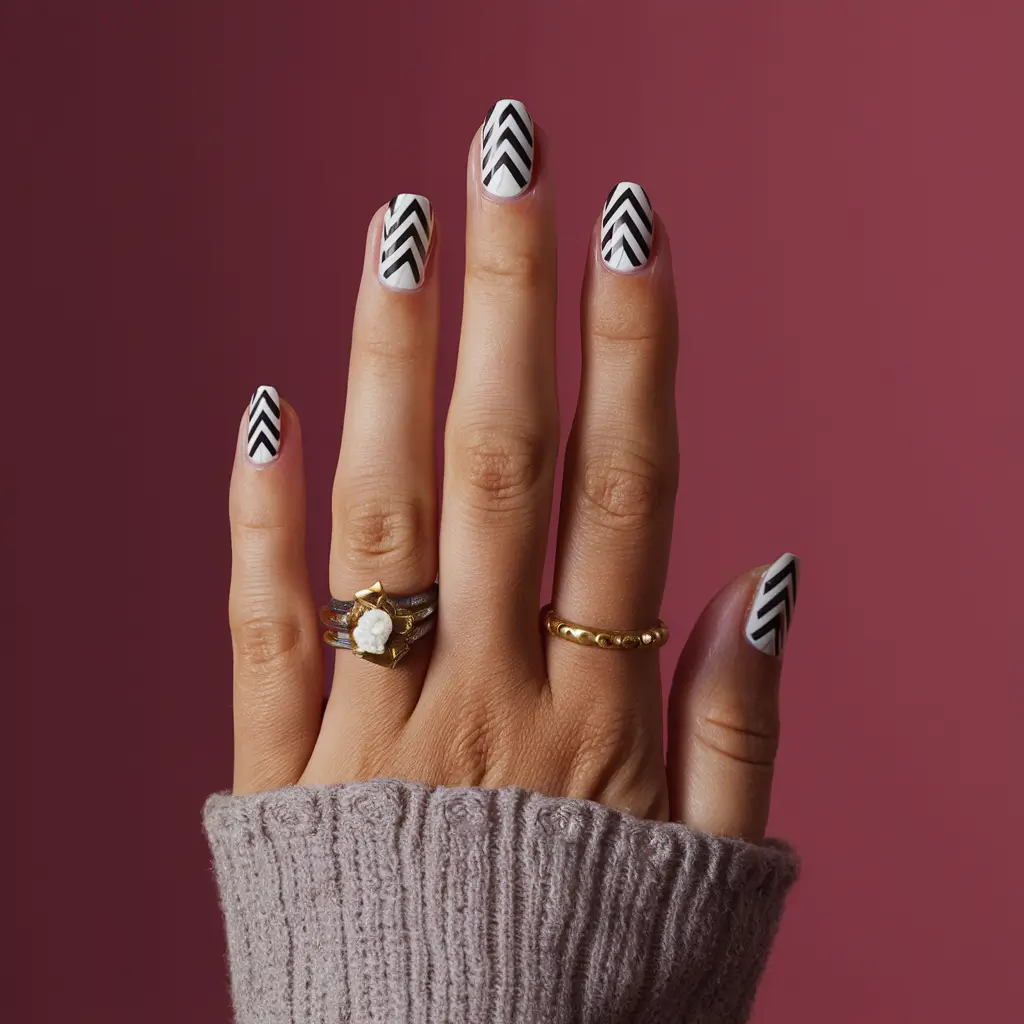
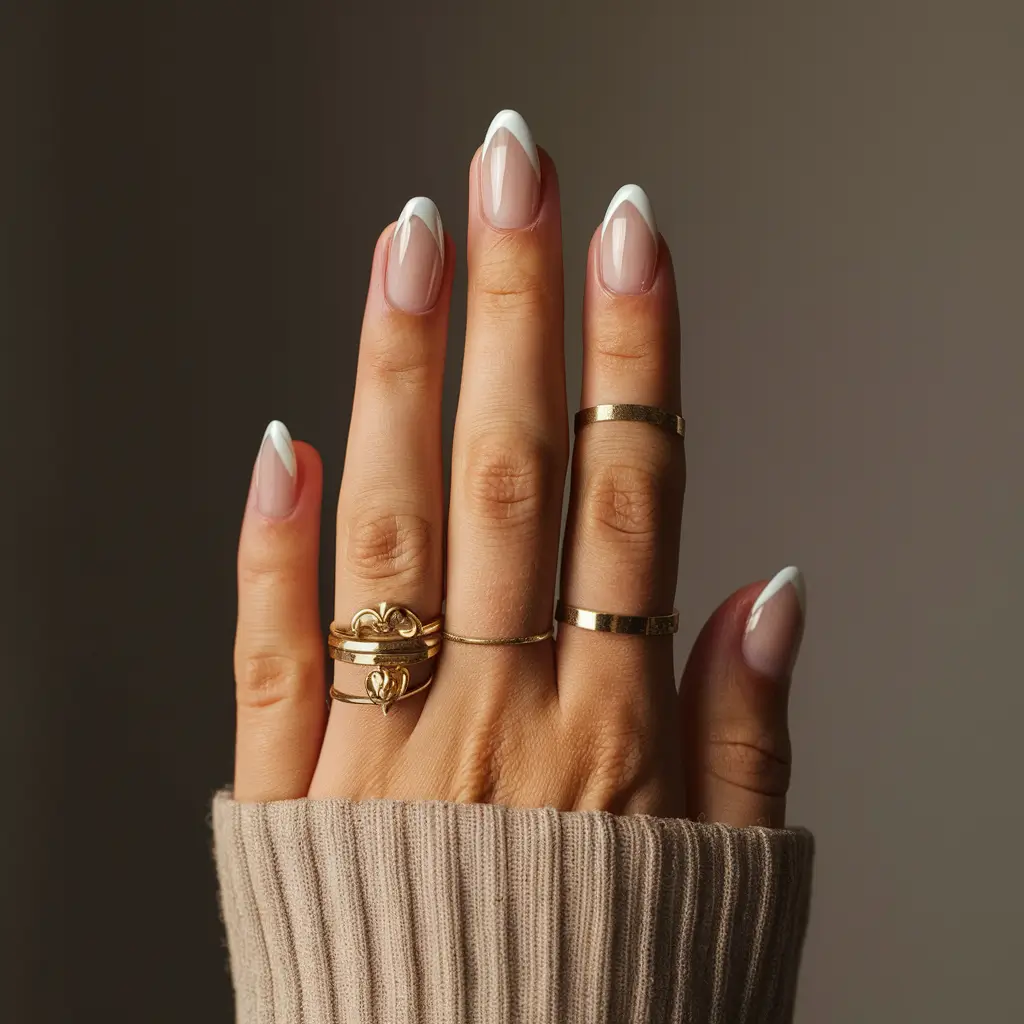
The chevron pattern is a classic that never goes out of style. I love how it combines simplicity with a bit of flair. It’s a versatile look that works for both short and long nails.
You can switch between thin and thick lines or mix and match colors. Adding black and white gives it a sleek, modern vibe.
Creating a chevron style is straightforward. Start with a clean base coat, then use nail striping tape or a thin brush to draw the zigzag lines.

Things Needed
| Item | Description |
|---|---|
| Base Coat | To protect your nails |
| Black Nail Polish | For the chevron pattern |
| White Nail Polish | For the chevron pattern |
| Nail Striping Tape | For creating straight lines |
| Thin Brush | Optional tool for precision |
| Top Coat | To seal the design |
6: Vintage Lace Designs
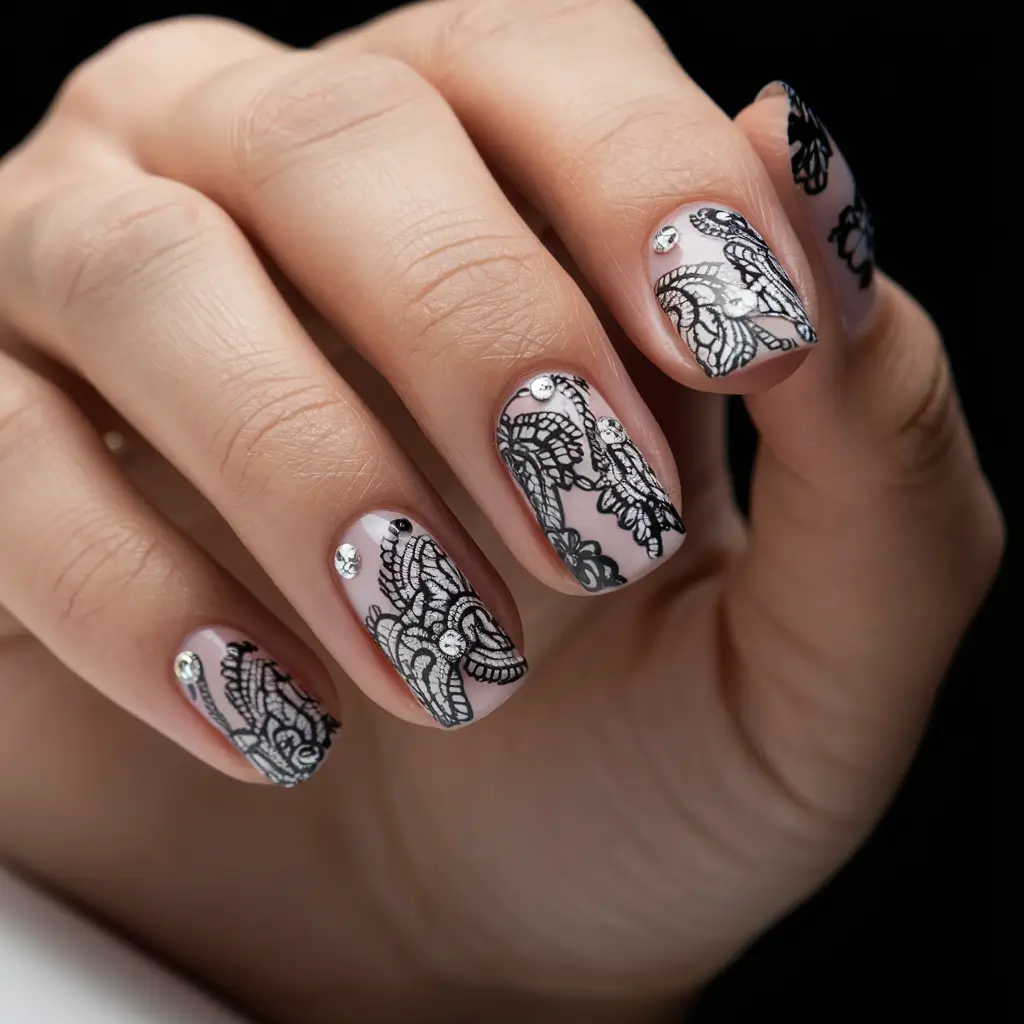

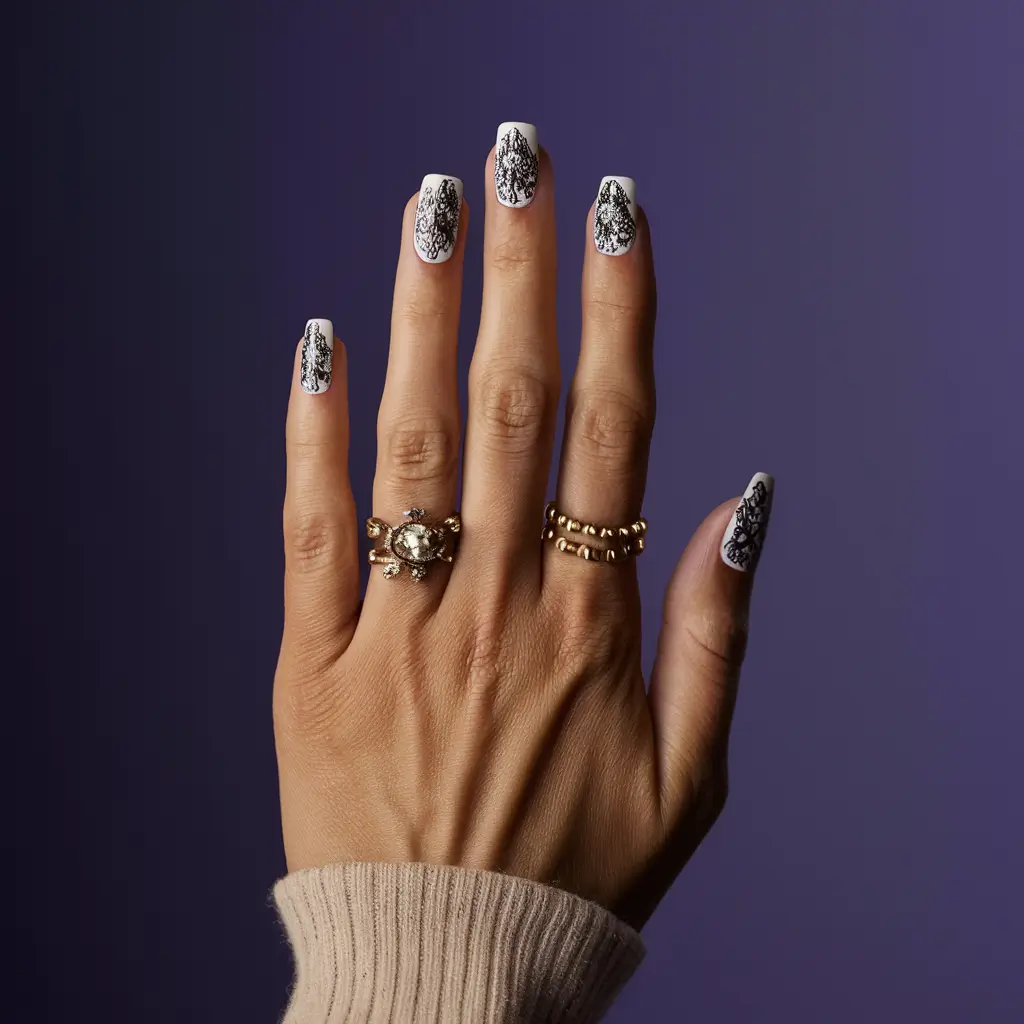
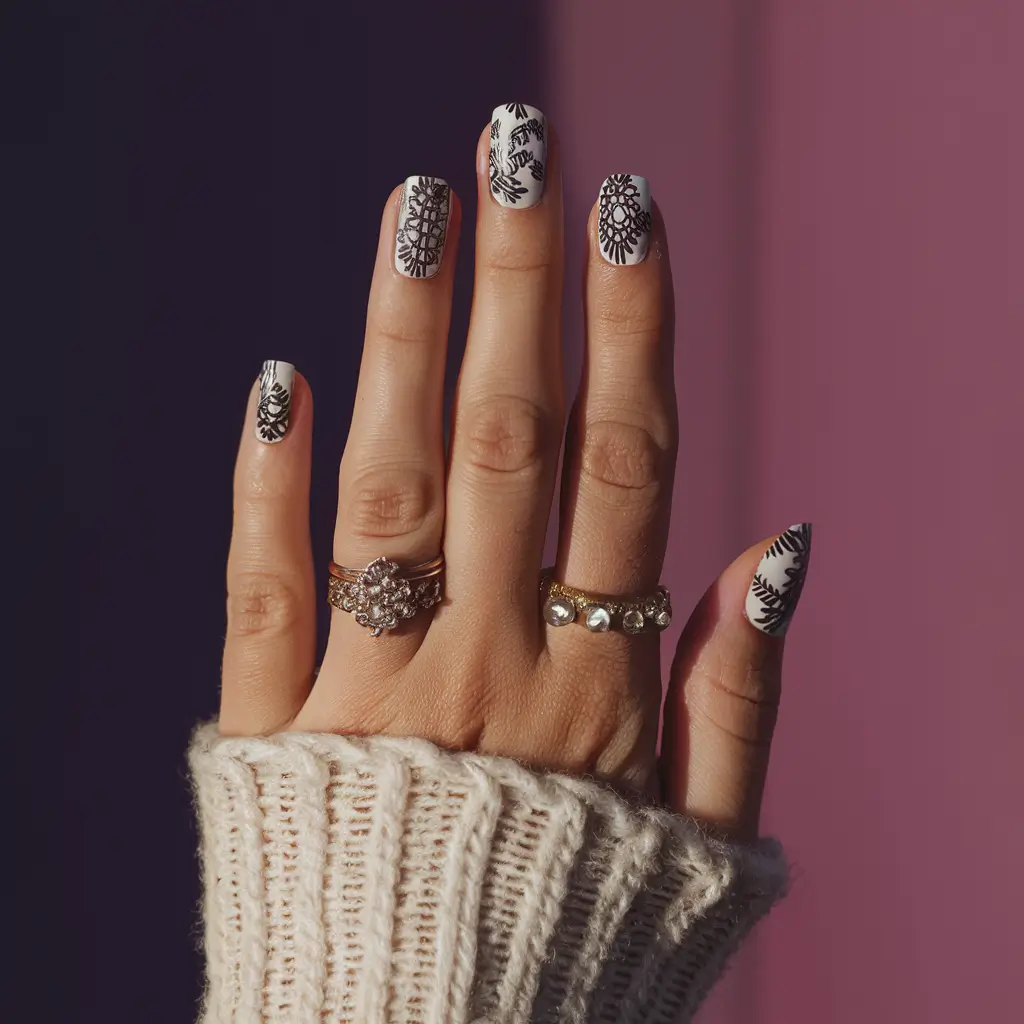
Vintage lace designs are a beautiful option for black-and-white nail art.
I love how the intricate lace patterns bring a touch of elegance to any look. Black lace on a white background or vice versa creates a stunning contrast.
Sometimes, I add tiny rhinestones to the design for extra sparkle. They can make the lace patterns pop.
Creating these designs takes a steady hand and patience. It’s worth the effort because the results are always gorgeous.
Things Needed for This Design
| Item | Purpose |
|---|---|
| Black nail polish | Base color or lace pattern |
| White nail polish | Base color or lace pattern |
| Fine detail brush | To create intricate patterns |
| Rhinestones (optional) | Added sparkle and texture |
| Top coat | Seal and protect the design |
| Nail stamping kit | For precise lace patterns |
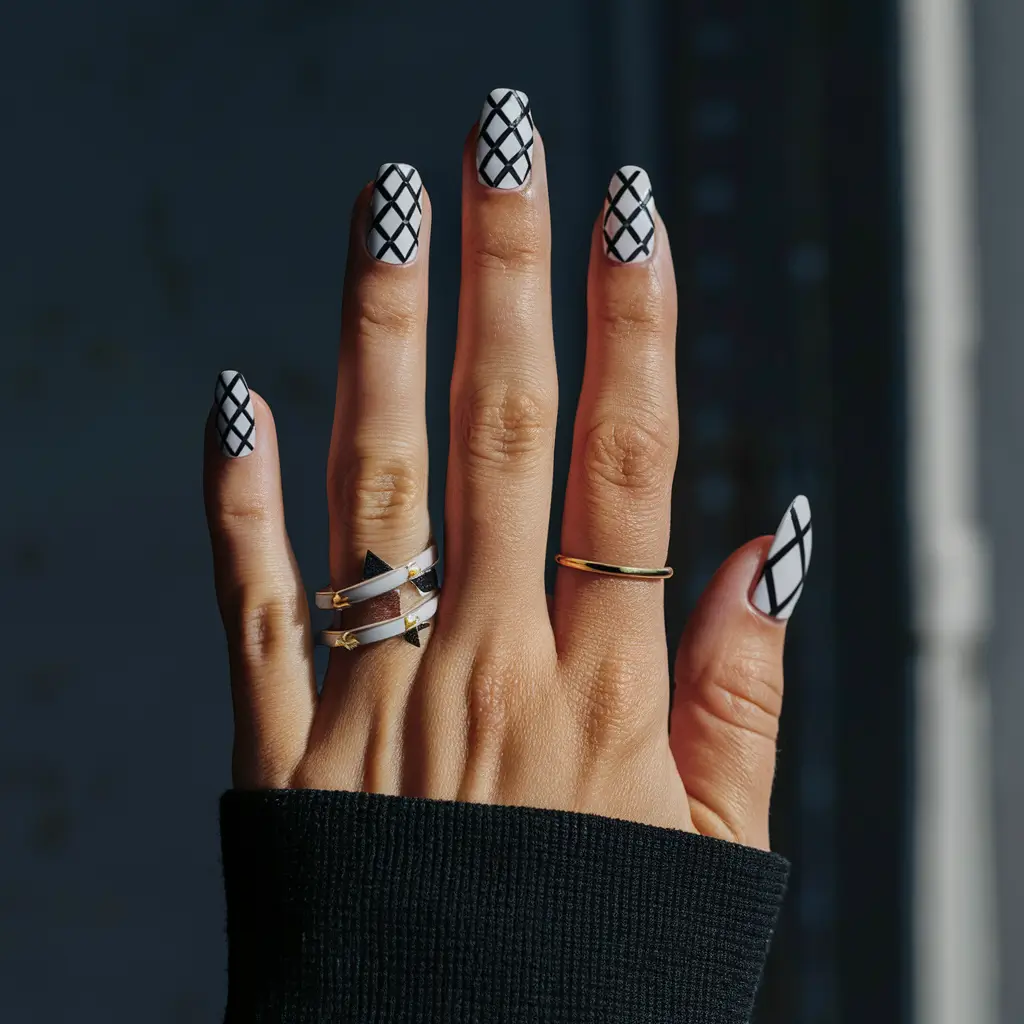
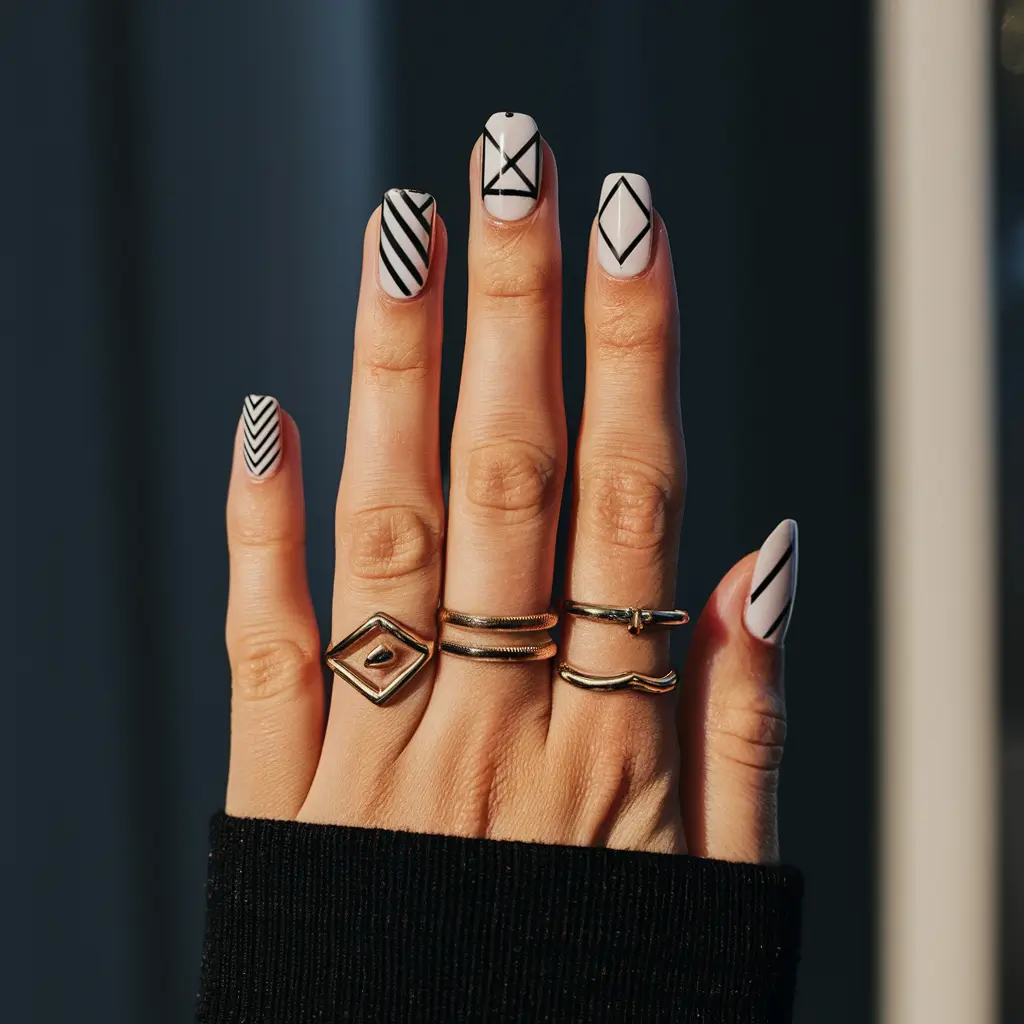
7: Edgy Geometric Shapes
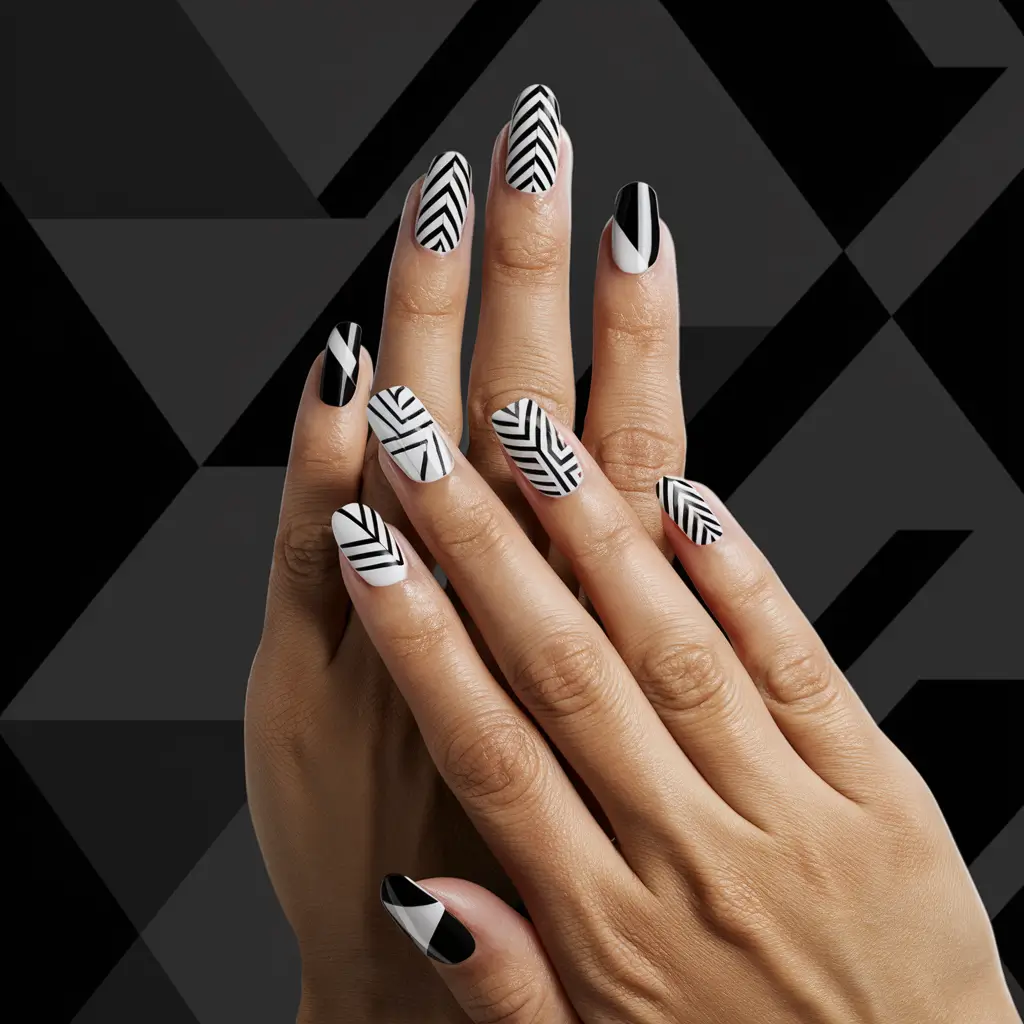
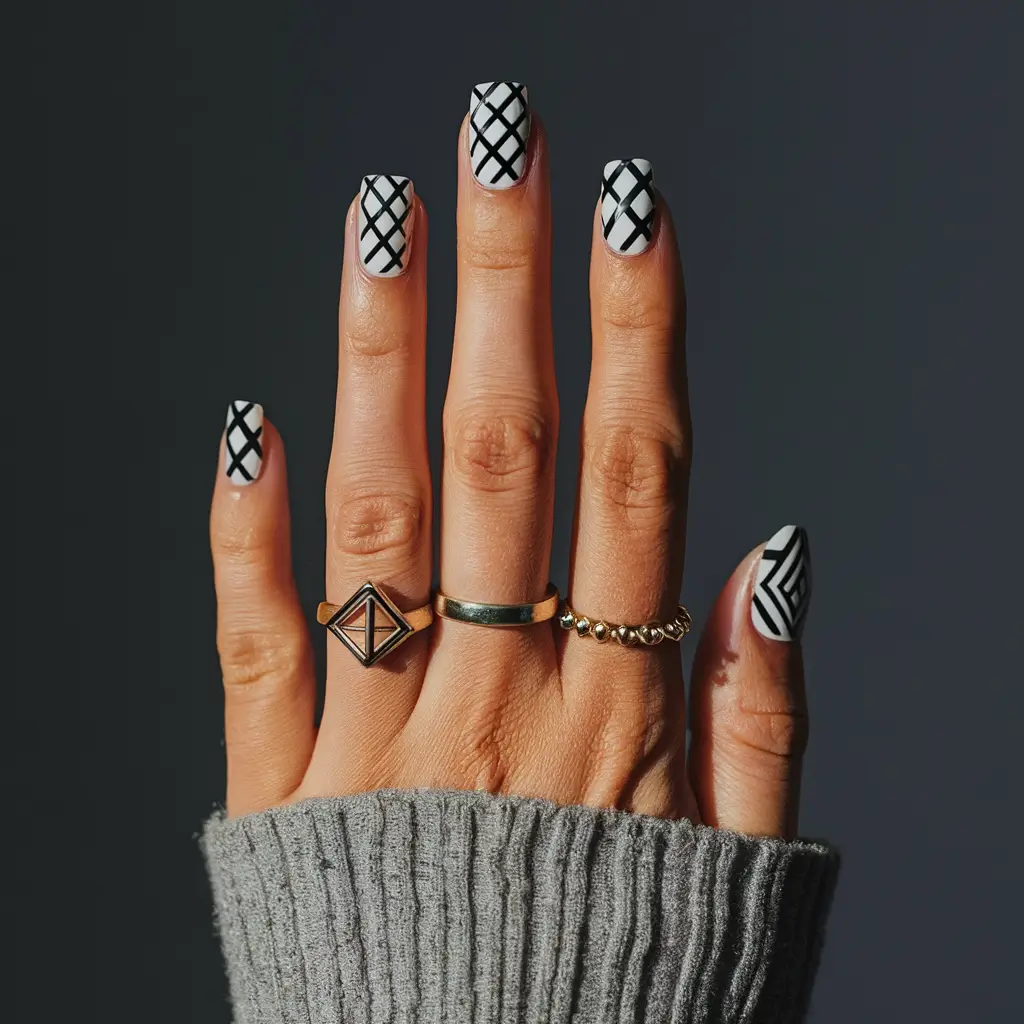
Black and white nail art with geometric shapes is both modern and bold. I love how the contrast highlights the lines and angles, making each design pop.
I’ve seen patterns like triangles, squares, and zigzags, which can be as simple or complex as you want. Sometimes, less is more, with just a few lines or shapes per nail.
Experimenting with different geometric patterns on each nail can create a cohesive but unique look. This style is perfect for those who want something striking and contemporary.
| Things Needed |
|---|
| Black nail polish |
| White nail polish |
| Nail tape |
| Fine nail art brush |
| Clear top coat |
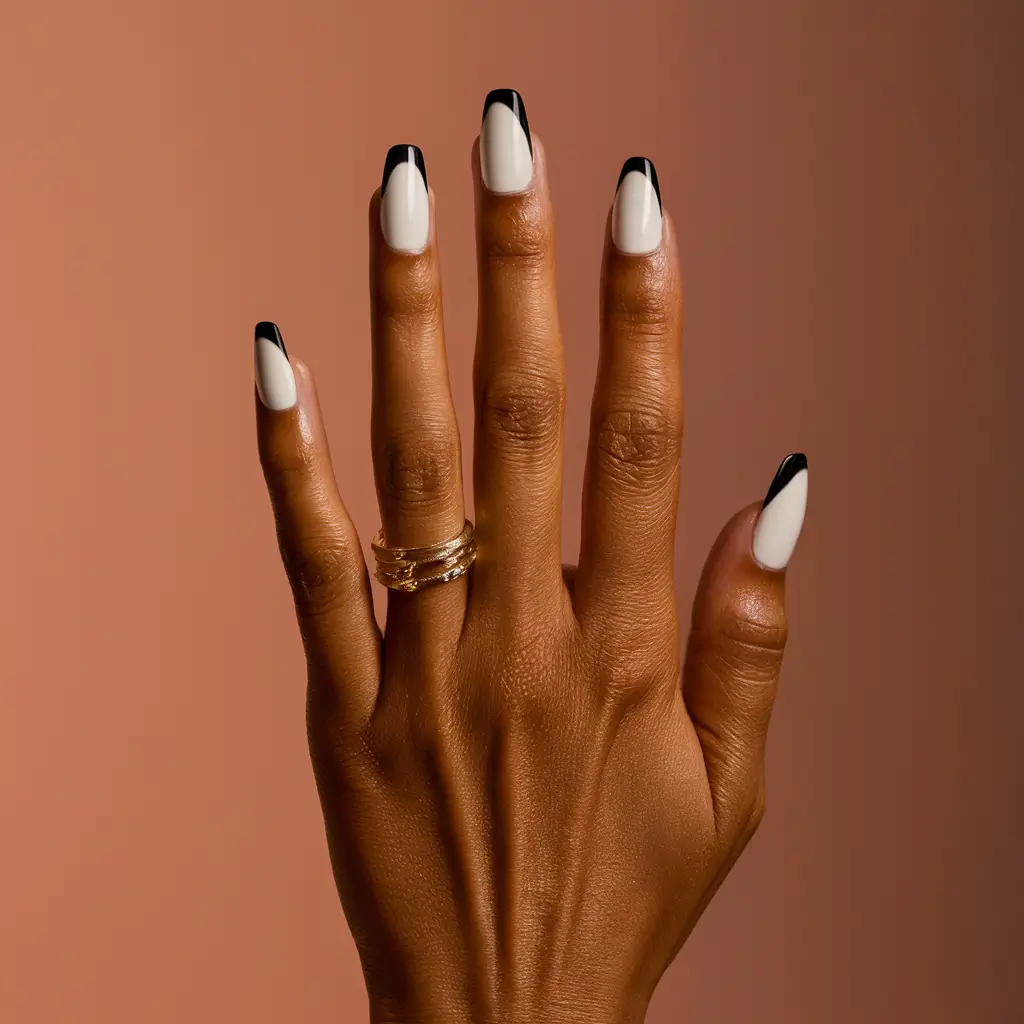
8: Sophisticated Marble Effect

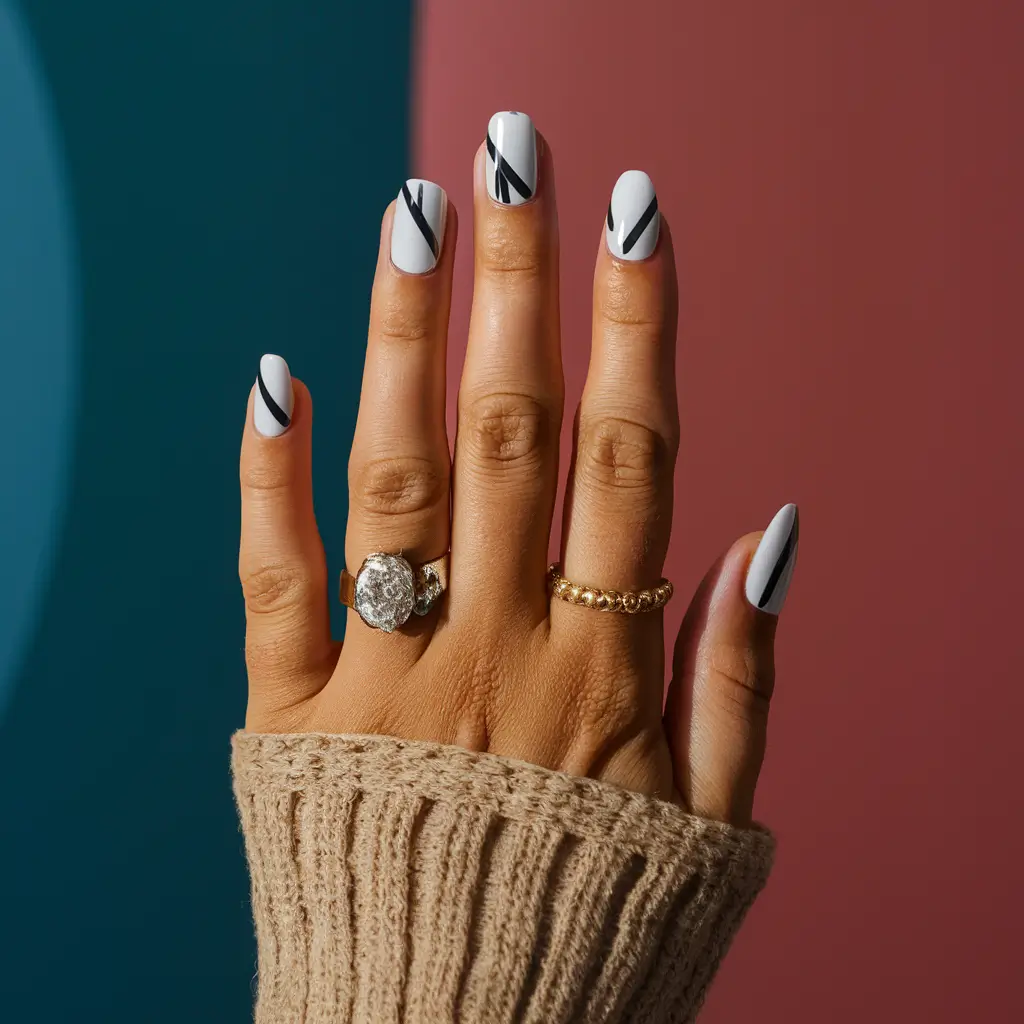
For a classy touch, I like to use a black-and-white marble effect. This design gives it a refined and polished look.
I start by applying a base coat. Then, I drop black and white polish into lukewarm water, layering one on top of the other and swirling them gently with a toothpick.
To finish, I dip my nails into the mixture and clean off the excess. A top coat seals the look, giving a high-gloss finish that catches the eye.
| Things Needed |
|---|
| Black Nail Polish |
| White Nail Polish |
| Toothpick |
| Lukewarm Water |
| Small Bowl |
| Base Coat |
| Top Coat |
| Nail Polish Remover |
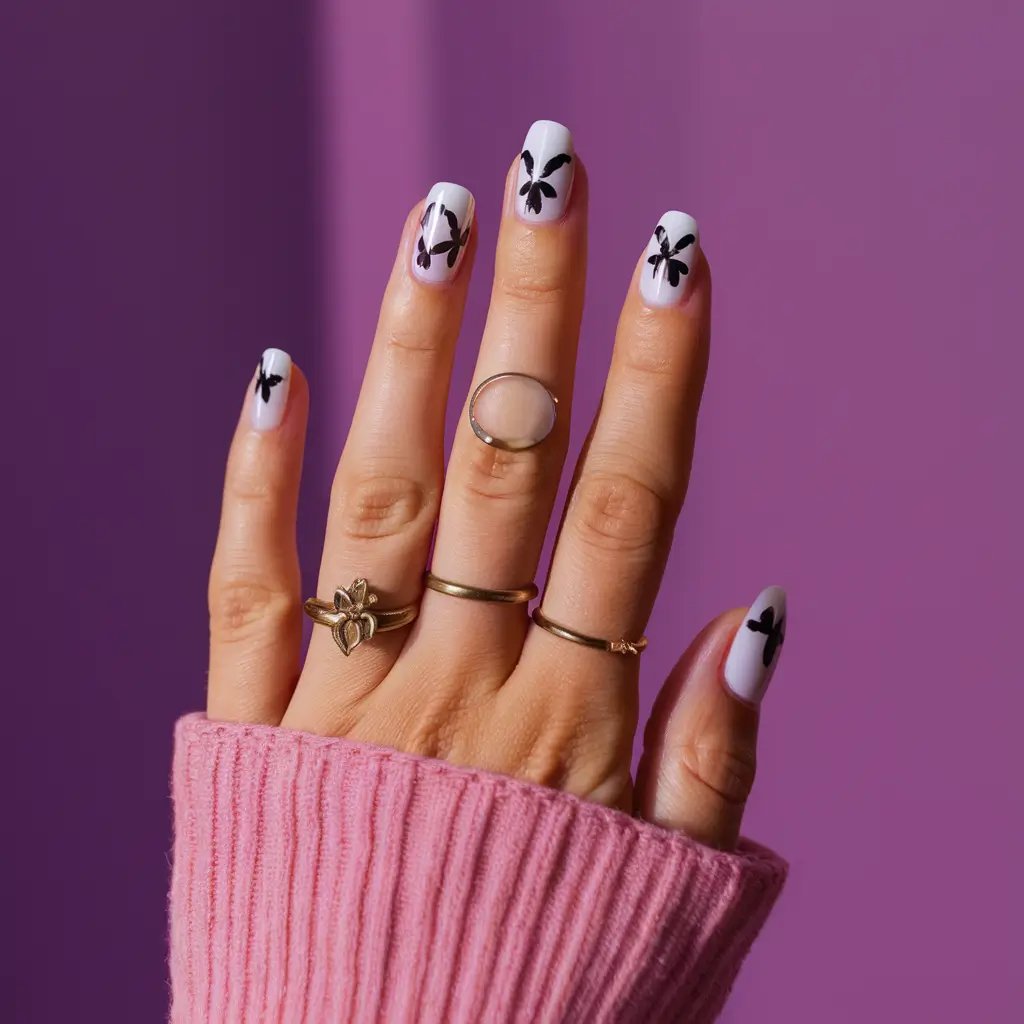
9: Delicate Butterfly Motifs
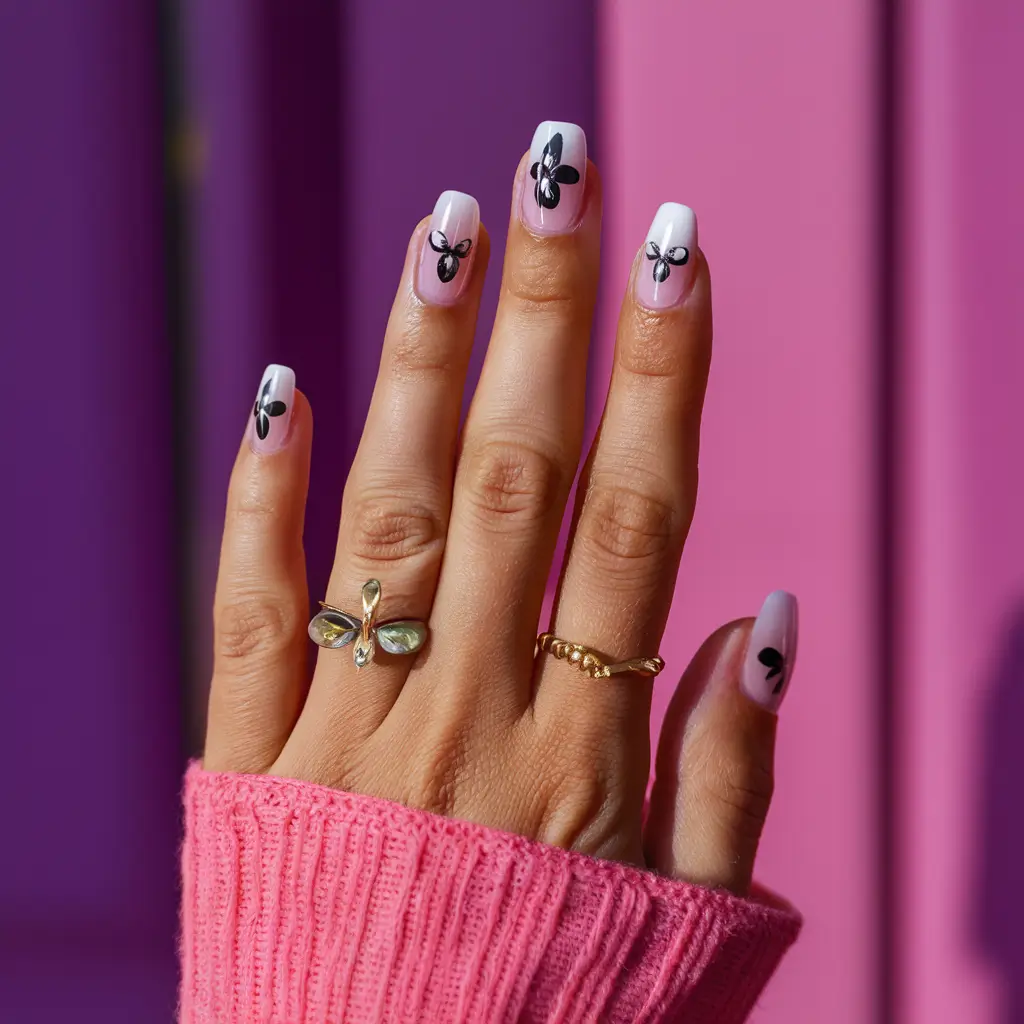
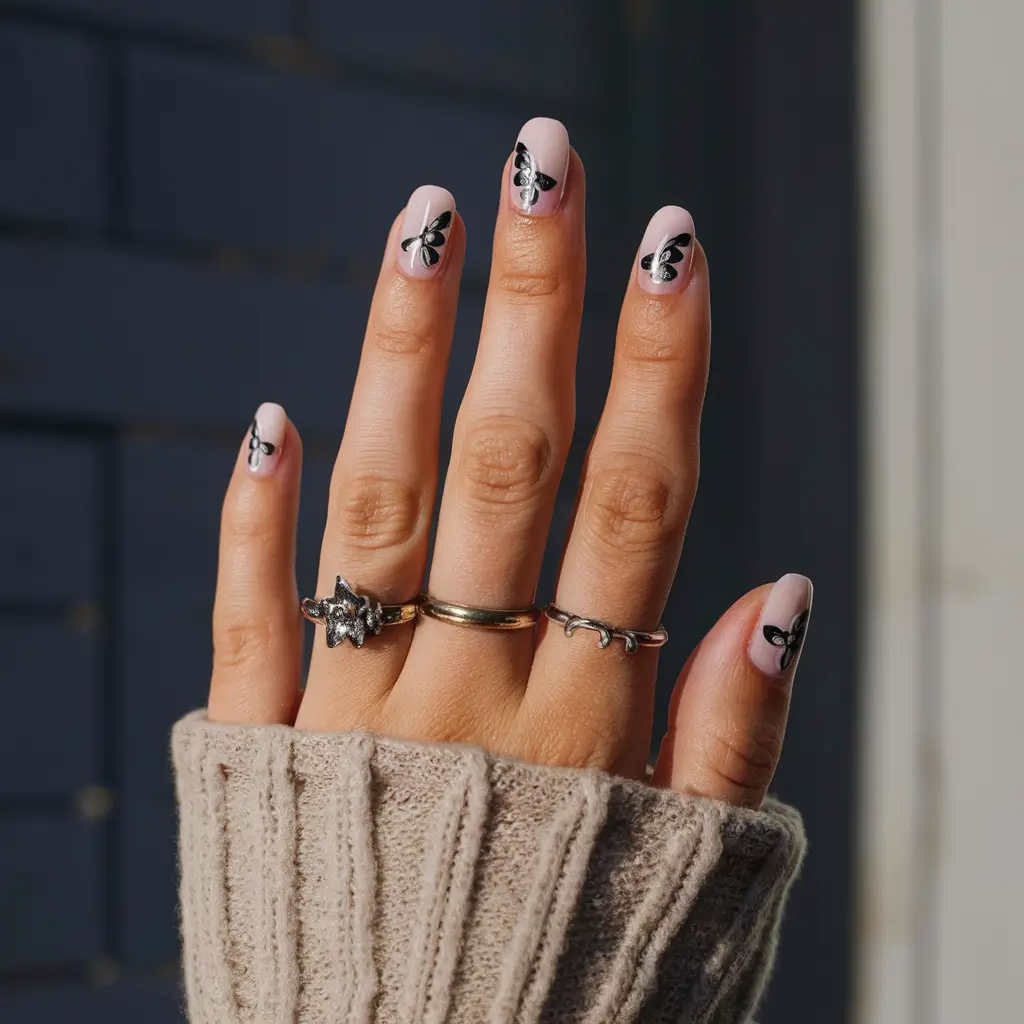
I find delicate butterfly motifs to be truly enchanting. Black and white give these designs a timeless elegance. Black and white butterflies stand out beautifully with a nude or clear base.
This subtle yet sophisticated design is perfect for any occasion and adds a touch of nature’s grace to your nails.

| Things Needed for This Design |
|---|
| Nude or clear base polish |
| Black nail polish |
| White nail polish |
| Thin nail art brush |
| Top coat |
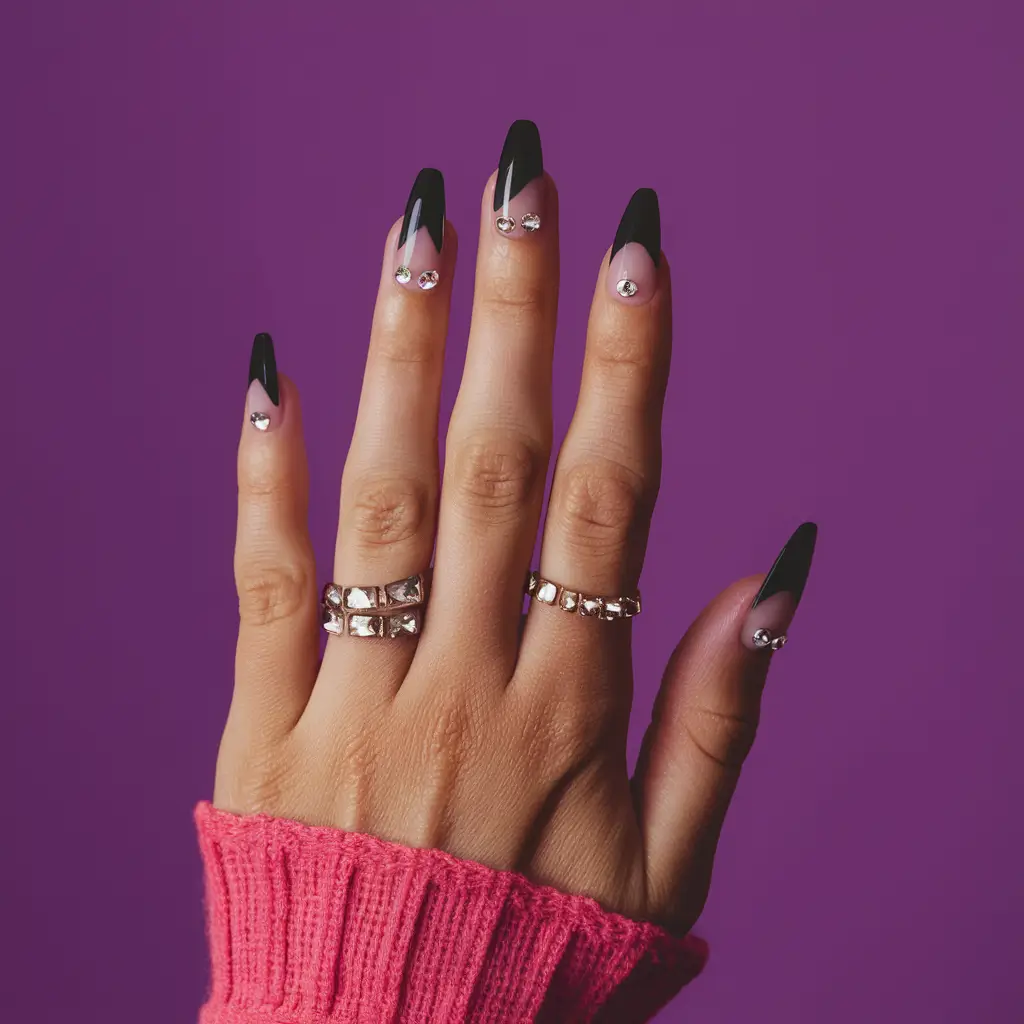
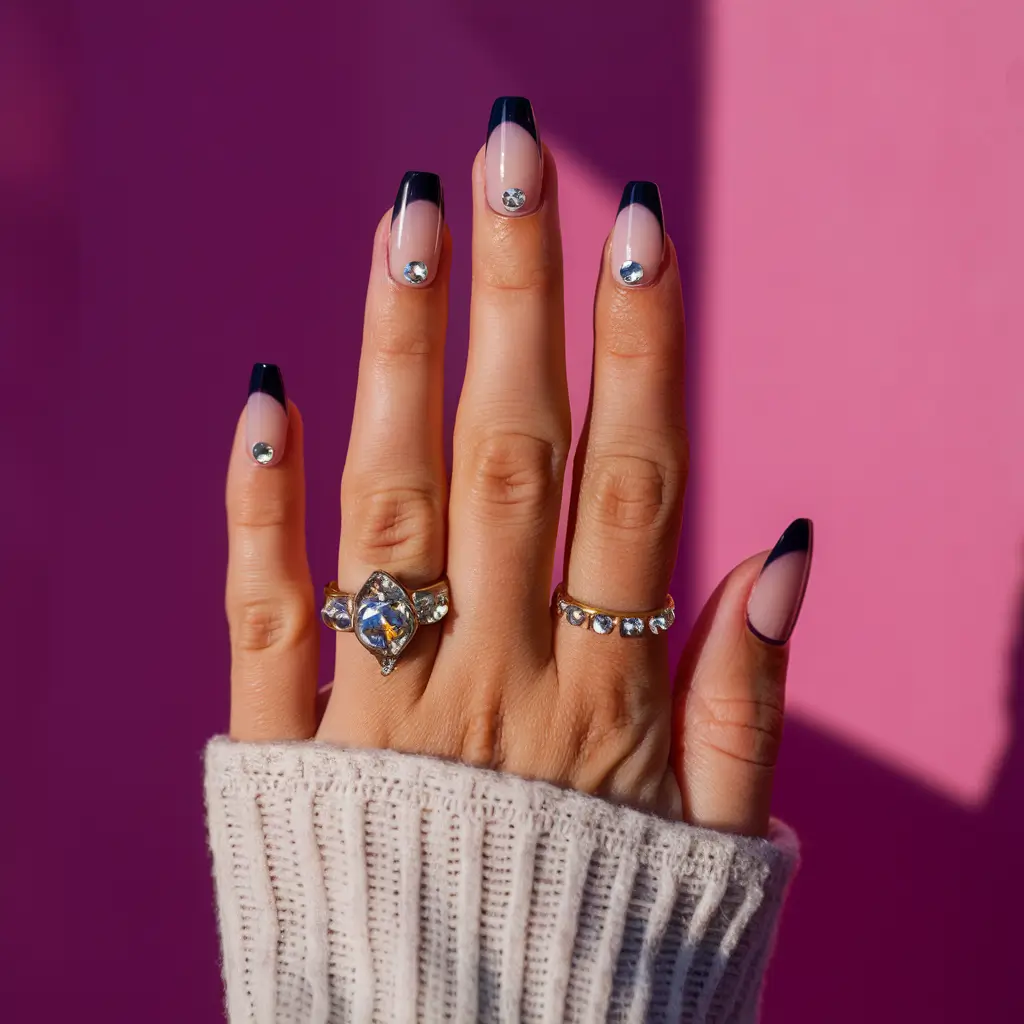
10: Glamorous Rhinestone Details

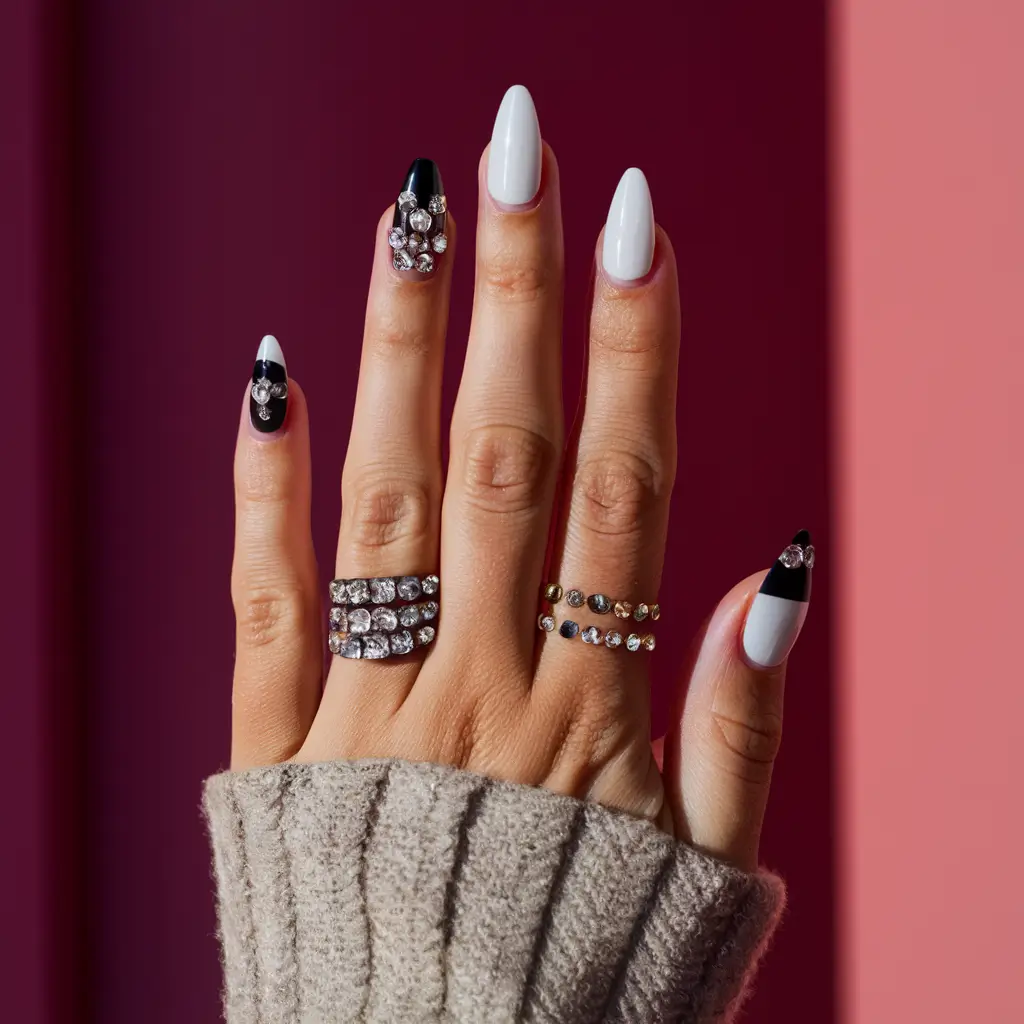
Adding rhinestones to black-and-white nail designs can make them stand out. Whether placing them along the cuticle or creating intricate patterns, the sparkle of rhinestones adds a touch of glamor.
For a chic look, try small rhinestones along the tips of black nails or scattered across white nails.
Things Needed for Glamorous Rhinestone Nails Are The Following:
| Item | Description |
|---|---|
| Black nail polish | The base color for contrast |
| White nail polish | Base color for contrast |
| Rhinestones | Various sizes for decoration |
| Nail glue | To adhere rhinestones to nails |
| Top coat | To seal and protect the design |
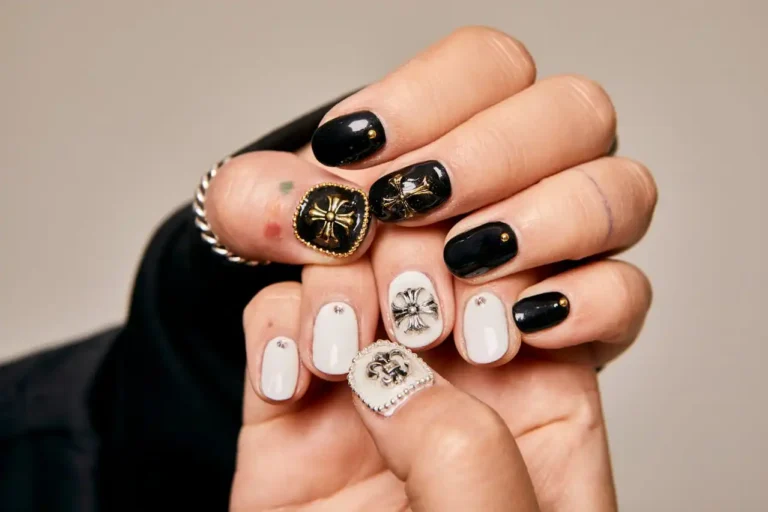
11: Luxurious Velvet Matte Finish
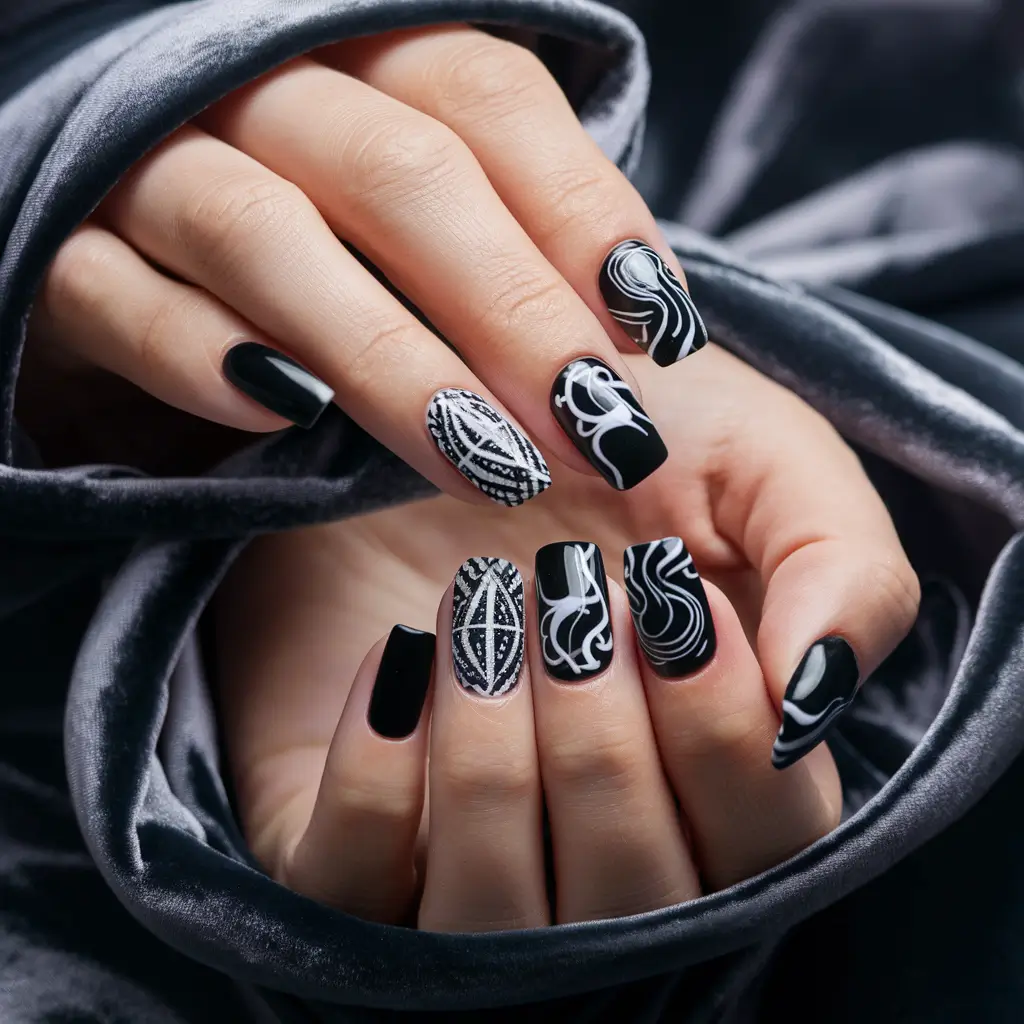
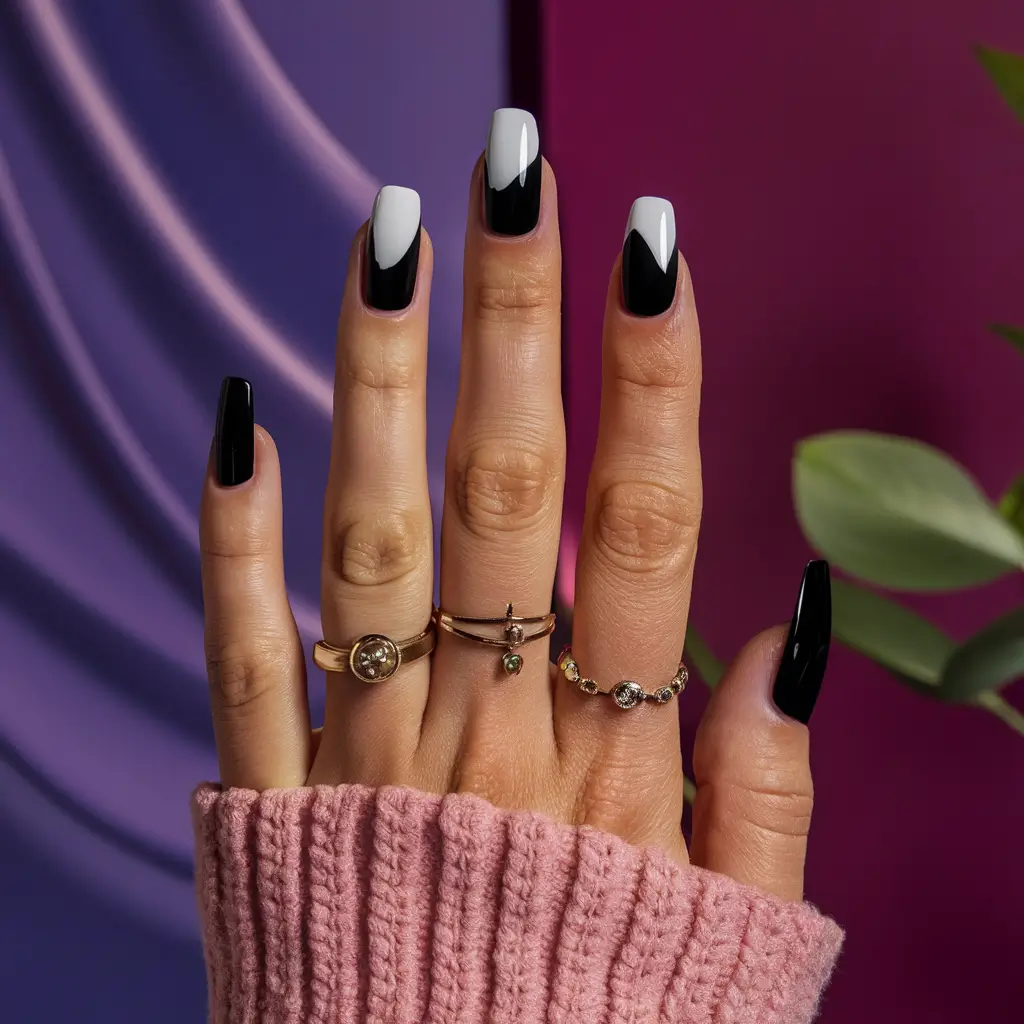
With a velvet matte finish, black and white nails can look even more elegant.
This look combines a velvety soft texture with a matte effect, giving the nails a rich and luxurious appearance.
Using black matte polish with a velvety touch adds a unique twist to the classic black-and-white theme.

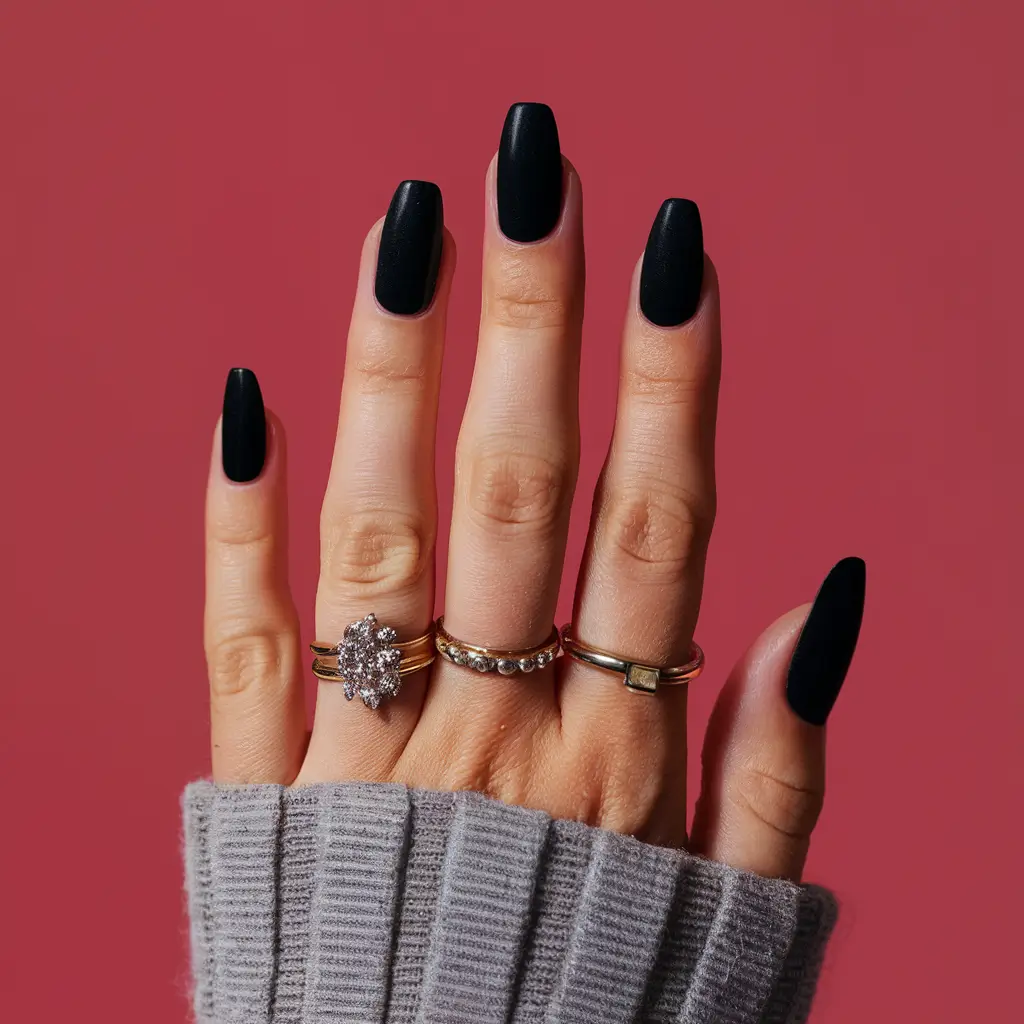
I used black velvet matte and white polish to create this design and add contrasting details.
| Item | Description |
|---|---|
| Black matte polish | Velvet texture for base color |
| White polish | Contrasting color for details |
| Top coat | To seal and protect the design |
| Fine nail brush | For precise application |
| Clean-up brush | To clean around edges |
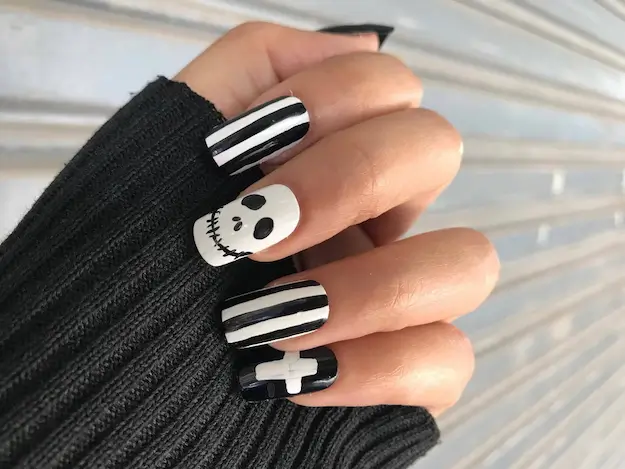

Black and white nail art designs offer a classic, timeless look. They suit various occasions and complement any outfit.
Black and white nail art is perfect for those who appreciate elegance and simplicity. These designs range from minimalistic patterns to intricate, detailed art, providing something for everyone.
The contrast between black and white creates a striking visual appeal, making your nails stand out. This color combination is versatile, fitting both casual and formal settings.
Whether you prefer geometric shapes, floral patterns, or abstract designs, black-and-white nail art can be customized to reflect your personal style. It’s a great way to express creativity while maintaining a sophisticated appearance.
Tips For Creating Black And White Nail Art
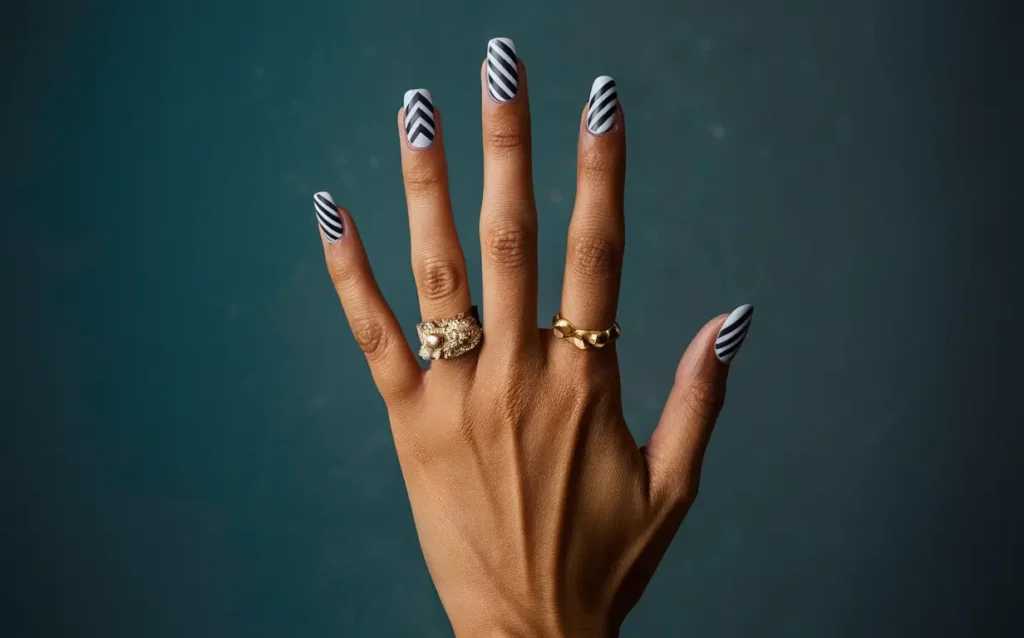
Black and white nail art designs offer a timeless and elegant look. Whether you’re a beginner or an experienced nail artist, creating stunning black-and-white designs can be easy and fun.
Here are some essential tips for crafting beautiful black-and-white nail art.
Choosing The Right Tools And Materials
Select the right tools and materials to create impressive black-and-white nail art. The quality of your tools significantly impacts your final design.
Here are some essentials:
- Nail polish: High-quality black and white nail polishes ensure smooth application and durability.
- Base coat: A good base coat protects your nails and helps the polish adhere better.
- Top coat: A top coat adds shine and longevity to your design.
- Nail brushes: Fine-tipped brushes allow for detailed work and precision.
- Dotting tools: These are perfect for creating dots and other intricate patterns.
- Nail tape: Use nail tape for sharp lines and geometric shapes.
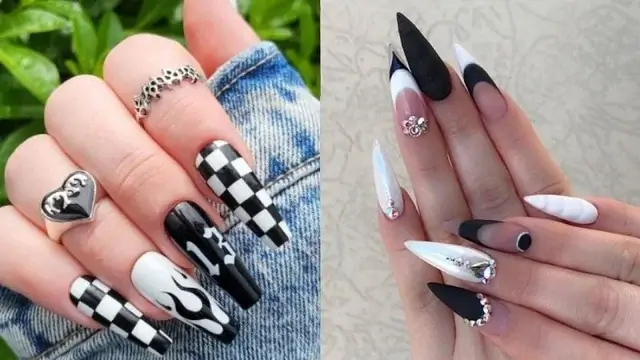
Here’s a quick reference table for the tools and their uses:
| Tool | Use |
|---|---|
| Nail polish | Base color |
| Base coat | Protects nails |
| Top coat | Adds shine |
| Nail brushes | Detail work |
| Dotting tools | Patterns |
| Nail tape | Sharp lines |
Investing in good tools will save you time and effort, and you’ll achieve a professional look.
Mastering Basic Techniques

Basic techniques are the foundation of any great nail art design. Start with these simple methods to build your skills.
Painting a smooth base: Apply a thin layer of base coat. Let it dry completely before adding two coats of your chosen color. Ensure each layer dries fully to avoid smudging.
Creating dots: Use a dotting tool to add dots to your nails. Dip the tool in polish and gently press it onto your nail. Vary the size of the dots by using different tools or the tip of a bobby pin.
Making stripes: Nail tape is perfect for creating stripes. Apply tape to your nail, paint over it, and remove the tape before the polish dries.
Freehand designs: Fine-tipped brushes are ideal for freehand designs. Practice drawing simple shapes like hearts, stars, or swirls.
Here’s a list of basic techniques and their tips:
- Painting a smooth base: Thin layers work best.
- Creating dots: Vary tool sizes for different effects.
- Making stripes: Remove the tape while the polish is wet.
- Freehand designs: Steady your hand by resting it on a flat surface.
Practicing these techniques will help you gain confidence and precision.
Experimenting With Color Combinations

Black and white are versatile colors that can be paired with various shades to create stunning designs. Experimenting with color combinations can bring your nail art to life.
Classic duo: Black and white alone make a bold statement. Try alternating nails or creating patterns with both colors.
Adding metallics: Silver or gold accents can elevate your design. Use metallic polish for stripes, dots, or outlines.
Color pops: Add a pop of color with a bright shade. Use black and white as the base and incorporate a vibrant color for an accent nail or small details.
Gradient effect: Blend black and white to create a gradient. Apply both colors to a sponge and dab them onto your nail for a seamless transition.
Here are some color combination ideas:
| Combination | Effect |
|---|---|
| Black & White | Bold and classic |
| Black, White & Silver | Elegant and chic |
| Black, White & Red | Striking and vibrant |
| Black, White & Gold | Luxurious and sophisticated |
Experimenting with different combinations will help you discover unique styles and preferences.
Looking After Your Nails
Black-and-white nail art designs are timeless and elegant, perfect for any occasion. Proper nail care is essential to ensure your nails always look their best.
Proper nail care not only enhances the longevity of your nail art but also keeps your nails healthy and strong. Below are some tips on looking after your nails.
Preventing Damage And Breakage
Preventing nail damage and breakage starts with simple habits. Avoid using your nails as tools. This includes opening cans, scraping off stickers, or other activities that stress your nails unnecessarily. Always use proper tools for these tasks.
Keep your nails trimmed and filed. Regular trimming reduces the risk of snagging and breaking. Use a fine-grit nail file to smooth out any rough edges. File your nails in one direction to avoid splitting.
- Moisturize your nails and cuticles daily. Dry nails are more prone to breakage.
- Wear gloves when doing household chores, especially when using cleaning chemicals.
- Avoid biting your nails and picking at your cuticles. This weakens your nails and can lead to infections.
Consider using a strengthening nail polish. Products containing ingredients like keratin or biotin can help reinforce your nails.
Keeping Your Nails Healthy
Healthy nails are the foundation of beautiful nail art. Maintain a balanced diet rich in vitamins and minerals. Foods high in biotin, such as eggs, almonds, and sweet potatoes, promote nail health.
Stay hydrated. Drinking plenty of water keeps your nails and cuticles hydrated and less prone to breaking.
- Take breaks from nail polish. Allow your nails to breathe between manicures.
- Use a base coat and top coat. These layers protect your nails from staining and add strength.
- Avoid harsh chemicals. Choose nail polish removers that are acetone-free to prevent drying out your nails.
Keep your hands and nails clean. Regular washing and moisturizing prevent the buildup of bacteria and fungi, which can lead to infections.
Removing Nail Polish Safely
Removing nail polish should be done gently to avoid damaging your nails. Choose a gentle nail polish remover, preferably acetone-free, as acetone can dry out your nails.
Soak a cotton ball in remover and press it onto your nail for a few seconds. This helps dissolve the polish without excessive rubbing. Gently wipe away the polish, moving from the cuticle to the tip of the nail.
Avoid scraping or peeling off polish. This weakens your nails and can cause layers to peel. After removing the polish, wash your hands thoroughly and moisturize your nails and cuticles.
| Tip | Benefit |
|---|---|
| Use acetone-free remover | Prevents nail dryness |
| Soak cotton ball before wiping | Reduces rubbing damage |
| Moisturize after removal | Rehydrates nails and cuticles |
Consider using a nourishing nail oil after removing the polish. This helps replenish lost moisture and keeps your nails strong and healthy.
Diy Vs. Professional Nail Art
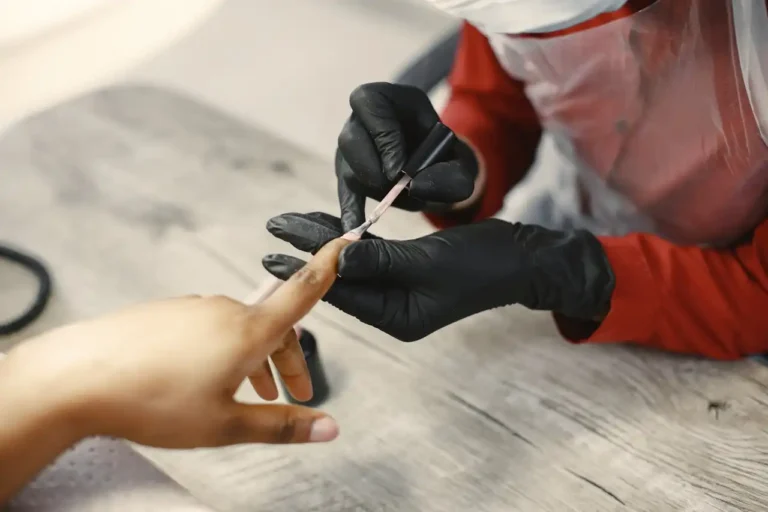
Black and white nail art designs are timeless and elegant. They fit any occasion, from casual to formal. Deciding between DIY and professional nail art can be tricky. Each option has its own benefits and drawbacks.
Pros And Cons Of Doing Your Nail Art
Doing your nail art offers several benefits. It’s cost-effective and allows for endless creativity. You can experiment with different designs at your own pace. Below are some pros and cons:
- Pros:
- Cost-effective: No need to spend on salon visits.
- Creative freedom: Try any design without restrictions.
- Convenience: Do it anytime, anywhere.
- Skill improvement: Practice makes perfect.
- Cons:
- Time-consuming: Some designs take hours.
- Skill level: Not everyone has a steady hand.
- Limited tools: Professional tools can be expensive.
- Inconsistent results: DIY can be hit or miss.
Consider these points before diving into DIY nail art. It’s a rewarding hobby, but it comes with challenges.
Choosing A Professional Nail Artist
Opting for a professional nail artist ensures high-quality results. Professionals have experience and access to the best tools and materials. Here’s how to choose the right one:
- Research: Look for artists with positive reviews.
- Portfolio: Check their previous work. Ensure they specialize in black and white designs.
- Hygiene: Ensure the salon follows strict hygiene practices.
- Consultation: Book a consultation to discuss your preferences and expectations.
- Price: Compare prices, but remember, quality comes at a cost.
Professional nail art offers precision and durability. It saves time and usually lasts longer. The investment can be worth it for special occasions or intricate designs.
Frequently Asked Questions
How To Do Black And White Nail Art?
Start by applying a base coat. Paint your nails with white polish. Use black nail polish and thin brushes for designs. Try stripes, dots, or geometric patterns. Seal with a top coat for durability.
What Are The 5 Basic Nail Art Designs?
The 5 basic nail art designs are French tips, polka dots, stripes, glitter gradients, and floral patterns.
How Do You Make Nail Art Look Good?
Prep nails well, use a base coat, apply thin layers, and let each layer dry. Seal with a top coat. Practice regularly.
What Nail Color Goes With Black And White?
Red, nude, silver, gold, or classic black nail colors pair well with black and white outfits. These colors add elegance and versatility.
Conclusion
Creating stunning black-and-white nail art is fun and stylish. With these tips, your nails will always look chic. Experiment with patterns, textures, and designs to express your unique style.
Remember, practice makes perfect. Enjoy the creative process, and let your nails be a canvas for your artistic expression.

