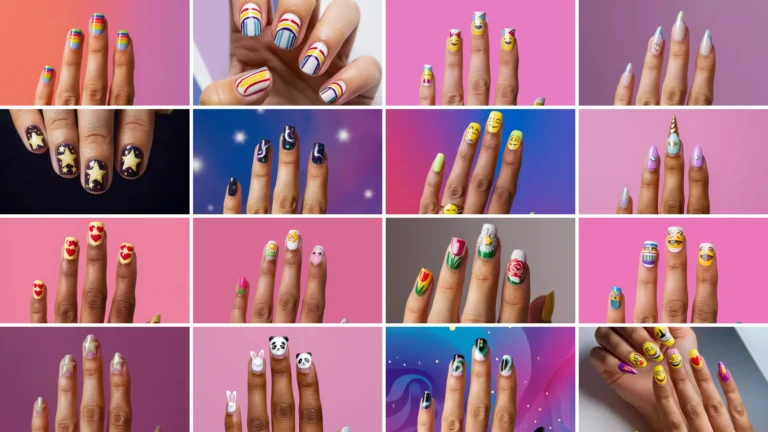
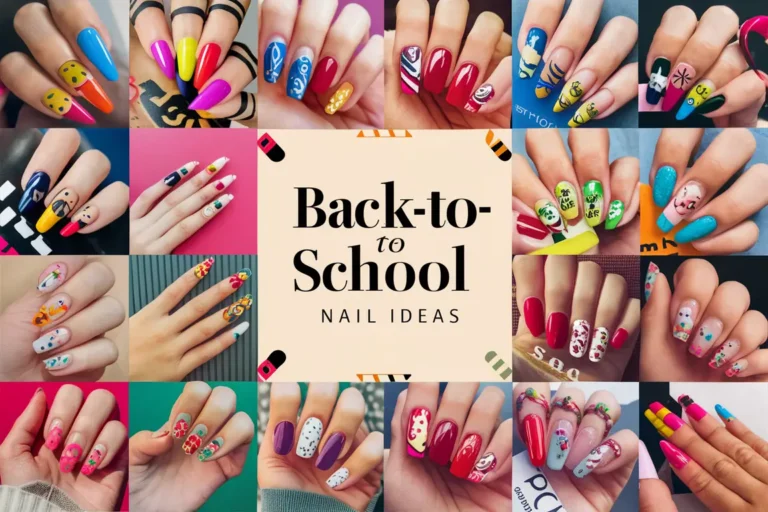
11 Birthday Nails Design Ideas: Stunning Looks for Your Special Day
Choosing the right birthday nail design can make your special day even more memorable. I’ve compiled a list of 11 fantastic ideas for birthday nails that cater to different styles and preferences.
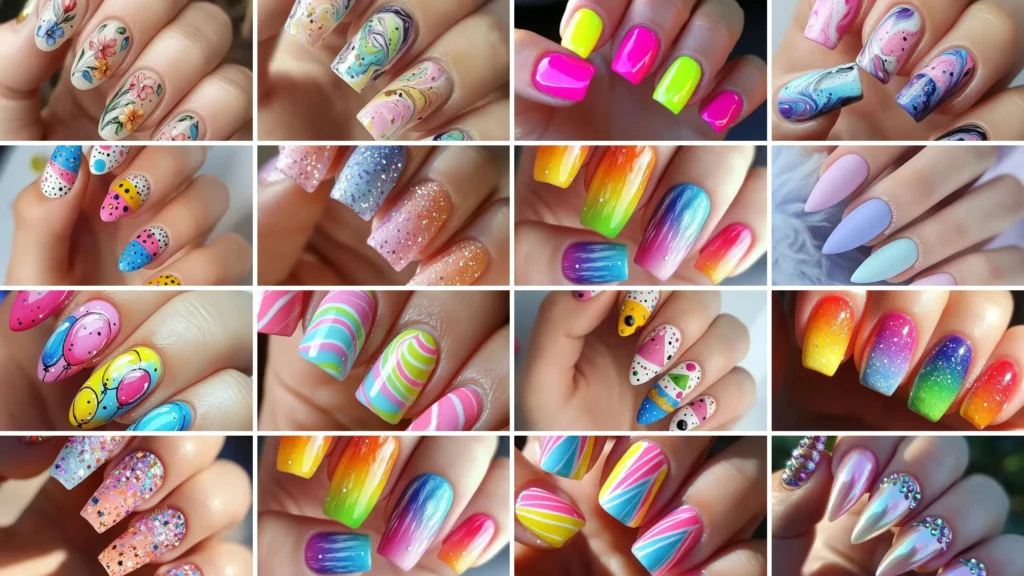
Whether you want something bold or subtle, these designs will add an extra touch of celebration to your look.
In this article, you’ll find nail designs ranging from trendy to elegant, ensuring something for everyone.
You’ll find the perfect inspiration to suit your personality and make your birthday even more special.
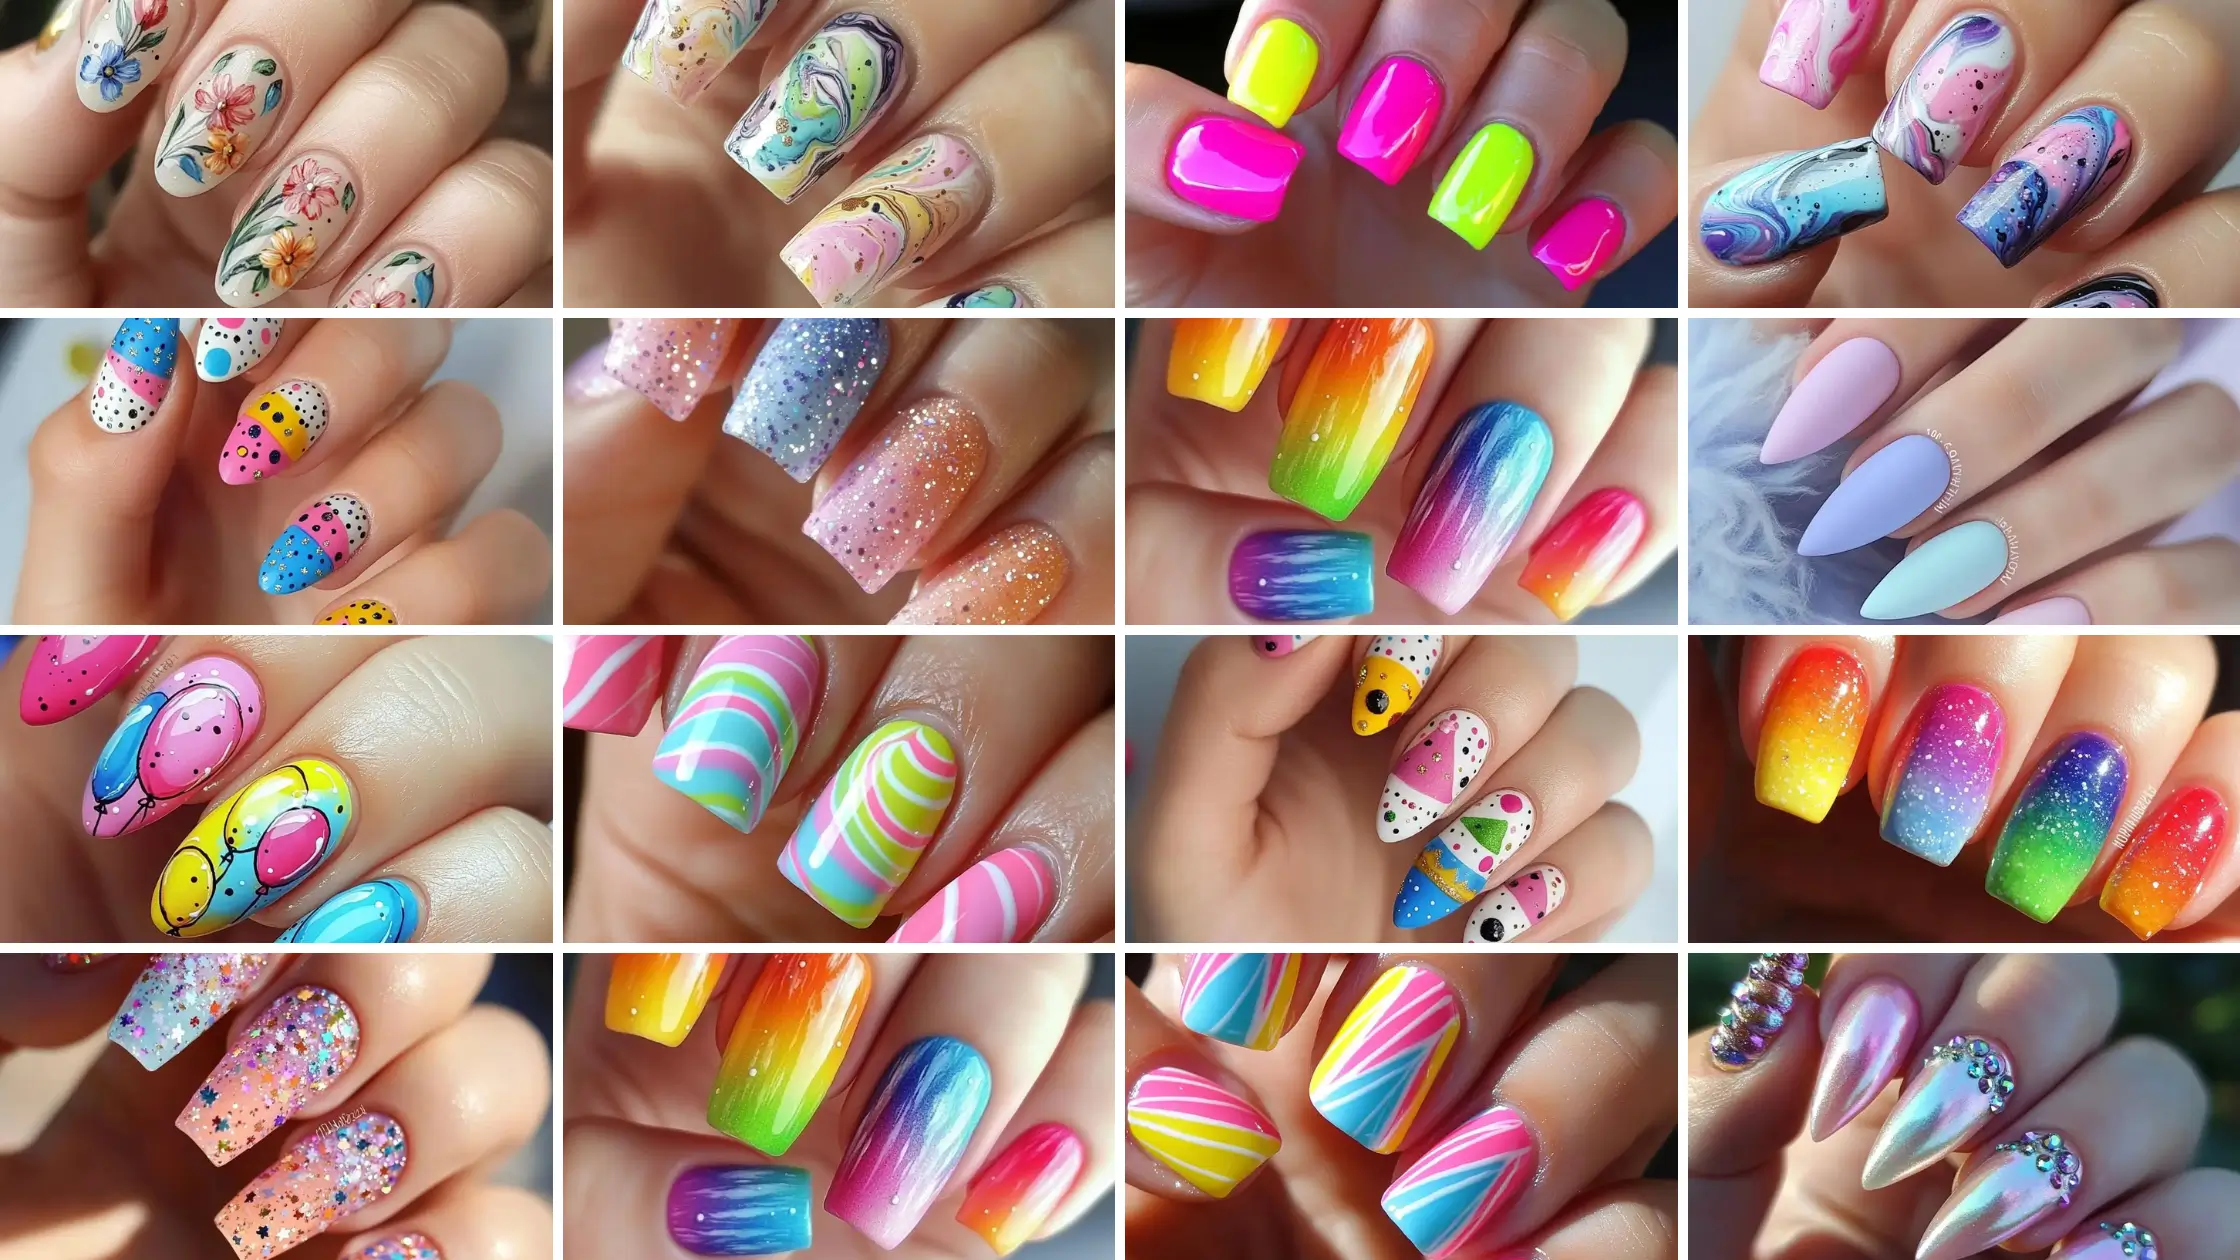
1: Glitter Ombre Nails

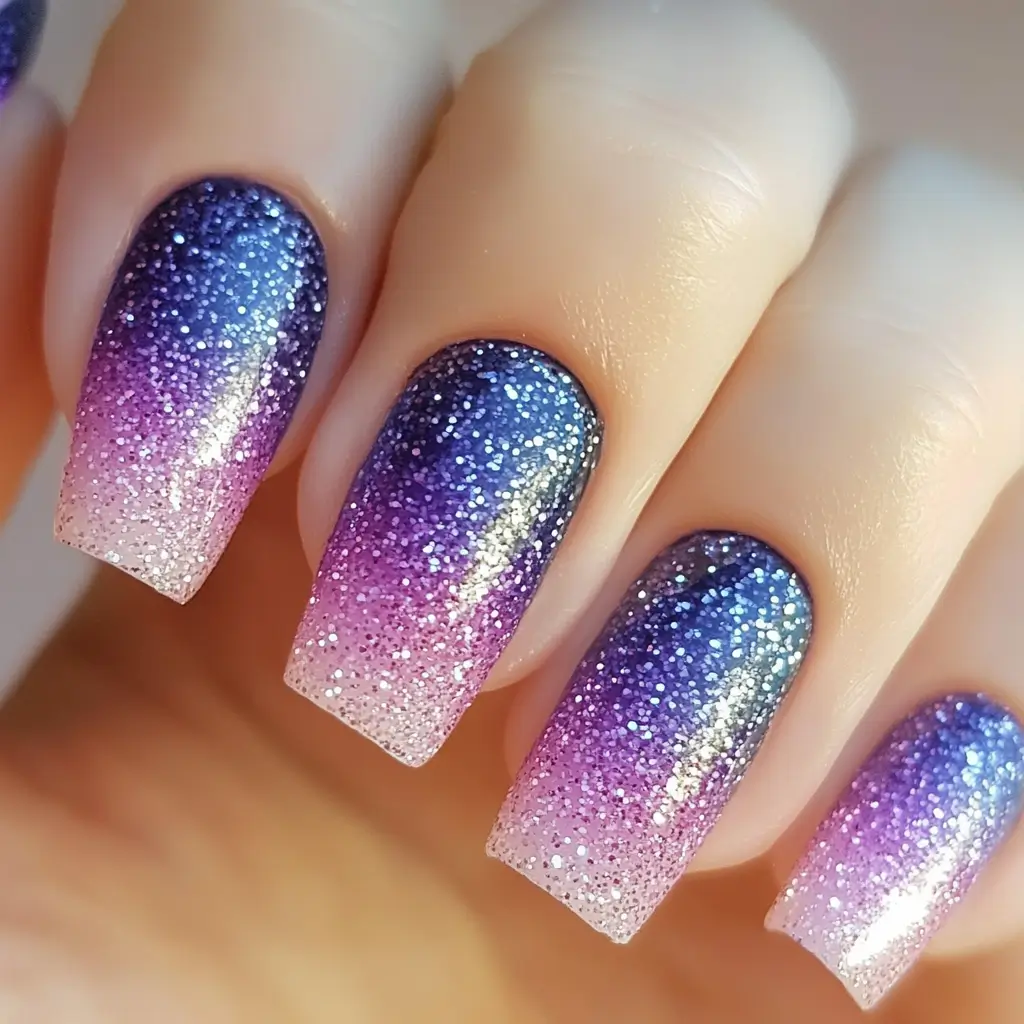
Glitter ombre nails are a fantastic choice for a birthday celebration. I love how you can blend different shades, making each nail unique. Start with a base color and add glitter at the tips.
I use a sponge to dab the glitter to achieve this look, creating a smooth transition. The sparkle adds extra fun, making your nails the party’s highlight.
2: Floral Accent Nail

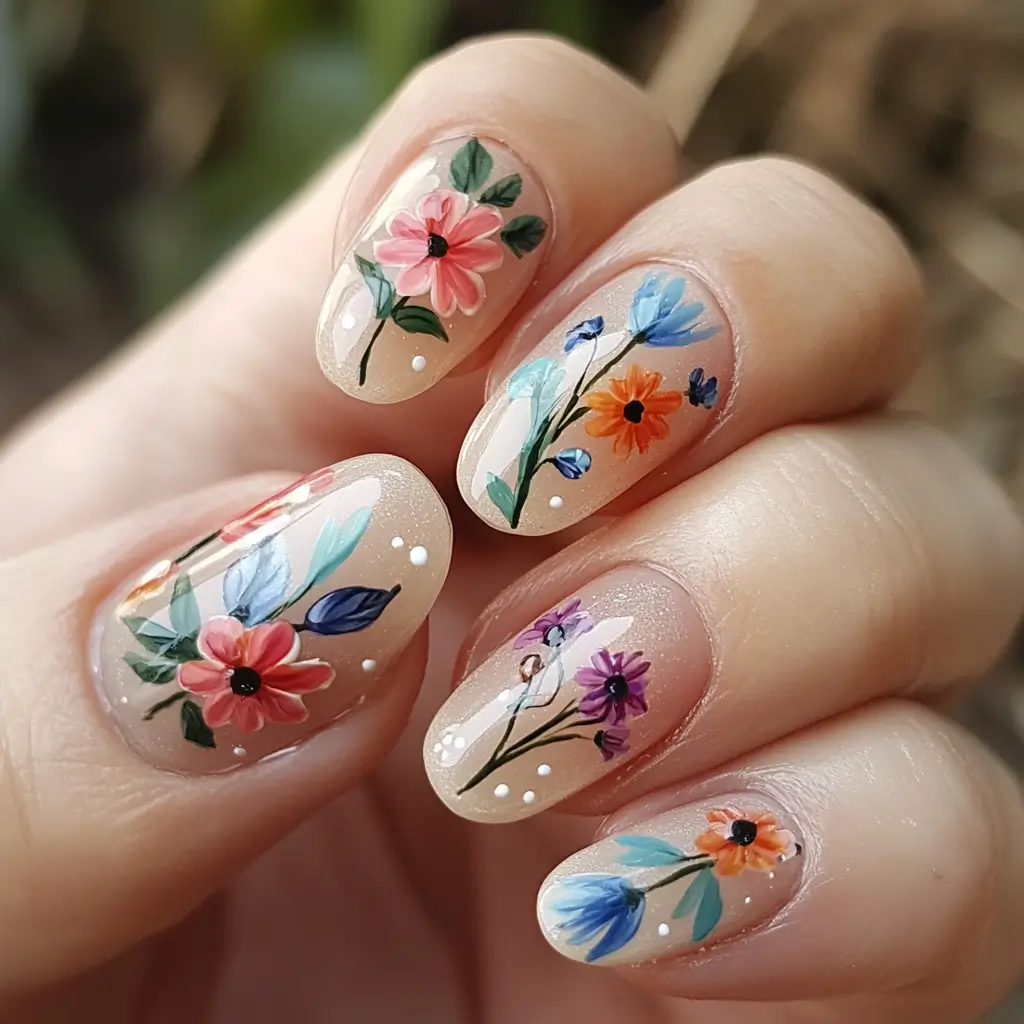
I love adding a touch of nature to my nails with a floral accent. Picking a single nail to feature a flower design is simple yet striking.
It creates a small, beautiful garden at my fingertips. It’s perfect for adding a bit of elegance without being too overwhelming. It’s an easy way to make my manicure special.
3: Marble Effect Design
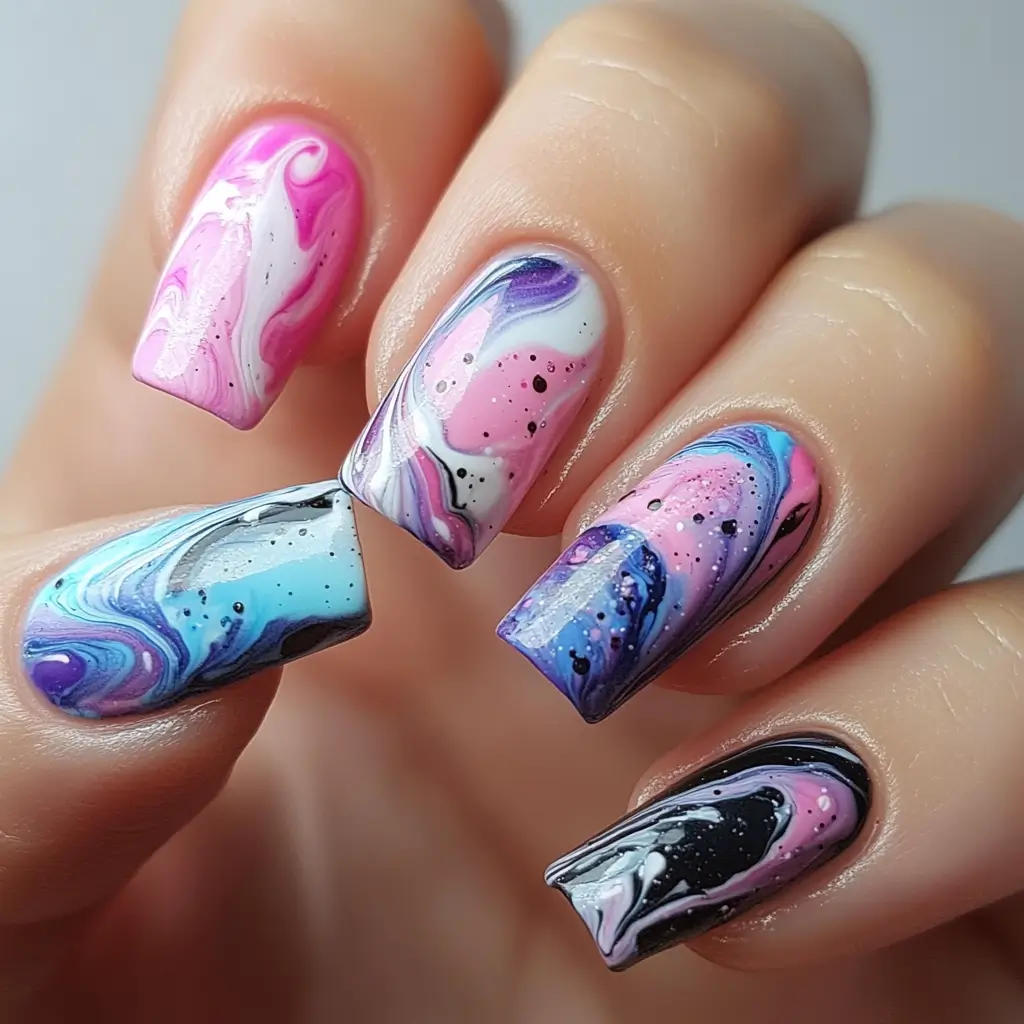
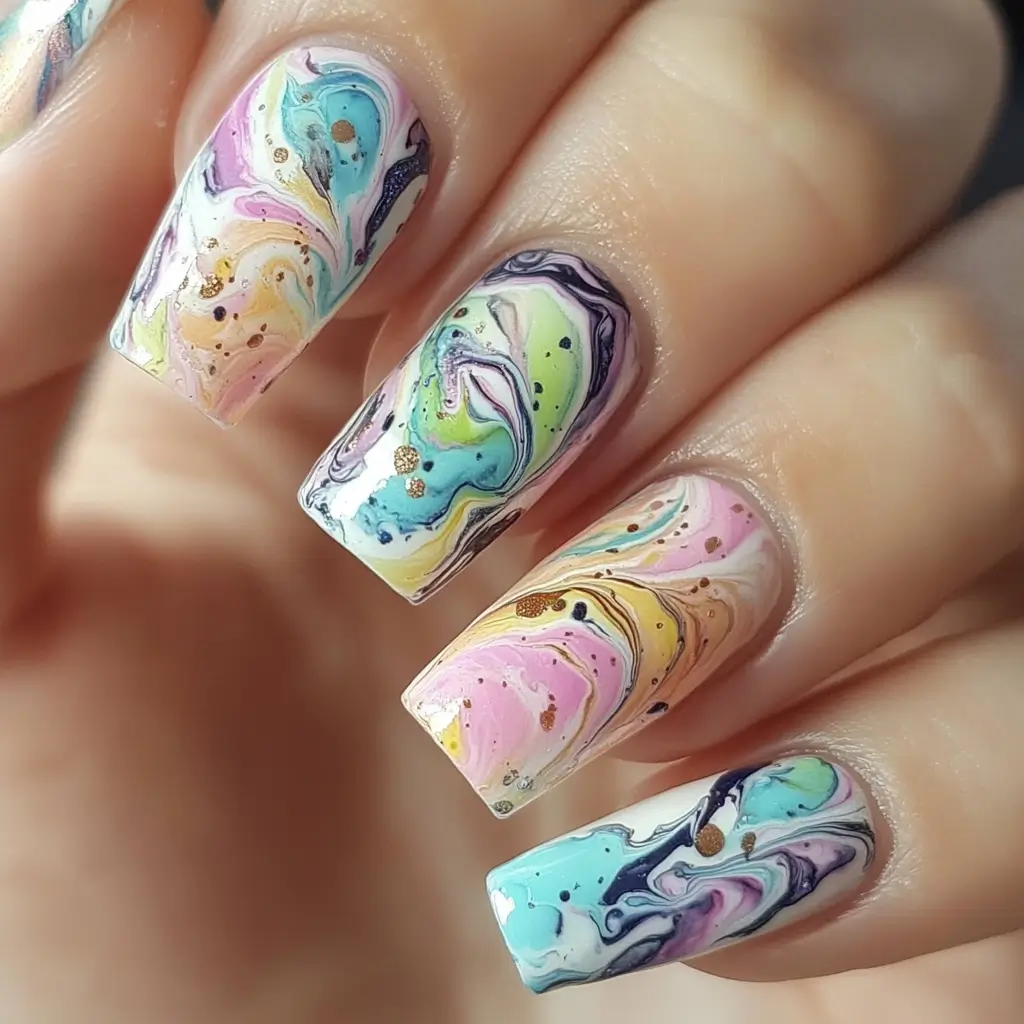
I love the marble-effect design for birthday nails. It’s elegant and trendy. To create this look, I start with a base coat.
Then, I use room-temperature water to float drops of nail polish. Using a toothpick, I swirl the colors to create a marbled pattern. Finally, I dip my nails into the water for the design to transfer.
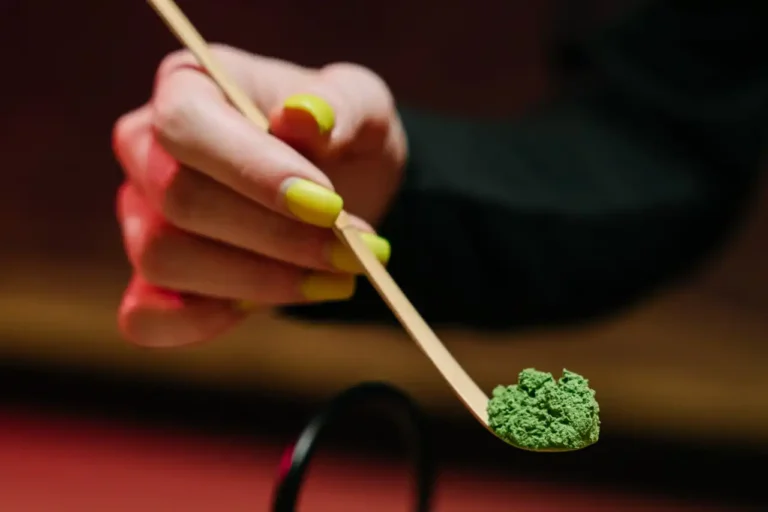
4: Neon French Tips
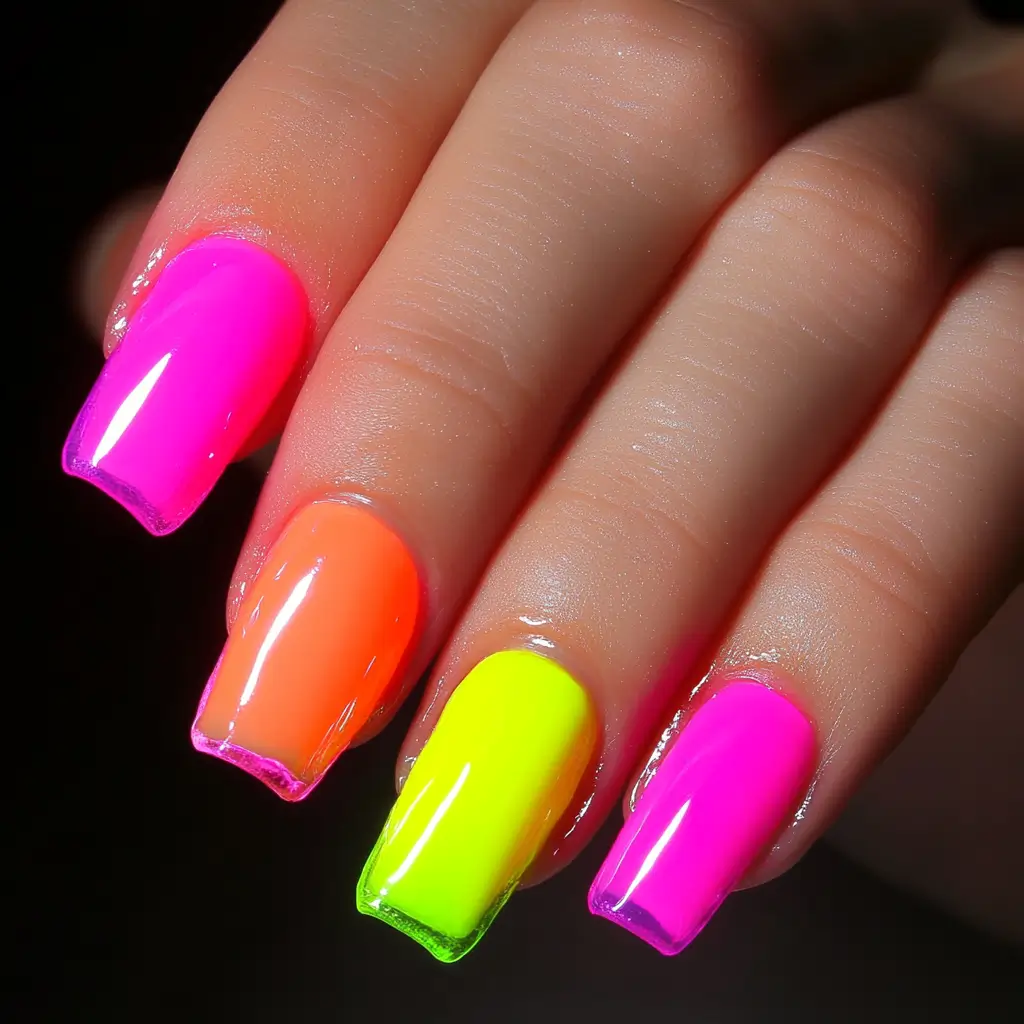
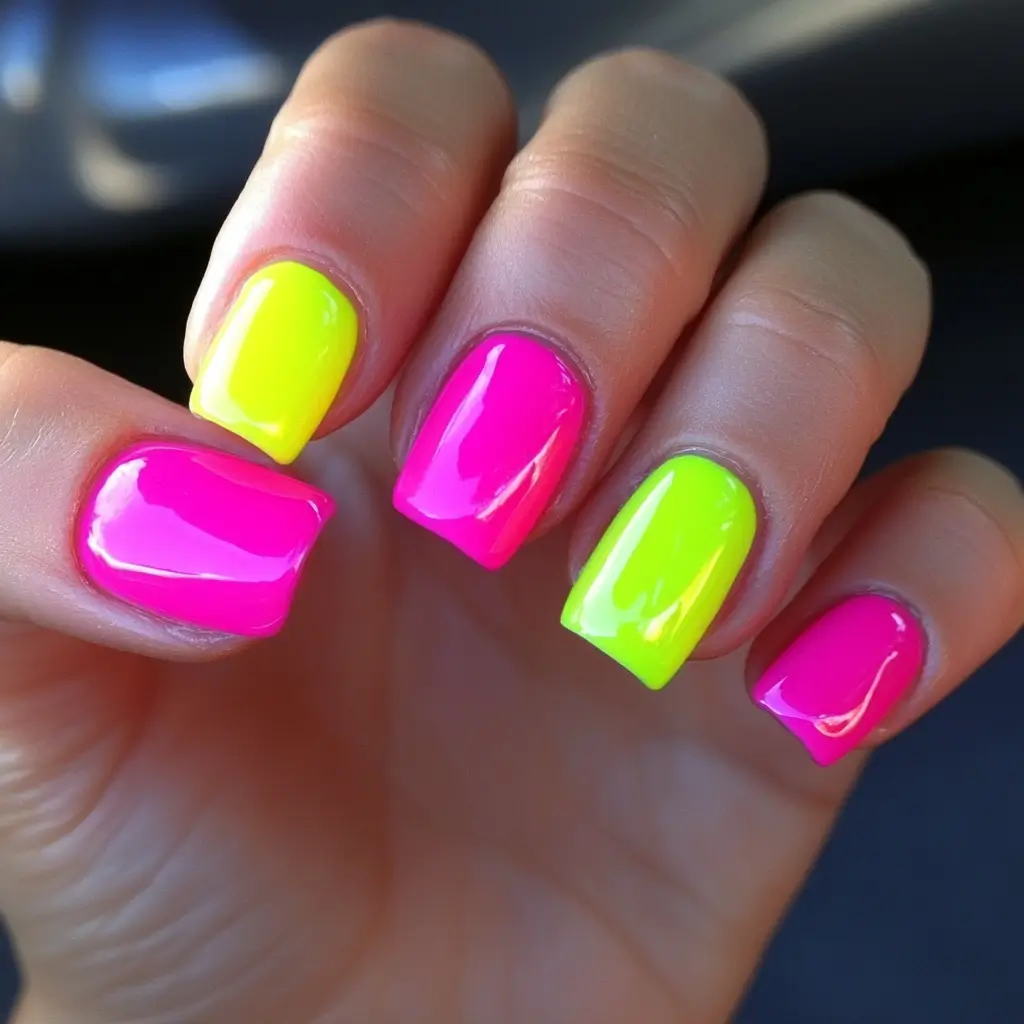
Neon French tips are a fun way to add color to your nails. I love how they combine the classic French manicure style with bright, bold colors.
You can choose traditional neon shades like pink, yellow, or green. These vibrant colors really stand out and make a statement.
5: Matte Pastel Colors
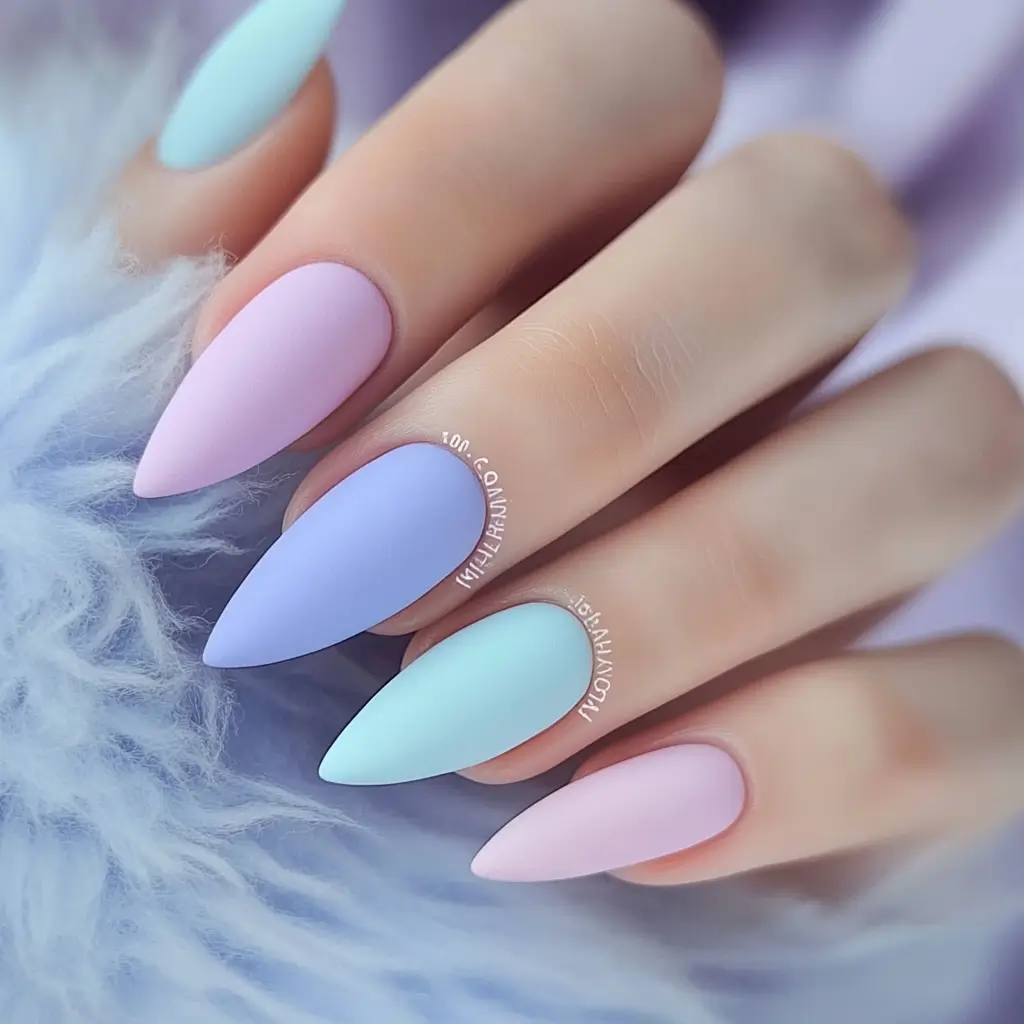
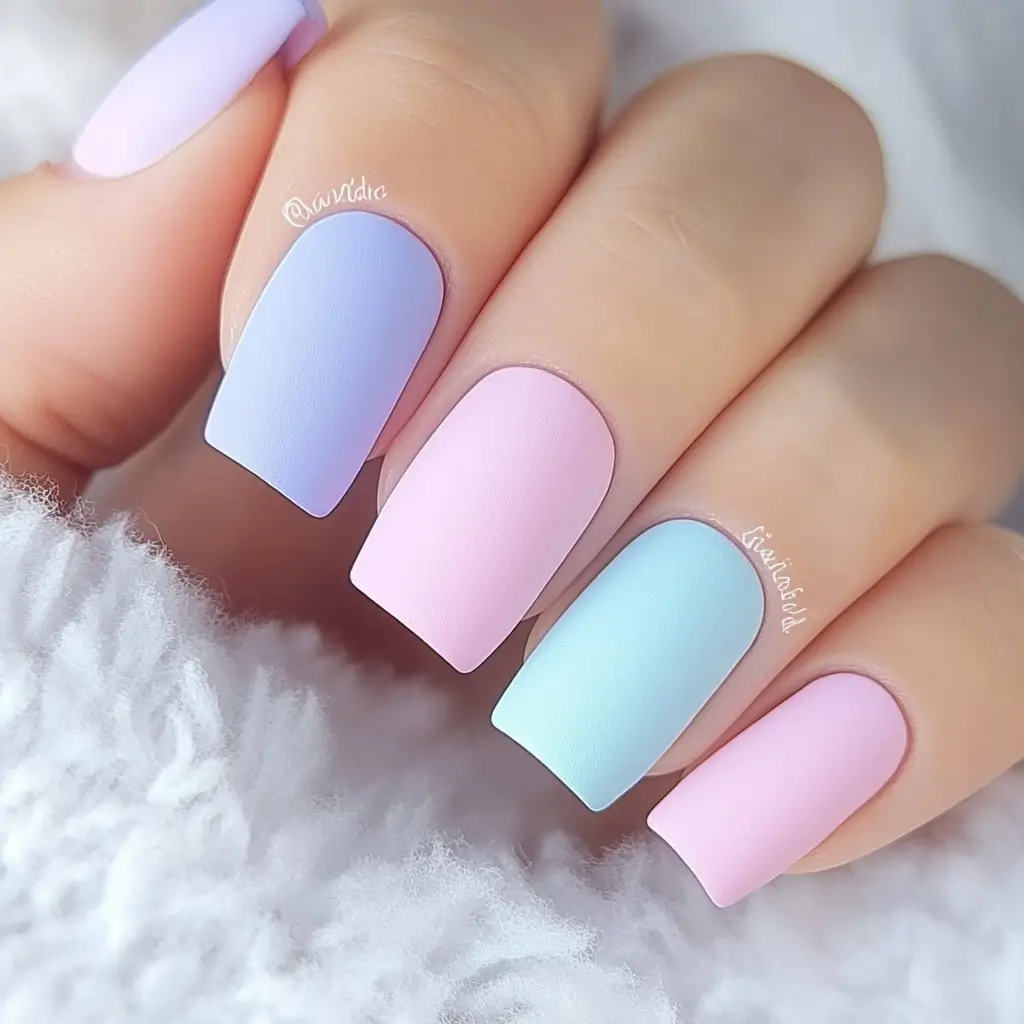
Matte pastel colors are a great choice for a birthday manicure. They offer a soft and elegant look that is both trendy and versatile.
I like how matte pastel shades such as lavender, mint, and baby blue can match any outfit and setting, making them perfect for birthday celebrations.
Matte finishes give these gentle colors a modern twist while maintaining their classic appeal.
6: Confetti Glitter Polish
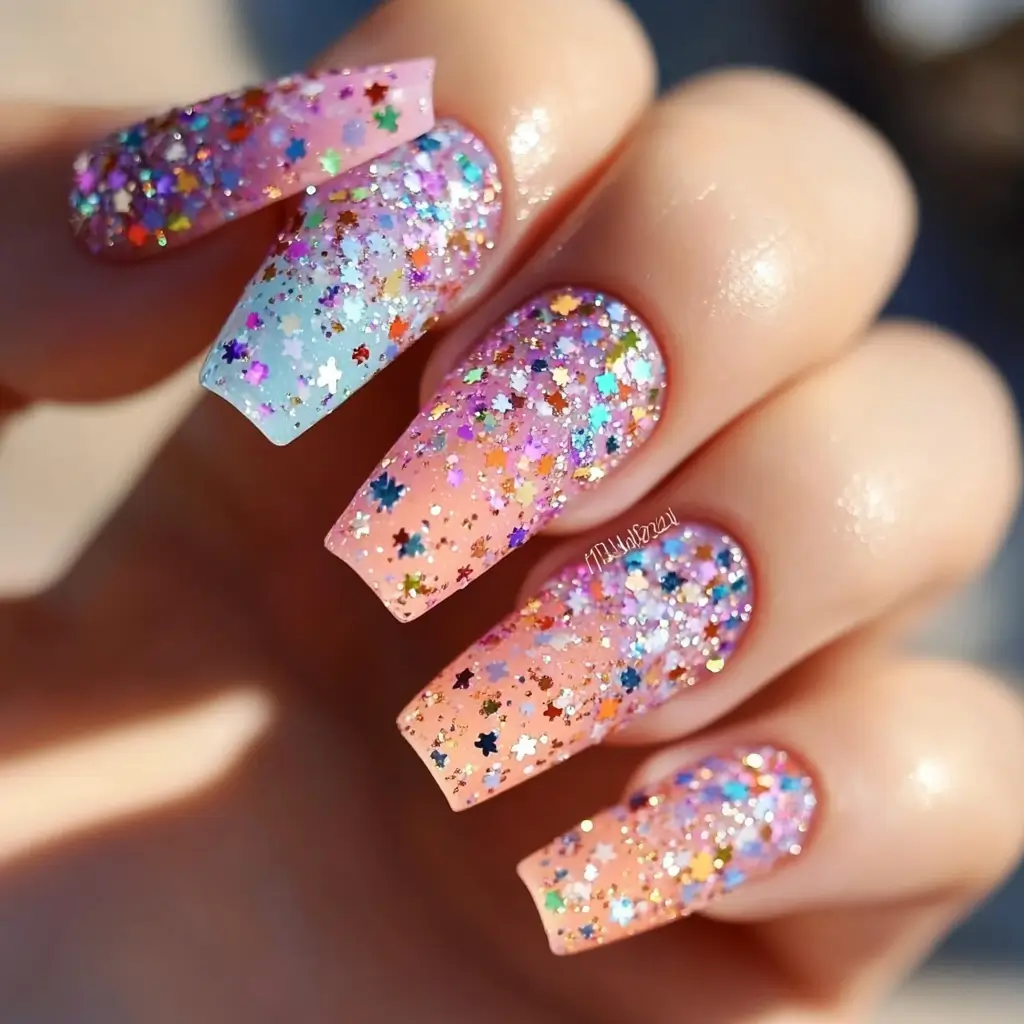

Confetti glitter polish is my go-to choice for a festive look. It adds sparkle and fun to any birthday outfit.
I love how versatile it is. Mix and match colors like peach, light blue, pink, and lavender. Adding glitter creates a glamorous effect that catches everyone’s eye.
Plus, it’s easy to apply and lasts through the party.
7: Balloon Artwork Nails
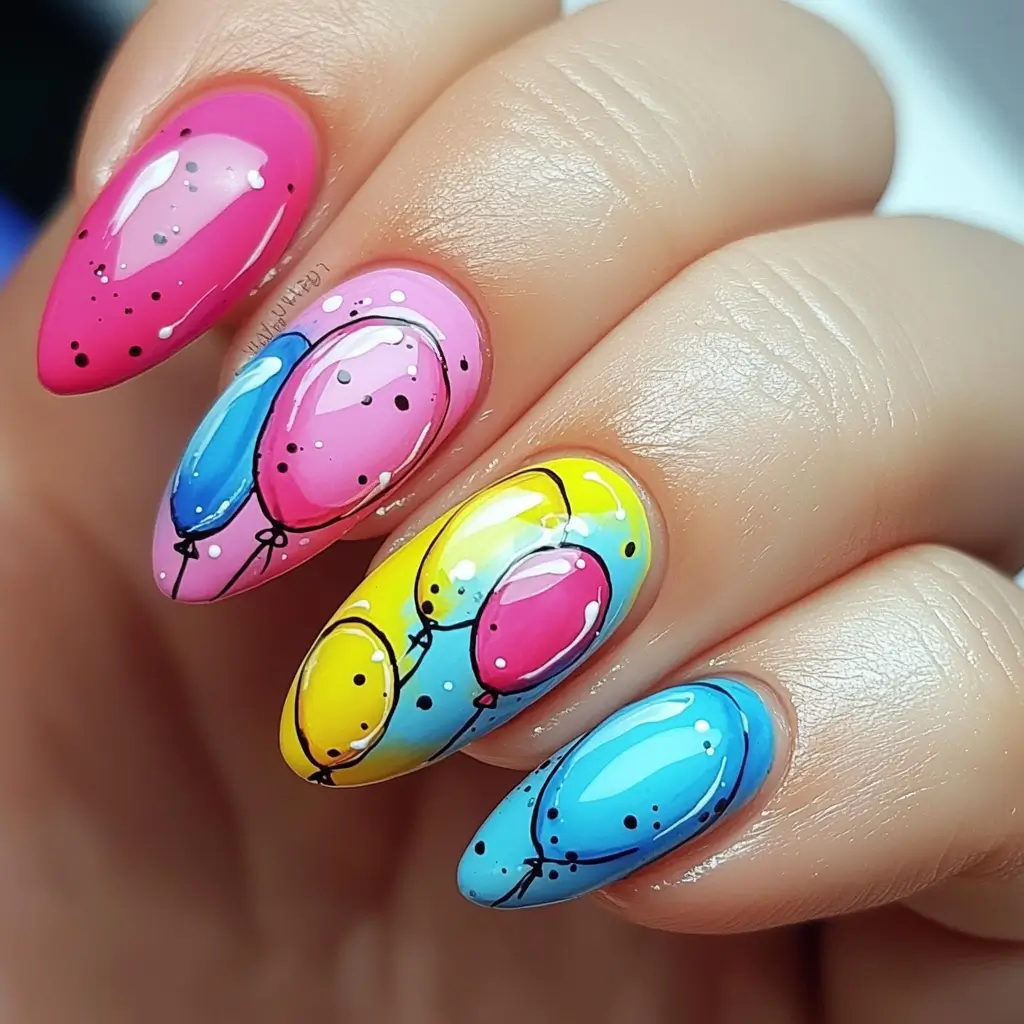
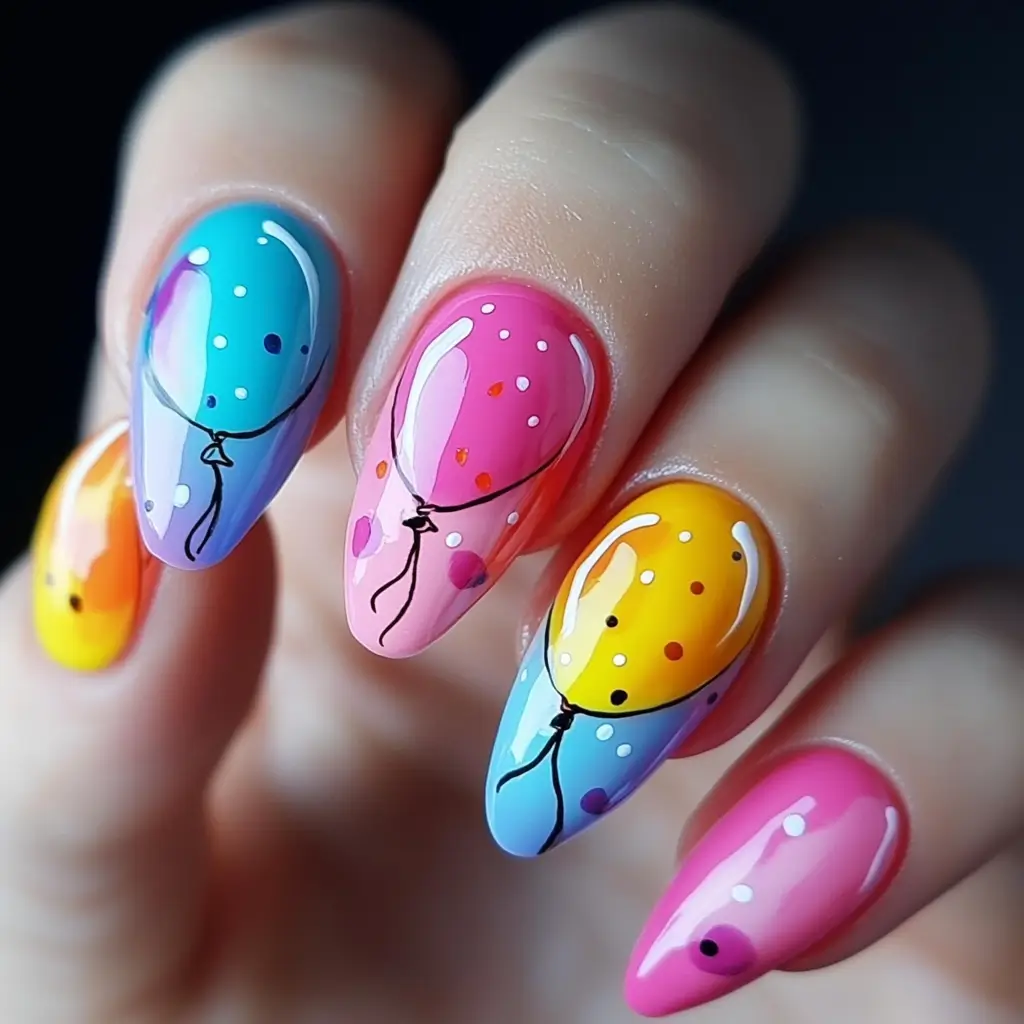
I love creating balloon artwork on nails for a fun and festive look. These designs can be colorful, featuring balloons in bright hues like blue, pink, and yellow.
I often add tiny details like strings and highlights to make the balloons look realistic.
8: Candy Stripes Design
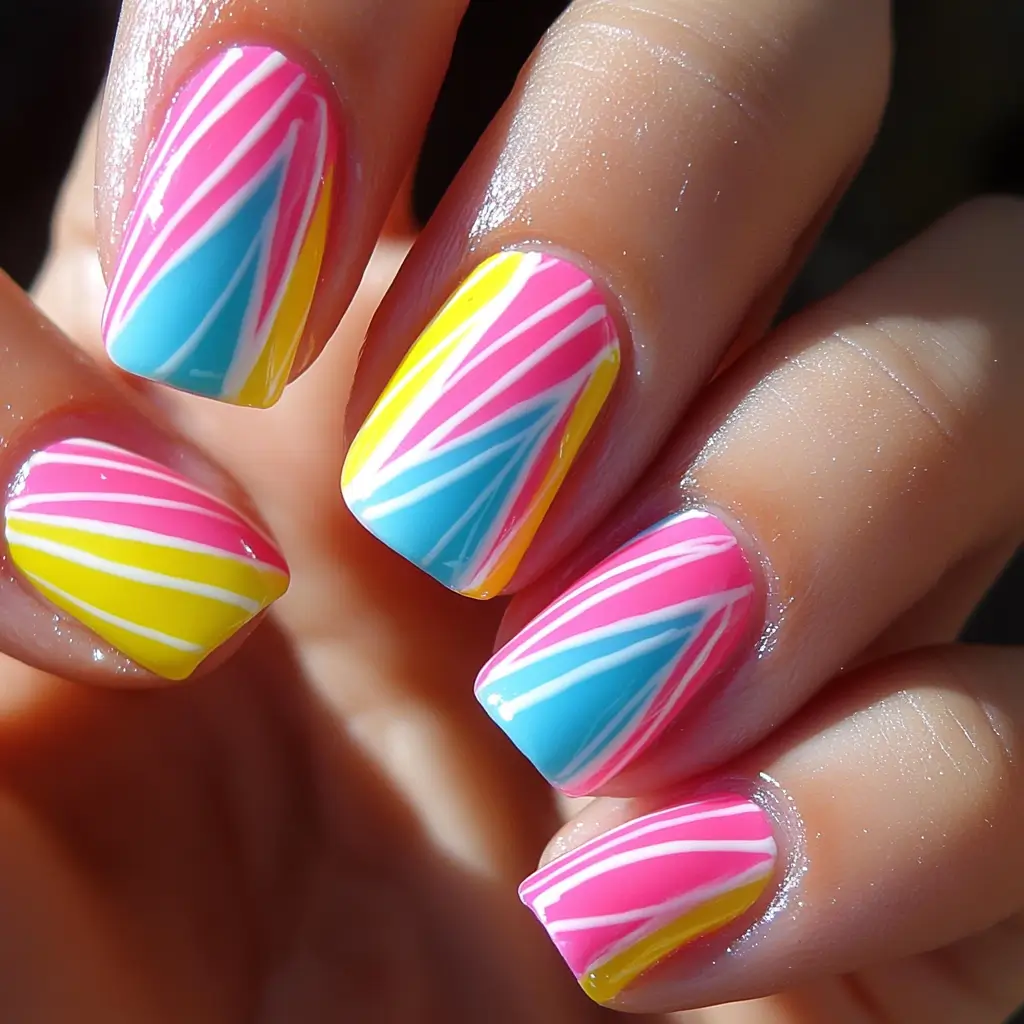
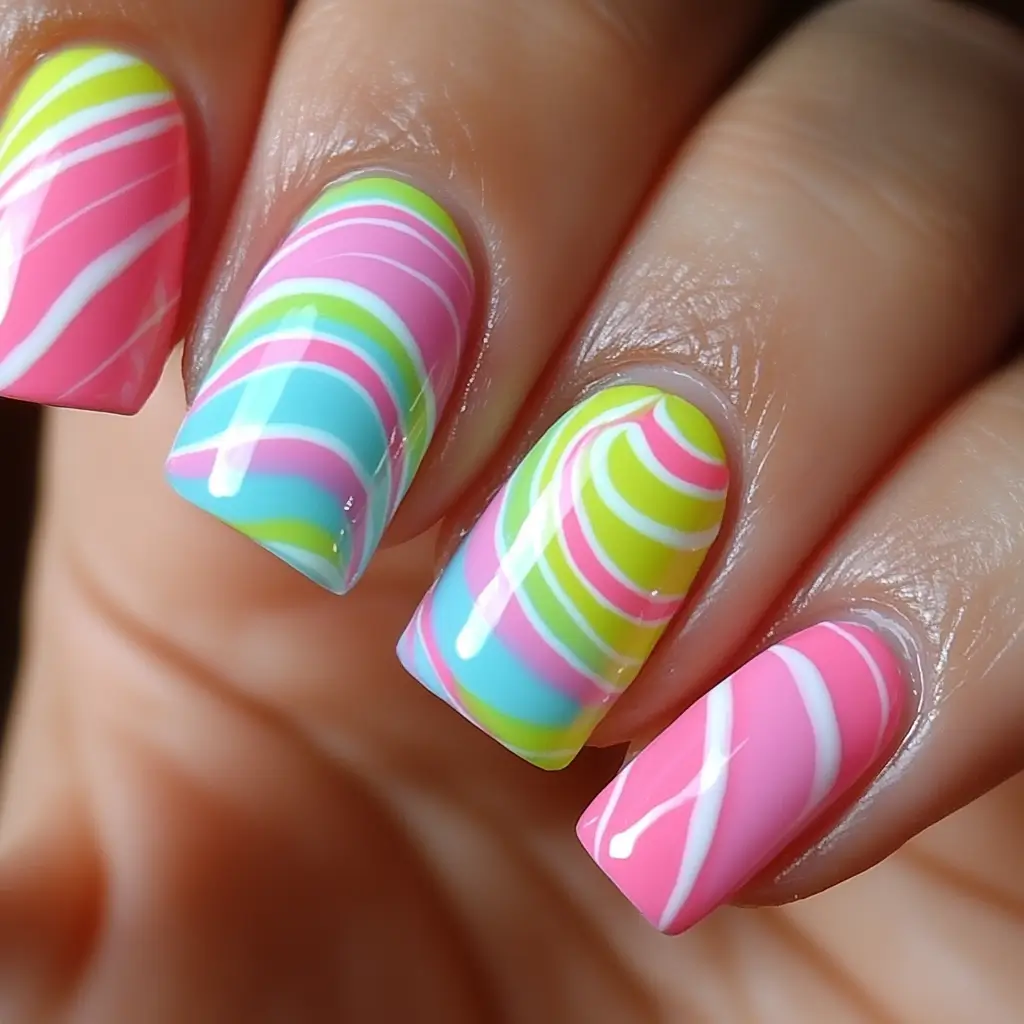
Candy stripes add a playful touch to any birthday celebration. I love how these designs often use bright, fun colors like pink, blue, and yellow.
This style will make your nails stand out whether you choose thin or thick stripes.
You can even mix and match colors for a unique look. Candy stripes are perfect for anyone looking to add a bit of whimsy to their birthday nails.
9: Rainbow Gradient
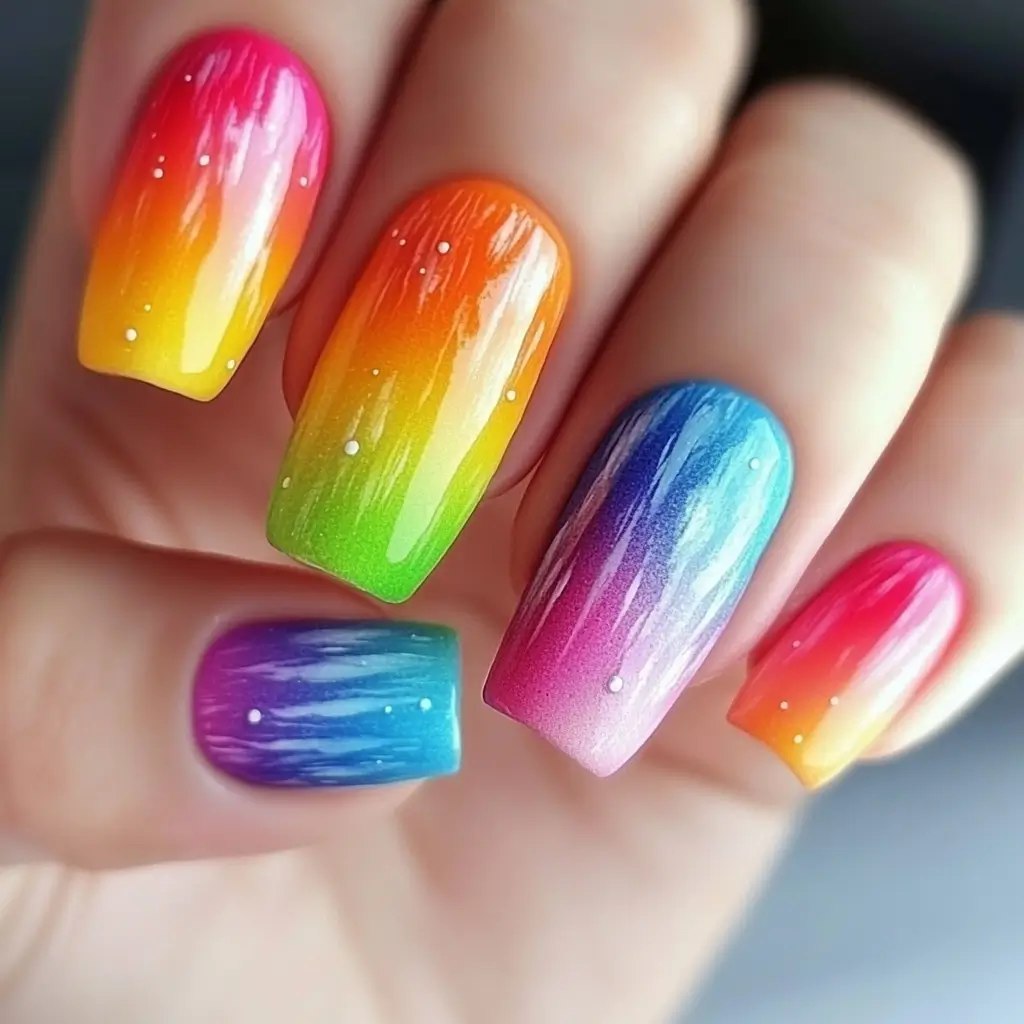

I love how rainbow gradient nails can add color to any birthday celebration. This design features a seamless blend of vibrant hues, creating a mesmerizing effect on your nails.
To achieve this look, I start with a white base coat. Then, I use a sponge to layer different colors, blending them for a soft transition from one shade to the next.
10: Unicorn Horn Accent


Unicorn horn accents add a whimsical touch to birthday nails. I often use iridescent or holographic polish to create this look.
The shape of the horn is key, so I take my time to sculpt it carefully. Adding tiny gems or glitter can enhance the magical effect. This design works well on one or two accent nails.
11: Party Hat Nails
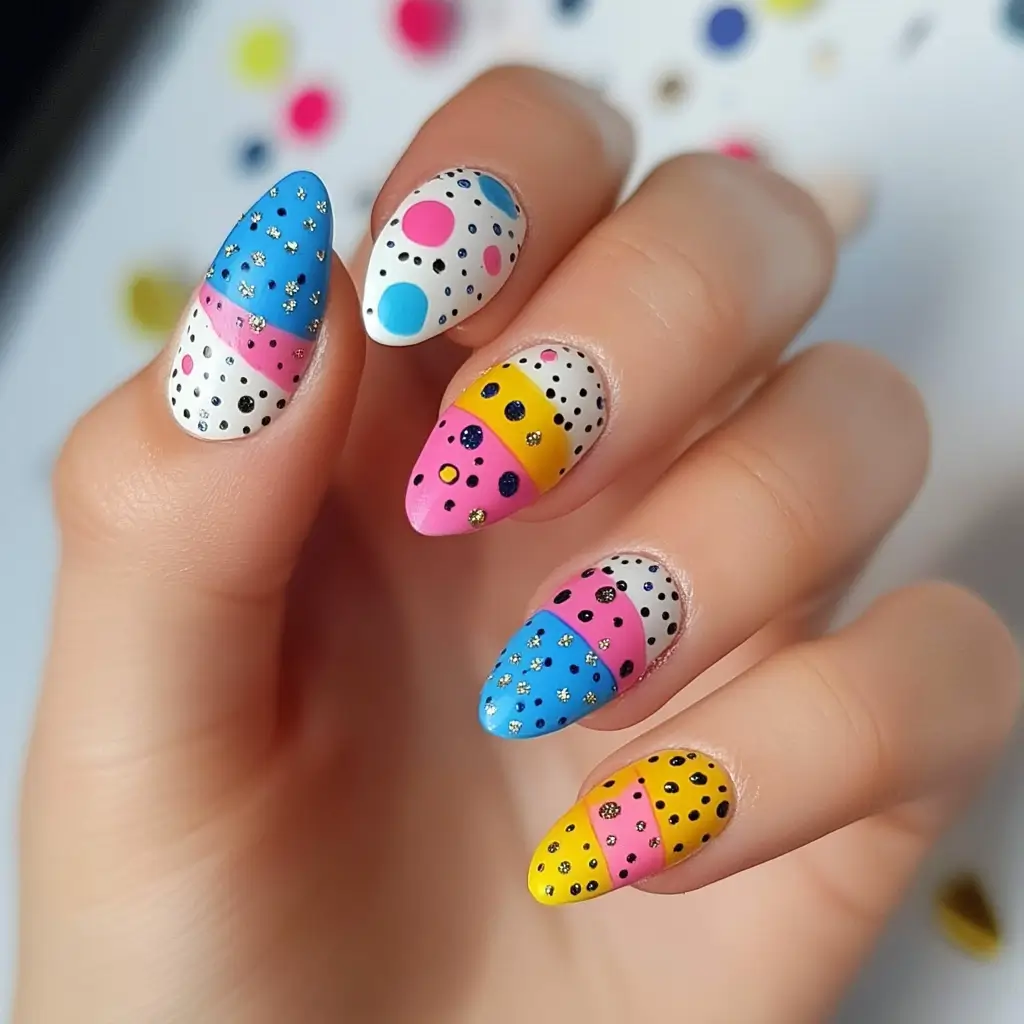

I always love bringing a festive vibe to my nails with Party Hat designs.
Imagine tiny, colorful party hats with little patterns and sparkles on each nail. I feel like I’m carrying a part of the celebration everywhere I go.
I sometimes add bright pink, blue, and yellow to my look to add extra fun.
Birthday Nails Designs Quick Ideas
Birthday nail designs can be created with vibrant colors and fun patterns. Short nails can be decorated with glitter, confetti, or themed decals.
Birthday nails are a fun way to celebrate your special day. Short nails can be just as glamorous and festive as longer ones.
Choose bright colors like pink, gold, or blue to match the party vibe. Glitter and confetti add sparkle and excitement.
Themed decals, such as balloons or candles, can make your nails stand out. Simple designs are easier to maintain and can still look stunning.
With some creativity, your birthday nails will be the talk of the party. Celebrate in style with nails that reflect your personality and festive spirit.
Choosing The Perfect Birthday Nail Design
Choosing the perfect birthday nail design can transform your celebration into something truly special.
With many options available, it is essential to find a design that reflects your personality and keeps up with the latest trends.
A well-chosen nail design can complement your outfit, boost your confidence, and make your birthday unforgettable.
Consider Your Personal Style
Your personal style should be the first thing you consider. Think about what makes you unique and how you express yourself through your clothes and accessories.
Match your nail design to your favorite colors, patterns, and themes. Here are a few points to ponder:
- Favorite Colors: Choose shades that you love, and that suit your skin tone.
- Preferred Patterns: Polka dots, stripes, or abstract designs – pick what you enjoy.
- Style Icons: Look at celebrities or influencers whose style you admire.
For a more tailored approach, consider the occasion and your outfit. If you plan to wear a bold dress, choose a subtle nail design to balance your look. Conversely, intricate nail art can elevate a simple outfit.
| Style | Nail Design |
|---|---|
| Casual | Simple, clean designs like pastels or nude shades. |
| Elegant | French tips, metallic accents, or subtle glitter. |
| Bold | Bright colors, geometric patterns, or themed art. |
Take Inspiration From Current Trends
Keeping up with current nail trends can provide fresh ideas for your birthday nails. Look to social media platforms like Instagram and Pinterest for inspiration. Here are some popular trends to consider:
- Minimalist Designs: Simple lines, dots, and shapes are in vogue.
- Bold Colors: Bright neon shades and bold primary colors make a statement.
- Mix and Match: Different designs on each nail create a unique look.
- Textured Nails: Add texture with matte finishes, glitter, or 3D elements.
Fashion magazines and beauty blogs are also great sources for trend insights. Consider seasonal trends – pastel colors for spring, bright summer hues, warm autumn tones, and cool winter shades.
Don’t forget to personalize these trends to suit your style. For example, if bold colors are trending but you prefer something subtle, choose a muted version of a trendy color.
Experimenting with trends can lead to discovering a design that feels both current and uniquely you.
Prepping Your Nails
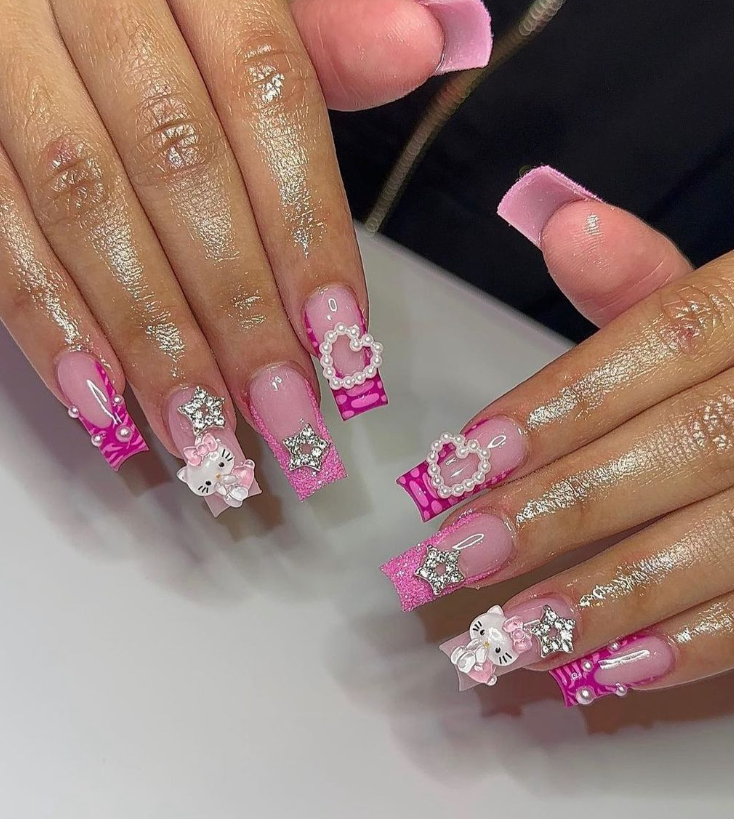
Getting ready for a special birthday celebration? Your nails deserve some love, too! Before diving into the fun nail designs, it’s crucial to prep your nails properly.
This step-by-step guide will walk you through the process, ensuring your birthday nails look fabulous and last longer.
Remove Old Nail Polish
Start by removing any existing nail polish. This step is essential for a clean base. Follow these steps:
- Use a non-acetone nail polish remover to avoid drying out your nails.
- Saturate a cotton ball or pad with the remover.
- Press it against your nail briefly to break down the polish.
- Wipe away the polish in a gentle, sweeping motion.
Consider wrapping the soaked cotton ball around your nail and securing it with a small piece of aluminum foil for stubborn polish. Let it sit for 5-10 minutes, then wipe away.
Ensure no residue is left on the nails. This clean slate will help your new polish adhere better and look smoother.
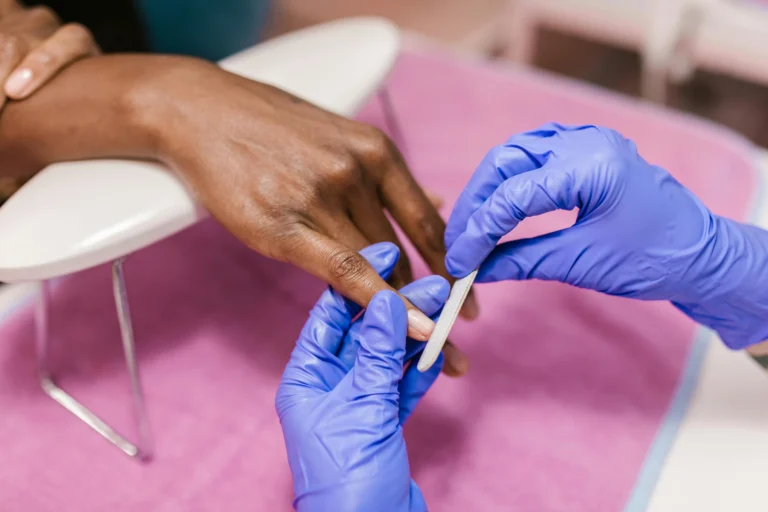
Shape And File Your Nails
Next, shape and file your nails to your desired look. Follow these tips:
- Choose a nail shape: square, round, almond, or oval.
- Use a high-quality nail file to avoid splitting.
- File in one direction to prevent damage.
Here’s a quick table for nail shapes and their best uses:
| Nail Shape | Best For |
|---|---|
| Square | Strong nails, minimal maintenance |
| Round | Short nails, natural look |
| Almond | Elegant, feminine style |
| Oval | Classic, versatile |
Keep your nails at a uniform length. This helps you achieve a polished and balanced look for your birthday nails.
Apply Cuticle Oil
Applying cuticle oil keeps your nails healthy and hydrated. This is a key step. Follow these instructions:
- Choose a nourishing cuticle oil with vitamins E and A.
- Apply a small drop to each cuticle.
- Massage the oil in circular motions.
Cuticle oil softens the cuticles, making them easier to manage. It’s also great for nail growth, prevents hangnails, and keeps nails looking their best.
For an added treat, soak your nails in warm water for a few minutes after applying the oil. This enhances absorption and gives you a spa-like experience at home.
Push Back Cuticles
Push back your cuticles gently to create more space for your nail design. Here’s how:
- Use a cuticle pusher or orangewood stick.
- Gently push the cuticles back towards the base of your nails.
- Do this slowly to avoid damaging the nail bed.
After pushing back your cuticles, you might see some dead skin. You can carefully trim this with cuticle nippers, but avoid cutting living tissue.
This step ensures a clean appearance and provides more space for your birthday nail art. It’s essential for a polished look.
Remember, healthy cuticles are crucial for overall nail health. Always moisturize them after pushing them back.
Creating The Base
Creating the perfect base is key to stunning birthday nail designs. A solid base ensures your nail polish lasts longer and looks more vibrant.
This section will walk you through the steps to create the perfect base for your birthday nails.
Apply Base Coat
Applying a base coat is the first step in creating a long-lasting manicure. A base coat protects your natural nails and helps the polish adhere better. Here’s how to apply it:
- Clean your nails: Remove any old polish and wash your hands.
- Shape your nails: Trim and file them to your desired shape.
- Buff your nails: Lightly buff the surface to remove any ridges.
- Apply the base coat: Use thin, even strokes to cover the entire nail.
Wait for the base coat to dry completely. This usually takes about 2-3 minutes. A base coat is a primer that ensures your polish stays on longer and your nails remain healthy.
Choose Your Nail Polish Color
Choosing the right color is an exciting part of the process. For birthday nails, you want something festive and fun. Here are some tips for selecting the perfect shade:
- Consider the theme: Match the polish color to your party theme.
- Think about your outfit: Choose a color that complements your birthday outfit.
- Go for glitter: Glitter polishes add a celebratory touch.
- Mix and match: Use multiple colors for a more dynamic look.
Popular birthday colors include pinks, blues, and purples. You can also opt for a classic red or a neutral shade with a twist, like a shimmer or holographic finish.
Apply First Coat
Now, it’s time to apply the first coat of your chosen polish. Follow these steps for a smooth application:
- Load the brush: Dip the brush into the polish and wipe off excess.
- Start from the center: Place the brush at the center of your nail, near the cuticle.
- Swipe down: Gently swipe the brush down to the tip of your nail.
- Fill in the sides: Repeat the process on the left and right sides.
Allow the first coat to dry for at least 5 minutes. This helps prevent streaks and bubbles in your manicure. A thin, even coat is essential for a smooth finish.
Apply Second Coat
The second coat brings out the true color of your polish and adds durability. Here’s how to do it:
- Repeat the same steps: Follow the same process as the first coat.
- Use thin layers: Apply thin layers to avoid clumping.
- Check for coverage: Ensure the second coat covers any thin spots.
Wait for the second coat to dry completely. This usually takes about 10 minutes. A well-applied second coat ensures your nails look vibrant and last longer.
Adding Fun Birthday Accents
Birthdays are a special time to celebrate, and what better way to add to the festivity than with some fun and fabulous birthday nail designs?
Adding fun birthday accents to your nails can make your special day even more memorable. Whether you love sparkles, stickers, or intricate nail art designs, there are numerous ways to jazz up your nails for your birthday bash.
Glitter And Sparkle
Glitter and sparkle can turn your nails into dazzling showstoppers. Adding glitter to your nails is a simple yet effective way to make them pop. Here are a few ideas to get you started:
- Full Glitter Nails: Apply a glitter polish over your entire nail for a bold and glamorous look.
- Glitter Tips: Create a subtle sparkle by adding glitter just to the tips of your nails.
- Accent Nail: Paint one or two nails with glitter while keeping the rest of the nails a solid color.
Using different colors of glitter can create a unique and personalized look. Mix gold, silver, and colorful glitter to match your birthday theme.
| Glitter Type | Best For |
|---|---|
| Fine Glitter | Subtle sparkle, easy application |
| Chunky Glitter | Bold and eye-catching designs |
| Holographic Glitter | Multicolored, dazzling effects |
Always use a clear top coat to seal in the glitter and give your nails a smooth, shiny finish. This also helps the glitter to last longer without chipping.
Birthday Nail Stickers
Birthday nail stickers are a quick and easy way to add fun accents to your nails. They come in various designs, from balloons and cakes to candles and confetti. Here’s how to use them:
- Choose Your Stickers: Select stickers matching your birthday theme or style.
- Apply Base Color: Paint your nails with a base color and let them dry completely.
- Place Stickers: Use tweezers to place the stickers on your nails carefully.
- Seal with Top Coat: Apply a clear top coat to secure the stickers and add shine.
Using nail stickers can save time and still give you a festive look. They are perfect for those who may not have the time or skill for more intricate nail art.
Some popular sticker themes include:
- Birthday Cakes: Small cake designs that add a sweet touch to your nails.
- Balloons: Colorful balloon stickers that create a playful vibe.
- Party Hats: Fun party hat designs for a celebratory feel.
Experiment with different combinations to find the perfect look for your birthday celebration.
Nail Art Designs
Nail art designs can make your birthday nails stand out with creativity and flair. From simple patterns to detailed artworks, the possibilities are endless. Here are some ideas:
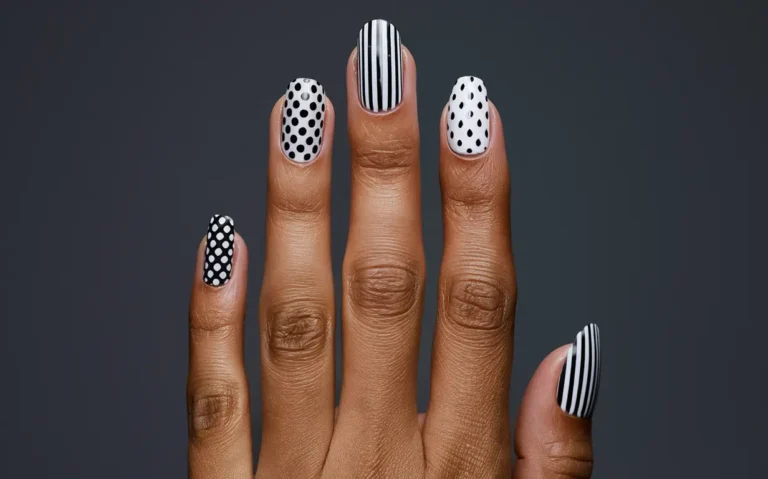
- Polka Dots: A dotting tool creates colorful polka dots on a solid base color.
- Stripes: Paint thin or thick stripes in contrasting colors for a bold look.
- Birthday Candles: Draw tiny candles with a thin brush for a festive touch.
For those who enjoy a challenge, try creating more intricate designs such as:
- Birthday Cake: Paint a small cake with layers and candles on your accent nail.
- Confetti: Use multiple colors to create a confetti effect on your nails.
- Gift Boxes: Draw small gift boxes with bows for a cute and festive design.
Using nail art tools like brushes, dotting tools, and striping tape can help achieve precise and professional-looking designs. A steady hand and patience can result in stunning birthday nail art that everyone will admire.
Remember to finish with a clear top coat to protect your designs and give your nails a glossy finish. Whether you opt for simple patterns or detailed art, your birthday nails will surely be a hit.

Frequently Asked Questions
What Is The Best Nail Design For Short Nails?
Minimalist designs are best for short nails. Try simple stripes, dots, or a classic French manicure. Bright, solid colors also work well.
What Colors Are Good For Birthday Nails?
Bright colors like pink, red, and yellow are great for birthday nails. Glitter and metallic shades add extra flair, while pastel hues offer a softer look.
What Are The 5 Basic Nail Designs?
The 5 basic nail designs are French tips, solid colors, polka dots, ombre, and stripes. These styles are timeless and versatile.
How Do You Make Short Nails Designs?
Choose simple patterns like polka dots or stripes to make short nail designs. Use vibrant colors for contrast.
Apply a base coat, create the design with nail art tools, and finish with a top coat for durability. Experiment with stickers or gems for added flair.
Conclusion
Creating stunning birthday nail designs can be quick and easy. With the right tools and inspiration, anyone can achieve beautiful nails.
Remember, practice makes perfect. Keep experimenting with different colors and patterns. Your nails will always be party-ready, making every birthday celebration even more special!

